
A perm, short for permanent wave, is like giving your hair a GPS for curl town. It uses chemicals to break and reform the bonds of your hair, leading to curls that last longer than your excitement for a new Netflix series.
Sometimes, though, your hair is not ready for a perm-cation. Common party poopers include not enough processing time, the moodiness of your hair, or even that sneaky last-minute hair product you used.
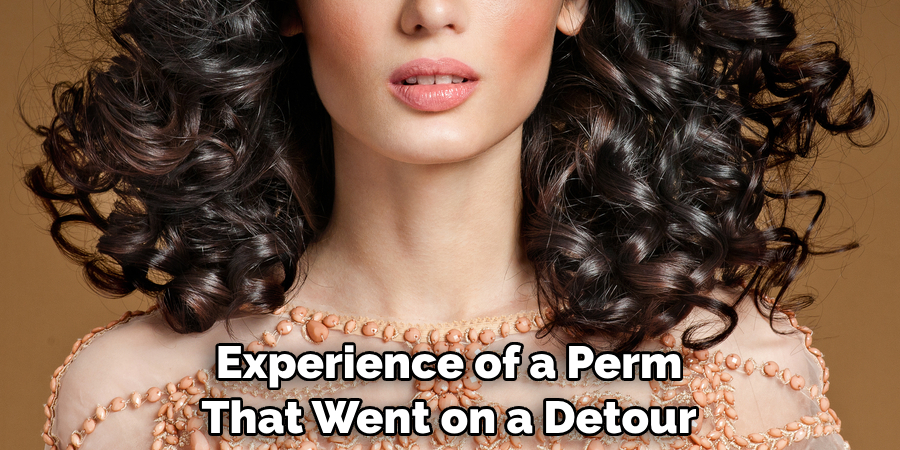
This guide is your BFF in the quest of how to fix a perm that didn’t take. Whether your curls went on strike or just decided to play hide and seek, we’ve got you covered. Stick with us, and you’ll be on your way to curl success in no time!
Assessing the Situation
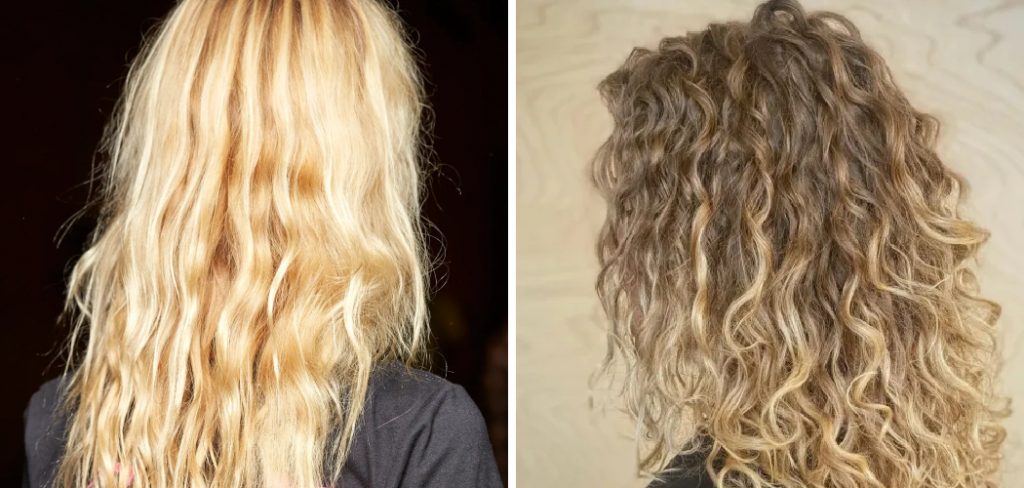
Before you rush to judgment and declare your perm a flop, playing detective and scrutinizing the crime scene is vital—your hair. The most obvious sign of a “perm gone wild” scenario is when your hair seems to have missed the memo on becoming curly. Instead of bouncy curls, you’re left with limp locks that couldn’t hold a curl if they were being paid. Frizz that could rival a static electricity science demo is another telltale sign that your perm is protesting.
Now, ponder what could’ve thrown your perm off its game. Was the processing time too short, leaving those hair bonds confused about whether to relax or curl? Or perhaps the perm solution and your hair disagreed due to a misapplied product or an incompatible one sneaking into your pre-perm routine. The mystery deepens.
Lastly, assess your hair’s current mood. Is it throwing a tantrum, brittle and dry to the touch, or simply feeling a bit overwhelmed but generally okay? Your hair’s condition and sensitivity post-perm fiasco will be your guiding star in navigating the path to recovery. Will it need a gentle pep talk, or is it time for some serious hair therapy? Understanding this will help map out your next moves in the rescue mission, such as fixing a perm that didn’t take.
Consulting a Professional
Sometimes, you’ve got to admit that you’re in over your head, like when you thought assembling furniture without the instructions was a good idea. Now’s the moment to swallow your pride and seek advice from a licensed hairstylist. These wizards can spot a perm SOS from a mile away and know exactly how to wave their magic wands (or combs) to fix it.
A. Seeking Advice from a Licensed Hairstylist
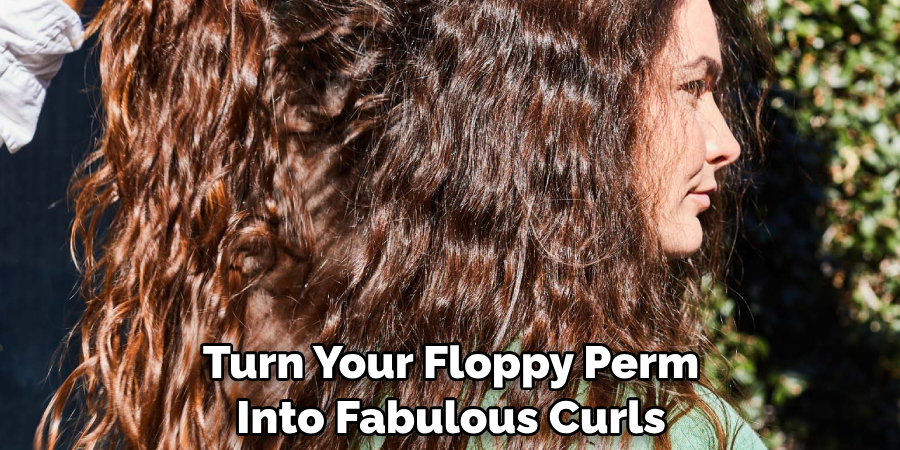
Walking into a salon and asking for help may feel like showing up at your high school reunion after boasting about your “successful career” as a professional Netflix critic. But remember, hairstylists have seen it all — from dye jobs gone wrong to DIY bangs that ended in tears. They’re not there to judge; they’re there to help turn your floppy perm into fabulous curls.
B. Explaining the Situation and Desired Outcome
Be as open and detailed as possible when explaining your perm predicament. It’s like recounting the plot of a complex movie — the more details, the better. Tell them about your perm ambitions, what went wrong, and how you’ve treated your hair since the perm flaked on you. This is no time for secrets; spill the tea on everything, including that last-minute hair product you thought wouldn’t matter.
C. Following Professional Recommendations
Once you’ve shared your saga, the hairstylist will likely have a game plan. This could range from “give it time” to suggesting treatments or even (gulp) starting from scratch. It’s like being prescribed a hair care regimen that might include lots of TLC, potions, and patience. They might suggest some products or treatments — think of these as your hair’s new best friends. Follow their recommendations like they’re the sacred texts of hair recovery. After all, they’re the Gandalf to your Frodo in this epic journey.
How to Fix a Perm that Didn’t Take: Waiting Period
Patience is not just a virtue; it’s your hair’s new bestie after a perm fiasco. Think of it as giving your hair a well-deserved holiday after the traumatic experience of a perm that went on a detour. Here’s how you can be the most considerate host during this recovery period.
A. Allowing Time for Hair to Recover
Allowing your hair to recover is like letting the dough rise; it can’t be rushed. Your hair, like that dough, is going through a lot right now. It’s been chemically altered, probably a bit confused, and needs some chill time. Resist the urge to fix things overnight. Hair, much like revenge, is best served cold… or, in this case, slowly.
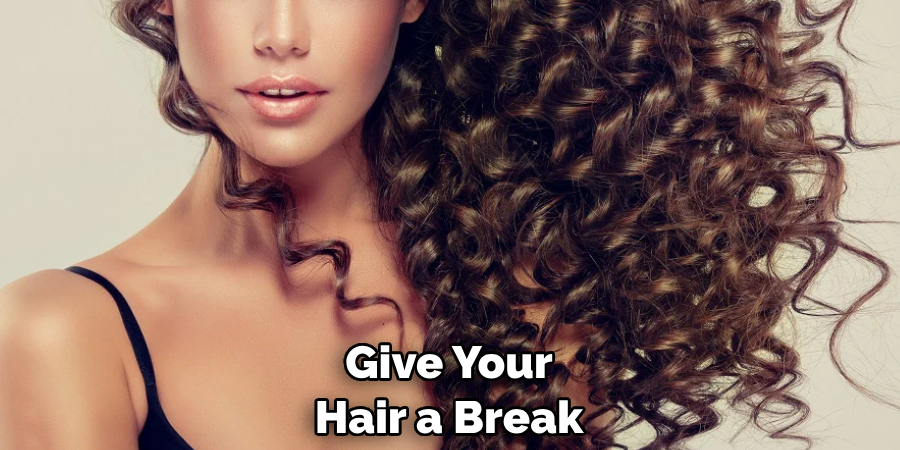
B. Avoiding Additional Chemical Treatments
Imagine your hair sending you a postcard saying, “Wish you weren’t here!” That’s exactly the message it’s giving if you’re thinking about more chemical treatments. Give your locks a break from all things harsh. Coloring, straightening, or (heaven forbid) re-perming should be off the table. You wouldn’t run a marathon with a sprained ankle, so don’t ask your hair to deal with more chemicals right now.
C. Using Gentle Hair Care Products
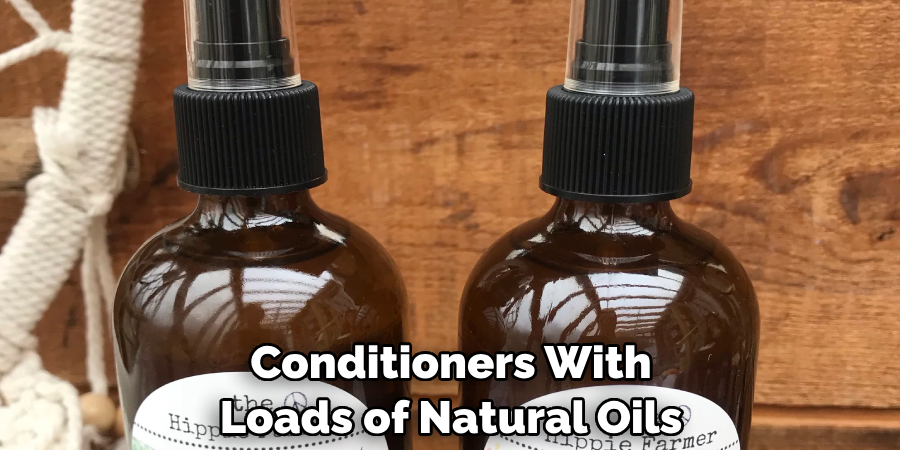
Treat your hair like it’s made of fine silk because right now, it sort of is. Swap out those harsh surfactants and chemicals for gentle, nourishing hair care products. Think of sulfate-free shampoos, conditioners with loads of natural oils, and leave-in treatments that are more soothing than a spa day. This is the hair equivalent of comfort food — it might not fix everything overnight, but it sure feels good at the moment.
How to Fix a Perm that Didn’t Take: Gentle Cleansing
Alright, folks, it’s time to talk about the art of washing your post-perm hair without turning it into a frizz ball extraordinaire. Yes, it’s possible, and yes, we’re going to master this together like we’re in some sort of hair care boot camp (but with less yelling and more nurturing vibes).
A. Washing Hair with a Mild Shampoo
First thing first, you want to find a shampoo that’s about as mild as a Saturday morning cartoon. This isn’t the time for those heavy-duty cleaners that strip oil like they’re cleaning a greasy diner grill. You want something gentle, like the shampoo equivalent of a soft puppy kiss. Look for shampoos labeled “sulfate-free” because your hair’s cranky enough without adding more insult to injury.
B. Avoiding Harsh Cleansing Agents
Steer clear of anything that sounds like it belongs in a science experiment. If you can’t pronounce it and it reminds you of the stuff you used in chemistry class, put it down. Your hair is in a “handle with care” phase, and harsh chemicals are about as far from gentle caresses as possible. Think of your hair as a delicate flower that’s just been through a hurricane. Now’s not the time for more storms.
C. Patting Hair Dry with a Towel
Once you’ve washed your hair with all the tenderness of a butterfly landing on a leaf, it’s time to dry it. But here’s the kicker: you’ve got to be gentler than a cat sneaking up on a laser pointer. Ditch the vigorous rubbing and go for a gentle pat-down. Use a soft, absorbent towel and treat your hair like it’s the fragile ego of a teenager. No rough stuff. Just a gentle dapping to get the excess water out, and then you can air dry your way to success.
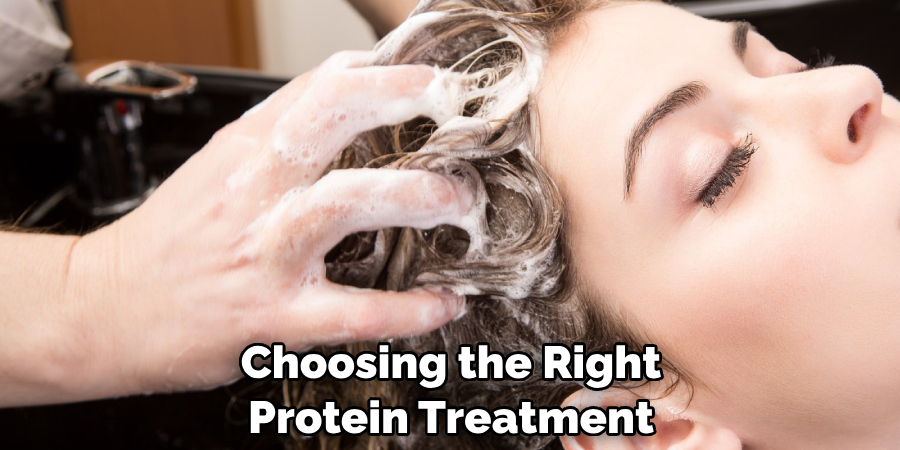
Protein Treatment
Alright, we’re moving on to the next stage of our “Operation Save the Hair”—protein Treatments! This is like the Avengers assembling for your hair, bringing in the big guns (or proteins, in this case) to rescue those locks from the brink of disaster.
A. Selecting a Protein-Rich Hair Treatment
Choosing the right protein treatment is kind of like dating—you’ve got to find the one that vibes with your hair’s personality. Look for treatments that brag about being “intensive” or “repair.” You want something that’s going to flex those protein muscles and really get down to business. Ingredients are key here; look out for keratin, collagen, or amino acids. These are the superheroes of the hair world, ready to swoop in and save the day.
B. Applying Treatment to Damp Hair
Once you have your hero-in-a-bottle, it’s showtime. After gently washing your hair with that mild shampoo (remember, the puppy kiss one), towel dry your hair so it’s just damp. Applying the treatment on damp hair is like giving your plants water on a sunny day — it just soaks right up. Slather that potion from root to tip, like you’re icing a cake with the most magical icing that will turn it into a masterpiece.
C. Following Product Instructions for Optimal Results
Now, this might come as a shocker, but those instructions on the back of the bottle? They’re actually really important. Each treatment has its own “cooking” time. Some might be a quick in-and-out, like a speed date, while others want to hang out for a while longer, maybe catch a movie. Leaving it in for the recommended time ensures your hair gets all the goodness without being overcooked. Rinse it out gently, as if you’re washing away the sins of perms past.
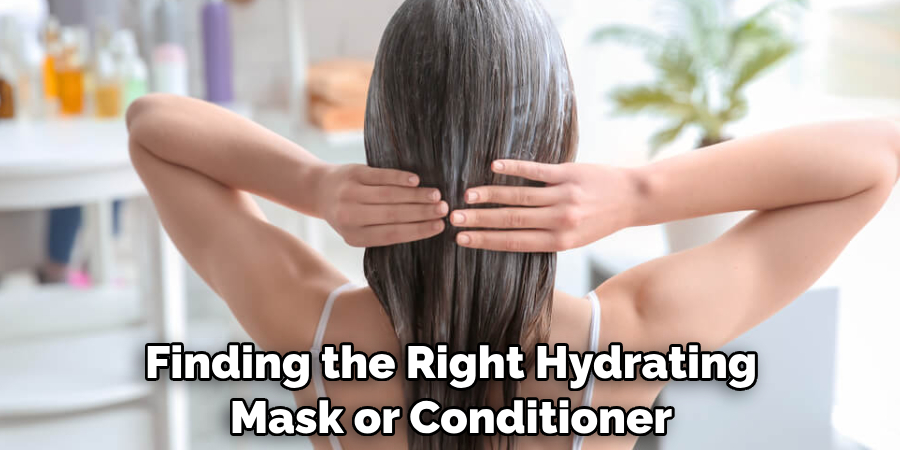
Moisture Infusion
After the protein party, it’s time to drench your hair in some serious moisture. Think of this step as the hair care equivalent of a tall glass of water after a spicy meal – absolutely essential.
A. Using a Hydrating Hair Mask or Conditioner
Finding the right hydrating hair mask or conditioner is like choosing the perfect Netflix show for a lazy Sunday – you want something that hits the spot. Look for products that promise intense hydration and are packed with ingredients like hyaluronic acid, aloe vera, or coconut oil. These ingredients are like the hydrating heroes, swooping in to quench your hair’s thirst.
B. Applying Mask from Mid-Lengths to Ends
Slapping on a hydrating mask isn’t like frosting a cupcake; you don’t want it everywhere. Start from the mid-lengths and work your way down to the ends. Why? Because your roots already get a decent amount of natural oil, and we’re not trying to turn your head into an oil slick. Treat those ends like the dry desert they are, and give them the moisture oasis they’ve been crying out for.
C. Leaving Mask on for Recommended Time
Now, patience isn’t just a virtue; it’s a necessity. Leave that mask on for however long it boldly proclaims on the back of the bottle. Whether it’s a quick 5-minute miracle or a half-hour hydration vacation, give your hair that time to absorb every drop of goodness. Rinse it out with the gentleness of summer rain, and voilà, you’re on your way to hair that’s as hydrated as a cucumber in a spa water pitcher.
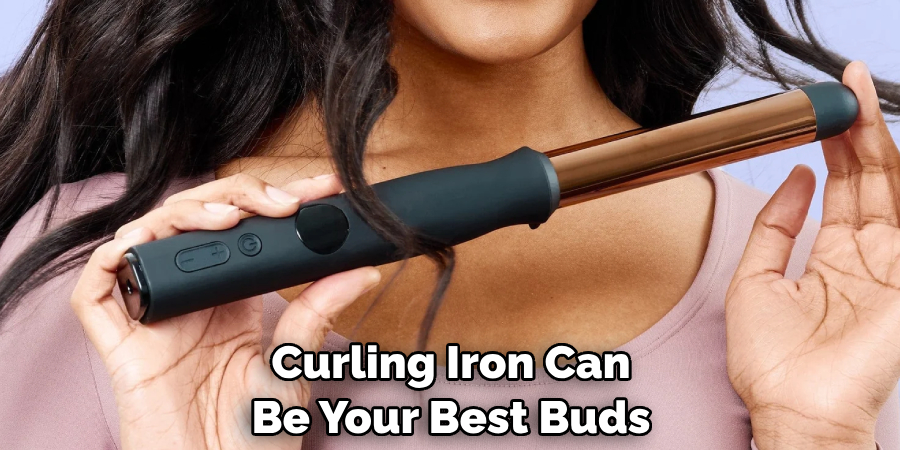
Rollers or Curling Iron
Alright, gang, after pampering your locks with all that love and care, it’s time to talk about getting those curls on point without making your hair stage a rebellion. We’re looking at you, large Velcro rollers and curling irons!
A. Using Large Velcro Rollers or Curling Iron for Loose Curls
For those days when you’re feeling a bit extra and want some va-va-voom without the drama, large Velcro rollers or a curling iron can be your best buds. Large rollers are like the lazy Sunday of hair styling – you roll ’em in, chill for a bit, and bam, you’ve got volume and waves that scream, “I woke up like this.” Prefer the curling iron route? You’re in for a treat. With a curling iron, you can sculpt those loose, beachy waves that make your hair look like it’s just had a vacation.
B. Sectioning Hair and Curling Each Section
Sectioning is not just for geometry class, folks. Whether you’re a team roller or a team curling iron, dividing your hair into sections is the secret sauce to even, beautiful curls. Think of it as organizing a closet – everything in its right place. Start from the bottom and work your way up, like climbing a hair styling ladder of success.
C. Applying Heat Protectant Before Using Heat Styling Tools
Before you introduce your hair to Mr. Hot Stuff (aka your curling iron), you gotta play it safe. Spritz on a heat protectant to shield your strands from the sizzle. This step is like the pre-game pep talk before the big game – it prepares and protects your hair, ensuring you come out a winner with lush, damage-free curls.
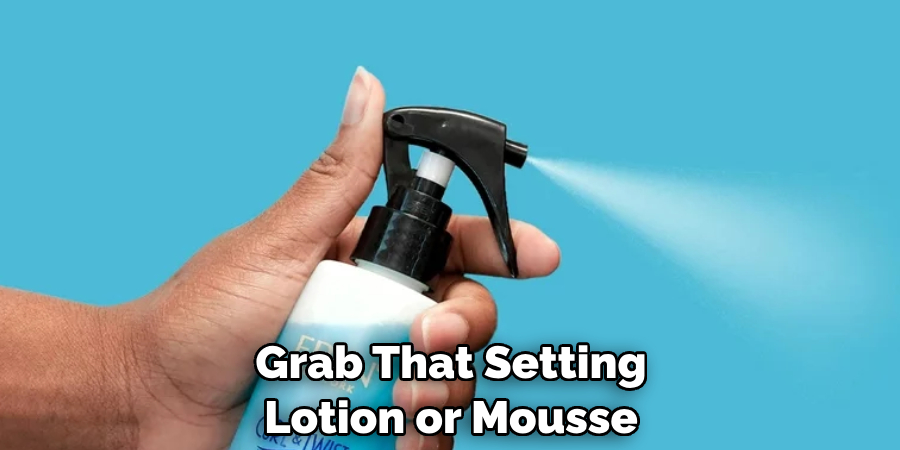
Setting Lotion or Mousse
Welcome to the final frontier in our hair-taming odyssey – the world of Setting Lotion and Mousse! This is where we lock in all that hard work and ensure your mane stays as fabulous as your personality. It’s like putting the cherry on top of the sundae, except it’s your hair and not a dessert (sorry if you’re hungry now).
A. Applying Setting Lotion or Mousse to Damp Hair
After all that washing, treating, and moisturizing, your hair is primed for the pièce de résistance. With your hair damp and your enthusiasm at an all-time high, it’s time to grab that setting lotion or mousse. Think of this product as the Hogwarts letter your hair has been waiting for – it’s about to go on a magical journey. Squirt a dollop (technical term) into your hand and get ready for some action.
B. Distributing Product Evenly Using Fingers or Comb
Now, slathering that potion onto your locks isn’t a free-for-all. You’ve got to be strategic, like a general plotting their next move. Use your fingers or a comb to distribute the product evenly through your hair. Imagine you’re a maestro conducting an orchestra, but instead of music, you’re creating hair harmony. The goal here is to avoid globs of product congregating like tourists and ensure every strand gets VIP treatment.
C. Allowing Hair to Air Dry or Using a Diffuser Attachment
Once your hair is basking in the glow of well-distributed setting lotion or mousse, you’ve got options. If you’re in the “patience is a virtue” camp, you can air-dry your way to greatness, letting nature do its thing while you sip a well-deserved cuppa. But, if you’re more the “I’ve got places to be” type, grab that hairdryer and slap on a diffuser attachment. This bad boy will help you dry your locks without turning them into a poodle’s nightmare. Think of it as using a cheat code for perfectly set, frizz-free hair.
Monitoring Results
Now that you’ve embarked on this epic hair revolution, it’s critical to keep an eye on the fruits of your labor. Just like a reality TV show, the drama unfolds in the aftermath.
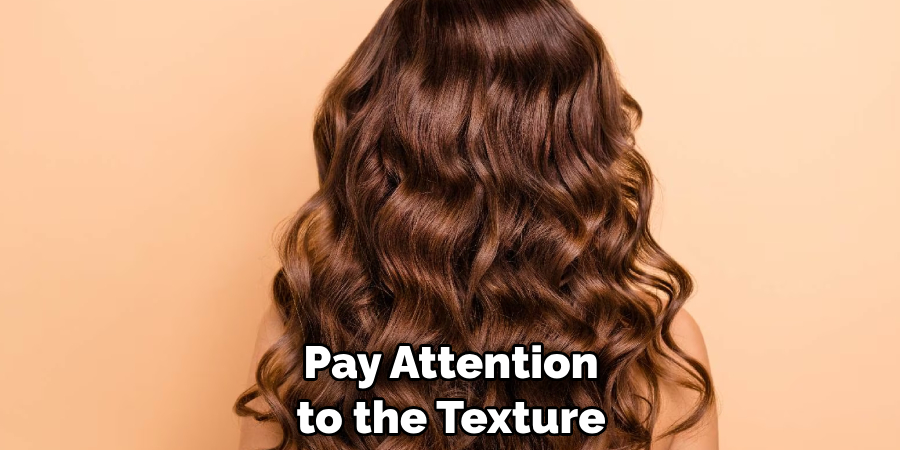
A. Observing Curl Formation and Texture
First up, it’s time to play detective with your curls. Do they bounce with the joy of a kid in a candy store, or are they drooping like they’ve just heard the ice cream truck drive away? The goal here is to see if your hair’s responding to your efforts with the enthusiasm of a cheerleader or if it’s more like a moody teenager. Pay attention to the texture, too. Are your strands silkier than a smooth jazz tune or feeling a bit more like a rugged burlap sack?
B. Noting Hair Condition and Manageability
Next, assess the overall condition and manageability of your mane. Is your hair easier to style than deciding on a Netflix movie on a Friday night, or is it putting up a fight like a toddler in the candy aisle? Your key indicators are softness, shine, and ease of combing through those luscious locks. This step is like a relationship status update with your hair – “It’s complicated,” “Smooth sailing,” or “Madly in love.”
C. Adjusting Hair Care Routine as Needed
After gathering all your intel, it’s time for the big decision – stick or twist. If your hair’s singing your praises, you might just keep on keeping on. But if it’s more of a case of “thanks, but no thanks,” then go back to the drawing board. Maybe those large Velcro rollers aren’t your true calling, or perhaps your hair’s thirsting for a different kind of moisture. The beauty of this quest? It’s all trial and error. Adjust your potions, tweak your timings, or even switch up your tools until your hair starts behaving like the best friend you never knew you needed.
Follow-Up Care
Here’s the deal – you’ve primped, preened, and possibly preached to your hair about behaving. What’s next? Maintaining that mane masterpiece is key. Welcome to the glam squad’s guide to follow-up care!
A. Continuing with Protein Treatments and Moisturizing Masks
Every great hair saga includes a chapter or two on protein treatments and moisturizing masks. Think of them as your hair’s personal bodyguards, fending off the baddies (a.k.a. damage) and keeping everything lush. Incorporate protein treatments to strengthen your hair’s foundation and moisturizing masks to keep it hydrated. It’s like feeding your hair a balanced diet – but please, no cheeseburgers.
B. Avoiding Overprocessing Hair in the Future
Listen, we’ve all been there. A little dye here, a smidge of bleach there, and bam – your hair’s having a meltdown. Keep the chemical love affairs to a minimum, okay? Overprocessing is the fast track to Drama City, and nobody wants a passport stamp from there. Show some TLC and give your hair a break. It’s not you, it’s me – remember?
C. Maintaining Healthy Hair with Regular Trims
Last on the list, but definitely not least – keep those trims regular. It’s not just about eliminating split ends; it’s about keeping your hair looking intentional, not like you’re auditioning for a wilderness survival show. A trim every now and again keeps your hair looking fresh and avoids the dreaded scissor-avoidance syndrome. Regular trims are like refreshing your browser – suddenly, everything’s smooth and fast again.
Conclusion
In this hair-raising adventure on how to fix a perm that didn’t take, we’ve explored the art and science behind rescuing your curls. Starting with a deep-conditioning treatment, we dove headfirst into the realms of applying setting lotion or mousse, opted for air drying or using a diffuser, and kept a hawk’s eye on curl formation and hair condition. Not forgetting, we’ve sprinkled in some TLC with protein treatments and regular trims along the way.
Patience, my dear Watsons of the hair world, is the secret sauce in this endeavor. Letting your hair find its groove after a perm mishap like watching paint dry requires a Zen-like calm. Combine this with gentle hair care practices—think of them as a soft lullaby for your locks—and you’re on the right path. Abrasive treatments and harsh chemicals are your hair’s nemesis, about as welcome as socks with sandals.
Finally, nailing that ‘just stepped out of a salon’ look, post-perm-gone-wrong boils down to dedication and the right maintenance strategy. Whether it’s adjusting your routine, finding the right product mix, or simply giving your hair the time to heal, remember: Rome wasn’t built in a day, and neither is perfect hair. Achieving the desired results isn’t just about fixing a wayward perm; it’s a testament to the wonders proper hair care and maintenance can do.
About the Author
Jane Hubbard is a passionate beauty expert with a wealth of experience in makeup, hair, and overall beauty techniques. After years of working as a hairdresser specialist, she followed her entrepreneurial spirit and started her own consultancy business.
Jane has always been driven by her desire to help others feel confident in their own skin, and she does this by sharing her knowledge, experiences, and practical beauty tips. Through her consultancy, she empowers individuals to embrace their unique beauty, offering tailored guidance that boosts both self-esteem and personal style.
Professional Focus
Specializes in makeup, hairstyling, and beauty consulting.
Provides personalized beauty advice, tips, and techniques to help individuals feel confident in their appearance.
Dedicated to staying up-to-date with the latest industry trends and developments.
Passionate about creating a comfortable and empowering experience for every client.
Education History
University of Craft and Design – Bachelor of Fine Arts (BFA) in Woodworking and Furniture Design
Woodworking Apprenticeships – Extensive hands-on training with skilled craftsmen to refine carpentry and furniture making techniques
Online Courses & Masterclasses – Continued education in advanced woodworking techniques, design principles, and specialized tools
Expertise:
Makeup artistry, hairstyling, and beauty consulting.
Personalized beauty techniques to enhance confidence and self-expression.
Educating clients on how to maintain their beauty routines at home.