
Are you looking to spruce up your craft collection and make it something unique? Are your felt-tip eyeliner pens looking a little worse for wear? Has the ink dried up, leaving them as dry, empty tubes of disappointment? Felt tip eyeliner can be used for a variety of creative projects like customizing jewelry, creating art pieces, making costumes, and beautifying everyday items.
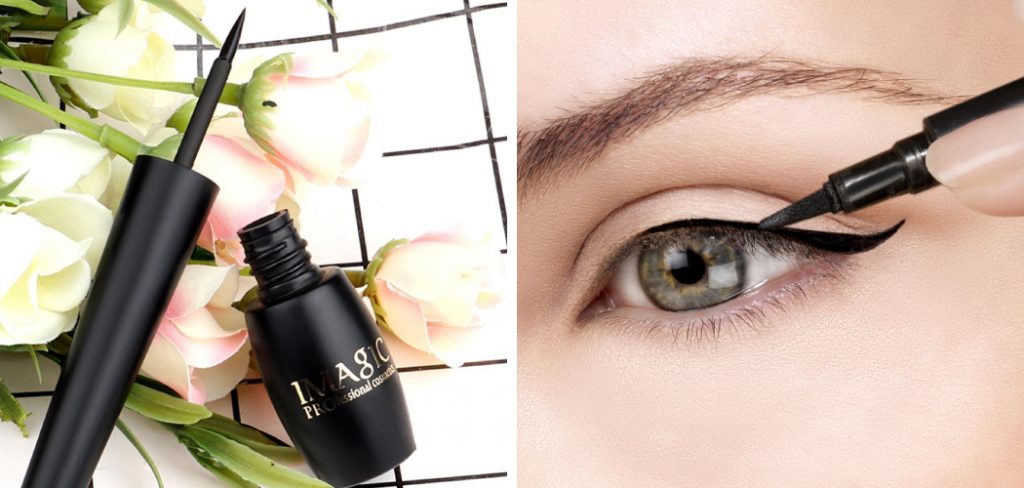
But what happens when the product dries out or doesn’t come out as smoothly as when you first purchased them? Don’t worry—we have all the tips and tricks on and get back to crafting with ease! So if you’re trying to make the most out of your craft materials without breaking the bank on replacements, keep reading to learn how to fix dried out felt tip eyeliner!
Why Does Felt Tip Eyeliner Dry Out?
1. Absorb Ink Quickly
Felt tip eyeliner can be a great tool to create detailed and precise lines, but they are also prone to drying out. This is because the felt tip absorbs ink quickly and can become dried out when not in use for some time. Additionally, using an eye makeup remover or an oil-based makeup remover can break down the ingredients of the pen tip, leading to a dry, unusable product.
2. Incorrect Storage
Storing the eyeliner pens in a dry, warm environment can also contribute to drying them out over time. Make sure you check that your storage area is not too humid or hot and that it’s free from direct sunlight. Additionally, placing them in an upright position can help prevent leakage and preserve the ink.
Things to Consider While Fixing Dried Out Felt Tip Eyeliner
1. Check the Ink
Before trying to fix a dried-out pen, make sure the ink is actually gone and not just clogged in the tip. To do this, gently squeeze the body of the pen and see if any color comes out. If it does, then your eyeliner is not completely dry!
2. Don’t Force the Tip
When attempting to revive your felt tip eyeliner, avoid pushing down hard on the pen tip. This can cause it to break and make it even harder to fix. Instead, gently press against the tip with light pressure, allowing any dried-up ink or particles to be dislodged.
Required Items
- Rubbing Alcohol
- Hot Water
- Hairdryer
- Re-Inking
10 Instructions on How to Fix Dried Out Felt Tip Eyeliner
1. Gather Supplies
Begin by gathering the materials you will need: felt tip eyeliner, a small bowl of warm water, a cotton swab or Q-tip, and a paper towel. Also, you may want to have a towel handy in case of any messes. Don’t forget to check the expiration date on your eyeliner before continuing.
2. Dip Eyeliner in Warm Water
Submerge the felt tip of your eyeliner into the warm water for about 10-15 seconds. This will help to soften and hydrate it, allowing you to use it again with ease. Dip the eyeliner multiple times in small increments if it does not appear to be softening up.
3. Swab Tip with Cotton Swab or Q-Tip
Once your felt tip is soft and pliable, use a dampened cotton swab to remove any excess water and soften the tip even further. Be sure to move the swab in soft circular motions, avoiding any harsh scrubbing which may cause damage to the tip.
4. Wipe Away Excess Water
Once you have softened and hydrated your felt tip eyeliner, take a paper towel or other absorbent material and wipe away any excess water. This will help ensure that your product is properly prepared for application.
5. Test Eyeliner
Once your eyeliner has been rehydrated and softened, you can test it out on a piece of paper or the back of your hand to make sure that it is working correctly. This will allow you to see if any additional steps are necessary before applying it around your eyes.
6. Shake Out Excess Liquid
Before applying your eyeliner, try shaking out any excess liquid that may have been collected in the tip of the felt pen. This will help to ensure that you maintain control over your application and don’t end up with a runny or smudged line.
7. Apply Eyeliner
After shaking out any excess water, you can now apply your eyeliner as usual. Take your time and make sure that the lines are even and neat. If necessary, use a dampened Q-tip to help smudge the edges of your line for a more natural look.
8. Clean Up the Application Area
Once you are finished applying your eyeliner, make sure to clean up your area. This will help prevent any smudging or smearing of the product and keep it looking fresh and crisp. Cleaning up also helps prevent any bacteria from accumulating and causing an eye infection.
9. Store Eyeliner Properly
When not in use, it is important to store your felt tip eyeliner properly. The best way to do this is by keeping it capped and stored away from direct sunlight or heat sources such as a window or heater vent.
10. Replace If Necessary
If, after multiple attempts your felt tip eyeliner still does not seem to be working properly, it may be time to replace it with a new one. Make sure to check the expiration date on your product before purchasing a replacement. A dried-out or expired eyeliner can cause irritation and infections if used around the eyes.
By following these steps, you can make sure that your felt tip eyeliner is properly rehydrated and ready to use for an even and long-lasting application. With a little bit of care and attention, you can keep your eyeliner looking beautiful and fresh all day long!
8 Maintenance Tips for Felt Tip Eyeliners
If you want to have a perfect eyeliner look, then it is important to take care of your felt-tip eyeliners. Here are 8 useful tips on how to maintain them:
1. Always store your eyeliner in a cool and dry place away from sunlight or heat. This will help prolong its lifespan. Otherwise, the ink inside could dry out quickly. Also, keep the pen in an upright position to prevent ink from leaking out.
2. Make sure to always close the cap of your eyeliner after use. This will help lock in the moisture and ensure that it does not dry out too quickly. Close the cap tightly to keep it airtight.
3. When you’re not using your felt tip eyeliner, store it in a refrigerator. This is especially helpful for maintaining its consistency and keeping the ink from drying out too quickly. Eyeliner pens stored in the fridge can last for up to 6 months.
4. Avoid shaking your felt tip eyeliner as this could create air bubbles and ruin its consistency. This is especially important when you’re trying to apply a precise line or winged liner look. Avoid putting too much pressure on the tip while you’re drawing your line.
5. When your felt tip eyeliner starts to dry out, you can dip it in a bit of warm water for a couple of minutes before wiping off any excess liquid with a tissue. This should help the ink flow more easily and make it easier to use again.
6. You can also try adding a few drops of eye drops into the eyeliner pen if it is completely dry. This will help bring life back to your felt-tip eyeliner and make it easier to apply. Trying this a few times should help get the ink flowing again.
7. If your felt tip eyeliner is still not working after trying out these tips, then it may be time to discard it and get a new one. This will ensure that you’re able to achieve the desired look without any hassles.
8. Make sure to always check the expiration date of your felt tip eyeliners before buying them so that you don’t end up with a dry pen in the future. This will help ensure that you get the best quality product and use it for as long as possible.
By following these 8 tips, you should be able to keep your felt tip eyeliner in top condition and maintain the perfect eyeliner look all the time. So, next time you’re trying to fix your dried-out felt tip eyeliner, follow these helpful tips!
Conclusion
Crafting is incredibly rewarding, offering an opportunity to become creative and express yourself. Fixing dried-out felt tip eyeliners doesn’t have to break the bank and can be a simple fix in just a few minutes of time. With the improved color that can last skin deep, sometimes quick solutions like this are definitely worth exploring when looking for the right eyeliner choice.
Whether you appreciate the convenience of a felt-tip liner or enjoy having maximum control over your winged liner look, great eyeliner results start with finding and maintaining the softness of your product. Hopefully, with these tips on how to fix dried out felt tip eyeliner in mind, you’ll feel comfortable knowing how to keep your felt tip liners in perfect condition for whenever you need them! So grab your craft item and start creating beautiful eye looks today!
About the Author
Jane Hubbard is a passionate beauty expert with a wealth of experience in makeup, hair, and overall beauty techniques. After years of working as a hairdresser specialist, she followed her entrepreneurial spirit and started her own consultancy business.
Jane has always been driven by her desire to help others feel confident in their own skin, and she does this by sharing her knowledge, experiences, and practical beauty tips. Through her consultancy, she empowers individuals to embrace their unique beauty, offering tailored guidance that boosts both self-esteem and personal style.
Professional Focus
Specializes in makeup, hairstyling, and beauty consulting.
Provides personalized beauty advice, tips, and techniques to help individuals feel confident in their appearance.
Dedicated to staying up-to-date with the latest industry trends and developments.
Passionate about creating a comfortable and empowering experience for every client.
Education History
University of Craft and Design – Bachelor of Fine Arts (BFA) in Woodworking and Furniture Design
Woodworking Apprenticeships – Extensive hands-on training with skilled craftsmen to refine carpentry and furniture making techniques
Online Courses & Masterclasses – Continued education in advanced woodworking techniques, design principles, and specialized tools
Expertise:
Makeup artistry, hairstyling, and beauty consulting.
Personalized beauty techniques to enhance confidence and self-expression.
Educating clients on how to maintain their beauty routines at home.