
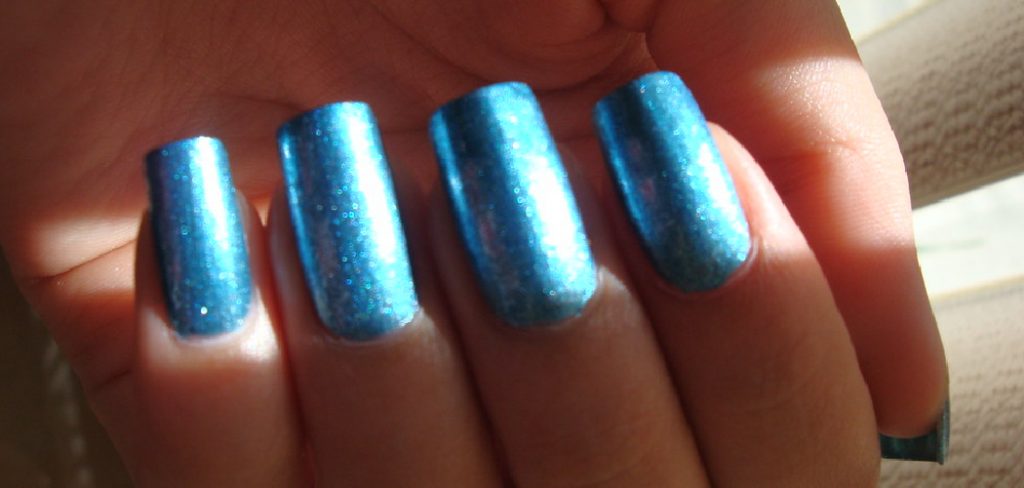
Are you sick of streaky nails that just won’t look perfect? Do you feel like no matter how hard you try, it’s impossible to get a good finish without spending hours on each nail? You’re not alone. Many people struggle with streaky nail polish, but the good news is it can be fixed!
In this blog post, we’ll cover everything from what could be causing your nails to appear streaky and some handy tips and tricks on how to fix streaky nail polish – without having to start all over again. So if you want to keep those beloved gel polishes looking their best read on; we’ve got all the answers here.
Step by Step Guidelines on How to Fix Streaky Nail Polish
Step 1: Identify the Problem
The first step is to identify what could be causing your nails to appear streaky. This can include an uneven application, too much product, dry or oily nails, and the type of polish you are using. Identifying the cause of the problem can help you find a solution quickly.
Step 2: Buff Your Nails
Buffing your nails can help to even out any streaks and create a smooth base for your polish. Use a nail buffer with fine grain on it, gently buff away until all imperfections are gone and then use a clean, lint-free cloth to remove the buffing residue. While buffing, make sure not to press too hard and avoid getting too close to your cuticles.
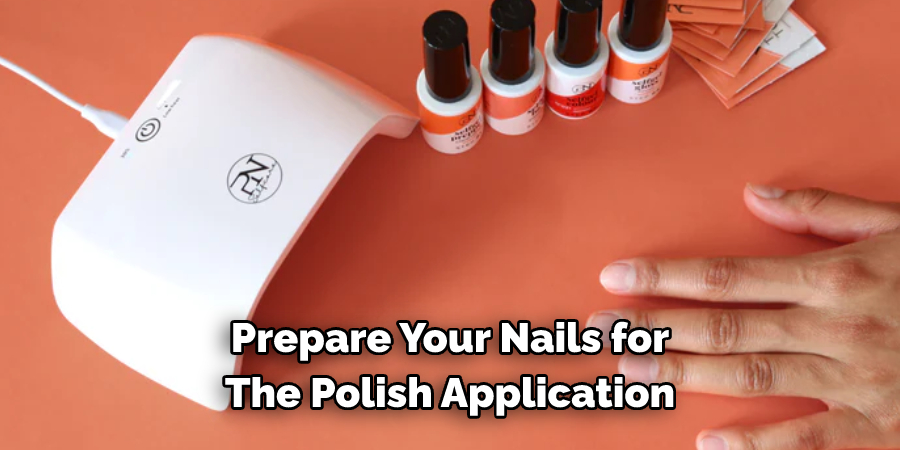
Step 3: Prepare the Nails
Next up, you need to properly prepare your nails for the polish application. Start by washing them with mild soap and warm water, then dry them with a lint-free cloth. To ensure maximum adhesion, use an alcohol-based nail cleanser or rubbing alcohol to remove any oily residue. Nails with any remaining oils will cause the polish to appear streaky.
Step 4: Apply a Base Coat
Applying a base coat is essential to prevent your nails from looking streaky. This will create an even surface for applying the polish and help it adhere properly. Make sure to apply the basecoat in thin, even layers and let it dry completely before applying the color. Applying it too thickly can cause bubbles to form, resulting in streaky nails.
Step 5: Apply a Thin Layer of Polish
It’s important to apply thin layers when you’re painting your nails. Thick layers will cause the polish to appear streaky and can make it difficult to achieve an even finish. Start with one thin layer, and if needed, apply more until you have reached your desired coverage. Don’t forget to let each layer dry before you apply the next one.
Step 6: Clean Up any Mistakes
Once you’ve finished applying your polish, use a brush dipped in nail polish remover or rubbing alcohol to clean up any mistakes around the edges of your nails. This will help give them a clean and polished look. Cleaning up around the edges while the polish is still wet will be much easier than if you wait for it to dry.
Step 7: Seal with a Topcoat
To finish off your manicure, apply a top coat to seal in your polish and give it a glossy shine. This will also help protect your nails from chipping or fading in the future. Make sure to apply this layer thinly and evenly for the best results.
Following these steps will help ensure you get the perfect finish every time. Just remember to take your time, and don’t be afraid to practice before applying it to your nails. With a little patience, you’ll soon be able to create flawless manicures with no streaky mess! Good luck!
Additional Tips and Tricks to Fix Streaky Nail Polish
1. Use a nail art brush to add extra polish over streaks and smudges. Carefully dip the bristles of the brush into a bottle of nail polish, then use it to fill in areas with streaky or uneven coverage.
2. Avoid using too much pressure when applying the brush strokes as this can cause additional streaks or mess up the design.
3. To evenly spread out the polish, use a cotton swab and dip it into nail polish remover. Lightly dab the swab over the areas with streaky nail polish to smooth them out.
4. For thick nail polishes that tend to cause streaking, use a nail art tool or cuticle pusher to scrape off any excess polish before it dries.
5. Make sure that the nails are completely dry before applying a top coat, as this can cause streaking and other imperfections. Additionally, apply thin coats of topcoat instead of one thick layer to avoid streaking.
6. Allow the nails to dry for a few minutes in between layers of polish, as this will help prevent streaking.
7. When all else fails, try covering up streaky nail polish with some glitter or nail art accent pieces to draw attention away from any imperfections. This can add a fun and creative touch to your manicure.
Following these tips and tricks can help you achieve the perfect manicure without any streaking or smudging. With practice, you’ll be able to apply your nail polish with precision and create flawless looks that last all day long. Good luck!
Things You Should Consider to Fix Streaky Nail Polish:
1. Make sure the nail polish is not too old. Old nail polish may be too thick and can lead to streaky application.
2. Check your brush technique. The key to a perfect, even coat of nail polish lies in the brushstroke. Dip the brush into the bottle just enough so that it’s wet, but not dripping. When applying, use a light touch and start in the middle of the nail, sweeping toward one side until you reach the edge. Next stroke over to the other side until you reach the edge there as well. Do this for all nails on one hand before switching hands.
3. Prepare your nails properly before painting. This is an important step that often gets overlooked. Before you start painting your nails, make sure to wipe them down with a cotton pad soaked in nail polish remover to remove any dirt and oils that can prevent the polish from adhering properly.
4. Use thin coats of polish and allow each layer to dry completely before applying the next. The more layers you apply, the streakier it will look. Instead, use thin coats and let them dry in between applications. This can be done more quickly using a nail polish drying spray or an LED lamp.
5. If all else fails, consider redoing your manicure with a different brand of nail polish that is of a higher quality. Streaky nail polish may be due to the poor formula, so it may be worth investing in a better brand that offers more even coverage.
By following these tips you should have no problems achieving the perfect manicure. With a bit of practice and patience, your nails will look smooth and glossy every time!
Frequently Asked Questions
What is the Best Way to Fix Streaky Nail Polish?
The best way to fix streaky nail polish is to apply a thin coat of clear topcoat before the color coat. This will help create an even layer and prevent streaks from appearing. You can also try using a fast-drying topcoat, which will help your polish dry faster and help to prevent streaks as well.
What Causes Streaky Nail Polish?
Streaky nail polish can be caused by a number of factors, including applying the color coat too quickly or in too thick of a layer. Additionally, you may have used a topcoat that does not properly protect against streaks.
How Can I Avoid Streaky Nail Polish in the Future?
The best way to avoid streaky nail polish is to take your time when applying the coats. Make sure to apply thin, even layers of color and topcoat, and use a fast-drying topcoat that will help prevent streaks. Additionally, make sure to wait long enough between coats so that the polish can fully dry before applying another layer. Finally, keep your nails free from oil or lotion so that the color and topcoat will adhere properly.
Is There a Way to Fix Streaky Nail Polish After It Has Already Dried?
Unfortunately, there is no way to fix streaky nail polish once it has already dried. The best way to avoid this problem is to take extra care when applying the coats and use a fast-drying topcoat.
Conclusion
Knowing how to fix streaky nail polish can help keep your nails looking beautiful and flawless. Taking your time when applying the coats, using a fast-drying topcoat, and avoiding oil and lotion on your nails can all go a long way in preventing streaky nail polish.
If you find yourself with streaky nail polish anyway, unfortunately, there is no way to fix it after it has already dried. However, knowing the steps to take to prevent it in the future can help keep your nails looking perfect!
About the Author
Jane Hubbard is a passionate beauty expert with a wealth of experience in makeup, hair, and overall beauty techniques. After years of working as a hairdresser specialist, she followed her entrepreneurial spirit and started her own consultancy business.
Jane has always been driven by her desire to help others feel confident in their own skin, and she does this by sharing her knowledge, experiences, and practical beauty tips. Through her consultancy, she empowers individuals to embrace their unique beauty, offering tailored guidance that boosts both self-esteem and personal style.
Professional Focus
Specializes in makeup, hairstyling, and beauty consulting.
Provides personalized beauty advice, tips, and techniques to help individuals feel confident in their appearance.
Dedicated to staying up-to-date with the latest industry trends and developments.
Passionate about creating a comfortable and empowering experience for every client.
Education History
University of Craft and Design – Bachelor of Fine Arts (BFA) in Woodworking and Furniture Design
Woodworking Apprenticeships – Extensive hands-on training with skilled craftsmen to refine carpentry and furniture making techniques
Online Courses & Masterclasses – Continued education in advanced woodworking techniques, design principles, and specialized tools
Expertise:
Makeup artistry, hairstyling, and beauty consulting.
Personalized beauty techniques to enhance confidence and self-expression.
Educating clients on how to maintain their beauty routines at home.