
The pursuit of a perfect makeup application almost always begins with the base. A smooth, even, and radiant complexion is the canvas upon which all other makeup—blush, eyeshadow, lipstick—is built. Yet, achieving that coveted airbrushed finish can feel like an elusive art form. Many struggle with foundation that looks cakey, settles into fine lines, or separates by midday. The secret, however, is not about piling on more product. It is about a thoughtful, step-by-step process that emphasizes skin preparation and strategic application. This guide will demystify the process and provide a clear, beginner-friendly roadmap. You will learn how to get flawless base makeup by focusing on technique over trends, ensuring your skin looks like its best version, only enhanced.
Achieving a flawless base is not just about the products you use but how you use them. Proper skin care plays a pivotal role in ensuring your makeup sits beautifully all day long. Understanding your skin type, preparing it correctly, and layering products thoughtfully can make a world of difference. This approach not only enhances the longevity of your makeup but also highlights your natural beauty in a way that looks effortless and radiant.
How to Get Flawless Base Makeup: A Step-by-Step Guide
Step 1: Prep the Skin with Proper Skincare
The most crucial step to a perfect base happens before you even touch a makeup brush. Makeup can only look as good as the skin underneath it, so a consistent skincare routine is non-negotiable. Start by cleansing your face to remove any dirt or oil. Next, gently exfoliate to slough away dead skin cells that can cause a patchy, uneven texture. Following that, apply a hydrating serum to plump the skin and finish with a moisturizer suited to your skin type—a lightweight gel for oily skin or a richer cream for dry skin. This preparation creates a smooth, hydrated canvas that grips makeup better and prevents it from clinging to dry patches or separating on oily areas.

Step 2: Use a Targeted Primer
Think of primer as the bridge between your skincare and your makeup. It is designed to address specific skin concerns and dramatically improve the longevity and appearance of your foundation. If you have oily skin and visible pores, a mattifying or pore-filling primer will create a smooth, shine-free surface. For those with dry or dull skin, an illuminating or hydrating primer will impart a healthy, dewy glow from within. Apply a pea-sized amount with your fingertips, focusing on the areas where you need it most, like the T-zone for oil control or the high points of your face for radiance. This single step ensures your foundation applies more evenly and lasts significantly longer throughout the day.
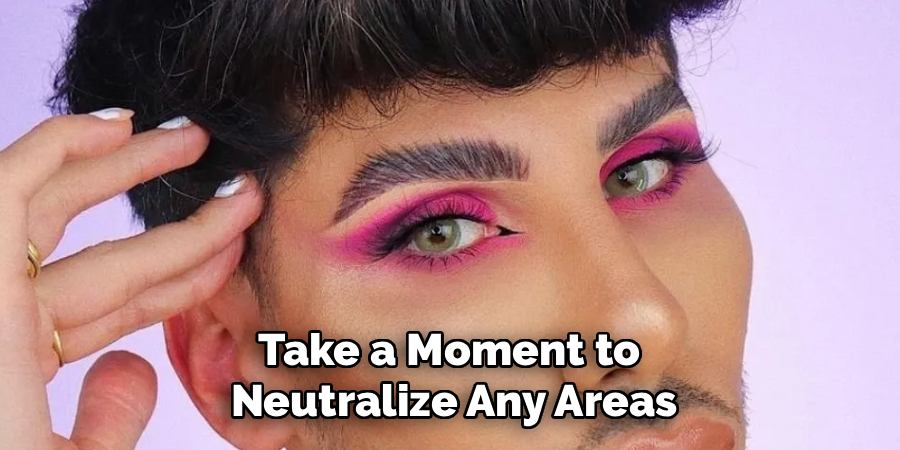
Step 3: Color Correct for an Even Tone
Before applying foundation, take a moment to neutralize any areas of discoloration. This is where color correcting comes in. This technique uses the principles of color theory to cancel out unwanted tones on the skin. A green-tinted corrector is used to neutralize redness from blemishes or rosacea. A peach or orange corrector works wonders to cancel out blue or purple tones found in dark under-eye circles. Apply a very thin layer of the corrector only on the specific area of concern and gently blend it out. By neutralizing discoloration first, you will find you need to use far less foundation and concealer overall, which is a key secret for how to get flawless base makeup.
Step 4: Apply Foundation with the Right Tools
Now it is time for the main event: foundation. The key is to start with a small amount of product and build coverage only where you need it. Dot the foundation on your forehead, cheeks, nose, and chin. For application, a damp makeup sponge is excellent for a natural, skin-like finish. Use stippling or bouncing motions to press the product into the skin rather than wiping it. If you prefer more coverage, a dense foundation brush can be used to buff the product in using small, circular motions. Always blend the foundation down your neck and onto your ears to avoid a visible line of demarcation. Remember that the goal is to even out your skin tone, not to create a mask.
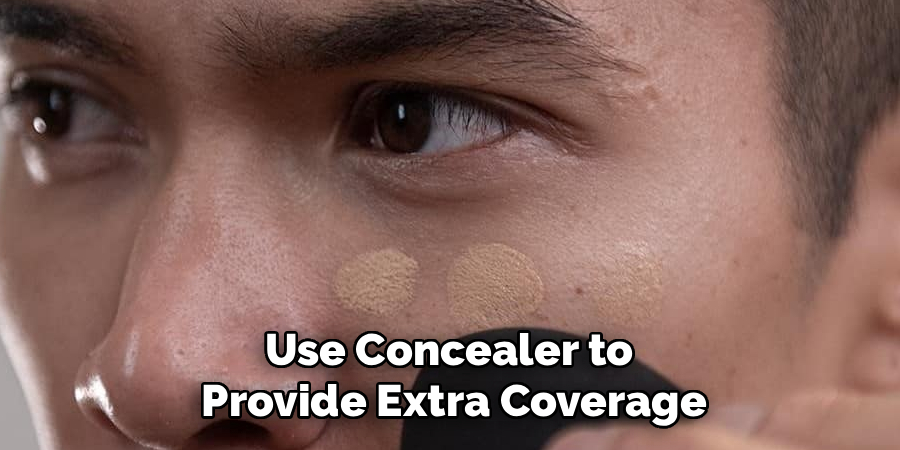
Step 5: Conceal and Brighten Strategically
After your foundation has evened out the overall skin tone, use concealer to provide extra coverage on specific spots. Use a high-coverage concealer that matches your foundation shade to dot over any remaining blemishes or areas of redness. Gently tap it in with your finger or a small brush until it melts into the foundation. To brighten the face, choose a concealer that is one to two shades lighter than your skin tone. Apply it to the inner and outer corners of your under-eye area, the center of your forehead, and down the bridge of your nose. This technique adds dimension back to the face and creates a lifted, more awake appearance.
Step 6: Set Your Makeup with Powder
To lock all your hard work in place and control shine, you must set your liquid and cream products with powder. For a truly seamless finish, a finely milled translucent setting powder is your best option. If you have oily skin, use a powder puff to press the powder into your T-zone and under your eyes—a technique known as “baking” that provides maximum staying power. For those with dry skin, a light dusting of powder with a large, fluffy brush will suffice to set the makeup without making it look flat or dry. This step is a critical element of learning how to get flawless base makeup as it prevents creasing and ensures your look lasts all day.
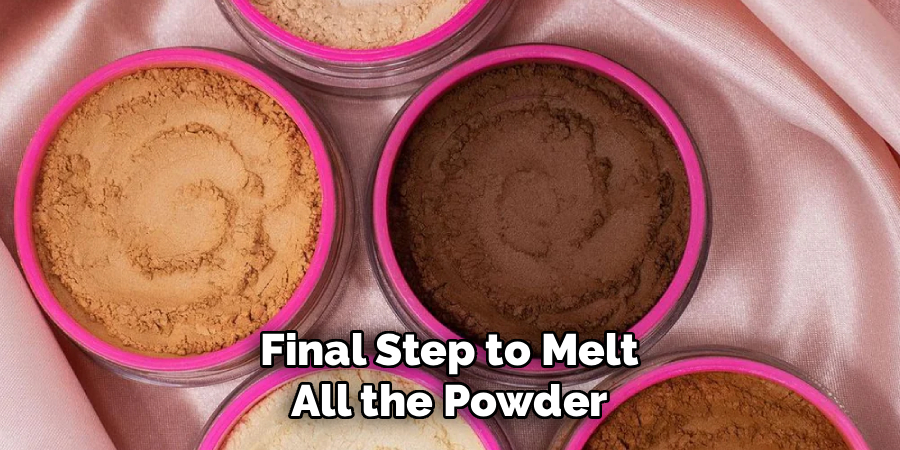
Step 7: Finish with a Setting Spray
The final step to melt all the powder and liquid layers together for a truly skin-like finish is a setting spray. This magical mist rehydrates the makeup, removes any powdery look, and locks everything in place for hours. Hold the bottle about eight to ten inches from your face and spritz it in an “X” and “T” formation to ensure you cover your entire face evenly. If you want a dewy look, choose a radiant setting spray. If you need maximum oil control, opt for a mattifying formula. Let the spray air dry completely without touching your face, and you will be left with a flawless, durable base that looks like it has been professionally applied.
Frequently Asked Questions
Should My Concealer Be Lighter Than My Foundation?
It depends on its purpose.
- For Blemishes: To cover spots or redness, your concealer should be an exact match to your foundation shade so it blends in seamlessly.
- For Brightening: To lift and highlight areas like your under-eyes, choose a concealer that is one to two shades lighter than your foundation. Using a light concealer on a blemish will only draw more attention to it.
Why Does My Foundation Look Cakey or Heavy?
This is usually caused by two things: too much product or improper skin prep. Always start with a small amount of foundation and build it up only in the areas where you need more coverage. Additionally, if your skin is dry and not properly exfoliated and moisturized, the foundation will cling to dry patches, creating a heavy, textured look.
What Is the Difference Between Setting Powder and Finishing Powder?
- Setting Powder: Its primary job is to “set” your liquid and cream makeup (foundation, concealer) to prevent it from moving, creasing, and to control oil. It is essential for longevity.
- Finishing Powder: This is used as a final step to blur the appearance of pores and fine lines, giving the skin an airbrushed look. It is more about perfecting the texture than setting the makeup.
How Do I Find the Right Foundation Shade for My Skin?
The best way to find a perfect match is to test shades along your jawline, not your hand or wrist, as the skin color there is different. Choose three shades that look close, and swatch them in vertical lines on your jaw. The shade that disappears into your skin is the correct one. It is also important to check the match in natural daylight to get the most accurate assessment.
How Can I Stop My Makeup from Settling into Fine Lines?
Proper preparation and setting are key. First, ensure your skin is well-hydrated, as dry skin can make lines more prominent. Use a primer to create a smoother canvas. When applying foundation and concealer, use thin layers. Finally, set the makeup in those areas immediately with a finely milled translucent powder, pressing it in with a damp sponge to lock it in place before it has a chance to crease.
Conclusion
Creating a flawless makeup base is less about having perfect skin and more about mastering the right techniques. It all starts with a commitment to skincare, creating a hydrated and smooth canvas. From there, the strategic layering of primer, color corrector, foundation, and concealer works to even out tone and add dimension without looking heavy. Finally, setting your work with powder and a finishing spray ensures that your masterpiece lasts all day.
The journey to a perfect complexion is a process of refinement, not concealment. Now that you have a comprehensive understanding of how to get flawless base makeup, you can approach your routine with confidence, ready to create a radiant, long-lasting look that enhances your natural beauty.
About the Author
Jane Hubbard is a passionate beauty expert with a wealth of experience in makeup, hair, and overall beauty techniques. After years of working as a hairdresser specialist, she followed her entrepreneurial spirit and started her own consultancy business.
Jane has always been driven by her desire to help others feel confident in their own skin, and she does this by sharing her knowledge, experiences, and practical beauty tips. Through her consultancy, she empowers individuals to embrace their unique beauty, offering tailored guidance that boosts both self-esteem and personal style.
Professional Focus
- Specializes in makeup, hairstyling, and beauty consulting.
- Provides personalized beauty advice, tips, and techniques to help individuals feel confident in their appearance.
- Dedicated to staying up-to-date with the latest industry trends and developments.
- Passionate about creating a comfortable and empowering experience for every client.
Education History
- University of Craft and Design – Bachelor of Fine Arts (BFA) in Woodworking and Furniture Design
- Woodworking Apprenticeships – Extensive hands-on training with skilled craftsmen to refine carpentry and furniture making techniques
- Online Courses & Masterclasses – Continued education in advanced woodworking techniques, design principles, and specialized tools
Expertise:
- Makeup artistry, hairstyling, and beauty consulting.
- Personalized beauty techniques to enhance confidence and self-expression.
- Educating clients on how to maintain their beauty routines at home.