

Spilling nail polish on your favorite blanket feels like a tiny disaster. One wrong move with the bottle, and suddenly there is a bright, sticky mess soaking into the fabric you love to snuggle under. The good news is that you do not need to toss the blanket or accept a permanent stain. Learning how to get nail polish out of a blanket is easier than most people think, and you probably already have the right supplies sitting in your bathroom cabinet.
This guide walks you through the whole process in clear, simple steps. Whether the spill just happened or the polish has already dried, you will find a method that works for your situation. We will cover the tools you need, the safest way to lift the stain, and a few tricks that protect the fabric while you work. No prior stain-fighting experience is required. By the end, you will feel confident tackling this problem and any similar spills that show up later.
Why Getting Nail Polish Out Of A Blanket Matters
A nail polish stain is more than an eyesore. Polish contains pigments and resins that harden fast, and if you ignore the spill, it bonds tightly to the fibers and becomes much harder to remove. Acting quickly saves your blanket, your money, and the frustration of replacing something you enjoy.
There is also a comfort factor worth mentioning. Blankets carry memories and cozy associations, so keeping them clean means keeping that comfort alive. Beyond that, mastering a simple removal method builds your confidence for future spills, from ink to makeup. You gain a reusable skill that protects fabrics all over your home. Treating the stain properly also prevents you from spreading it or damaging the material with the wrong cleaning approach, which happens more often than you might expect.
Step-By-Step Guide To How To Get Nail Polish Out Of A Blanket
Step 1: Gather Your Supplies First
Before touching the stain, set out everything you need so you are not scrambling mid-cleanup. Grab a bottle of acetone or non-acetone nail polish remover, a few clean white cloths, cotton balls, a butter knife or spoon, mild dish soap, and a bowl of cool water. White cloths matter because colored towels can transfer dye onto the blanket. Having your tools ready means you can act fast, which is the single biggest factor in success. Working calmly with the right gear also lowers the chance of rubbing the polish deeper into the fibers, so this small prep step pays off quickly.
Step 2: Scrape Off The Excess Polish
If the polish is still wet or partly dried, gently lift away as much as you can before adding any liquid. Use the edge of a butter knife or a spoon and scrape in one direction, moving toward the center of the spill rather than spreading it outward. Take your time and avoid pressing hard, since aggressive scraping can push pigment further into the weave. For dried polish, you can carefully crack and peel the top layer with your fingernail. Removing this surface layer means the remover has less to dissolve later, making the rest of the job noticeably smoother and faster.
Step 3: Test On A Hidden Spot
Never apply remover directly to a visible area without testing first. Find a hidden corner or an inside seam of the blanket and dab a tiny amount of nail polish remover onto the fibers. Wait about a minute, then check for color fading, texture changes, or fabric weakening. This quick test protects delicate materials like wool, silk, or acetate, which can react badly to strong solvents. If you notice damage, switch to a gentler non-acetone option or a soap-and-water approach. Taking thirty seconds here can save you from turning a small stain into a large, permanent problem.
Step 4: Blot The Stain With Remover
Once your test looks safe, moisten a clean white cloth or cotton ball with a small amount of nail polish remover. Press it onto the stain and hold for a few seconds, letting the solvent break down the polish. Then blot gently, lifting the loosened color away from the fabric. Do not scrub in circles, because that spreads the stain and frays the fibers. Keep switching to a clean section of cloth as the polish transfers, so you are always pulling color out rather than pushing it back in. Repeat this patient blotting until most of the pigment disappears.
Step 5: Rinse The Treated Area
After the bulk of the polish is gone, you need to remove the leftover remover from the fibers. Dip a fresh cloth in cool water and dab the treated spot to rinse away any lingering solvent and loosened pigment. This step stops the acetone from sitting in the fabric, where it could weaken fibers over time. Continue dabbing with water and blotting dry until the area feels clean rather than sticky. Rinsing also reveals how much stain remains, giving you a clear picture of whether you need another round of treatment before moving on to washing.
Step 6: Learn Polish Out Of A Blanket With Soap
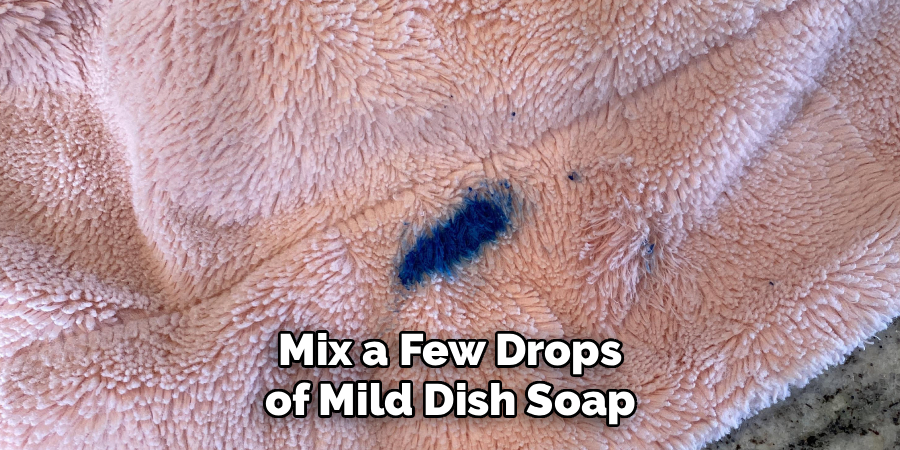
For any faint color or residue that survives the remover, mix a few drops of mild dish soap into a bowl of cool water. Dip a clean cloth into the soapy mixture and gently work it into the remaining stain using light, dabbing motions. The soap helps lift stubborn pigment particles that the solvent loosened but did not fully release. Let the soapy solution sit for a couple of minutes, then blot with a damp cloth to rinse. This gentle follow-up often clears the last traces without exposing the fabric to more harsh chemicals, protecting both color and softness.
Step 7: Wash And Air Dry The Blanket
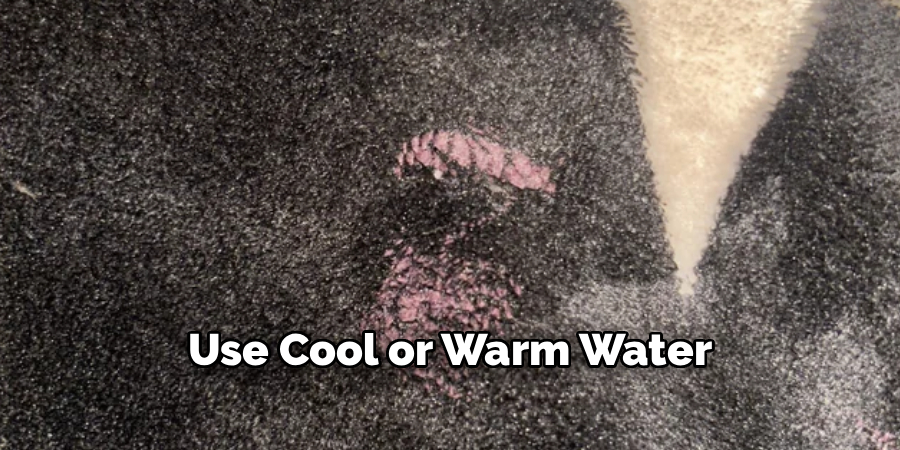
Finish by laundering the blanket according to its care label. Use cool or warm water and your regular detergent, and avoid hot water until you are certain every trace of polish is gone, since heat can lock in any leftover stain. Before drying, inspect the spot in good light. If you still see color, repeat the earlier steps rather than using the dryer, because dryer heat sets stains permanently. When the blanket looks clean, let it air dry flat or hang it up. Air drying keeps the fabric safe and lets you confirm the stain is truly gone.
Frequently Asked Questions
Can I Use Acetone On Any Type Of Blanket Fabric?
Not always. Acetone works well on cotton and sturdy synthetics, but it can damage delicate fibers like acetate, modacrylic, and some rayons, causing them to dissolve or discolor. Always test a hidden area first. If your blanket is made of a sensitive material or you are unsure, choose a non-acetone remover or a gentle soap-and-water method, and consider consulting a professional cleaner for valuable pieces.
What If The Nail Polish Has Already Dried Completely?
Dried polish is trickier but still manageable. Start by gently cracking and peeling the hardened top layer with your fingernail or a dull knife. Then apply remover to soften what remains, letting it sit briefly before blotting. Dried stains often need several rounds of treatment, so patience matters. Keep blotting and reapplying small amounts until the color lifts, and avoid heat until the stain is fully gone.
Will Nail Polish Remover Bleach Or Fade My Blanket Color?
It can, especially with darker or dyed fabrics. That is why the hidden-spot test is so important. Apply a tiny amount, wait a minute, and check for any color change. If the dye lifts or fades during testing, stop and switch to a milder approach using dish soap and water. Working with small amounts and blotting gently also reduces the risk of noticeable fading.
How Soon Should I Treat The Spill For Best Results?
The sooner, the better. Fresh polish is far easier to remove because it has not yet bonded deeply with the fibers. Ideally, start scraping away the excess within minutes of the spill. If you cannot treat it right away, avoid rubbing the area or applying heat, and keep it from spreading. Quick action dramatically improves your chances of a clean, stain-free result.
Can I Use A Washing Machine Instead Of Blotting By Hand?
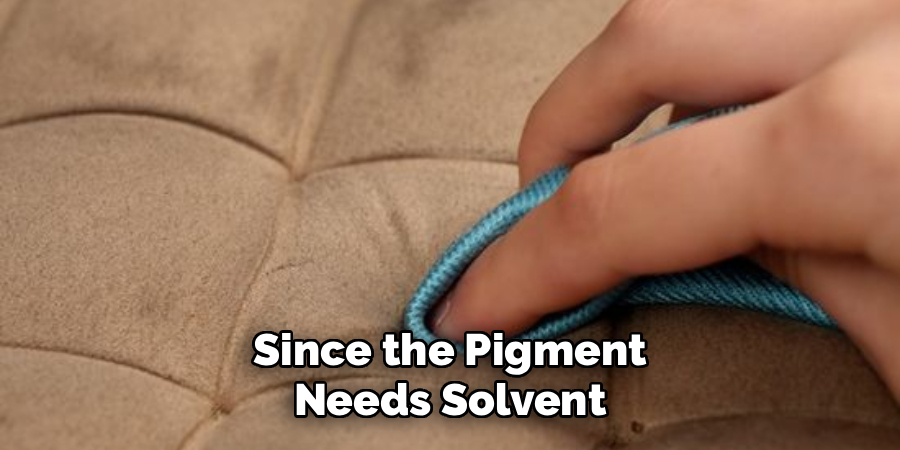
Machine washing alone rarely removes nail polish, since the pigment needs solvent and manual lifting first. Skipping the pretreatment usually spreads the stain or sets it further. Always scrape, treat, and rinse the spot by hand before laundering. Once you have lifted most of the polish, the washing machine works well as a final cleaning step to freshen the whole blanket.
Conclusion
Removing a bright, stubborn stain does not have to end in frustration or a trip to the store for a replacement. With a few common supplies and a patient, step-by-step approach, you can restore your blanket to its cozy, clean state. The key takeaways are simple. Act fast, test before you treat, blot instead of scrub, and always rinse and inspect before applying any heat. These habits protect your fabric while giving you the best chance at a spotless result.
Now that you know how to get nail polish out of a blanket, you can face future spills with confidence instead of panic. Keep your supplies handy, trust the process, and remember that gentle, careful work beats rushing every time. Grab your cloths, follow the steps above, and give your favorite blanket the rescue it deserves. You have everything you need to succeed.

About the Author
Jane Hubbard is a passionate beauty expert with a wealth of experience in makeup, hair, and overall beauty techniques. After years of working as a hairdresser specialist, she followed her entrepreneurial spirit and started her own consultancy business.
Jane has always been driven by her desire to help others feel confident in their own skin, and she does this by sharing her knowledge, experiences, and practical beauty tips. Through her consultancy, she empowers individuals to embrace their unique beauty, offering tailored guidance that boosts both self-esteem and personal style.
Professional Focus
Specializes in makeup, hairstyling, and beauty consulting.
Provides personalized beauty advice, tips, and techniques to help individuals feel confident in their appearance.
Dedicated to staying up-to-date with the latest industry trends and developments.
Passionate about creating a comfortable and empowering experience for every client.
Education History
University of Craft and Design – Bachelor of Fine Arts (BFA) in Woodworking and Furniture Design
Woodworking Apprenticeships – Extensive hands-on training with skilled craftsmen to refine carpentry and furniture making techniques
Online Courses & Masterclasses – Continued education in advanced woodworking techniques, design principles, and specialized tools
Expertise:
Makeup artistry, hairstyling, and beauty consulting.
Personalized beauty techniques to enhance confidence and self-expression.
Educating clients on how to maintain their beauty routines at home.