
Are you looking to add more volume and definition to your curls? Achieving tighter curls at the root can be a game-changer, elevating your hairstyle to the next level.
Getting tighter curls at the root requires proper styling techniques and products. Additionally, it may take some trial and error to find the perfect routine for your unique hair type and texture. But don’t worry; with patience and determination, you can achieve those enviable tight curls at the root!
Whether you have naturally curly hair or you’re using heat styling tools, this guide will provide you with valuable tips and techniques on how to get tighter curls at the root. Get ready to turn heads with your stunning curly hair!
What Are the Benefits of Having Tighter Curls at the Root?
Tighter curls at the root can completely transform your hairstyle and enhance your overall appearance. Here are some reasons why you should strive for tighter curls at the root:
- Adds Volume: Tighter curls at the root can instantly add more volume to your hair, making it look fuller and thicker.
- Defines Your Curls: With tighter curls at the root, each curl is defined and separate, giving you a more polished and put-together look.
- Longer-lasting Style: When your curls are tight from the root, they hold their shape better throughout the day, ensuring that your hairstyle looks fresh all day.
- Versatility: Whether you want to rock a natural curly look or create a more glamorous hairstyle, tighter curls at the root can provide an excellent base for any style.
These are just a few of the benefits of having tighter curls at the root. With these in mind, let’s dive into some tips and techniques to help you achieve them!
What Will You Need?
Before we get started, gather the following products and tools to achieve tighter curls at the root:
- Curl-enhancing shampoo and conditioner
- Wide-tooth comb or detangling brush
- Curl-defining styling product (gel, mousse, cream)
- Diffuser attachment for hair dryer (optional)
- Curling iron or wand (optional)
Now that you have everything you need, let’s learn how to get those tighter curls at the root!
10 Easy Steps on How to Get Tighter Curls at the Root
Step 1: Wash Your Hair
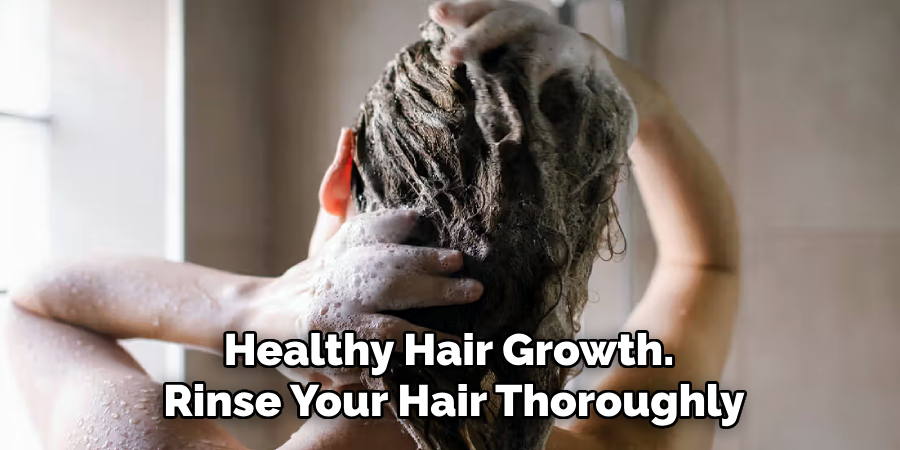
Start by thoroughly washing your hair with a curl-enhancing shampoo and conditioner. This will help to hydrate and nourish your curls, creating a good foundation for tighter curls at the root. Gently massage your scalp to stimulate blood circulation, promoting healthy hair growth. Rinse your hair thoroughly, ensuring all the products are washed out completely. Pat your hair dry with a microfiber towel or an old t-shirt to minimize frizz and preserve the natural texture of your curls. Avoid rubbing your hair vigorously, as this can cause frizz and disrupt your curl pattern.
Step 2: Detangle Your Hair
After washing, detangle your hair while it is still damp using a wide-tooth comb or a detangling brush. Start from the ends of your hair and work your way up to the roots to avoid breakage and reduce tension on your strands. This step is crucial for evenly distributing the curl-enhancing products and ensuring your curls form without any knots or tangles. Be gentle to preserve your natural curl pattern and prevent unnecessary damage. If your hair is particularly prone to tangling, consider applying a leave-in conditioner for added slip and manageability.
Step 3: Apply Styling Product
Once your hair is detangled and still damp, it’s time to apply your preferred styling product to enhance and define your curls. Choose a product that suits your hair type and desired level of hold and moisture. Some popular options include curl creams, gels, mousses, or styling lotions.
Take a small amount of the product and distribute it evenly throughout your hair, starting from the ends and working up to the roots. Use your fingers or a wide-tooth comb to ensure even coverage. Be careful not to overload your hair with products, which can weigh down your curls and leave a greasy residue.
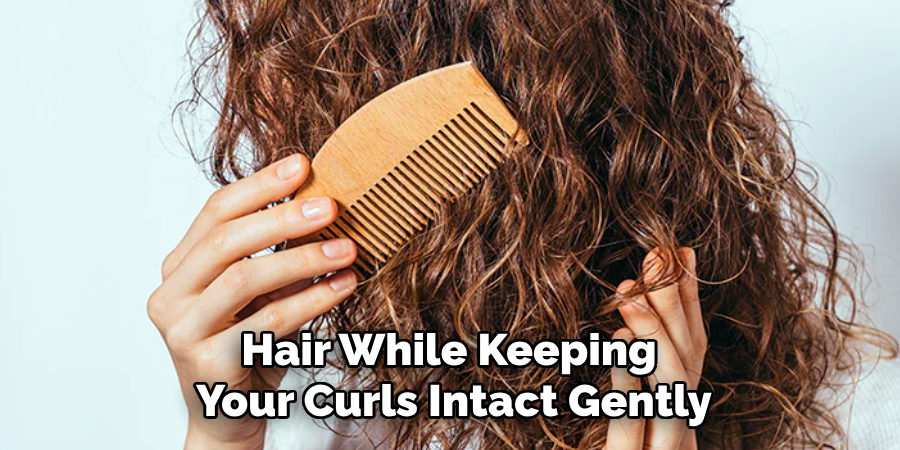
While applying the styling product, scrunch your hair upwards in sections to encourage the formation of defined curls. This technique helps to enhancethe curl pattern and volume. For more hold, consider using a diffuser attachment on your blow dryer to dry your hair while keeping your curls intact gently.
Step 4: Section Your Hair
To ensure even application and styling, sectioning your hair before applying products and styling is helpful. Divide your hair into manageable sections using clips or hair ties. This allows for better control and access to all areas of your hair, ensuring that each strand receives the necessary attention and product distribution. Start by parting your hair down the middle, then create additional sections as needed based on the thickness and length of your hair. By working in smaller sections, you can focus on each part individually, achieving more defined and consistent results throughout your entire head of curls.
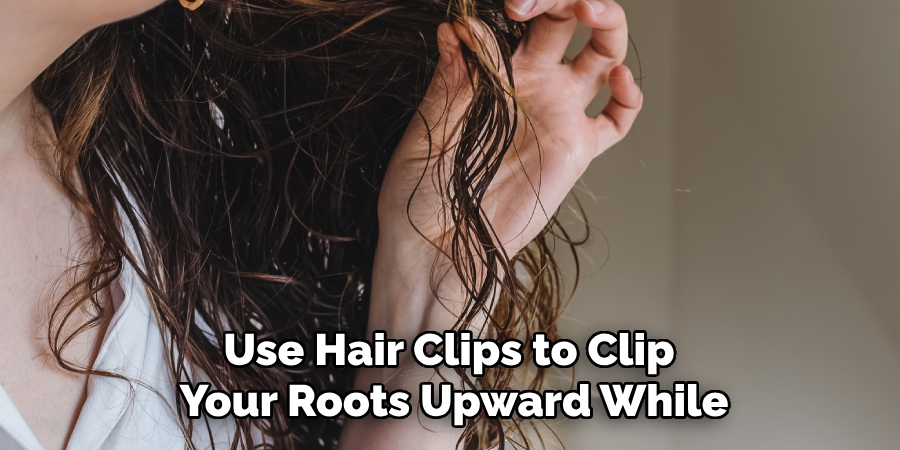
Step 5: Use Clips for Extra Lift
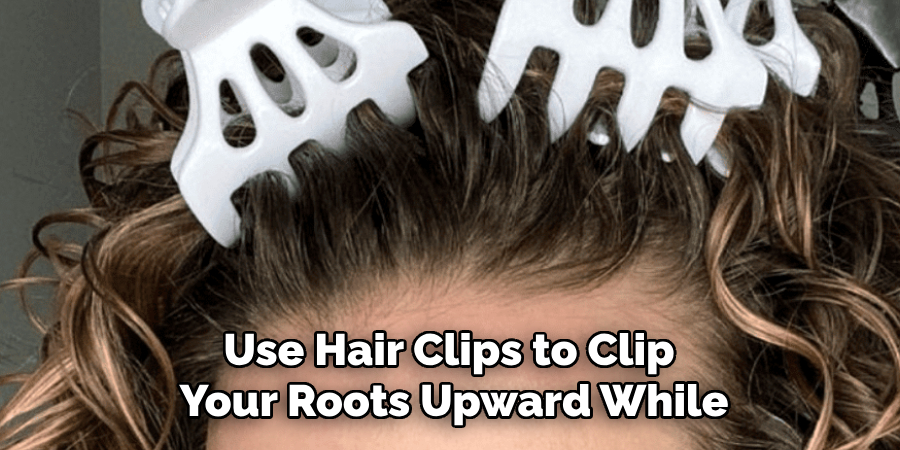
For a more lifted and voluminous look, use hair clips to clip your roots upward while your hair is still damp. This technique creates tension at the root, which can help enhance curl formation and add height and volume. Leave the clips in until your hair is completely dry, or use a diffuser attachment on low heat to speed up the drying process.
Step 6: Air Dry or Use a Diffuser
After completing the previous steps, you have two options for drying your curls: air drying or using a diffuser attachment on a low heat setting. Air drying allows your curls to form naturally without any additional heat, which can help maintain moisture and minimize frizz. Simply let your hair air dry by avoiding any manipulation or touching while it dries.
If you prefer a diffuser, attach it to your hair dryer and set it to a low heat and airflow setting. This gentle airflow helps to dry your curls while keeping their shape intact. To use the diffuser, gather a section of your hair and gently place it into the diffuser bowl. Hold the diffuser near your scalp and move it in a circular motion to encourage curl formation and enhance volume. Continue this process until your hair is parched, focusing on each section of hair individually for the best results.
Step 7: Avoid Touching Your Hair
While your hair is drying, avoid touching or manipulating it to prevent any disruption to the curl pattern. This can cause frizz and ruin the shape of your curls. Once your hair is completely dry, you can gently scrunch out any crunchiness from the styling product with your fingers for softer curls.
Step 8: Use a Curling Iron or Wand
If you want even tighter curls at the root, consider using a curling iron or wand after your hair has dried. Wrap small sections of hair around the barrel of the curling iron or wand, starting at the roots and working your way down. Hold for a few seconds before releasing for tighter, more defined curls. Be sure to use a heat protectant spray before using any hot tools to minimize damage to your hair.
Step 9: Fluff and Separate
After you have achieved your desired curl pattern, it’s time to bring out the fullness and definition of your curls. Fluff your hair at the roots using your fingers or a wide-toothed comb to create volume and lift. This will help to break up any clumps or sections that may have formed during the styling process, giving your curls a more natural and effortless look. Additionally, you can separate larger curls into smaller ones by gently pulling them apart with your fingers. This will enhance the overall texture and add dimension to your hair, resulting in beautiful, bouncy curls that turn heads wherever you go.
Step 10: Finish with Hair Spray
Finish off your styling routine with a light mist of hairspray to ensure that your curls stay in place throughout the day. Hair spray helps to set the curls, providing a long-lasting hold and preventing them from frizzing or losing their shape. When applying hair spray, hold the can about 10-12 inches away from your head and spritz it evenly over your curls. Be careful not to use too much, as this can make your hair feel stiff or crunchy. Opt for a flexible hold hairspray that allows your curls to bounce and move naturally while maintaining their definition.
By following these ten steps, you can achieve beautifully defined and voluminous curls that last all day.
Conclusion
How to get tighter curls at the root can be a daunting task, but with the right techniques and products, you can enhance and define your curls for a stunning and confident look.
Remember to choose products that suit your hair type and desired level of hold and moisture. Sectioning your hair, using clips for extra lift, air drying or diffusing, avoiding touching your hair while it dries, using hot tools carefully, fluffing and separating, and finishing off with hairspray are all essential steps for achieving gorgeous curly locks.
And remember to embrace your natural curls – they are unique to you and deserve to be shown off! With these tips in mind, you can
About the Author
Jane Hubbard is a passionate beauty expert with a wealth of experience in makeup, hair, and overall beauty techniques. After years of working as a hairdresser specialist, she followed her entrepreneurial spirit and started her own consultancy business.
Jane has always been driven by her desire to help others feel confident in their own skin, and she does this by sharing her knowledge, experiences, and practical beauty tips. Through her consultancy, she empowers individuals to embrace their unique beauty, offering tailored guidance that boosts both self-esteem and personal style.
Professional Focus
- Specializes in makeup, hairstyling, and beauty consulting.
- Provides personalized beauty advice, tips, and techniques to help individuals feel confident in their appearance.
- Dedicated to staying up-to-date with the latest industry trends and developments.
- Passionate about creating a comfortable and empowering experience for every client.
Education History
- University of Craft and Design – Bachelor of Fine Arts (BFA) in Woodworking and Furniture Design
- Woodworking Apprenticeships – Extensive hands-on training with skilled craftsmen to refine carpentry and furniture making techniques
- Online Courses & Masterclasses – Continued education in advanced woodworking techniques, design principles, and specialized tools
Expertise:
- Makeup artistry, hairstyling, and beauty consulting.
- Personalized beauty techniques to enhance confidence and self-expression.
- Educating clients on how to maintain their beauty routines at home.