
Are you tired of your hair looking flat and lifeless after blow-drying? Do you need help achieving the perfect style with a regular blow dryer? If so, let’s start using blow dryer attachments.
Blow dryer attachments are essential for achieving various hairstyles and enhancing the efficiency of drying and styling your hair.
Understanding how to use these attachments properly can save you time and help you achieve salon-quality results at home. Whether you’re looking to add volume, create sleek strands, or enhance curls, each attachment serves a specific purpose that can elevate your hair care routine.
In this guide, we will explore the different types of blow dryer attachments, their unique benefits, and tips on how to use blow dryer attachments effectively for your desired look.
What Will You Need?
Before we dive into the various types of blow dryer attachments, here’s a quick list of items you will need to get started:
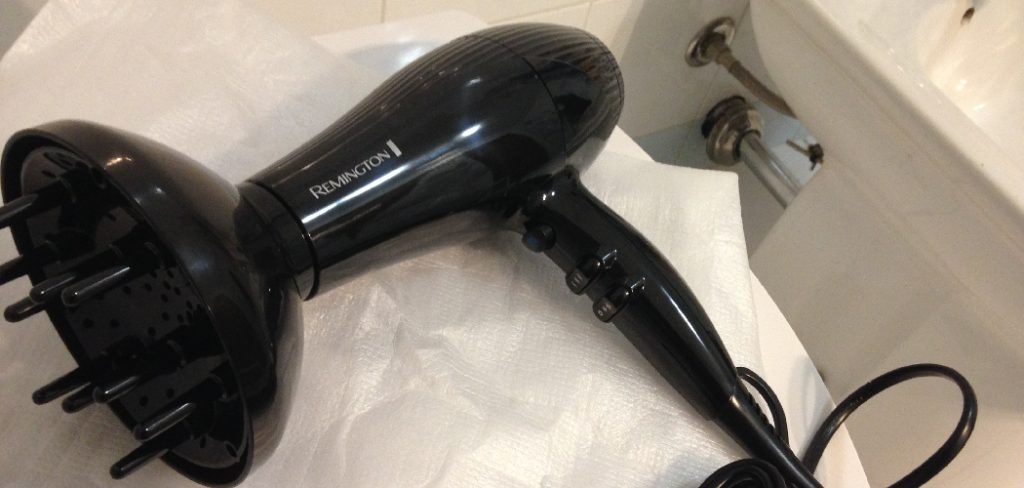
- A blow dryer with detachable attachments
- Hair clips or ties
- Heat protectant spray or serum (optional)
- Styling products (such as mousse or hair gel) for the desired look
Now that you have all your tools ready let’s explore the different types of blow dryer attachments and how they can enhance your hairstyling routine.
10 Easy Steps on How to Use Blow Dryer Attachments
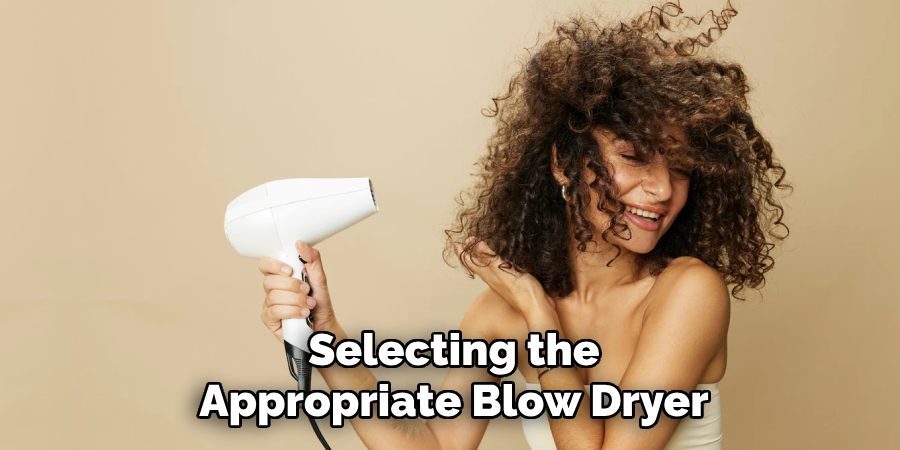
Step 1. Choose the Right Attachment
Begin by selecting the appropriate blow dryer attachment based on the hairstyle you wish to achieve. The most common attachments include the concentrator nozzle for sleek styles, the diffuser for curly hair, and the volumizing brush for added lift.
Each attachment is designed to help you reach different styling goals, so consider your desired look before proceeding.
Step 2. Prepare Your Hair
Before using your blow dryer and attachments, starting with clean, towel-dried hair is essential. Gently blot your hair with a towel to remove excess moisture, avoiding vigorous rubbing that can lead to frizz.
Apply a heat protectant spray or serum to shield your hair from heat damage if desired. Use hair clips or ties to section off your hair, making it easier to style evenly. This preparation will set the foundation for a successful blow-drying session and help you achieve the best results with your chosen attachment.
Step 3. Use the Concentrator Nozzle
If you aim for a sleek and polished finish, attach the concentrator nozzle to your blow dryer. This narrow nozzle directs a concentrated stream of air, allowing you to smooth your hair efficiently. Begin by setting your blow dryer to medium heat and speed.
Starting at the roots, run the nozzle down the length of your hair, followed by a round brush for added tension and smoothness. Move the concentrator nozzle slowly to encourage shine and reduce frizz, ensuring you keep the airflow directed downwards along the hair shaft for the best results.
Step 4. Use the Diffuser
The diffuser attachment is your best friend for those with curly or wavy hair. This device helps to distribute heat evenly without disturbing your natural curl pattern. Start by applying your preferred styling product, such as a curl cream or mousse, to enhance your definition.
Attach the diffuser, set your blow dryer to a low heat setting, and bend forward to allow your curls to fall into the diffuser’s bowl. Gently scrunch your hair while the diffuser is close to your scalp, providing soft heat and allowing your curls to set. Move slowly and avoid excessive handling of your curls to maintain their shape and eliminate frizz.
Step 5. Use the Volumizing Brush
The volumizing brush attachment is the perfect solution if you want to add volume to your hairstyle. Begin by sectioning your hair and rolling the brush into the roots while pulling the blow dryer behind it. Use a medium heat setting to create lift at the roots, and hold the brush in place for a few seconds to allow the heat to set the style.
As you slowly pull the brush through your hair, follow it with the blow dryer to maintain tension and create a fuller appearance. Consider curling the ends slightly for added bounce while guiding the brush outwards. This technique will help you achieve effortless volume and movement in your hair.
Step 6. Set Your Style
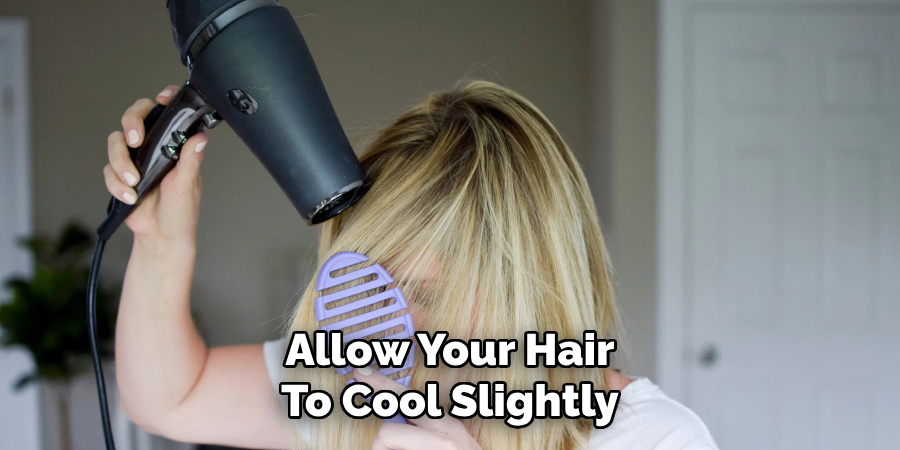
Once you’ve achieved your desired look using the appropriate attachments, setting your hairstyle for lasting results is crucial. Allow your hair to cool slightly, which helps lock in the shape and volume you’ve created. You can also use a finishing spray or light hairspray to hold your style in place while maintaining a natural look.
Avoid heavy products that can weigh down your hair, and instead, opt for something light that adds shine and protection. To add a touch of glamour, consider applying a small amount of serum or oil to the ends of your hair to enhance shine and smoothness. This final touch will ensure your style looks polished and vibrant throughout the day.
Step 7. Maintain Your Blow Dryer Attachments
Regular maintenance is essential to ensure the longevity and effectiveness of your blow dryer attachments. After each use, detach and carefully clean the attachments to remove any hair product buildup or debris.
Use a damp cloth or soft brush to wipe down surfaces, and ensure they’re scorched before reattaching. Additionally, store your blow dryer and attachments in a cool, dry place to prevent any warping or damage. Keeping your tools in good condition will extend their lifespan and ensure optimal performance every time you style your hair.
Step 8. Experiment with Different Styles
Don’t be afraid to try out various techniques and combinations of blow dryer attachments to discover what works best for you. Experimenting with your styling routine can lead to new looks and help you understand how different attachments influence your hair’s texture and volume.
For instance, you might find that alternating between the concentrator nozzle and volumizing brush can create a unique blend of sleekness and lift. Keep a journal of your favorite styles and the specific settings used, allowing you to recreate those looks in the future easily. Trust your creativity; the possibilities are endless!
Step 9. Protect Your Hair from Heat Damage
While blow dryers and their attachments are powerful styling tools, using them responsibly to protect your hair from heat damage is essential. Always start with clean, dry, and well-prepared hair to mitigate this risk.
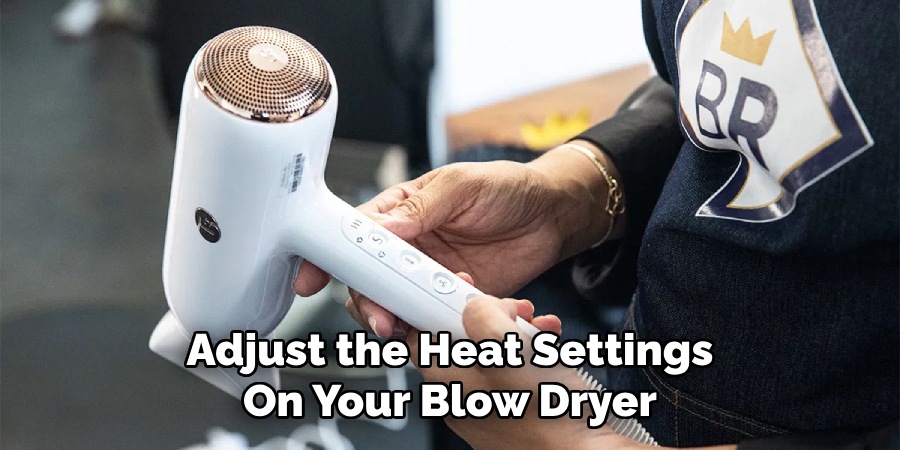
Adjust the heat settings on your blow dryer according to your hair type; use lower heat settings for thin or damaged hair, while thicker hair may benefit from higher settings. Allow your hair to air dry partially before using the blow dryer to reduce the time spent under heat exposure.
Additionally, incorporating regular deep conditioning treatments and using a heat protectant will help keep your hair healthy and resilient, ensuring that your styles not only look good but also maintain the integrity of your hair.
Step 10. Schedule Regular Hair Trims
To maintain healthy hair and prevent split ends, it’s important to schedule regular hair trims. Aim for a visit to your stylist every 6 to 8 weeks, depending on your hair type and style. Regular trims will help keep your hair looking fresh and polished and promote healthier hair growth.
Discuss the best trimming schedule with your stylist based on your hair condition, length, and personal styling choices. Consistent care will ensure your hair stays vibrant and manageable, enhancing the results of your blow-drying techniques.
By following these steps and practicing regularly, you’ll soon become a pro at blow-drying your hair with different attachments.
5 Things You Should Avoid
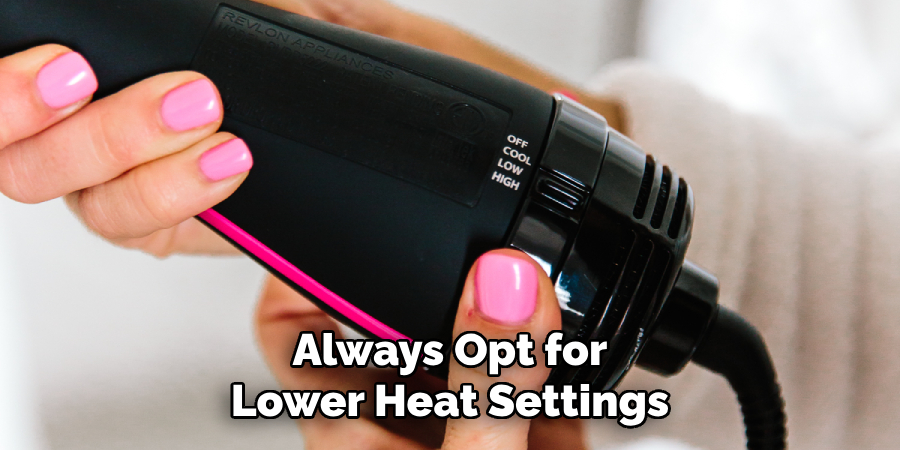
- Using High Heat on Damaged Hair: High heat can exacerbate the condition of already damaged hair. To prevent further damage, always opt for lower heat settings if your hair is fine or prone to breakage.
- Neglecting to Use a Heat Protectant: Skipping heat protectant products is a common mistake. Applying a heat protectant before styling is essential to shield your hair from the damaging effects of heat.
- Overworking Your Hair: Constantly running the blow dryer over the same section can lead to frizz and damage. Instead, work in manageable sections and give each area time to dry before moving on.
- Forgetting to Clean Attachments: Failing to clean your blow dryer attachments regularly can lead to product buildup, which can affect performance and cause excessive heat exposure to your hair. Always keep your tools clean.
- Using Attachments on Wet Hair: Attempting to use blow dryer attachments when soaking wet hair can hinder their effectiveness and increase drying time. It’s best to start with towel-dried hair for optimal results.
By avoiding these common mistakes, you can ensure your blow-drying routine is not only effective but also safe for your hair.
Conclusion
How to use blow dryer attachments can elevate your hairstyling game significantly, allowing you to achieve a variety of looks while maintaining the health of your hair.
By following the steps outlined, from preparation to protection, you’ll be equipped with the knowledge to create styles that suit your unique preferences. Experiment with different techniques and settings to discover what works best for your hair type.
Consistent maintenance of your attachments and regular hair care practices will help prolong the life of your tools and ensure your hair remains vibrant and resilient.
With patience and practice, you’ll be able to enjoy salon-worthy results at home, making blow drying an enjoyable and rewarding experience.
About the Author
Jane Hubbard is a passionate beauty expert with a wealth of experience in makeup, hair, and overall beauty techniques. After years of working as a hairdresser specialist, she followed her entrepreneurial spirit and started her own consultancy business.
Jane has always been driven by her desire to help others feel confident in their own skin, and she does this by sharing her knowledge, experiences, and practical beauty tips. Through her consultancy, she empowers individuals to embrace their unique beauty, offering tailored guidance that boosts both self-esteem and personal style.
Professional Focus
Specializes in makeup, hairstyling, and beauty consulting.
Provides personalized beauty advice, tips, and techniques to help individuals feel confident in their appearance.
Dedicated to staying up-to-date with the latest industry trends and developments.
Passionate about creating a comfortable and empowering experience for every client.
Education History
University of Craft and Design – Bachelor of Fine Arts (BFA) in Woodworking and Furniture Design
Woodworking Apprenticeships – Extensive hands-on training with skilled craftsmen to refine carpentry and furniture making techniques
Online Courses & Masterclasses – Continued education in advanced woodworking techniques, design principles, and specialized tools
Expertise:
Makeup artistry, hairstyling, and beauty consulting.
Personalized beauty techniques to enhance confidence and self-expression.
Educating clients on how to maintain their beauty routines at home.