
Are you looking to achieve that perfect curl and shine on your eyelashes? Are you tired of applying falsies every morning? Well, if so, then it’s time to take matters into your own hands and laminate them. Laminating your lashes is an easy process that can give you long-lasting definition with beautiful results.
With the right supplies and a few simple steps, you can have gorgeous lashes in less than 10 minutes! So get ready for some major lash love, and let’s get started with how to laminate eyelashes at home! With just a few simple steps, you’ll have gorgeous eyelash locks that will give you an alluring gaze and long-lasting results!
What is Eyelashes Lamination?
Eyelash lamination is a new technique used to curl and lift your eyelashes. It involves applying a special cream or serum that helps the lashes stay curled and shiny for up to 8 weeks. This procedure gives you natural-looking, voluminous eyelashes that are also waterproof and require minimal maintenance!
The Benefits of Laminating Eyelashes
1. Add Volume
Laminating eyelashes offers many benefits. It can help to make your lashes look fuller and more voluminous while giving them a beautiful curl without the need for mascara or curling irons. Additionally, laminating is also great for those who have naturally straight lashes, as it will give them a boost in definition and length.
2. Lasts Longer
Laminating your eyelashes can last up to 8 weeks, depending on the product and the type of lashes you have. This makes it a great choice if you’re looking for long-term results without having to spend too much time on maintenance or applying mascara every day.
3. Waterproof
Laminating your lashes is also great for active lifestyles. This technique gives your eyelashes a waterproof finish so that you can enjoy swimming, sweating, and other activities without worrying about your mascara running or smudging.
What do I need for Eyelash Lamination?
To get started, you’ll need to gather a few supplies. You’ll need:
- A mascara wand
- A small brush to apply the lamination solution
- Scissors to cut the lashes
- Tweezers for application
- An eyelash laminating cream or serum
How to Laminate Eyelashes at Home in 10 Steps
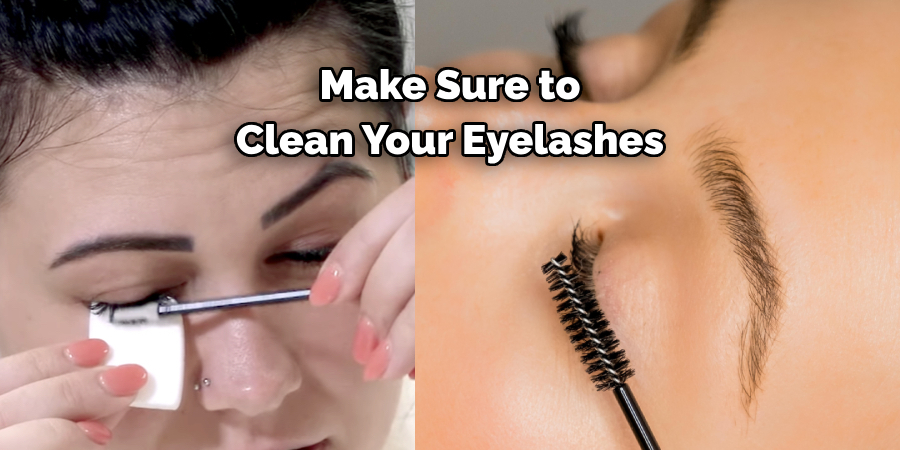
Step 1: Clean Your Lashes
Before starting, make sure to clean your eyelashes with an oil-free cleanser. This will ensure that you have a clear base for the lamination process and that there are no residues or oils on the lashes. Cleaning your lashes will also help the lamination last longer.
Step 2: Curl Your Lashes
Curl your eyelashes with an eyelash curler to give them a nice lift. This will help ensure that the lamination process is as effective as possible and that you get the desired results.
Step 3: Cut Your Lashes
Using a pair of scissors, cut the lashes to your desired length and shape. Make sure not to trim too much off, or the lamination process won’t be as effective. Cutting the lashes will help to give them a more natural look.
Step 4: Apply the Lamination Serum
Using a small brush, apply the lamination serum or cream to the eyelashes. Make sure to coat each lash evenly and not to get any on your skin. Leave this on for about 5 minutes before proceeding to the next step.
Step 5: Comb Through the Lashes
Once you’ve applied the serum, use a mascara wand to comb through the lashes and ensure that each one is coated evenly. This will help you achieve an even curl and make sure that all of your lashes are properly laminated.
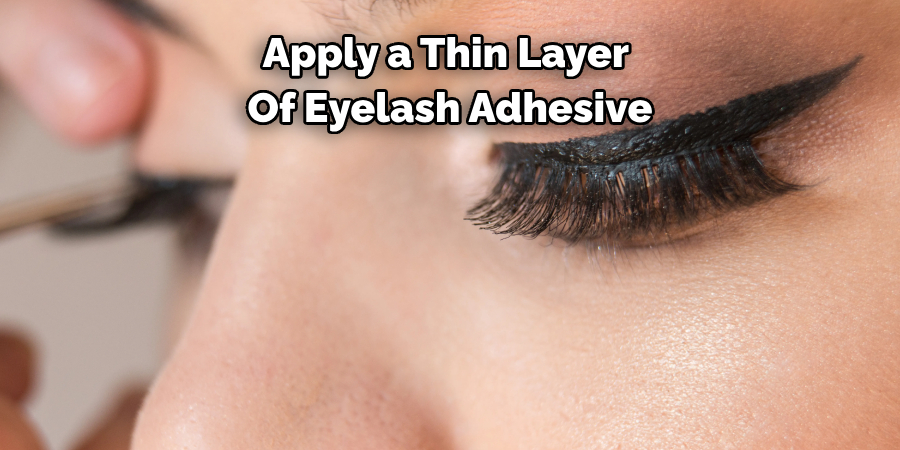
Step 6: Apply Eyelash Adhesive
Using tweezers, apply a thin layer of eyelash adhesive to each lash. Make sure not to get it too close to your eyes and that you’re careful not to get any on your skin.
Step 7: Wait for the Adhesive to Dry
Wait for the adhesive to dry completely before continuing. This will ensure that the laminating process is as effective as possible.
Step 8: Apply Lamination Serum Again
Apply another layer of the lamination serum or cream to the lashes. Make sure not to get it too close to your eyes and leave it on for about 5 minutes before proceeding to the next step.
Step 9: Comb Through the Lashes Again
Using a mascara wand, comb through the lashes once more. This will help to ensure that all of your lashes are evenly coated and give you an even curl. Combing with a mascara wand will also help to separate any clumped lashes.
Step 10: Allow the Lashes to Dry
Finally, allow your lashes to dry completely before opening your eyes. Once they’re dry, you can open your eyes and enjoy your beautifully laminated lashes!
With these steps, you can have beautiful, luscious lashes in no time! Lamination is an easy and effective way to achieve that perfect curl and shine on your eyelashes. So, go ahead and give it a try – you won’t be disappointed!
With laminating your eyelashes at home, you can have gorgeous eyes with minimal effort! All you need are the right supplies, a few simple steps, and you’ll be on your way to beautiful, luscious lashes! So what are you waiting for? It’s time to take matters into your own hands and laminate them!
8 Common Mistakes to Avoid While Doing At-Home Lash Lamination
Lash lamination is a great way to give your eyelashes a voluminous and glossy look without expensive professional salon treatments. When done at home, however, it can be easy to make mistakes that yield less than desirable results. Here are 8 common mistakes to avoid when doing lash lamination at home:
- Not sterilizing your tools is a common mistake. If you want to avoid any type of eye infection, it is important to sterilize your tools before each lamination session. This includes tweezers, scissors, and the lash comb. You can do this by dipping them into a solution of rubbing alcohol or using a disinfectant spray
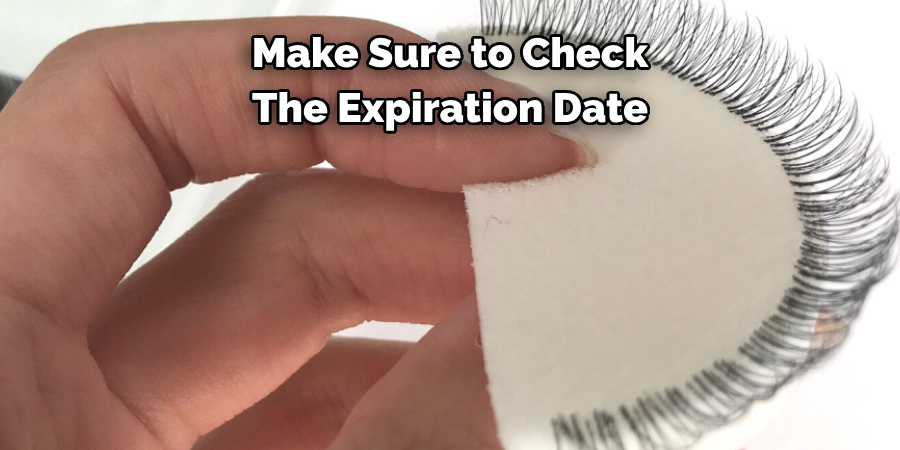
- Using an expired or outdated lamination product can result in undesired results. Before using any lash lamination products, make sure to check the expiration date and look for any signs of discoloration on the packaging.
- Applying too much lash lamination product is another common mistake when doing it at home. When applying the product to your eyelashes, try to use only a thin layer. This will help to avoid having your lashes become stiff and difficult to manage after they have been laminated.
- Not allowing the product enough time to set is another common mistake when doing lash lamination at home. It is important to let the product sit on the eyelashes for at least 10 minutes so that it has enough time to set and do its job.
- Not taking the time to properly rinse off the lash lamination product can lead to undesired results as well. When it comes time to remove the product, make sure that you rinse your eyes thoroughly with warm water and a gentle cleanser. This will help ensure that all residue is removed from the lashes and that they are free of any chemicals.
- Not applying mascara after the lash lamination process is another common mistake. Applying a few coats of mascara can help to bring out the color and volume in your lashes and will help them look even more glamorous after they have been laminated.
- Not using an oil-free makeup remover when removing your eye makeup is also a mistake that can lead to undesired results when laminating your lashes at home. Oil-free makeup removers are best suited for this type of process because they will not interfere with the product.
- Not using an eyelash comb to separate and shape the individual lashes is one of the most common mistakes made while doing lash lamination at home. An eyelash comb can help to separate the individual lashes, making them look more even and voluminous after they have been laminated.
These are just some of the common mistakes to avoid when doing lash lamination at home. If you follow these simple steps, your eyelashes will look glossy and beautiful in no time! Just remember to take your time and use the right products for the best results.
Conclusion
After following these steps on how to laminate eyelashes at home, you should have beautiful, long-lasting lashes. When laminating your own eyelashes, it is important to take into account personal safety as well as the health and well-being of your eyes. Be sure to read all directions before beginning the process. Remember that the best way to prevent unwanted reactions or complications is to use a product made specifically for the purpose of laminating your lashes.
Also, keep in mind that you may need more than one application in order to achieve the desired look, and this can increase the cost of supplies. Last but not least, be sure to take care of your lashes afterward; when done correctly, lash lamination can result in healthier, fuller eyelashes. With these tips in mind, we hope you’ll confidently and safely venture out into the world of lash lamination with beautiful results!
About the Author
Jane Hubbard is a passionate beauty expert with a wealth of experience in makeup, hair, and overall beauty techniques. After years of working as a hairdresser specialist, she followed her entrepreneurial spirit and started her own consultancy business.
Jane has always been driven by her desire to help others feel confident in their own skin, and she does this by sharing her knowledge, experiences, and practical beauty tips. Through her consultancy, she empowers individuals to embrace their unique beauty, offering tailored guidance that boosts both self-esteem and personal style.
Professional Focus
Specializes in makeup, hairstyling, and beauty consulting.
Provides personalized beauty advice, tips, and techniques to help individuals feel confident in their appearance.
Dedicated to staying up-to-date with the latest industry trends and developments.
Passionate about creating a comfortable and empowering experience for every client.
Education History
University of Craft and Design – Bachelor of Fine Arts (BFA) in Woodworking and Furniture Design
Woodworking Apprenticeships – Extensive hands-on training with skilled craftsmen to refine carpentry and furniture making techniques
Online Courses & Masterclasses – Continued education in advanced woodworking techniques, design principles, and specialized tools
Expertise:
Makeup artistry, hairstyling, and beauty consulting.
Personalized beauty techniques to enhance confidence and self-expression.
Educating clients on how to maintain their beauty routines at home.