
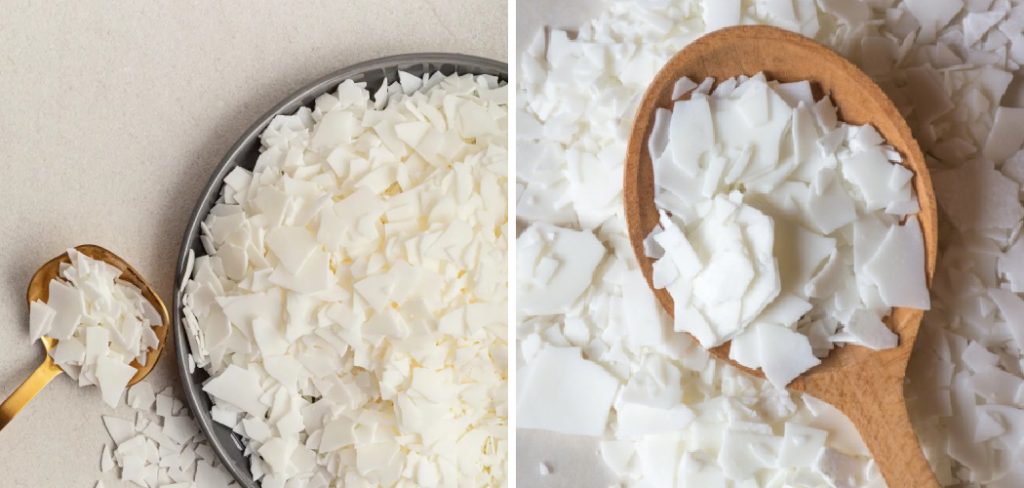
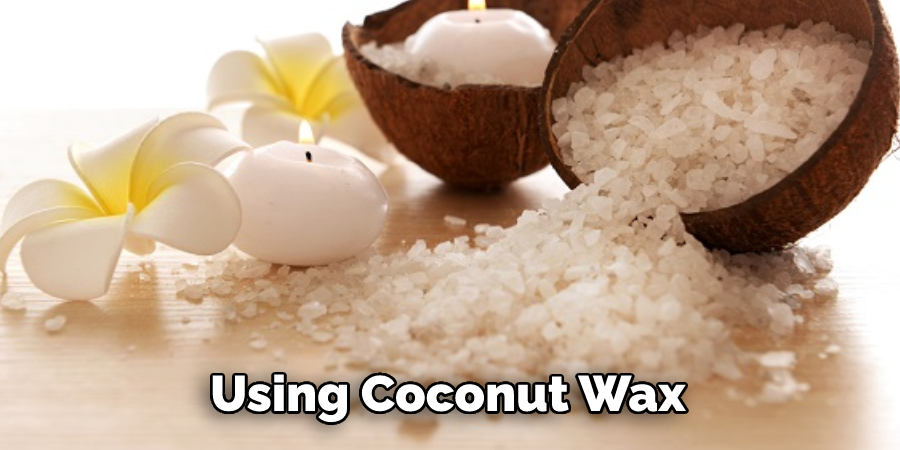
Are you interested in discovering a natural, vegan-friendly alternative to chemical-laden store-bought candles? If so, then coconut wax may be the perfect solution for you! Coconut wax is an environmentally friendly and renewable raw material that has become increasingly popular when it comes to candle making. Requires minimal processing work and is naturally white, smooth, and boasts a long burn time. Not only that but it also holds fragrance very well which makes them smell amazing as they burn. Keep reading to find out exactly how to make coconut wax from start to finish.
Making your own coconut wax can be a great way to create an all-natural and eco-friendly alternative to traditional paraffin or beeswax candles. Not only is it simple, cost effective and satisfying, but you are also able to get creative with the ingredients and make unique combinations of aromatic natural scents for your candles. Whether you’re looking to explore candle making as a new hobby or interested in creating more sustainable alternatives for burning around your home – this tutorial will show you just how easy it is to do so!
Benefits of Coconut Wax
1. Natural and Biodegradable
One of the biggest benefits of coconut wax is that it is natural and biodegradable. This makes it a great choice for people who are looking to add an eco-friendly option to their beauty or skincare routine.
2. Non-Comedogenic
Coconut wax is also non-comedogenic, which means that it won’t block pores or cause breakouts. This makes it an ideal choice for people with sensitive skin or those prone to acne.
3. Long-Lasting
Coconut wax also lasts longer than other types of wax. It is resistant to melting and holds shape better over time, making it a great choice for those who are looking for long-lasting wax.
4. Odorless and Non-Toxic
Coconut wax is odorless and non-toxic, which makes it a great choice for those who want to avoid harsh chemicals or fragrances in their beauty routine. It is also safe for use on all skin types, including sensitive skin.
5. Hydrating
Coconut wax also has hydrating properties, which can help to keep skin soft and moisturized. This makes it ideal for those who want to add a protective barrier to their skin without using heavy creams or lotions.
How to Make Coconut Wax in 7 Easy Steps
These are just a few of the benefits of using coconut wax. It is a great choice for those looking to make eco-friendly and non-toxic beauty products that will last. With the right ingredients and techniques, you can make your own coconut wax at home in just a few simple steps.
Step 1: Gather the Ingredients Needed
The first step is getting the ingredients needed to make coconut wax. You will need a half cup of extra virgin coconut oil, a quarter cup of beeswax granules and two teaspoons of olive oil.
Step 2: Heat the Mixture
Put all three ingredients into a double boiler or heatproof bowl on top of a pan filled with water. Heat the mixture until the beeswax is completely melted. Stir the mixture occasionally to ensure it blends evenly.
Step 3: Remove from Heat & Cool
Once you have achieved a smooth, liquid consistency, remove the bowl from heat and allow it to cool for about 30 minutes. During this time, it should thicken and become a creamy wax.
Step 4: Pour the Wax into Containers
Once the wax has cooled, you can pour it into your desired containers. Make sure to use a funnel or measuring spoon to avoid spilling and messes. We recommend using small glass jars or tins for easy storage and portability.
Step 5: Let Cool & Harden
Once the wax is poured into the containers, let it cool and harden overnight. This will ensure that your wax has reached the desired consistency and texture. Make sure to keep the containers in a cool, dry place away from direct sunlight.
Step 6: Add Scent or Color
Once your wax has hardened, you can add any essential oils or pigments to give it some extra color and scent. Simply mix a few drops of essential oil with the melted wax before pouring it into the molds. For color, mix in a few drops of food-grade coloring.
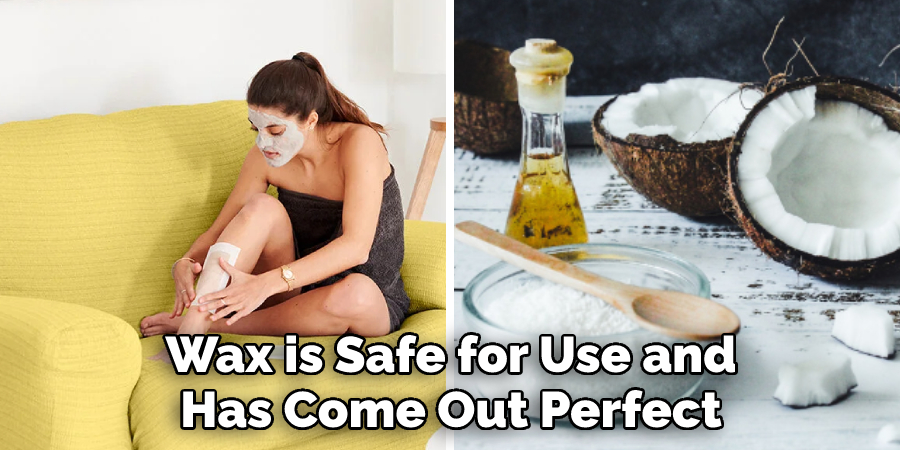
Step 7: Double Check
This is the last step, but definitely one of the most important. You want to make sure that your wax is safe for use and has come out perfect. Double-check that the texture is creamy and smooth, with no lumps or inconsistencies.
And there you have it! You can make your own coconut wax at home with just a few simple steps. Give it a try and see how easy and rewarding it is! We promise you won’t regret it.
Some Additional Tips to Make Coconut Wax
1. Do Not Overheat the Wax
To ensure a consistent result and avoid burning, be sure not to overheat the wax. The optimal melting point of coconut wax is between 128°F and 130°F (53°C and 54°C).
2. Stirring is Mandatory
Stirring is essential when making coconut wax. Without stirring, you risk having lumps of wax in the end result. So you have to make sure your wax is uniform and lump-free by constantly stirring.
3. Use High Quality Ingredients
Using high-quality materials will ensure a better outcome and help you avoid unnecessary difficulties. Make sure your ingredients are fresh and free from impurities.
4. Be Patient for the Final Result
Coconut wax requires time to cool down completely before it can be used. You can’t rush the process and must wait until it has cooled to room temperature before attempting to use it.
By following these tips, you should easily make coconut wax and get a good result every time you make it. So go ahead and give it a try! With some practice, you’ll soon have a dependable supply of coconut wax.

Frequently Asked Questions
What Precautions Should I Take When Making Coconut Wax?
When making coconut wax, it is important to wear protective clothing and eye protection. Make sure that the area you are working in is well ventilated and keep children or pets away from the area. If using an open flame or other heat source, use extreme caution as the wax may catch fire easily. Additionally, ensure that the wax is stirred and heated properly to avoid burning. Lastly, always follow the directions of any recipes or instructions you are using to make coconut wax.
What Type of Container Should I Use for Melting the Wax?
When melting wax for making coconut wax, it is important to use a non-reactive stainless steel or glass container that is not prone to cracking or breaking. Additionally, the size of your container should be slightly larger than the amount of wax you are melting so there is room for expansion.
What Types of Containers Can I Use for Storing My Finished Coconut Wax?
When storing your finished coconut wax, using an airtight container such as a canning jar, glass jar, or aluminum tin is important. Make sure to label the container with the date and contents for future reference. Additionally, store your wax in an area that is out of direct sunlight and away from extreme temperatures.
How Long Does Coconut Wax Last?
Coconut wax will typically last up to 6 months if stored properly in an airtight container. Storing the wax in a cool, dry place will help to extend its shelf life. Additionally, adding essential oils or other natural preservatives can increase your coconut wax’s longevity. Also, be sure to check the wax for any signs of discoloration or graininess before using.
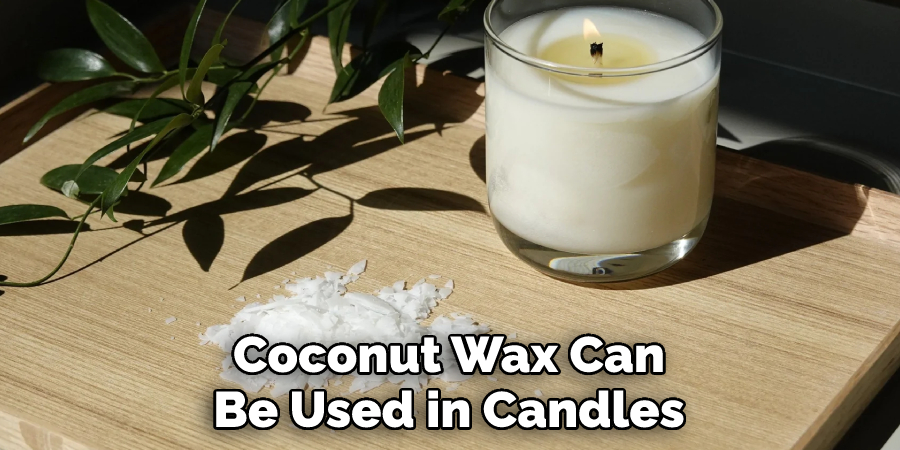
Can Coconut Wax Be Used in Candles?
Yes, coconut wax can be used in candles! Coconut wax is an ideal choice for making container candles since it has a high melt point and holds its shape well as it burns. Additionally, coconut wax often has a smooth texture and is easy to work with. When making candles, be sure to use wicks that are specifically designed for the type of wax you are using.
Conclusion
Now you know how to make coconut wax and all the steps necessary to get a good result. You can easily make your own coconut wax at home with some practice. Just be sure to keep safety in mind when working with wax and always store it properly.
About the Author
Jane Hubbard is a passionate beauty expert with a wealth of experience in makeup, hair, and overall beauty techniques. After years of working as a hairdresser specialist, she followed her entrepreneurial spirit and started her own consultancy business.
Jane has always been driven by her desire to help others feel confident in their own skin, and she does this by sharing her knowledge, experiences, and practical beauty tips. Through her consultancy, she empowers individuals to embrace their unique beauty, offering tailored guidance that boosts both self-esteem and personal style.
Professional Focus
Specializes in makeup, hairstyling, and beauty consulting.
Provides personalized beauty advice, tips, and techniques to help individuals feel confident in their appearance.
Dedicated to staying up-to-date with the latest industry trends and developments.
Passionate about creating a comfortable and empowering experience for every client.
Education History
University of Craft and Design – Bachelor of Fine Arts (BFA) in Woodworking and Furniture Design
Woodworking Apprenticeships – Extensive hands-on training with skilled craftsmen to refine carpentry and furniture making techniques
Online Courses & Masterclasses – Continued education in advanced woodworking techniques, design principles, and specialized tools
Expertise:
Makeup artistry, hairstyling, and beauty consulting.
Personalized beauty techniques to enhance confidence and self-expression.
Educating clients on how to maintain their beauty routines at home.