Are you tired of using store-bought body washes that are full of harsh chemicals and synthetic fragrances? Why not try making your own creamy body wash at home?
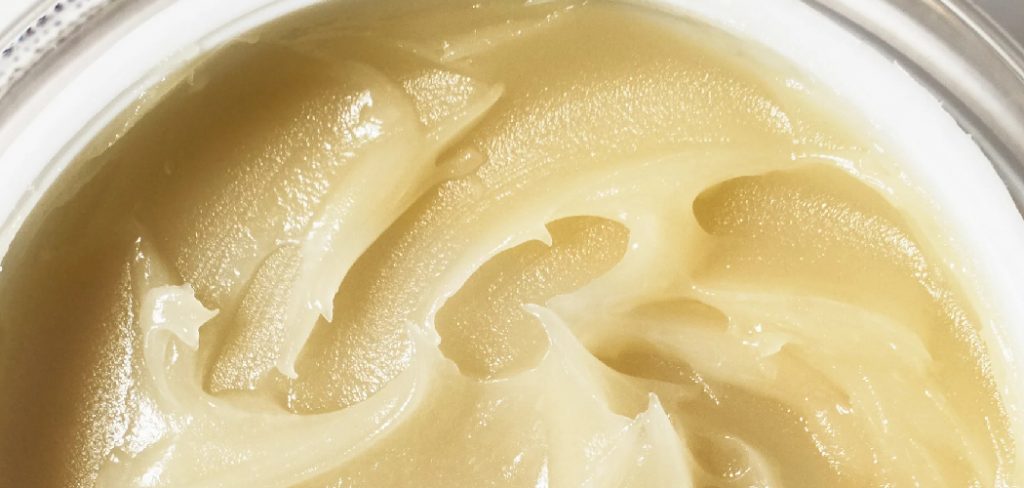
How to make creamy body wash is a simple and rewarding process that allows you to customize the ingredients to suit your skin type and preferences. Unlike store-bought options, homemade body wash lets you avoid harsh chemicals and synthetic additives, ensuring a gentler and more nourishing experience for your skin. With a few natural ingredients, you can craft a luxurious and moisturizing product that cleanses effectively while leaving your skin soft and refreshed.
Whether you’re looking to save money, reduce waste, or enjoy the therapeutic benefits of DIY skincare, making your own body wash is an ideal project.

What Are the Benefits of Making Your Own Body Wash?
There are numerous benefits to making your own creamy body wash recipe at home. Here are just a few reasons to give it a try:
- Cost-effective: Using simple, natural ingredients in bulk can save money and reduce the cost per use compared to store-bought options.
- Customizable: You have complete control over the ingredients used in your homemade body wash, allowing you to tailor it to your skin’s unique needs and preferences.
- Nourishing: Most store-bought body washes contain harsh chemicals that can strip the skin’s natural oils and leave it feeling dry. Homemade body wash is made with gentle, nourishing ingredients that help to maintain the skin’s moisture balance.
- Eco-friendly: By making your body wash, you can reduce packaging waste and avoid contributing to the production and transportation of commercial products.
- Therapeutic Benefits: Using natural ingredients such as essential oils in your body wash can provide therapeutic benefits for your skin and mind. Lavender oil, for example, has calming properties that can help relax and soothe the senses.
What Will You Need?
Here are a few key ingredients and supplies you’ll need to make your creamy body wash:
- Liquid Soap Base: Look for a gentle, all-natural liquid soap base with nourishing ingredients like coconut or olive oil.
- Carrier Oil: Choose a carrier oil such as jojoba, almond, or avocado that will help moisturize and soothe the skin.
- Essential Oils: Adding a few drops of your favorite essential oils can provide therapeutic benefits and a lovely natural fragrance to your body wash.
- Honey: Known for its moisturizing properties, honey is an excellent addition to homemade body wash.
- Aloe Vera Gel: Aloe vera gel is incredibly soothing and can help calm irritated skin. It also adds a creamy texture to the body wash.
- Mixing Bowl and Whisk: A mixing bowl and whisk or hand mixer will be needed to combine all the ingredients thoroughly.
- Storage Container: Choose a container with a pump or dispenser for easy use in the shower.
Once you have all the ingredients and supplies, you’re ready to start making your own creamy body wash.

8 Easy Steps on How to Make Creamy Body Wash
Step 1. Prepare Your Workspace:
Start by ensuring your workspace is clean and organized. A clutter-free area will help you focus on the task at hand and keep everything hygienic. Wipe down the surface with a disinfectant, and gather all the ingredients and tools you’ll need so they’re within easy reach.
Make sure your mixing bowl and whisk or hand mixer are clean and dry before you begin. If you’re using glass containers for storage, sterilize them by soaking them in hot, soapy water and letting them air dry completely.
This will prevent contamination and extend the shelf-life of your homemade body wash. Lastly, wear gloves if you want to maintain an extra level of cleanliness during the mixing process.
Step 2. Measure Your Ingredients:
Accurately measure all your ingredients to ensure the perfect consistency and balance for your creamy body wash. Use a kitchen scale for precise measurements with ingredients like oils, butter, or liquid soap bases. Place each measured ingredient into separate bowls or containers, keeping them organized and ready for mixing. This step is crucial for achieving your final product’s desired texture and effectiveness.
Step 3. Mix the Ingredients:
Begin by combining your oils and butter in a heat-safe container, then gently melt them together using a double boiler or microwave in short bursts. Stir the mixture thoroughly to ensure it is entirely uniform. Once melted, gradually add the liquid soap base to the oils, mixing slowly to incorporate them.
If your recipe includes essential oils or additives like vitamin E, now is the time to add them. Blend all the ingredients until the mixture achieves a smooth and creamy consistency, ensuring no lumps or separations. Be careful not to overmix; this can introduce air bubbles into your body wash.
Step 4. Cool and Transfer the Mixture:
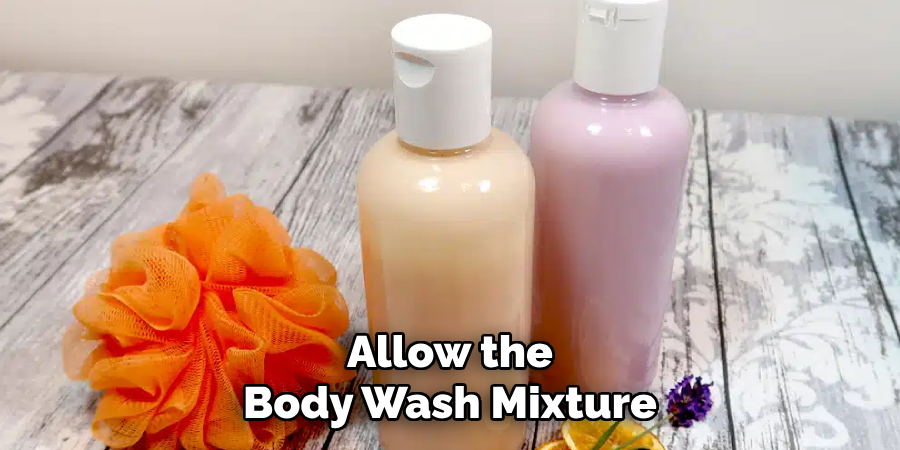
Allow the body wash mixture to cool slightly, ensuring it thickens to the desired consistency. Once cooled, carefully pour the mixture into clean, sterilized containers or bottles using a funnel to prevent spills.

Secure the lids tightly and label the containers with the name of the product and the date it was made. Store your homemade body wash in a cool, dry place away from direct sunlight to maintain its quality.
Step 5. Test and Enjoy Your Body Wash:
Before regular use, test a small amount of the body wash on your skin to ensure no adverse reactions. Apply it to a small skin patch and rinse thoroughly to check for irritation or sensitivity.
If your body wash passes the test, you can start enjoying your homemade creation! Use it as part of your daily skincare routine and enjoy the benefits of its natural ingredients. With proper storage and care, your body wash should remain practical and pleasant to use for several weeks.
Step 6. Customize Your Body Wash:
Once you’ve mastered the basic recipe, customize your body wash to suit your preferences or skincare needs. You can experiment by adding essential oils for different scents, such as lavender for relaxation or peppermint for an invigorating aroma.
Additionally, consider incorporating natural additives like honey for added moisture or oatmeal for a gentle exfoliation effect. Always research and test new ingredients to ensure they are safe and compatible with your skin. Customizing your body wash allows you to create a product that is uniquely yours, tailored to your personal care routine.
Step 7. Store and Label Your Body Wash:
Proper storage is essential to maintain the quality and longevity of your homemade body wash. Pour the finished product into a clean, airtight container with a pump or squeeze top for easy use. Store it in a cool, dry place away from direct sunlight, as excessive heat or light can degrade the natural ingredients.

Don’t forget to label the container with the date it was made and a list of the ingredients used. This ensures you always know what’s in your product and when to make a fresh batch, helping you enjoy a consistently practical and safe skincare experience.
Step 8. Test and Enjoy Your Homemade Body Wash:
Before incorporating your homemade body wash into your daily routine, conduct a patch test to ensure it suits your skin. Apply a small amount to a discreet area, such as the inner arm, and wait 24 hours to check for any adverse reactions.
Once confirmed safe, use your body wash as part of your regular skincare regimen, enjoying its nourishing and personalized benefits. Adjust the formula in future batches to suit your preferences and skin’s needs better, making it a truly customized experience.
Following these simple steps, you can create a luxurious and nourishing creamy body wash right in your home.
5 Things You Should Avoid
- Using Harsh Chemicals: Avoid adding ingredients like sulfates or parabens, as they can strip the skin of its natural oils and irritate sensitive skin. Always opt for gentle, skin-friendly alternatives.
- Skipping Preservatives: If your body wash includes water-based ingredients, skipping a proper preservative can lead to bacterial growth. Use cosmetic-grade preservatives to ensure safety and longevity.
- Adding Too Much Fragrance: Overloading with synthetic fragrances can cause skin sensitivity or allergic reactions. Stick to natural essential oils or limit the amount of fragrance used.
- Incorrect Ratios of Ingredients: Improper measurements, such as too much thickening agent or oil, can affect the texture and usability of the body wash. Follow a tested recipe for the best results.
- Using Hard Water: When mixing ingredients, using hard water may compromise the texture and effectiveness of the body wash. Use distilled or purified water to maintain quality.

Conclusion
Creating a creamy, effective body wash requires attention to detail and quality ingredients. Start by carefully selecting gentle, skin-friendly components that cater to your skin type.
Always measure ingredients accurately and follow a trusted recipe to ensure the desired texture and functionality. Using distilled or purified water is crucial to maintain product quality while incorporating a cosmetic-grade preservative guarantees safety and longevity. Lastly, avoid overloading with synthetic fragrances and prioritize natural alternatives for a soothing, skin-nourishing experience.
With these tips on how to make creamy body wash, you can craft a luxurious body wash that hydrates, cleanses, and pampers your skin.
About the Author
Jane Hubbard is a passionate beauty expert with a wealth of experience in makeup, hair, and overall beauty techniques. After years of working as a hairdresser specialist, she followed her entrepreneurial spirit and started her own consultancy business.
Jane has always been driven by her desire to help others feel confident in their own skin, and she does this by sharing her knowledge, experiences, and practical beauty tips. Through her consultancy, she empowers individuals to embrace their unique beauty, offering tailored guidance that boosts both self-esteem and personal style.
Professional Focus
- Specializes in makeup, hairstyling, and beauty consulting.
- Provides personalized beauty advice, tips, and techniques to help individuals feel confident in their appearance.
- Dedicated to staying up-to-date with the latest industry trends and developments.
- Passionate about creating a comfortable and empowering experience for every client.
Education History
- University of Craft and Design – Bachelor of Fine Arts (BFA) in Woodworking and Furniture Design
- Woodworking Apprenticeships – Extensive hands-on training with skilled craftsmen to refine carpentry and furniture making techniques
- Online Courses & Masterclasses – Continued education in advanced woodworking techniques, design principles, and specialized tools
Expertise:
- Makeup artistry, hairstyling, and beauty consulting.
- Personalized beauty techniques to enhance confidence and self-expression.
- Educating clients on how to maintain their beauty routines at home.
