
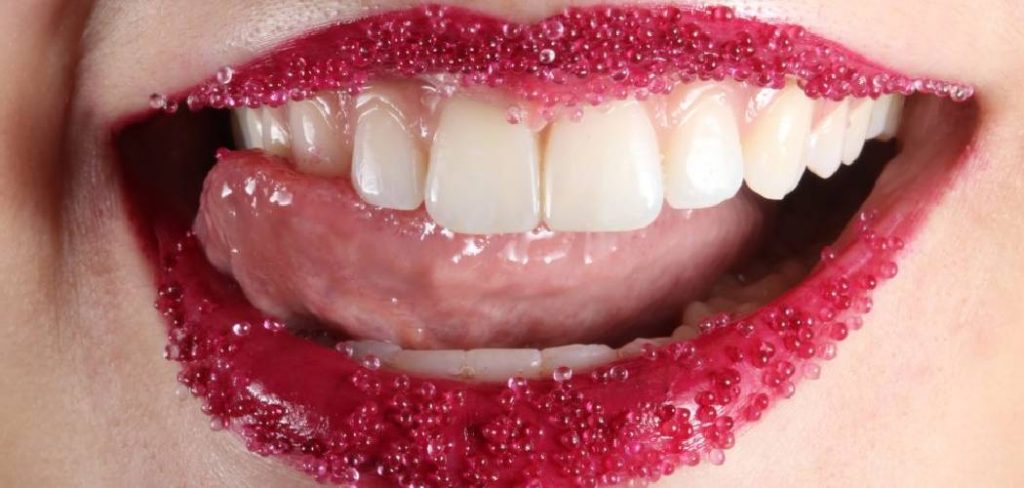
Making your own DIY lip gloss is a fun and creative way to personalize your beauty routine. Not only can you choose the ingredients that suit your preferences, but you can also experiment with colors, textures, and scents to create a product that’s uniquely yours. Plus, it’s a cost-effective and eco-friendly alternative to store-bought options. In this blog post, we’ll walk you through the steps on how to make diy lip gloss so that you can get back to using it in no time! So grab your tools, and let’s get started!
Why Make Your Own Lip Gloss?
Making your own lip gloss comes with a host of benefits that go beyond just being a fun DIY activity. First and foremost, it allows you to control what goes into your product, ensuring that you’re not using harmful chemicals or allergens often found in store-bought lip glosses. You can choose natural ingredients like beeswax, shea butter, and essential oils to create a product that’s both nourishing and safe for your lips.
Additionally, crafting your own lip gloss is a sustainable choice that reduces packaging waste and minimizes your impact on the environment. It’s also an opportunity to customize your gloss with your favorite colors, flavors, and scents, giving you a truly one-of-a-kind product. Not to mention, it’s a cost-effective way to stock up on high-quality lip care without breaking the bank!
Tools and Materials You’ll Need
To get started with making your own lip gloss, you’ll need a few essential tools and materials. Here’s a checklist to help you gather everything you need:
- Beeswax pellets or another wax base of your choice.
- Shea butter or cocoa butter for a creamy texture.
- Carrier oils like coconut oil, almond oil, or jojoba oil to provide hydration.
- Essential oils for fragrance and added benefits (optional).
- Mica powder or natural pigments for color.
- Flavor oils to enhance the taste of your gloss (optional).
- Lip gloss containers such as tubes or small jars for storage.
- A double boiler or heat-safe bowl for melting ingredients.
- Mixing spoons or spatulas for combining the mixture evenly.
- Measuring spoons to ensure precise ingredient ratios.
- Dropper pipettes for transferring the gloss into containers neatly.
With these tools and materials on hand, you’ll be well-prepared to create a lip gloss that suits your preferences and needs!
10 Methods How to Make Diy Lip Gloss
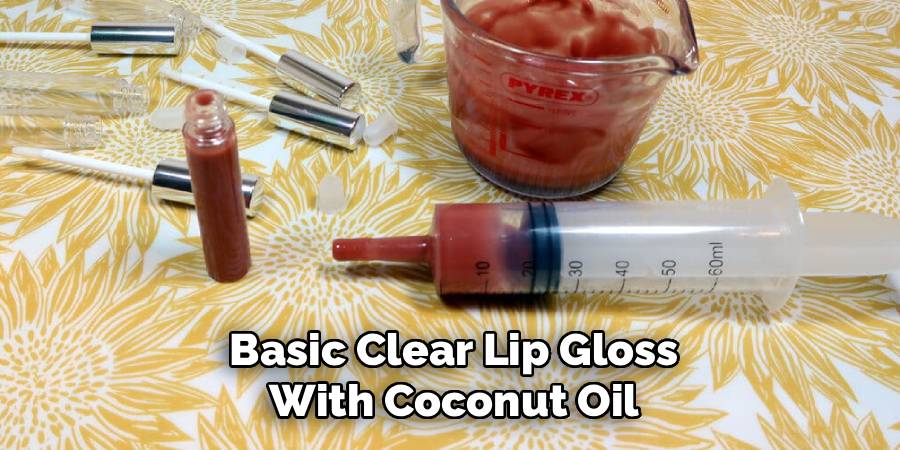
1. Basic Clear Lip Gloss with Coconut Oil
A simple and effective way to make DIY lip gloss is using coconut oil as the base. Start by melting one teaspoon of coconut oil in a small bowl using a double boiler or microwave for a few seconds. Once melted, pour the oil into a small container and allow it to cool slightly. This natural lip gloss provides shine, hydration, and a subtle vanilla-like scent from the coconut oil. It is ideal for everyday use and for those who prefer a natural, chemical-free option.
2. Shea Butter and Coconut Oil Gloss
To create a richer and more moisturizing lip gloss, combine shea butter with coconut oil. Melt half a teaspoon of shea butter with half a teaspoon of coconut oil over low heat. Stir until fully combined, then pour into a small container. The shea butter adds extra nourishment and a creamy texture, making this gloss perfect for dry or chapped lips. This method produces a smooth, hydrating gloss with a subtle sheen suitable for daily wear.
3. Tinted Lip Gloss with Beetroot Powder
For a natural tint, beetroot powder is an excellent choice. Mix a small pinch of beetroot powder into one teaspoon of melted coconut oil. Stir well until fully blended, then pour into a small container to cool. The result is a soft, rosy tint that enhances the natural color of the lips while providing hydration and shine. Beetroot-based lip gloss is a great option for those who want color without synthetic dyes.
4. Lip Gloss with Cocoa Butter for Extra Moisture
Cocoa butter adds a creamy texture and deep hydration to DIY lip gloss. Melt half a teaspoon of cocoa butter with half a teaspoon of coconut or almond oil. Stir thoroughly and transfer the mixture into a small jar. This lip gloss provides a protective barrier, keeping lips soft and smooth while adding a subtle glossy finish. Cocoa butter is ideal for colder climates or for individuals with particularly dry lips.
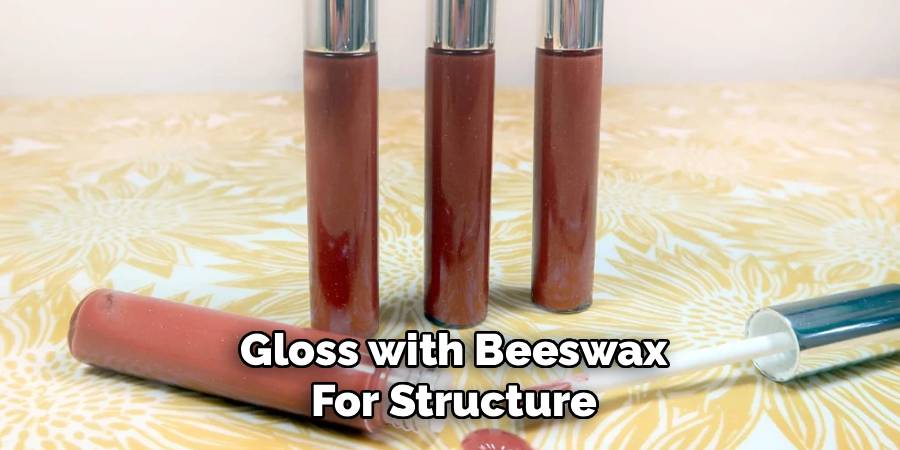
5. Gloss with Beeswax for Structure
Adding beeswax to your DIY lip gloss gives it more structure and longevity. Melt half a teaspoon of beeswax with one teaspoon of coconut oil or shea butter. Stir thoroughly until smooth and pour into a small container. Beeswax not only helps the gloss hold its shape but also creates a protective layer that locks in moisture. This method is excellent for creating a slightly thicker gloss that stays on longer without feeling sticky.
6. Shimmery Lip Gloss with Mica Powder
For a glittery, shimmery effect, add mica powder to your base oil. Melt one teaspoon of coconut oil or shea butter and stir in a small pinch of cosmetic-grade mica powder. Mix thoroughly to achieve an even shimmer, then pour into a container. This method produces a sparkling lip gloss that catches the light beautifully while providing natural shine and moisture. Mica comes in various colors, allowing for customizable effects.
7. Flavored Lip Gloss with Essential Oils
Essential oils not only add fragrance but can also provide soothing and antibacterial benefits. Start with a base of melted coconut oil or shea butter, then add one to two drops of a lip-safe essential oil such as peppermint, vanilla, or orange. Stir well and transfer into a small container. This method results in a pleasantly scented lip gloss with a refreshing or sweet aroma, enhancing the overall lip care experience.
8. Gel Lip Gloss with Aloe Vera
For a lightweight, cooling lip gloss, incorporate aloe vera gel. Mix one teaspoon of aloe vera gel with half a teaspoon of coconut oil. Blend thoroughly until smooth and transfer into a small container. This DIY lip gloss provides a gel-like texture that feels light on the lips while offering hydration and soothing properties. Aloe vera is particularly useful for calming dry or irritated lips and adds a refreshing sensation.
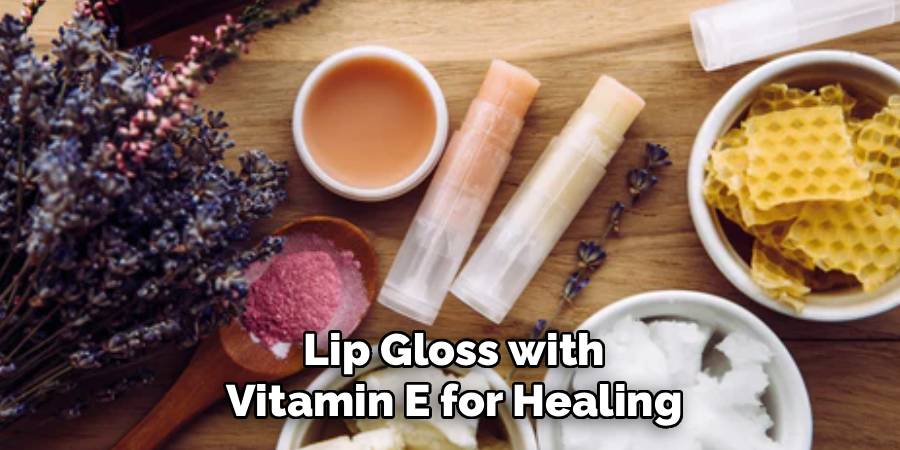
9. Lip Gloss with Vitamin E for Healing
Vitamin E is a powerful antioxidant that nourishes and repairs lips. Melt one teaspoon of coconut oil or shea butter and add a few drops of vitamin E oil. Mix thoroughly and pour into a container. This method creates a moisturizing lip gloss that not only adds shine but also helps heal chapped lips and protect them from environmental damage. Vitamin E-enriched lip gloss is ideal for daily use, especially in dry or harsh climates.
10. Customizable Lip Gloss with Combination Ingredients
For maximum customization, combine multiple ingredients based on your desired texture, shine, and color. For example, mix half a teaspoon of coconut oil, half a teaspoon of cocoa butter, a pinch of beetroot powder for color, a drop of peppermint essential oil for flavor, and a few drops of vitamin E oil for nourishment. Melt and mix thoroughly, then pour into a small jar. This method allows for complete control over the properties of your lip gloss, enabling you to create a product that meets all your personal preferences and needs.
Maintenance and Upkeep
Proper maintenance of your homemade lip gloss ensures its quality and longevity. Store your lip gloss in a cool, dry place away from direct sunlight, as exposure to heat and light can alter its texture and ingredients. Always use clean hands or applicators when using the product to avoid contamination. If you notice any changes in smell, texture, or appearance, it may be time to create a fresh batch. Depending on the ingredients used, homemade lip gloss can typically last up to six months. Regularly checking and caring for your creation helps you enjoy a safe and effective product for as long as possible.

Conclusion
Creating DIY lip gloss is a fun, customizable, and natural alternative to store-bought products. Using ingredients like coconut oil, shea butter, cocoa butter, beeswax, aloe vera, and vitamin E allows for variations in texture, hydration, and protection. Adding natural tints from beetroot powder, mica powder for shimmer, and essential oils for fragrance creates versatile lip glosses tailored to individual preferences.
Whether you prefer a simple, clear gloss, a tinted everyday option, a moisturizing formula, or a sparkling, glamorous look, these ten methods provide step-by-step guidance for safe and effective DIY lip gloss creation. Regular use of homemade lip gloss ensures soft, nourished, and healthy lips while giving the satisfaction of making a personalized beauty product at home. Be sure to follow all instructions on how to make diy lip gloss carefully, and always consult an expert when in doubt.
About the Author
Jane Hubbard is a passionate beauty expert with a wealth of experience in makeup, hair, and overall beauty techniques. After years of working as a hairdresser specialist, she followed her entrepreneurial spirit and started her own consultancy business.
Jane has always been driven by her desire to help others feel confident in their own skin, and she does this by sharing her knowledge, experiences, and practical beauty tips. Through her consultancy, she empowers individuals to embrace their unique beauty, offering tailored guidance that boosts both self-esteem and personal style.
Professional Focus
- Specializes in makeup, hairstyling, and beauty consulting.
- Provides personalized beauty advice, tips, and techniques to help individuals feel confident in their appearance.
- Dedicated to staying up-to-date with the latest industry trends and developments.
- Passionate about creating a comfortable and empowering experience for every client.
Education History
- University of Craft and Design – Bachelor of Fine Arts (BFA) in Woodworking and Furniture Design
- Woodworking Apprenticeships – Extensive hands-on training with skilled craftsmen to refine carpentry and furniture making techniques
- Online Courses & Masterclasses – Continued education in advanced woodworking techniques, design principles, and specialized tools
Expertise:
- Makeup artistry, hairstyling, and beauty consulting.
- Personalized beauty techniques to enhance confidence and self-expression.
- Educating clients on how to maintain their beauty routines at home.