
Are you tired of using harsh chemicals on your face? Do you want to switch to a more natural and sustainable option for washing your face? Look no further, because making your diy face wash at home is easier than you think!
How to make face wash at home is a simple and cost-effective way to care for your skin using natural ingredients. By crafting your product, you can tailor it to your specific skin type, whether it’s oily, dry, sensitive, or combination skin. Homemade face washes are free from harsh chemicals and artificial fragrances, making them a healthier choice for your skin and the environment.
With just a few common ingredients, you can create a gentle and effective cleanser that leaves your skin feeling fresh, clean, and nourished.
What Are the Benefits of Homemade Face Washes?
Using a homemade face wash has several benefits for your skin and overall health. Here are some reasons why you should consider making your face wash:
- No Harmful Chemicals: Many commercial face washes contain harsh chemicals, such as parabens, sulfates, and artificial fragrances that can irritate the skin and potentially cause long-term damage. By using natural ingredients in your homemade face wash, you can avoid these harmful chemicals and give your skin a break from potential irritants.
- Customized to Your Skin Type: With store-bought face washes, it can be challenging to find one that suits your specific skin type. However, with homemade face washes, you have the freedom to customize the ingredients according to your skin’s needs.
- Environmentally-Friendly: Homemade face washes also benefit the environment by reducing packaging waste and decreasing pollution from chemical-filled products. By using natural ingredients and reusable containers, you can minimize your carbon footprint and contribute to a more sustainable planet.
- Cost-Effective: Not only are store-bought face washes filled with harsh chemicals, but they can also be expensive. Making your face wash at home is not only healthier for your skin but also for your wallet.
What Will You Need?
To make your own natural face wash at home, you will need a few simple ingredients that are easily accessible. Here are some of the most common ingredients used in DIY face washes:
- Carrier Oils: These oils act as the base of the face wash and provide nourishment to the skin. Some popular options include olive oil, jojoba oil, coconut oil, and avocado oil.
- Essential Oils: Essential oils not only add an amazing fragrance but also have various benefits for the skin. They can help with acne, wrinkles, and other skin concerns. Popular essential oils for face washes include tea tree oil, lavender oil, and rosehip oil.
- Raw Honey: Raw honey is a natural humectant, meaning it helps to retain moisture in the skin. It also has antibacterial properties, which can help with acne-prone skin.
- Castile Soap: This gentle soap is made from vegetable oils and is often used as a base for DIY face washes. It helps to cleanse the skin without stripping it of its natural oils.
- Aloe Vera Gel: Aloe vera contains anti-inflammatory and soothing properties, making it an excellent addition to DIY face washes for sensitive or irritated skin.
9 Easy Steps on How to Make Face Wash at Home
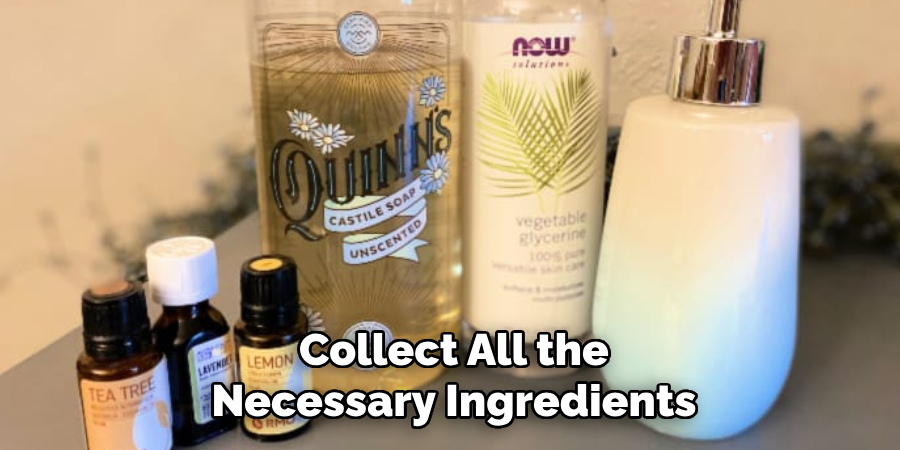
Step 1. Gather Your Ingredients
Before starting, collect all the necessary ingredients based on your skin type and preferences. Common items include gentle castile soap, aloe vera gel, essential oils like tea tree or lavender, and distilled water. For additional benefits, you may also include honey, rose water, or carrier oils such as jojoba or almond oil. Ensure all ingredients are fresh and of high quality for the best results.
Step 2. Choose a Clean Mixing Container
Ensure that your mixing container is clean and dry to avoid contamination. Glass bowls or jars are ideal as they are non-reactive and easy to sanitize. Avoid using containers made from metal or plastic if possible, as they may react with certain ingredients or retain residues. Wash the container thoroughly with warm water and soap, and allow it to air dry or pat it dry with a clean towel before use.
Step 3. Combine Castile Soap and Water
Measure the appropriate amount of Castile soap and water according to your recipe. Typically, a ratio of 1 part Castile soap to 4 parts water works well for most uses. Pour the water into your clean mixing container first, followed by the Castile soap. Gently stir the mixture using a non-metallic utensil to avoid creating excessive foam. Make sure the two ingredients are well blended before proceeding to the next step.
Step 4. Add Aloe Vera Gel
Measure the desired amount of aloe vera gel based on your recipe. Aloe vera gel is known for its soothing and hydrating properties, making it a beneficial addition to your mixture. Slowly pour the gel into the container with the soap and water mixture. Use a non-metallic utensil to gently stir the ingredients together until the aloe vera gel is evenly incorporated. This will ensure a smooth and effective final product.
Step 5. Include Essential Oils
Choose your favorite essential oils to add fragrance and additional benefits to your mixture. Popular options include lavender for its calming properties, tea tree for its antibacterial qualities, or citrus oils for an energizing scent. Add 10-15 drops of essential oil to the mixture, adjusting the quantity based on your preference for fragrance intensity. Stir gently with a non-metallic utensil to evenly distribute the oils throughout the blend. Essential oils not only enhance the aroma but also contribute to the overall effectiveness of your final product.
Step 6. Customize with Extras
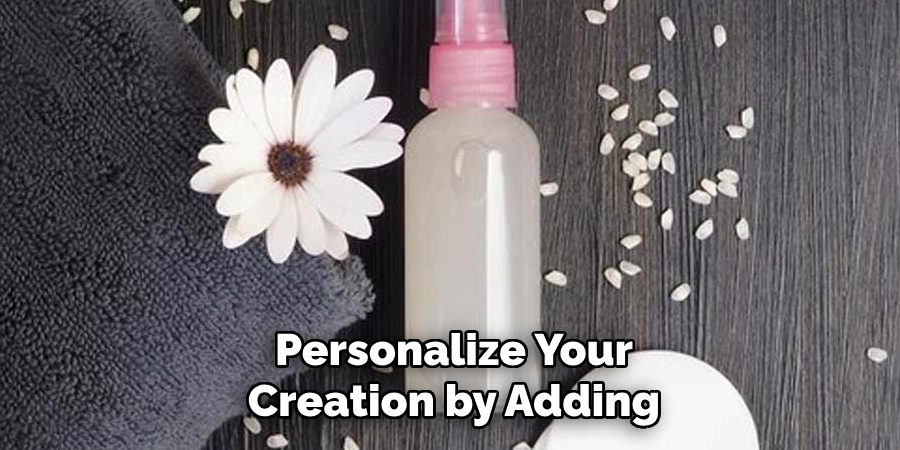
You can further personalize your creation by adding optional extras to enhance its benefits or aesthetic appeal. For a touch of luxury, consider mixing in dried flowers such as rose petals, chamomile, or calendula. These not only look beautiful but also impart additional soothing properties. If you prefer added texture and exfoliation, include natural additives like finely ground oats, sea salt, or sugar.
Additionally, you could incorporate natural colorants such as powdered mica or beetroot powder for visual appeal. Make sure to blend all extras thoroughly for an even distribution, ensuring each element complements your product’s purpose and desired effect.
Step 7. Transfer to a Pump Bottle
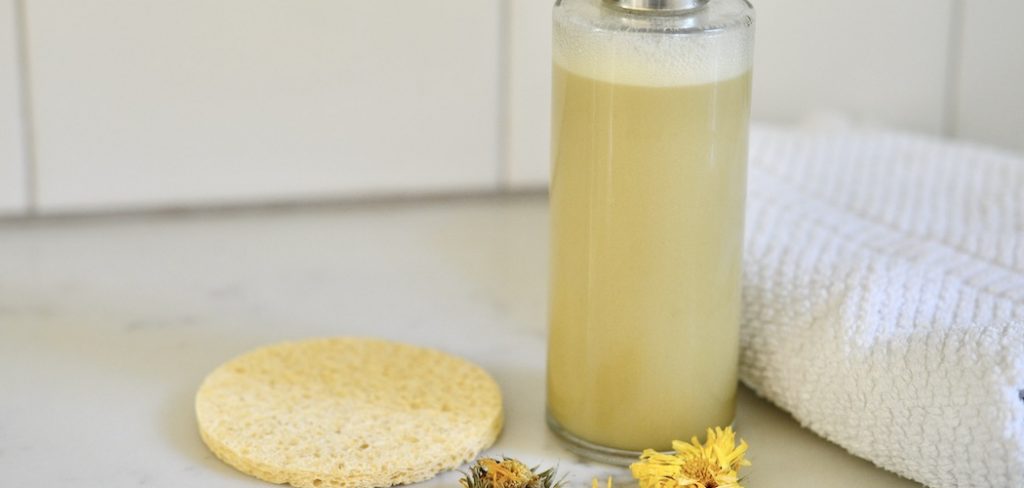
Once your mixture is fully prepared and all ingredients are well combined, carefully pour it into a clean, sterilized pump bottle. Use a funnel if needed to avoid spills and ensure precise transfer. The pump bottle helps maintain cleanliness and makes dispensing the product easier and more hygienic. Seal the bottle tightly to preserve freshness and store it in a cool, dry place. Your handcrafted product is now ready for use.
Step 8. Test on Your Skin
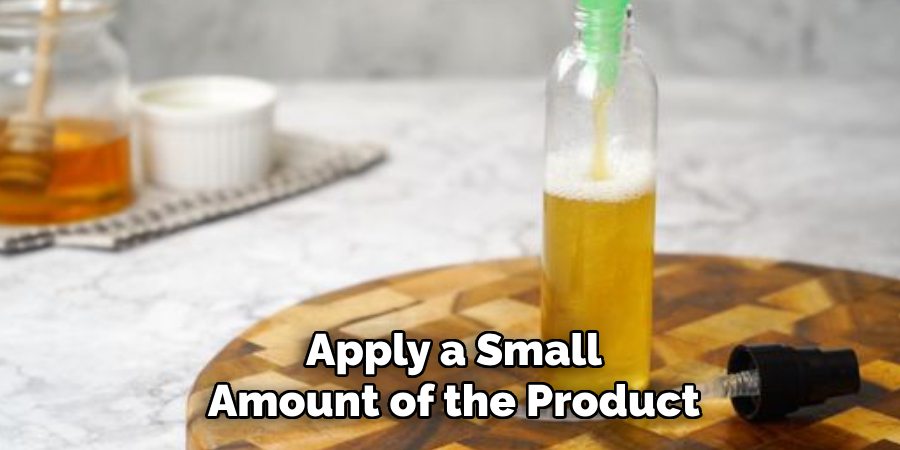
Before using your handcrafted product extensively, it’s important to perform a patch test to ensure it is safe and suitable for your skin. Apply a small amount of the product to a small area on the inside of your wrist or elbow. Allow it to sit for 24 hours and monitor the area for any signs of irritation, redness, or discomfort. If no adverse reactions occur, the product is likely safe for regular use. If irritation develops, discontinue use immediately and consider adjusting the ingredients for a better match to your skin type. Always prioritize safety when trying new products.
Step 9. Store Properly
To ensure the longevity and effectiveness of your product, store it in a cool, dry place away from direct sunlight or extreme temperatures. Use airtight containers to prevent exposure to air and humidity, which can degrade the ingredients. Proper storage not only extends the shelf life but also preserves the product’s quality and performance. Always label your containers with the date of preparation to keep track of their freshness, and check periodically for any signs of spoilage.
By following these storage guidelines, you can make the most of your product and ensure that it remains safe for use.
5 Things You Should Avoid
- Using Harsh Chemicals
Avoid incorporating harsh or synthetic chemicals like sulfates or parabens when making face wash at home. These ingredients can irritate the skin, strip away natural oils, and disrupt the skin’s pH balance.
- Adding Essential Oils Without Dilution
Undiluted essential oils can be extremely potent and may cause skin irritation or allergic reactions. Always dilute them with a carrier oil or water before use to ensure they are safe for application.
- Using Expired Ingredients
Expired or spoiled ingredients can contaminate your face wash and lead to skin issues. Always check the freshness of natural ingredients, such as aloe vera or honey, before using them.
- Skipping Patch Testing
Before applying homemade face wash, failing to perform a patch test can result in unforeseen allergic reactions. Always test a small amount on your skin to check for sensitivity before full use.
- Improper Storage of the Product
Storing your face wash in an unsuitable container or environment can cause it to spoil quickly. Use clean, airtight containers and keep them in a cool, dry place to maintain the product’s safety and effectiveness.
Conclusion
How to make face wash at home can be a rewarding and eco-friendly way to care for your skin, but it requires careful consideration and proper preparation.
Always choose natural, high-quality ingredients suited to your skin type to ensure the product is gentle and effective. Proper storage and hygiene practices are also essential to maintain the longevity and safety of your homemade face wash. Lastly, remember to patch test your product before full use to avoid potential skin irritation or allergic reactions.
By following these steps, you can enjoy a safe and personalized skincare solution.
About the Author
Jane Hubbard is a passionate beauty expert with a wealth of experience in makeup, hair, and overall beauty techniques. After years of working as a hairdresser specialist, she followed her entrepreneurial spirit and started her own consultancy business.
Jane has always been driven by her desire to help others feel confident in their own skin, and she does this by sharing her knowledge, experiences, and practical beauty tips. Through her consultancy, she empowers individuals to embrace their unique beauty, offering tailored guidance that boosts both self-esteem and personal style.
Professional Focus
Specializes in makeup, hairstyling, and beauty consulting.
Provides personalized beauty advice, tips, and techniques to help individuals feel confident in their appearance.
Dedicated to staying up-to-date with the latest industry trends and developments.
Passionate about creating a comfortable and empowering experience for every client.
Education History
University of Craft and Design – Bachelor of Fine Arts (BFA) in Woodworking and Furniture Design
Woodworking Apprenticeships – Extensive hands-on training with skilled craftsmen to refine carpentry and furniture making techniques
Online Courses & Masterclasses – Continued education in advanced woodworking techniques, design principles, and specialized tools
Expertise:
Makeup artistry, hairstyling, and beauty consulting.
Personalized beauty techniques to enhance confidence and self-expression.
Educating clients on how to maintain their beauty routines at home.