
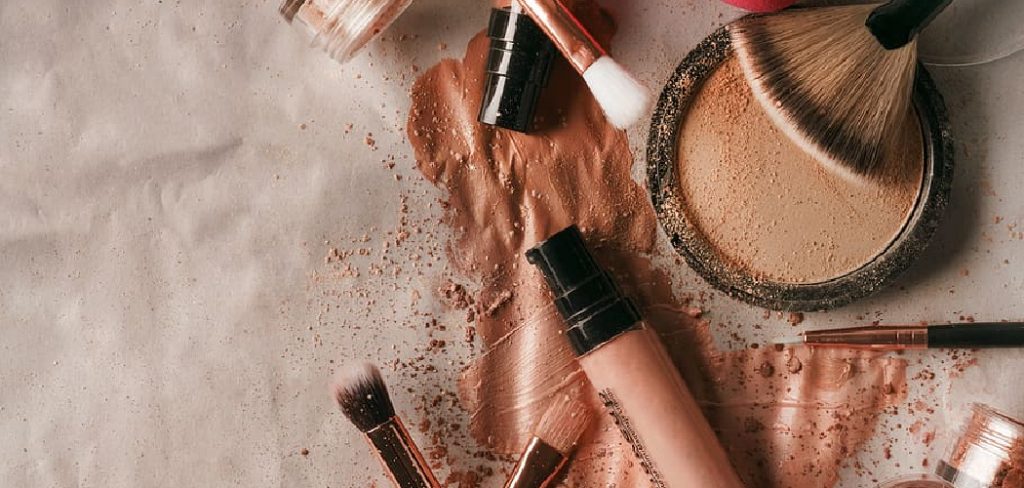
Finding the perfect foundation shade can often feel like an impossible quest. Sometimes the color is too orange, too pink, or simply too heavy for everyday wear. If you are looking for a lighter, more natural alternative that hydrates your skin while providing coverage, learning how to make foundation with lotion is a game-changer. This DIY beauty hack allows you to customize your own tinted moisturizer using products you likely already have in your makeup bag.
Not only does this save you money, but it also ensures that the ingredients sitting on your skin are familiar and trusted. By mixing your favorite moisturizer with mineral pigments or loose powder, you can create a bespoke blend that matches your unique skin tone perfectly. In this guide, we will walk you through the simple process of creating your own custom coverage, giving you a glowing, dewy finish that looks like your skin, only better.
When it comes to achieving a flawless, natural look, customization is key. Instead of relying on store-bought options that may not match your skin tone or texture, creating your own formula allows for a more tailored approach. It’s all about enhancing your natural beauty with a product that feels weightless and blends seamlessly into your skin.
Step-by-Step Guide: Creating Your Custom Blend
Step 1: Choose the Right Moisturizer Base
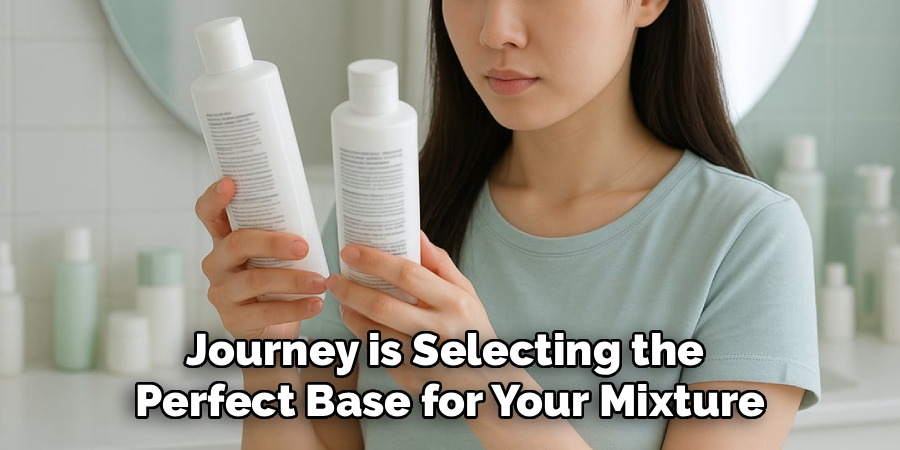
The first step in your DIY journey is selecting the perfect base for your mixture. The lotion you choose will determine the finish and longevity of your homemade foundation. For oily skin, opt for a lightweight, oil-free, or gel-based moisturizer that won’t clog pores or slide off your face by midday. If you have dry skin, a richer, creamier formula will provide the necessary hydration and create a dewy glow. Avoid lotions with heavy fragrances or active ingredients like retinol, as these might react with the pigments or cause irritation when worn all day. The goal is to find a simple, effective hydrator that absorbs well into your skin, serving as the perfect canvas for your color.
Step 2: Select Your Pigment Source
Once you have your base, you need to decide on the source of your color. You can use loose mineral powder, a powder foundation that is slightly too dark, or even scrape a bit of pressed powder from a compact. Using loose mineral powder is often the easiest method because it blends seamlessly without clumping. If you are breaking up a pressed powder, ensure you crush it into a very fine dust before mixing to avoid grainy textures. The beauty of this method is that you can mix different powder shades to get an exact match for your complexion. This customization is the primary benefit when learning how to make foundation with lotion at home.
Step 3: Prepare Your Mixing Station
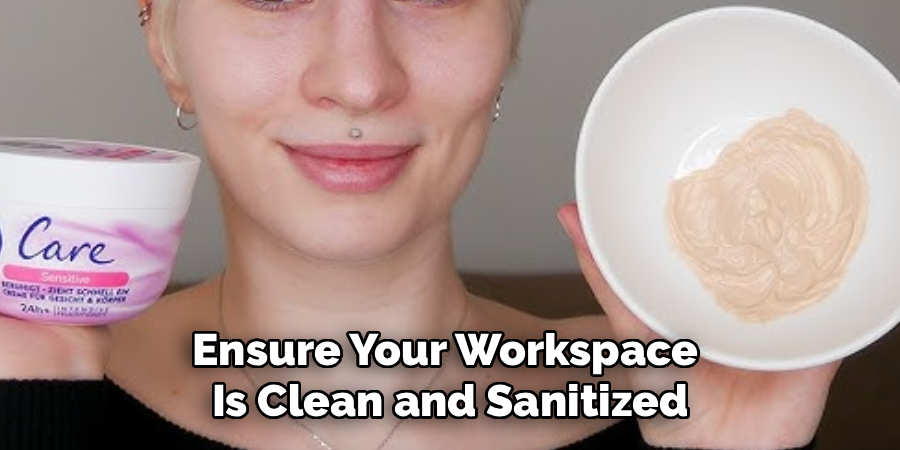
Hygiene is crucial when creating homemade beauty products. Before you begin mixing, ensure your workspace is clean and sanitized. You will need a small, clean container for mixing—an old contact lens case or a small travel jar works perfectly. You will also need a mixing tool, such as a small spatula, a clean makeup brush handle, or even a toothpick. Wash your hands thoroughly and wipe down your tools with rubbing alcohol to prevent introducing bacteria into your new makeup. Having everything organized and sterile ensures that your DIY creation remains safe to use on your face and prevents breakouts.
Step 4: Add the Lotion to the Container
Start by dispensing a small amount of your chosen moisturizer into your mixing container. It is best to start with a small batch, enough for one or two applications, until you perfect your ratios. A coin-sized amount is usually sufficient for a single full-face application. If you make too much, the preservatives in the lotion might not be effective enough to keep the mixture fresh for long periods once exposed to air and other ingredients. By working in small batches, you reduce waste and ensure that your tinted moisturizer is always fresh and effective. This also allows you to adjust the formula depending on how your skin feels that day.
Step 5: Incorporate the Pigment Gradually
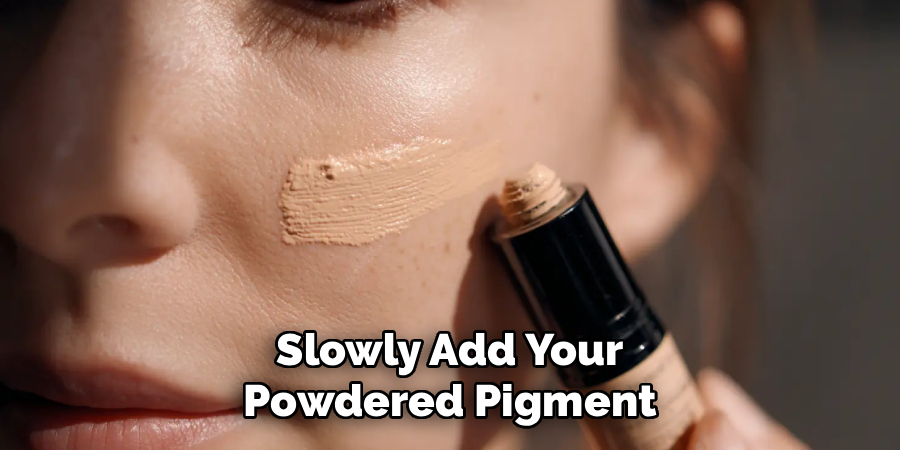
Now comes the critical part of the process. Slowly add your powdered pigment to the lotion. Do not dump it all in at once; instead, sprinkle a small amount and mix thoroughly. As you stir, you will see the white lotion transform into a colored cream. Continue adding powder until you reach your desired level of coverage and shade. If you want a sheer tint, use less powder. For fuller coverage, increase the amount of pigment. This step requires patience to ensure the powder is completely dissolved and integrated into the cream, preventing any streaks or patches when applied to your face.
Step 6: Test and Adjust the Shade
After mixing, swatch the product on your jawline to check the color match. This area is the best indicator of whether the shade blends seamlessly with your neck and face. If the color is too light, add a tiny bit more of a darker powder or a touch of cocoa powder (yes, really!) to deepen the tone. If it is too dark, add more white lotion to dilute the pigment. Adjusting the shade is where the real magic happens, allowing you to master how to make foundation with lotion that is uniquely yours. Repeat the testing process until the blend disappears into your skin, looking natural and invisible.
Step 7: Enhance with Optional Add-Ins
For an extra boost, you can customize your formula further with additional skincare ingredients. If you want a glowing, radiant finish, scrape a tiny bit of liquid or powder highlighter into the mix. For added sun protection, you could mix in a drop of facial sunscreen, though this should not replace your dedicated SPF layer. If you have very dry skin, a single drop of facial oil—like jojoba or rosehip oil—can make the texture even more luxurious. Be careful not to overcomplicate the formula; just one or two additives can elevate your DIY foundation from basic to professional quality.
Step 8: Apply and Set Your Creation
Once your mixture is perfect, apply it just as you would any other foundation or tinted moisturizer. Use your fingers for a sheer, natural application, helping the product melt into your skin with the warmth of your hands. Alternatively, use a damp beauty sponge for a more airbrushed finish. Because this product is lotion-based, it may feel slightly wetter than traditional foundation initially. Allow it a few minutes to set and absorb. If you have oily skin or prefer a matte finish, lightly dust translucent powder over your T-zone to lock everything in place and prevent shine throughout the day.
Step 9: Store or Discard Leftovers
If you have mixed a single-use batch, simply wash your container and tools immediately so they are ready for next time. If you made a larger batch to last a few days, seal the container tightly and store it in a cool, dry place away from direct sunlight. However, because you have altered the original preservative system of the lotion by introducing new ingredients and exposing it to air, it is recommended to use the mixture within one week. Watch for any changes in smell or texture, and discard it immediately if anything seems off. Freshness is key to maintaining healthy skin.
Frequently Asked Questions
Can I Use Any Type of Lotion for This?
Generally, yes, you can use most facial moisturizers. However, it is best to use a plain, white lotion without heavy tints or microbeads. Avoid body lotions as they can be too heavy for delicate facial skin and might clog pores. A simple, daily facial moisturizer works best.
Will This Mixture Clog My Pores?
If you use non-comedogenic ingredients, it should not clog your pores. Ensure both your base moisturizer and the powder you are using are safe for your skin type. If you are acne-prone, be cautious with adding oils and stick to mineral powders known for being breathable and skin-friendly.
How Long Does Homemade Foundation Last?
Since this is a DIY mixture without professional stabilizers, it has a shorter shelf life than store-bought makeup. Ideally, you should mix small batches for immediate use. If stored in an airtight container, it can last up to a week, but always check for changes in scent or texture before use.
Can I Add Sunscreen to the Mixture?
You can mix in a small amount of facial sunscreen, but do not rely on it as your sole sun protection. Mixing SPF with other products can dilute its effectiveness. It is always safer to apply a dedicated layer of broad-spectrum sunscreen underneath your DIY foundation for full protection.
Does This Provide Full Coverage?
The coverage depends entirely on the ratio of powder to lotion. A higher amount of pigment will result in medium to full coverage, while less powder creates a sheer tint. It is generally lighter than traditional liquid foundation, functioning more like a customizable BB cream or tinted moisturizer.
Conclusion
Creating your own makeup is a surprisingly simple and rewarding process. It gives you complete control over what goes on your skin, allowing you to prioritize hydration and ingredient safety while achieving a flawless look. By mastering how to make foundation with lotion, you free yourself from the frustration of mismatched shades and heavy, cakey formulas. This DIY approach is perfect for those “no-makeup” makeup days or when you need a quick fix in a pinch. Experiment with different ratios and ingredients to find your signature blend. Your skin will thank you for the lightweight, breathable coverage, and your wallet will appreciate the savings. Give it a try and discover the joy of custom beauty.
About the Author
Jane Hubbard is a passionate beauty expert with a wealth of experience in makeup, hair, and overall beauty techniques. After years of working as a hairdresser specialist, she followed her entrepreneurial spirit and started her own consultancy business.
Jane has always been driven by her desire to help others feel confident in their own skin, and she does this by sharing her knowledge, experiences, and practical beauty tips. Through her consultancy, she empowers individuals to embrace their unique beauty, offering tailored guidance that boosts both self-esteem and personal style.
Professional Focus
Specializes in makeup, hairstyling, and beauty consulting.
Provides personalized beauty advice, tips, and techniques to help individuals feel confident in their appearance.
Dedicated to staying up-to-date with the latest industry trends and developments.
Passionate about creating a comfortable and empowering experience for every client.
Education History
University of Craft and Design – Bachelor of Fine Arts (BFA) in Woodworking and Furniture Design
Woodworking Apprenticeships – Extensive hands-on training with skilled craftsmen to refine carpentry and furniture making techniques
Online Courses & Masterclasses – Continued education in advanced woodworking techniques, design principles, and specialized tools
Expertise:
Makeup artistry, hairstyling, and beauty consulting.
Personalized beauty techniques to enhance confidence and self-expression.
Educating clients on how to maintain their beauty routines at home.