
Are you tired of having dull hair? Do you want a darker, richer color without harsh chemicals? Look no further than henna!
Henna, a natural dye derived from the Lawsonia inermis plant, has been used for centuries to color hair, skin, and nails. While many adore the vibrant reddish-orange hue that henna imparts, some seek a richer, darker shade for a more dramatic effect. Achieving a deeper henna color involves a combination of selecting the right henna, preparing it correctly, and using specific techniques and additives.
Whether you want to enhance the vibrancy of your natural hair color or cover grays more effectively, understanding these methods can help you achieve the desired result. In this guide, we will explore various tips and tricks on how to make henna for hair darker, ensuring you get the most out of this age-old beauty practice.
What Will You Need?
Before we dive into the steps, let’s gather all the necessary supplies. Here’s a list of what you will need to make henna for hair darker:
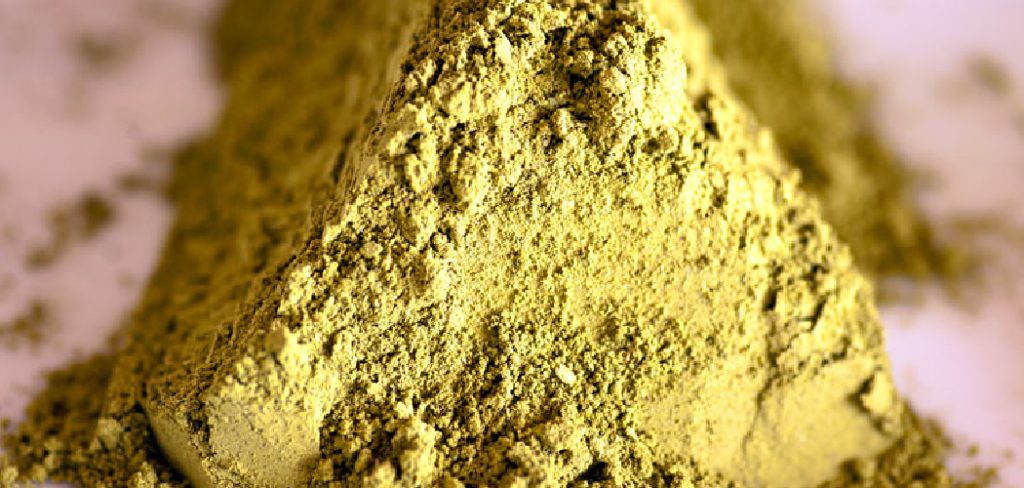
- Henna Powder: Make sure to get high-quality, pure henna powder without any additives.
- Indigo Powder: This natural dye helps create deeper shades and improve color fastness.
- Amla Powder: Amla is an Indian gooseberry traditionally used in Ayurvedic medicine. It can help darken hair.
- Lemon Juice or Apple Cider Vinegar: These acidic liquids help release the color from the henna powder.
- Boiling Water: You will need this to mix with the powders and create a paste.
- Plastic or Glass Bowl: Avoid using metal bowls, which can react with henna powder.
- Gloves: Henna can stain your hands, so gloves are essential when handling the mixture.
- Hair Dye Brush: This will help you apply the henna evenly throughout your hair.
- Shower Cap: This will keep the henna from drying out while it’s processing on your hair.
Now that we have everything ready let’s get started!
10 Easy Steps on How to Make Henna for Hair Darker
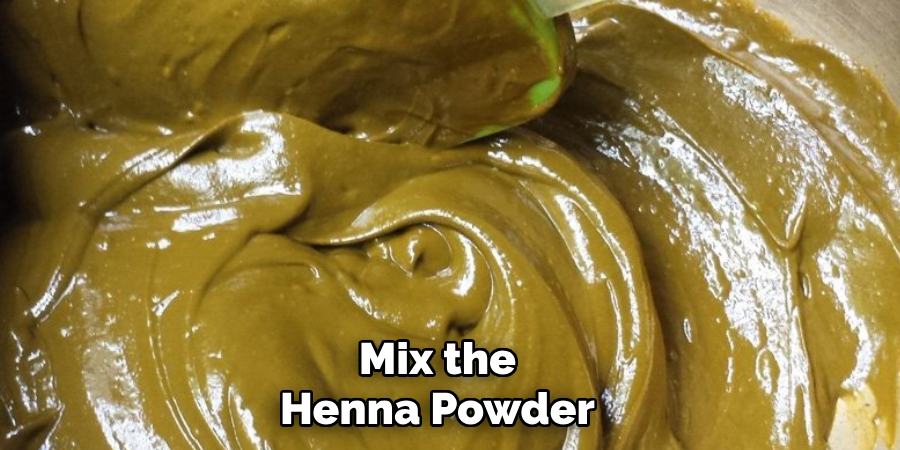
Step 1. Mix the Henna Powder:
In a plastic or glass bowl, measure out the desired amount of henna powder. The quantity needed will largely depend on the length and thickness of your hair. For those with shorter hair, about 50 grams of henna powder should suffice, whereas longer or thicker hair may require closer to 100 grams or more. Next, add a few tablespoons of either lemon juice or apple cider vinegar to the henna powder. The acidic nature of these liquids helps to effectively release the henna’s dye, ensuring a richer and more vibrant color.
Step 2. Prepare the Indigo Powder:
Separately, prepare the indigo powder. Indigo is a powerful natural dye that complements henna and helps to achieve darker shades. Like the henna, the amount of indigo will depend on your hair’s length and thickness. Mix the indigo powder with enough boiling water to create a smooth paste. Ensure the consistency is neither too thick nor too runny, resembling the texture of yogurt. Let the indigo paste sit for approximately 20-30 minutes to allow the dye to release.
Step 3. Combine Henna with Indigo:
Once both pastes are ready, it’s time to combine them. Begin by gradually adding the indigo paste to the henna mixture. Stir the mixture well to ensure the two dyes are thoroughly combined. The more indigo you add, the darker the resulting color will be. A 1:1 ratio of henna to indigo usually results in a rich brown hue, while a higher proportion of indigo will produce darker shades ranging from dark brown to black.
Step 4. Incorporate Amla Powder:
Add a tablespoon or two of amla powder to the combined mixture. Amla not only aids in darkening the hair but also promotes hair health by adding shine and improving texture. Mix the amla powder thoroughly into the henna and indigo paste. If the mixture feels too thick, add a bit more boiling water to achieve the ideal consistency, ensuring it’s spreadable but not drippy.
Step 5. Let the Mixture Rest:
Cover the bowl of the henna mixture with plastic wrap or a lid and let it sit for a few hours, or even overnight, to allow the dye to release fully. This step is crucial as it ensures maximum color saturation. If you leave it overnight, make sure to store it in a warm place. The longer the mixture rests, the more potent the color will be.
Step 6. Protect Your Skin and Clothing:
Before applying the henna mixture, it’s essential to take protective measures. Apply a thin layer of petroleum jelly or oil around your hairline, ears, and neck to prevent skin staining. Cover your shoulders with an old towel or wear an old shirt that you don’t mind getting stained. Also, make sure to put on your gloves to shield your hands from the henna dye.
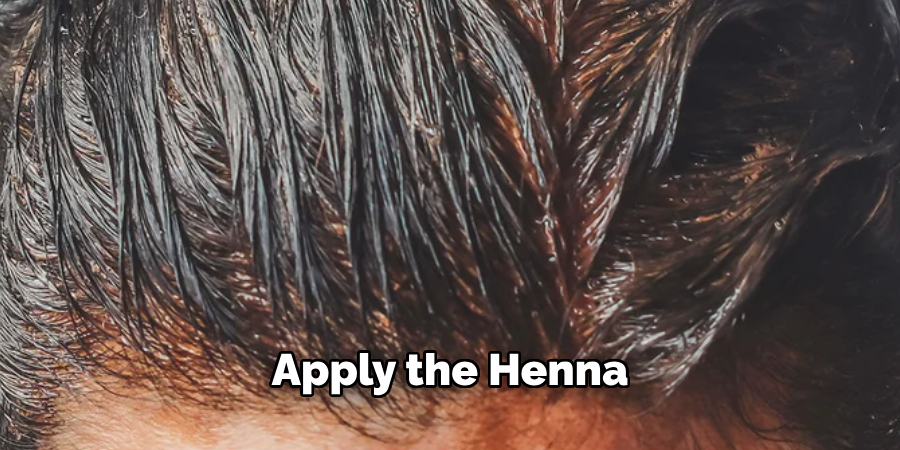
Step 7. Apply the Henna Mixture:
Using a hair dye brush, start applying the henna mixture to your hair from the roots to the tips. Section your hair to ensure even coverage and pay special attention to areas that require more color, such as gray hairs. Take time applying the mixture to ensure every strand is coated thoroughly.
Step 8. Cover Your Hair:
Once the henna mixture covers your entire head, gather your hair and cover it with a shower cap. This keeps the henna paste moist and allows for better penetration. If the henna paste dries out, it becomes less effective at dyeing the hair.
Step 9. Let the Henna Set:
Allow the henna mixture to sit on your hair for at least 3-4 hours, or even longer if you desire a deeper color. Some people prefer to leave it on overnight to achieve the darkest possible shade. The extended application time allows the dye to deeply penetrate the hair shafts, resulting in a more intense color.
Step 10. Rinse and Condition:
After the waiting period, rinse the henna mixture out of your hair with cool water. Avoid using shampoo immediately after rinsing, as it can strip away some of the new color. Instead, apply a generous amount of conditioner to help remove all traces of the henna paste. Rinse thoroughly until the water runs clear.
Now, enjoy your newly darkened, richly colored hair! The final color will continue to develop and darken slightly over the next few days.
5 Additional Tips and Tricks
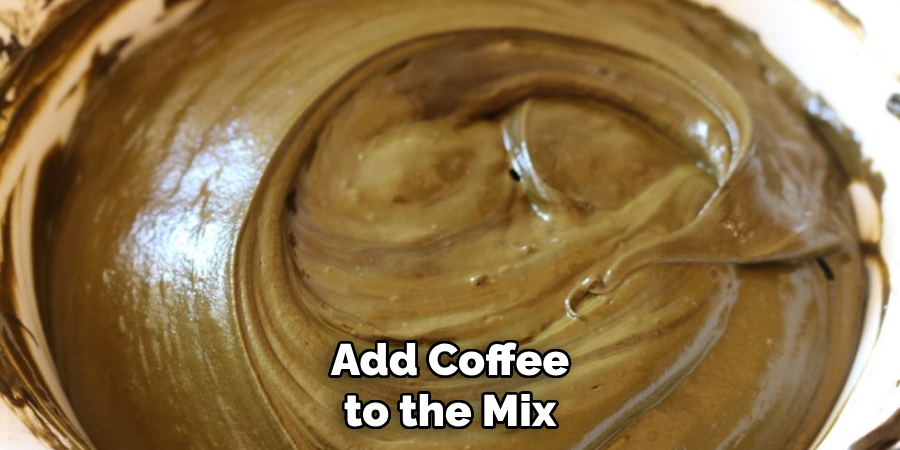
- Add Coffee to the Mix: Incorporating strong brewed coffee into your henna paste can deepen the color. The coffee’s tannins help enhance the henna’s richness, giving it a darker hue.
- Use Black Tea Instead of Water: Preparing your henna with black tea instead of plain water can significantly impact the final shade. The extra tannins in the tea contribute to a deeper, more vibrant color.
- Mix with Indigo: For those aiming for an even darker shade, mixing henna with indigo powder can achieve a rich, dark brown-to-black color. The ratio of henna to indigo will determine the exact shade.
- Add Amla Powder: Amla powder can not only boost the dye’s color but also enhance the longevity of the henna stain. Mix a few teaspoons of amla powder into the henna paste for better results.
- Allow the Paste to Sit Longer: Before applying, let the henna paste sit for at least 8-12 hours to release the dye fully. The longer the paste rests, the more the dye will activate and result in a darker color when applied to your hair.
With these additional tips and tricks, you can achieve a more intense and long-lasting henna hair color.
5 Things You Should Avoid
- Avoid Metal Bowls and Utensils: When mixing your henna paste, refrain from using metal bowls or utensils. Metal can react with the acidic components in the henna, which might alter the dye’s effectiveness and the final color.
- Don’t Use Conditioner Before Application: Applying conditioner before using henna can create a barrier on your hair, preventing the henna from adhering properly and producing a less vibrant color. Ensure your hair is clean and free of product buildup before applying henna.
- Skipping the Patch Test: Always perform a patch test before applying henna to your entire head. Skipping this step can lead to allergic reactions or unforeseen color results. A patch test helps ensure the henna mixture suits your skin and hair type.
- Avoid Washing Out Henna Too Soon: Patience is key when using henna. Washing out the paste too early can lead to underdeveloped color. To achieve a richer shade, leave the henna on your hair for at least 4-6 hours or even overnight if possible.
- Exposing Henna Paste to Air for Too Long: While letting the henna paste sit is important, exposing it to air for too long can dry it out and make it less effective. Keep the paste covered with plastic wrap or a plastic bag to retain its moisture until you’re ready to apply it.
Avoiding these common mistakes can ensure a successful and satisfying henna hair dye experience.
Conclusion
Achieving a deep, rich color with henna requires careful preparation and patience. By incorporating specific ingredients like coffee, black tea, or indigo and allowing the henna paste to rest adequately, you can enhance the darkness and vibrancy of the final result.
Additionally, following protective measures and avoiding common pitfalls can significantly improve your henna dye experience. With these tips and tricks on how to make henna for hair darker, you can confidently transform your hair, knowing that each step brings you closer to the darker, more intense shade you desire.
Remember that henna is not just a dye but a nurturing treatment that can lead to healthier, more beautiful hair.
About the Author
Jane Hubbard is a passionate beauty expert with a wealth of experience in makeup, hair, and overall beauty techniques. After years of working as a hairdresser specialist, she followed her entrepreneurial spirit and started her own consultancy business.
Jane has always been driven by her desire to help others feel confident in their own skin, and she does this by sharing her knowledge, experiences, and practical beauty tips. Through her consultancy, she empowers individuals to embrace their unique beauty, offering tailored guidance that boosts both self-esteem and personal style.
Professional Focus
Specializes in makeup, hairstyling, and beauty consulting.
Provides personalized beauty advice, tips, and techniques to help individuals feel confident in their appearance.
Dedicated to staying up-to-date with the latest industry trends and developments.
Passionate about creating a comfortable and empowering experience for every client.
Education History
University of Craft and Design – Bachelor of Fine Arts (BFA) in Woodworking and Furniture Design
Woodworking Apprenticeships – Extensive hands-on training with skilled craftsmen to refine carpentry and furniture making techniques
Online Courses & Masterclasses – Continued education in advanced woodworking techniques, design principles, and specialized tools
Expertise:
Makeup artistry, hairstyling, and beauty consulting.
Personalized beauty techniques to enhance confidence and self-expression.
Educating clients on how to maintain their beauty routines at home.