
Are you looking to get creative and learn how to make your homemade henna? Do you need to have henna powder on hand? Don’t worry; you can create beautiful designs using all-natural ingredients! In this blog post, we’ll share tips and tricks on how to make homemade henna without henna powder, creating gorgeous homemade henna without buying a single drop of henna powder.
We’ll cover everything from trying out different fabrics as an alternative materials, which herbs work best in homemade mixtures, and what kinds of tools are ideal when crafting your design. If you’ve ever wanted to become a master at traditional Indian mehndi art without having the necessary supplies or expertise – then keep reading!
Necessary Items
To create your homemade henna without the traditional powder, you will need a few key ingredients and tools to get started. Here is a list of necessary items:
- Coffee or tea (for darkening effects)
- Sugar (to help keep the mixture moist)
- Lemon juice (helps release color from herbs)
- Strainer
- Mixing bowl
- Spoon or spatula
- Piping cones or small plastic bags (for application)
- Toothpick (to help with creating detailed designs)
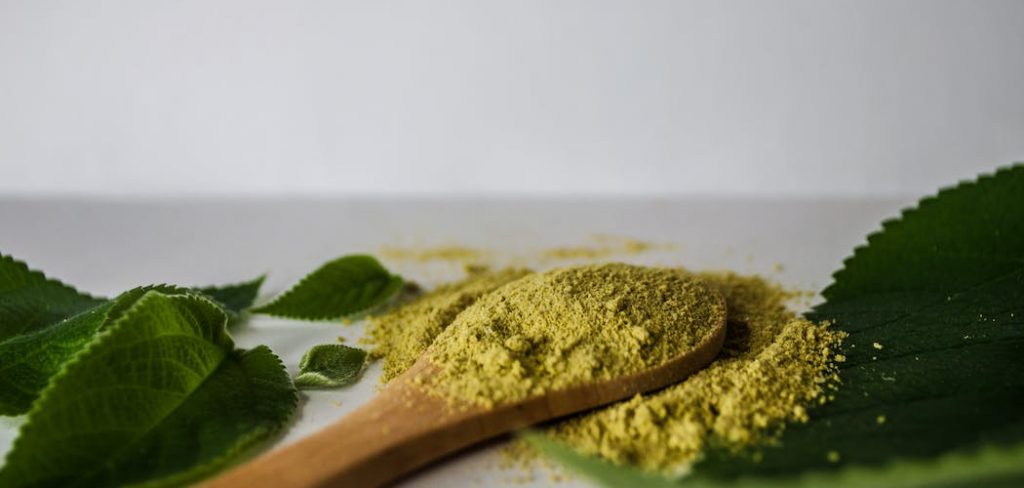
- 100% natural henna leaves or herbs such as turmeric, paprika, cloves, or indigo (we will go into more detail on these later)
10 Steps on How to Make Homemade Henna Without Henna Powder
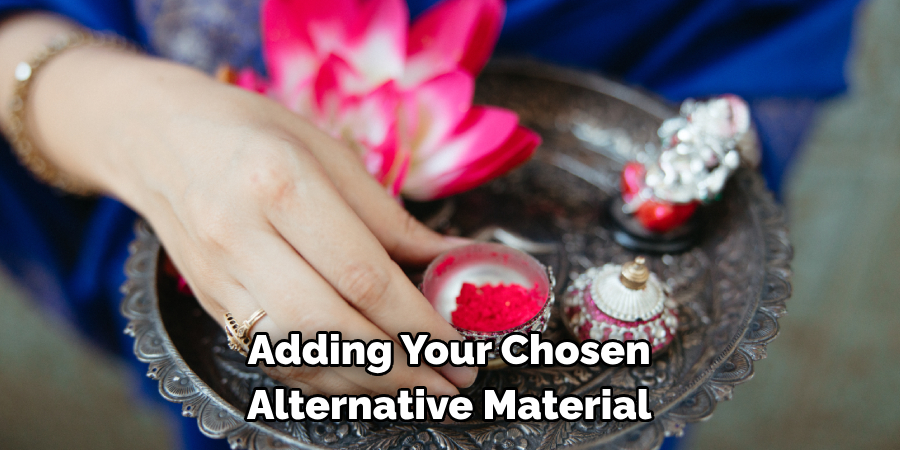
1. Adding Your Choice of Alternative Materials
The first step is adding your chosen alternative material into a mixing bowl. Depending on your desired color and intensity, you can choose from natural henna leaves or herbs such as turmeric, paprika, cloves, or indigo.
2. Boiling Your Materials
Next, add boiling water to the mixing bowl containing your chosen material. Allow the mixture to cool down until it becomes room temperature.
3. Straining the Mixture
Once the mixture has cooled down, a filter separates the liquid from any remaining particles or debris.
4. Adding Coffee or Tea for Darkening Effects
Add coffee or tea to the mixture to achieve a darker color and stir well. The amount added will depend on the intensity of color you are looking for.
5. Adding Lemon Juice for Color Release
Adding a small amount of lemon juice into the mixture can help release more color from the herbs and create a richer hue.
6. Sweetening with Sugar
To prevent your homemade henna from drying out, adding sugar to the mixture can help keep it moist and easy to work with.
7. Mix Well
Stir all the ingredients together until you achieve a smooth consistency. If the mixture is too thick, add small amounts of water or more lemon juice to thin it out.
8. Let the Mixture Rest
Allow your henna mixture to rest for at least 2-3 hours before use. This will allow the color to develop and deepen.
9. Preparing Your Piping Cones or Plastic Bags
While your mixture is resting, prepare your piping cones or small plastic bags for application. Cut a small hole at the bottom corner for precision if using plastic bags.
10. Time to Apply!
Once your henna mixture is ready and your piping cone or plastic bag is prepared, it’s time to create your design! Use a toothpick to help with intricate details, and allow your design to dry for at least 4-6 hours before washing it off.
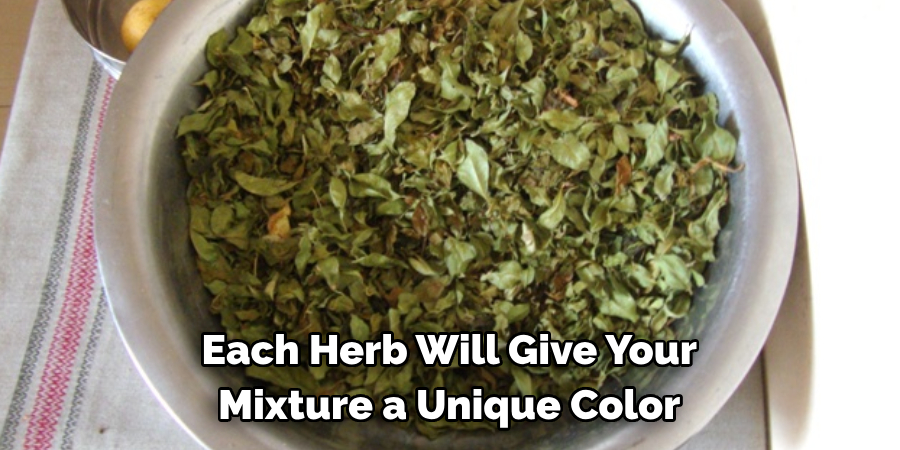
Now that you know the basic steps to make homemade henna without henna powder, don’t be afraid to experiment with different herbs and fabrics. Each herb will give your mixture a unique color and scent, while different fabrics can impact the final result of your design. Have fun, and let your creativity flow!
8 Additional Tips for Homemade Henna Application
1. Store in an Airtight Container
To prevent your homemade henna mixture from drying out, store it in an airtight container and keep it in the refrigerator until use. This will help it last longer.
2. Practice on Paper First
If you’re new to the henna application, practice your designs on paper first. This will give you a feel for how the mixture flows and help you perfect your technique before applying it to the skin.
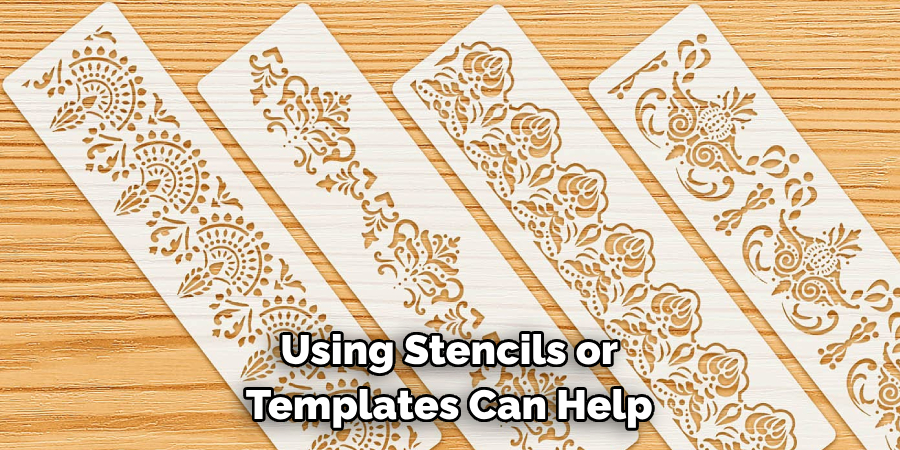
3. Use Stencils or Templates
For those who may not have steady hands, using stencils or templates can help create a flawless and symmetrical design.
4. Experiment with Different Designs
Feel free to try out different designs and patterns. Henna is all about creativity and self-expression, so have fun and see what you can come up with!
5. Avoid Using Water on the Design Until It’s Completely Dry
To prevent smudging or ruining your design, avoid using water on it until it has completely dried and set. This usually takes around 4-6 hours.
6. Apply a Protective Coating
Once your design is dry, apply a protective coating of lemon juice and sugar mixture to help it last longer.
7. Use Natural Oils to Remove Henna from Skin
If you’re ready to remove your henna design, avoid using harsh chemicals and opt for natural oils such as olive or coconut. This will help gently peel off the top layer of skin and remove leftover henna.
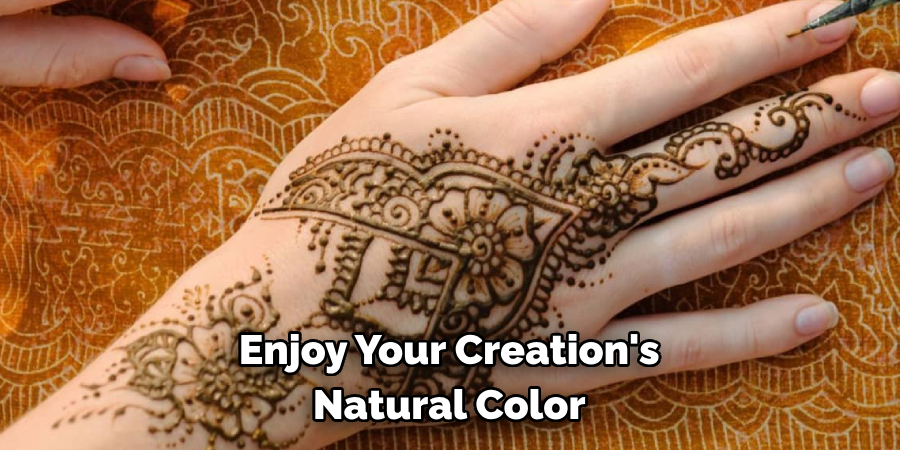
8. Enjoy Your Homemade Henna Design!
Now that you’ve successfully made your homemade henna without henna powder, it’s time to show off your beautiful design. Enjoy your creation’s natural color and scent while it lasts (usually 1-2 weeks).
Overall, creating homemade henna without traditional henna powder is a fun and creative process that allows experimentation with various materials and herbs. With these simple tips and tricks, anyone can become a master of traditional Indian mehndi art.
Frequently Asked Questions
Can I Use Any Type of Herbs for Homemade Henna?
Yes, you can use a variety of herbs, such as turmeric, paprika, cloves, or indigo. Each herb will give a unique color and scent to your mixture.
How Long Will Homemade Henna Last?
Homemade henna designs usually last 1-2 weeks, depending on factors such as application technique and how well the design is protected.
Can I Leave the Henna Design on for Longer Than 6 Hours?
It’s recommended to leave the henna design on for at least 6 hours to allow it to fully dry and set. Leaving it on longer may result in a darker color, but it’s important to ensure the design is arid before removing it.
Will My Henna Design Stain My Skin?
Yes, henna contains natural dyes that will temporarily stain your skin. The intensity of the stain will depend on factors such as application technique and how well the design is protected. The stain will fade over time as your skin naturally sheds its top layer of skin cells. So, there’s no need to worry about permanently staining your skin.
Can I Use Henna on Sensitive Skin?
While henna is generally safe for all skin types, it’s always important to do a patch test first if you have sensitive skin or any known allergies to herbs. Apply a small amount of the henna mixture on your inner arm and wait 24 hours to see any reaction before proceeding with a full design.
Is Homemade Henna Safe for Pregnant Women?
It’s always best to consult a doctor before using homemade remedies during pregnancy. While natural henna is generally safe, some women may be sensitive to herbs and should avoid using it during pregnancy.
Can I Wash My Homemade Henna Design Off with Water?
Waiting 4-6 hours before washing off your henna design is recommended. This will allow the color to develop and set fully. If you accidentally get water on your design before it fully dries, gently pat it with a paper towel and let it continue to dry.
Where Can I Find Piping Cones or Plastic Bags for Henna Application?
Piping cones can be found at most craft stores or online. You can easily make your own using plastic bags by cutting the bottom corner of a small sandwich bag. Just make sure the hole is small enough for precision application.
Conclusion
Homemade henna is a natural and fun alternative to traditional henna powder. You can create your unique mixture with just a few simple ingredients and experiment with various herbs for different colors and scents. By following these tips and tricks on how to make homemade henna without henna powder, you can easily become a pro at creating beautiful henna designs at home. With the right materials and instructions, anyone can make their own homemade henna without henna powder.
Remember that no two DIY batches of henna will be the same—so embrace your creations and take pride in the fact that you crafted this beautiful body art yourself! If you want to give it a go, save this information or bookmark this page so you can easily return to the instructions whenever you’re ready to start creating. From mixing various ingredients to finding unique ways to share your body art, let’s make getting creative with homemade henna not only a fun activity but an empowering one, too! So go ahead and unleash your creativity with homemade henna!
About the Author
Jane Hubbard is a passionate beauty expert with a wealth of experience in makeup, hair, and overall beauty techniques. After years of working as a hairdresser specialist, she followed her entrepreneurial spirit and started her own consultancy business.
Jane has always been driven by her desire to help others feel confident in their own skin, and she does this by sharing her knowledge, experiences, and practical beauty tips. Through her consultancy, she empowers individuals to embrace their unique beauty, offering tailored guidance that boosts both self-esteem and personal style.
Professional Focus
Specializes in makeup, hairstyling, and beauty consulting.
Provides personalized beauty advice, tips, and techniques to help individuals feel confident in their appearance.
Dedicated to staying up-to-date with the latest industry trends and developments.
Passionate about creating a comfortable and empowering experience for every client.
Education History
University of Craft and Design – Bachelor of Fine Arts (BFA) in Woodworking and Furniture Design
Woodworking Apprenticeships – Extensive hands-on training with skilled craftsmen to refine carpentry and furniture making techniques
Online Courses & Masterclasses – Continued education in advanced woodworking techniques, design principles, and specialized tools
Expertise:
Makeup artistry, hairstyling, and beauty consulting.
Personalized beauty techniques to enhance confidence and self-expression.
Educating clients on how to maintain their beauty routines at home.