
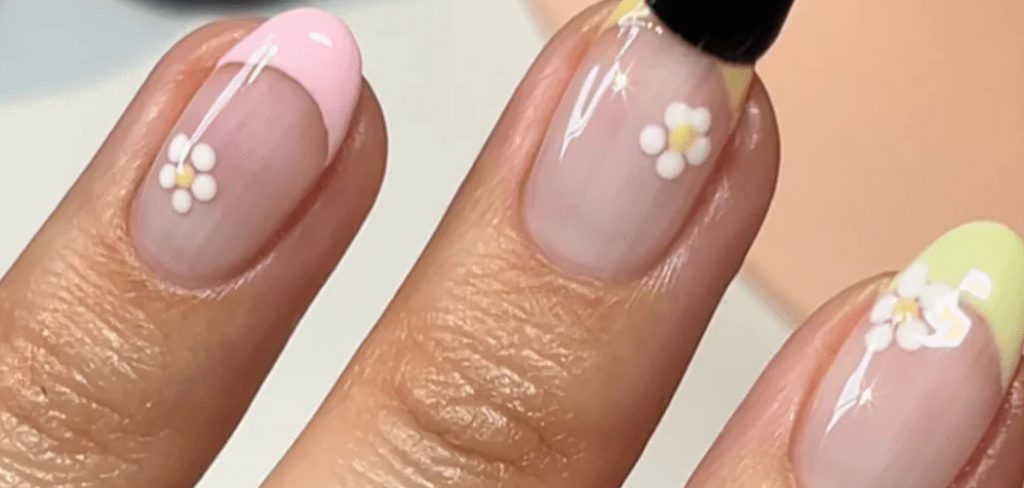
Nail art is a fun and creative way to express your personal style through colorful and intricate designs on your nails. Whether you’re a beginner or a seasoned pro, creating nail art can be a rewarding experience that allows you to showcase your artistic side.
With just a few tools, some practice, and a little imagination, you can transform your nails into tiny works of art that stand out and make a statement. This guide on how to make nail art designs will walk you through the basics of nail art and provide tips to help you bring your unique designs to life.
What is Nail Art?
Nail art is the practice of decorating and enhancing nails with various designs, patterns, and embellishments. It goes beyond the traditional application of nail polish, incorporating techniques like stamping, freehand painting, and the use of accessories such as glitter, rhinestones, and decals. Nail stickers designs art allows individuals to experiment with colors, textures, and themes to create designs that reflect their personality or suit specific occasions.
Originating as a form of self-expression, nail art has grown into a global trend and an integral part of the fashion and beauty industries, offering endless possibilities for creativity.
Basic Tools for Nail Art
If you’re just starting out with nail art, it’s important to have the basic tools and materials on hand before you begin. Here are some essential items that you will need:
- Nail Polish in Various Colors
- Thin Nail Art Brushes or Toothpicks for Creating Fine Lines and Details
- Dotting Tools for Making Dots and Other Circular Designs
- Tape or Stickers for Creating Clean and Precise Lines
- Glitter, Pearls, Rhinestone Gems, and Other Accessories for Added Flair
- Top Coat and Base Coat to Protect Your Design and Make It Last Longer
You can also invest in a nail art kit, which usually includes all the necessary tools and materials in one convenient package.
8 Step-by-step Guidelines on How to Make Nail Art Designs
Step 1: Prepare Your Nails
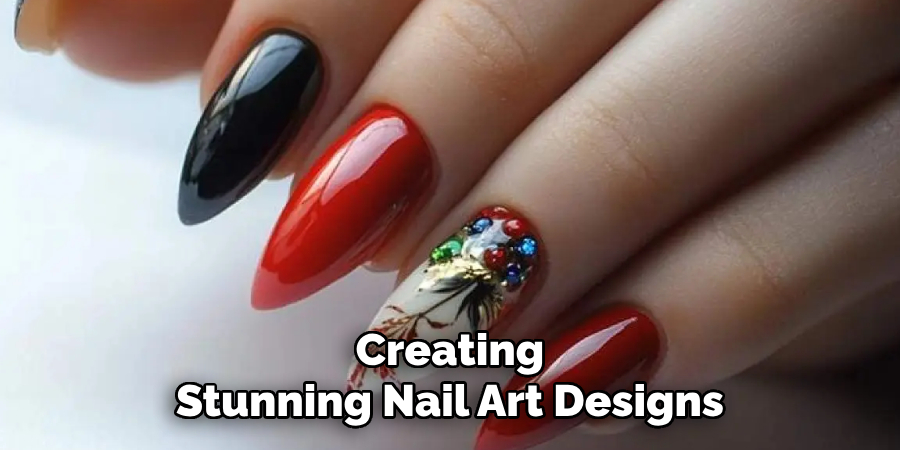
The first step in creating stunning nail art designs is to properly prepare your nails. Start by removing any old nail polish with a gentle nail polish remover. Next, trim and file your nails to your desired shape, whether it’s square, oval, almond, or stiletto. Be sure to buff the surface of your nails to smooth any ridges and create a better base for your design.
Push back your cuticles gently using a cuticle pusher, as this will provide more space for your nail art and give a clean, polished look. Finally, wash your hands and nails thoroughly to remove any oil or residue, and apply a base coat to protect your nails and ensure that your design lasts longer. Proper preparation sets the foundation for a neat and professional finish.
Step 2: Choose a Design
The next step is to choose the design you want to create on your nails. This could be anything from simple polka dots or stripes to intricate floral or geometric patterns. You can find inspiration for designs online, in magazines, or even by observing nature and everyday objects around you.
If you’re just starting out, keep it simple with basic designs and gradually work your way up to more complex ones. It’s also helpful to have a picture of the design you want to create as a reference while working on your nails.
Step 3: Pick Your Colors
Nail art allows you to play with an array of colors and combinations. Choose colors that complement each other or create a contrast for a more eye-catching effect. You can also use different shades of the same color for a monochromatic design or opt for bold and bright hues for a statement-making look.
The key is to choose colors that speak to your personal style and make you feel confident.
Step 4: Apply the Base Color
Once you have selected your design and colors, it’s time to apply the base color to your nails. The base color serves as the foundation for your nail art and can make a big difference in how the final design looks.
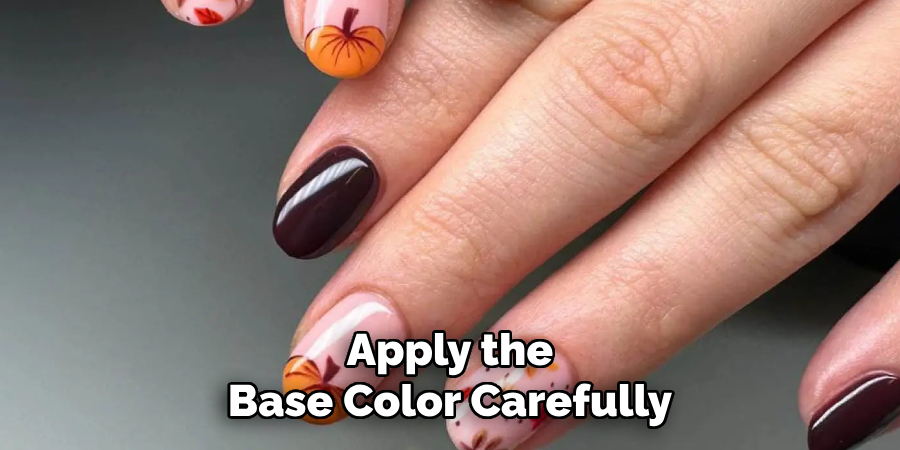
Start by painting each nail with an even coat of your chosen base color, using smooth and consistent strokes to prevent streaking. Allow the first coat to dry completely before applying a second coat for a richer, more opaque finish.
Make sure to apply the base color carefully, avoiding the skin around your nails for a clean finish. If you do happen to get some polish on your skin, you can clean it up later with a small brush dipped in nail polish remover. Once the base color is fully dry, you’re ready to move on to the next step of your nail art design!
Step 5: Create Your Design
This is where the fun starts! Using your chosen tools and techniques, carefully create your design on top of the base color. You can use tape or stickers to create clean lines, dotting tools for polka dots or other circular designs, and thin brushes or toothpicks for intricate details and patterns.
Take your time and be patient as you work on each nail, ensuring that you have even coverage and clean edges. If you make a mistake, don’t worry – it’s all part of the learning process. You can always remove any excess polish with a small brush dipped in nail polish remover.
Step 6: Add Embellishments
Once your design is complete and the polish is dry, you can elevate your nail art by adding embellishments. Accessories like rhinestones, pearls, glitter, or nail stickers can add a striking, three-dimensional effect to your nails.
Use tweezers or a precision tool to place the embellishments carefully onto your design. If you’re using rhinestones or other small decorations, apply a small amount of nail glue or a clear top coat to the base to ensure they adhere securely.
Be creative and thoughtful with placement, making sure the embellishments complement your design instead of overwhelming it. For a subtle look, stick to a few accents, or go all-out for a bold, glamorous effect. Once all embellishments are in place, allow some time for them to settle before moving on to the final steps. This additional layer of detail will make your nails stand out and give them a professional, polished finish.
Step 7: Apply a Top Coat
Protect your design and make it last longer by applying a top coat. A clear top coat adds shine, seals in color, and protects your nail art from chipping or fading. Apply the top coat carefully over each nail, making sure to cover all areas of your design. You can also use a matte top coat for a more subtle look.
Allow the top coat to dry completely before moving on to the final step.
Step 8: Clean Up Any Excess Polish
Now that your design is complete take some time to clean up any excess polish on your skin or cuticles using a small brush dipped in nail polish remover. This will give your nails a clean and professional finish. Once you’re done, moisturize your hands and cuticles to keep them healthy and hydrated.
Following these steps on how to make nail art designs will help you create stunning nail art designs that are sure to turn heads.
With practice and patience, you can master the art of creating beautiful and unique designs on your nails. Have fun experimenting with different colors, techniques, and styles to find what works best for you. Show off your creativity and let your nails be a canvas for self-expression. Happy designing!
Tips for Creating Nail Art Designs
Now that you have your tools ready, here are some tips to help you create beautiful nail art designs:
- Start with a clean and dry canvas – make sure to remove any previous nail polish and oils from your nails before starting.
- Experiment with different tools and techniques to create unique designs. You can use everyday objects like toothpicks, bobby pins, or even makeup sponges as alternative tools for creating patterns and textures.
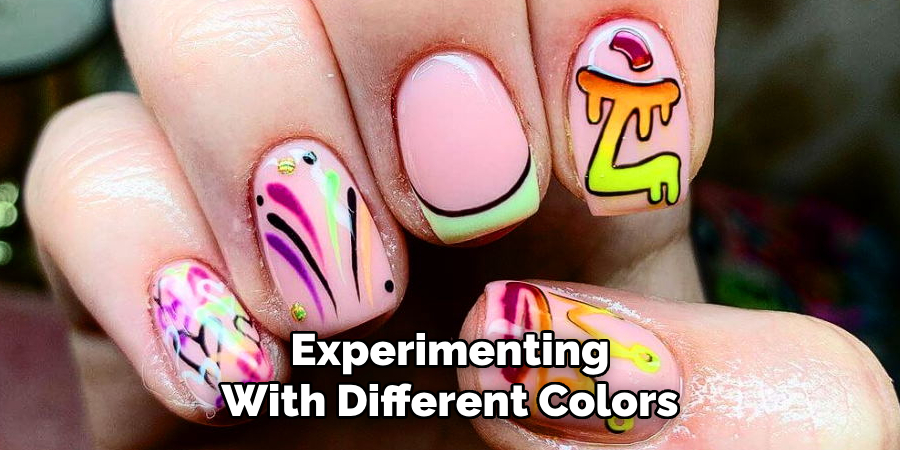
- Don’t be afraid to mix colors and experiment with different color combinations. You never know what stunning design you might come up with!
- Practice makes perfect – don’t get discouraged if your first few attempts don’t turn out the way you want them to be. With time and practice, you’ll become more skilled at creating intricate designs on your nails.
- Have fun and be creative – there are no rules when it comes to nail art, so let your imagination run wild and create designs that reflect your personal style and personality. Happy designing!
Conclusion
Creating beautiful nail art designs is a fun way to express yourself and add some flair to your style. With these step-by-step guidelines on how to make nail art designs, you can easily create stunning designs on your own.
Remember to have patience, practice, and, most importantly – have fun! Explore a variety of trendy nail sticker designs that are perfect for adding a stylish touch to your manicure with ease. Happy nail art-ing!
About the Author
Jane Hubbard is a passionate beauty expert with a wealth of experience in makeup, hair, and overall beauty techniques. After years of working as a hairdresser specialist, she followed her entrepreneurial spirit and started her own consultancy business.
Jane has always been driven by her desire to help others feel confident in their own skin, and she does this by sharing her knowledge, experiences, and practical beauty tips. Through her consultancy, she empowers individuals to embrace their unique beauty, offering tailored guidance that boosts both self-esteem and personal style.
Professional Focus
- Specializes in makeup, hairstyling, and beauty consulting.
- Provides personalized beauty advice, tips, and techniques to help individuals feel confident in their appearance.
- Dedicated to staying up-to-date with the latest industry trends and developments.
- Passionate about creating a comfortable and empowering experience for every client.
Education History
- University of Craft and Design – Bachelor of Fine Arts (BFA) in Woodworking and Furniture Design
- Woodworking Apprenticeships – Extensive hands-on training with skilled craftsmen to refine carpentry and furniture making techniques
- Online Courses & Masterclasses – Continued education in advanced woodworking techniques, design principles, and specialized tools
Expertise:
- Makeup artistry, hairstyling, and beauty consulting.
- Personalized beauty techniques to enhance confidence and self-expression.
- Educating clients on how to maintain their beauty routines at home.