
Are you a creative crafter looking for ways to mix up your designs? One of the most popular trends in crafting right now is using cat eye nail polish! Adding a little extra pizzazz to your DIY crafts can be easier than you think! Cat eye nail polishes are the perfect way to spice up any of your handmade projects, no matter how basic or complex. Cat eye nails have become all the rage and they can be used to add amazing detail and fun dimension to almost any project.
With just a few simple steps on how to use cat eye nail polish, you’ll be able to take even the most mundane items and transform them into works of art with an amazing unique color shift effect. Plus, cat eye-style gel polishes come in a variety of bright colors that are sure to turn heads when people see your finished product! Get ready to learn all about how useful this type of polish is for crafty folks everywhere – so grab some supplies and read on!
What is Cat Eye Nail Polish?
Cat eye nail polish is a type of specialty gel nail polish that’s formulated with magnetic particles in it. When used in combination with a special magnet, the molecules within the polish line up and create unique patterns and designs on your nails or other materials you’re working with. The effect is a cool color-shifting design that looks like a cat’s eye.
The Benefits of Using Cat Eye Nail Polish
1. Different Shades
Because of the wide variety of colors and effects, you can get from using cat eye nail polishes, there are plenty of benefits to crafting with them. For starters, the range of hues and shades is almost endless, so you can mix and match different colors to create a one-of-a-kind design. Additionally, the magnetic particles within the polish allow you to create special effects like marbling, swirls, and even 3D designs.
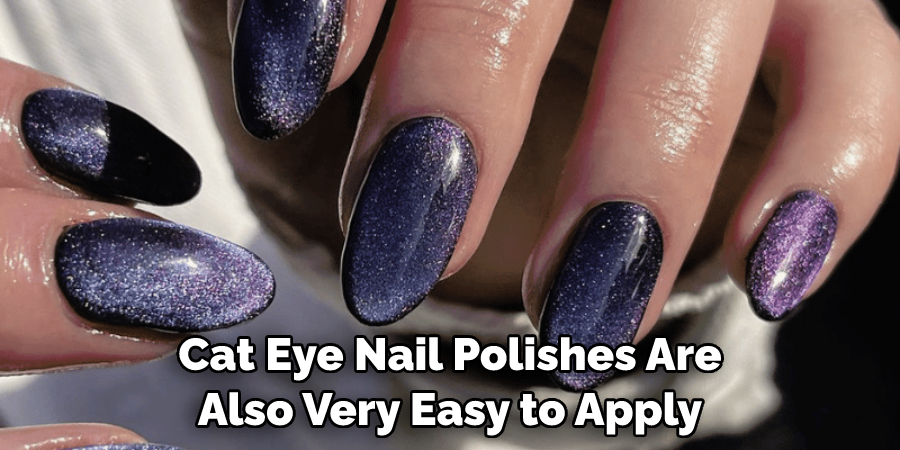
2. Easy to Apply
Cat eye nail polishes are also very easy to apply. All you need is a thin brush for detailed work or a sponge applicator for larger surfaces. Once applied, the polish will dry quickly, so you don’t have to wait very long.
3. Long-Lasting Results
The magnetic particles in cat eye nail polishes also make them extremely long-lasting and durable once they’re on your project. Once it’s dry, the polish won’t chip or fade and can last up to several weeks with proper care.
Required Items
In order to use cat eye nail polish, you will need the following items:
- A base coat of clear nail polish
- A cat eye magnetic nail polish
- A top coat of clear nail polish
- Cotton swabs or Q-tips
10 Instructions on How to Use Cat Eye Nail Polish
1. Use a Base Coat
Start off by using a base coat of clear nail polish on your nails. Allow it to dry completely before moving on to the next step. Start with clean, dry nails for best results.
2. Apply Cat Eye Nail Polish
Apply the cat eye nail polish as you would any other type of nail polish, using a thin layer over your base coat. The magnetic particles will create a pattern on the surface of the nail polish while it’s still wet.
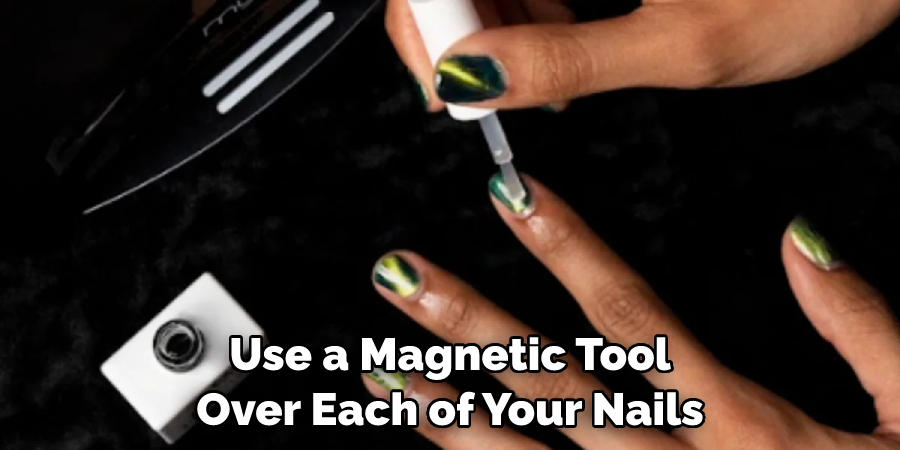
3. Use a Magnetic Tool
Now that the cat eye nail polish is wet and applied to your nails, you need to use a magnetic tool over each of your nails. This will help create the desired swirl or line pattern as it reacts with the magnetized particles in the nail polish.
4. Wait for Nail Polish to Dry
Once you have created the magnetic design on each nail, you will need to wait a few minutes for the cat eye nail polish to dry. Wait until the polish is completely dry before you move on to the next step.
5. Clean Up Nail Polish Around Cuticles
After your cat’s eye nail polish is dry, use a cotton swab or Q-tip dipped in remover to clean up any excess nail polish around your cuticles. This will help give your manicure a neat, finished look.
6. Apply a Top Coat of Clear Nail Polish
Once your nails are clean and dry, apply a top coat of clear nail polish over the entire surface of each nail. This will help protect the magnetic design that you have created and keep your manicure looking fresh for longer.
7. Wait for Top Coat to Dry
Allow your top coat of clear nail polish to dry completely. This will help seal in the magnetic design and ensure that it stays in place. Waiting for the top coat to dry will also help prevent smudging or transferring of the design.
8. Apply Cuticle Oil
Once your top coat of clear nail polish has dried, apply cuticle oil around the edges of each nail for a neat and finished look. This will help nourish your nails and keep them looking healthy. Applying cuticle oil is an important step in any manicure, but especially in a cat eye manicure.
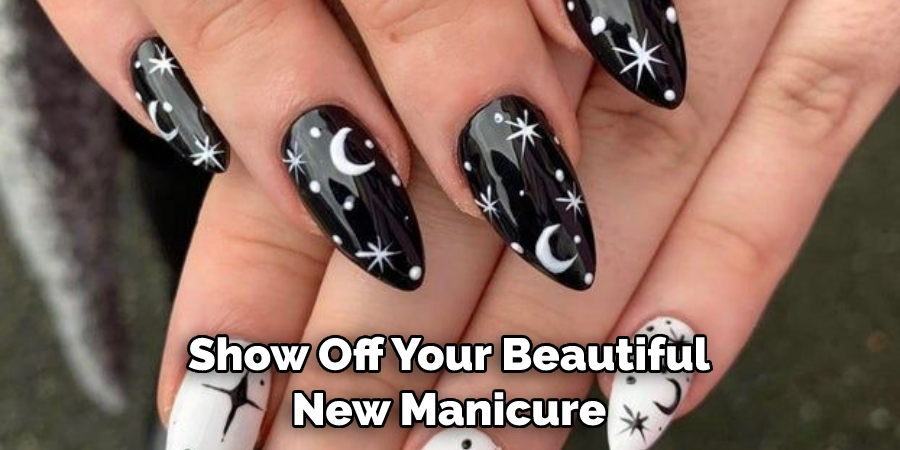
9. Show Off Your Manicure
Once you have followed all the necessary steps to apply your cat eye nail polish, it’s time to show off your beautiful new manicure! Admire your work and enjoy the unique design that you have created.
10. Remove Cat Eye Nail Polish Properly
When it’s time to change your manicure, be sure to remove your cat eye nail polish properly. Start by soaking a cotton ball or pad in remover and then gently press the soaked cotton onto each nail for about 30 seconds. This will help dissolve the polish and make it easier to remove. Once the polish has softened, use a cuticle stick to gently scrape away any remaining bits of nail polish.
By following these 10 steps, you can easily create a unique and eye-catching cat eye nail art design that is sure to turn heads! Try out different combinations of colors and designs to find the perfect look for you.
8 Maintenance Tips
Using cat eye nail polish is a great way to add some sparkle and glamour to your nails. But it does require a bit more care than regular polishes, so here are 8 tips to help you maintain your cat-eye manicure:
- Prep the nails properly before applying the polish. This includes buffing, pushing back the cuticles, and cleaning the nail bed. Prepping the nails allows for a smoother application and helps the polish last longer.
- Start with a base coat to protect your nails from staining and create an even surface. This helps the cat eye nail polish lay on top of it smoothly and evenly. Starting with a base coat will also help the cat’s eye polish last longer.
- Apply two thin coats of color rather than one thick layer. This will ensure that the color is even and prevent any smudges or streaks. Two thin coats are also less likely to chip or peel off.
- Wait until the coats of color have completely dried before adding a top coat. This will help seal the color and prevent any chips or cracks from appearing. The color will also be more vibrant when the top coat seals it in.
- When applying a top coat, use a dedicated brush for each color to prevent any streaks or smudges from appearing. The brush should be wiped clean between coats to ensure an even and flawless finish.
- After the manicure is complete, avoid washing your hands with warm water as this can cause the polish to start cracking or peeling off.
- If you need to remove any excess polish, use a cuticle remover and cotton swabs for the best results. Avoid using nail polish remover as it can weaken the strength of the cat eye nail polish and make it more likely to chip or peel off.
- Ensure you keep your nails well hydrated with moisturizing cuticle oil to prevent any cracking or peeling of the polish. This will also help the cat eye nail polish last longer and look glossy for longer periods.

Following these 8 tips, you can easily maintain your cat eye manicure and make it last longer. With the right care and attention, you can show off your beautiful manicures with pride!
Conclusion
With cat eye nail polish, you have the capability to create unique and complex designs that will turn heads. Whether you go for a classic black or neon blue swirl, cat eye polish is the best way to make a statement with your nails. So get creative, have some fun, and let your imagination lead the way! Make sure to practice on some test swatches first, so when it’s time to show off your fabulous nail art design on social media, you can be proud of the end result.
Plus, not only are these complex looks stunning, but they also make for great conversation pieces! And don’t forget that anyone can find their own amazing manicure ideas on websites like Pinterest. Follow this post on how to use cat eye nail polish as a guide.
About the Author
Jane Hubbard is a passionate beauty expert with a wealth of experience in makeup, hair, and overall beauty techniques. After years of working as a hairdresser specialist, she followed her entrepreneurial spirit and started her own consultancy business.
Jane has always been driven by her desire to help others feel confident in their own skin, and she does this by sharing her knowledge, experiences, and practical beauty tips. Through her consultancy, she empowers individuals to embrace their unique beauty, offering tailored guidance that boosts both self-esteem and personal style.
Professional Focus
Specializes in makeup, hairstyling, and beauty consulting.
Provides personalized beauty advice, tips, and techniques to help individuals feel confident in their appearance.
Dedicated to staying up-to-date with the latest industry trends and developments.
Passionate about creating a comfortable and empowering experience for every client.
Education History
University of Craft and Design – Bachelor of Fine Arts (BFA) in Woodworking and Furniture Design
Woodworking Apprenticeships – Extensive hands-on training with skilled craftsmen to refine carpentry and furniture making techniques
Online Courses & Masterclasses – Continued education in advanced woodworking techniques, design principles, and specialized tools
Expertise:
Makeup artistry, hairstyling, and beauty consulting.
Personalized beauty techniques to enhance confidence and self-expression.
Educating clients on how to maintain their beauty routines at home.