
Premier protein powder recipes is a versatile supplement that supports muscle growth, weight management, and overall health. While store-bought options are convenient, making your own protein powder at home allows you to customize ingredients to suit your dietary needs and preferences. Homemade protein powder can be made with natural, nutrient-rich ingredients, ensuring you know exactly what you’re consuming. This guide will walk you through the simple steps of how to make protein powder.
Why Make Your Own Protein Powder?
Creating your own protein powder comes with numerous advantages. First and foremost, it gives you complete control over the ingredients, allowing you to avoid unnecessary additives, artificial flavors, and sweeteners often found in store-bought options. Homemade protein powder can be tailored to fit specific dietary requirements, such as vegan, gluten-free, or low-carb diets.
Additionally, customizing your recipe lets you experiment with flavors and nutrient combinations to support your unique fitness goals. Making your own protein powder can also be more cost-effective in the long run, as bulk purchases of raw ingredients often result in savings. Finally, it promotes a healthier lifestyle by ensuring you’re consuming a clean, wholesome product made with natural ingredients.
Best Ingredients for DIY Protein Powder
When creating your own protein powder, choosing the right ingredients is key to ensuring optimal nutrition and taste. Below are some of the best ingredients to consider:
- Plant-Based Protein Sources: Pea protein, hemp protein, and brown rice protein are excellent for those following a plant-based diet. They are rich in essential amino acids and easy to digest.
- Animal-Based Protein Sources: Whey protein isolate and casein are popular choices for those who consume dairy. They provide complete proteins and are effective for muscle recovery.
- Nut and Seed Powders: Almond meal, chia seeds, and flaxseed meal add healthy fats, fiber, and additional protein to your mix.
- Superfoods: Ingredients like spirulina, maca powder, or cacao powder enhance the nutritional profile and add beneficial antioxidants.
- Fiber Boosters: Options such as psyllium husk or oat fiber improve digestion and keep you feeling full longer.
- Natural Sweeteners: Stevia, monk fruit, or a touch of coconut sugar can provide sweetness without excessive calories.
- Flavor Enhancers: Vanilla bean powder, cinnamon, or freeze-dried fruit can elevate the taste and make your protein powder more enjoyable.
Mixing these ingredients allows you to create a balanced and personalized protein powder tailored to your dietary needs and flavor preferences. Always ensure your ingredients are high quality and free of unnecessary additives for the best results.
10 Methods How to Make Protein Powder
1. Choose Your Primary Protein Source Wisely
The foundation of any good homemade protein powder is its base—your chosen protein source. Whether you’re going for plant-based, dairy-based, or a combination of both, start by selecting clean, whole ingredients. Popular plant-based options include dried lentils, chickpeas, oats, quinoa, pumpkin seeds, sunflower seeds, chia seeds, and hemp hearts.
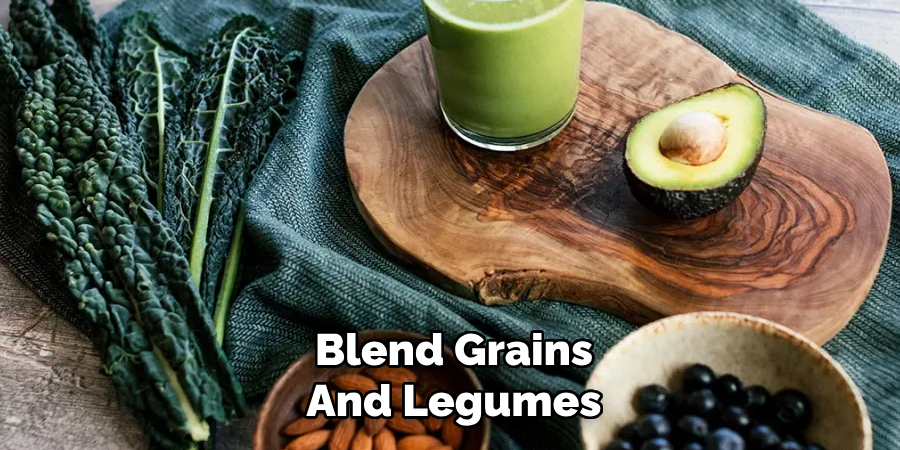
If you’re not avoiding animal products, whey protein concentrate from milk or powdered eggs can serve as potent sources. You can also blend grains and legumes for a complete amino acid profile. Select sources not just for their protein content, but also for digestibility and taste.
2. Soak or Sprout Ingredients for Better Absorption
When working with legumes, seeds, and grains, it’s important to reduce their naturally occurring antinutrients like phytic acid and lectins. Soaking, fermenting, or sprouting these ingredients helps break down these compounds and makes nutrients more bioavailable.
Simply soak your chosen ingredients (like chickpeas or quinoa) in filtered water overnight with a splash of lemon juice or vinegar. After soaking, you can choose to cook or sprout them before drying. While this step requires extra time, it greatly improves the nutritional value and digestibility of your final protein powder.
3. Dehydrate Your Ingredients for Shelf Stability
Once your ingredients have been soaked, sprouted, or cooked, the next crucial step is dehydration. This removes all moisture, preventing spoilage and extending shelf life. You can use a dehydrator set between 115–130°F, which preserves most of the nutrients, or use an oven on its lowest setting.
Spread your ingredients in thin layers on trays and let them dry until completely crisp. Dehydration times will vary depending on the type of ingredient, but it generally takes 8 to 12 hours. Fully dehydrated ingredients are essential for creating a fine, clump-free protein powder later on.
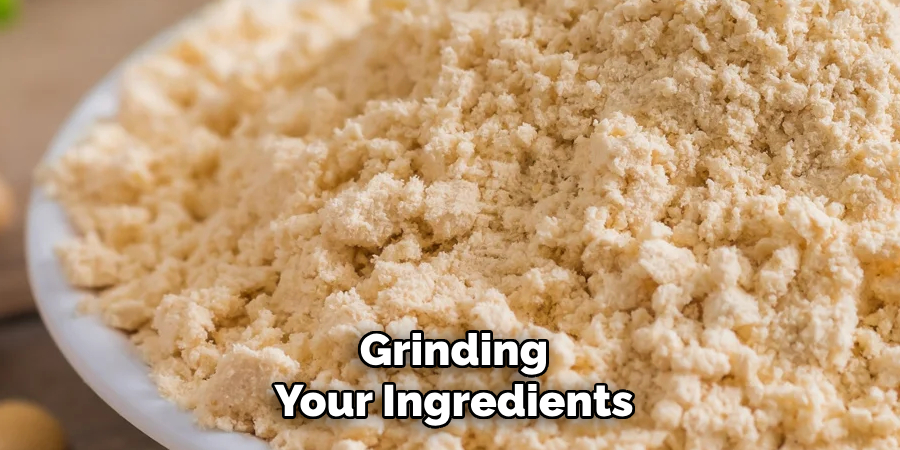
4. Grind Into a Fine, Uniform Powder
After drying, the next step is grinding your ingredients into a powder. Use a high-speed blender, food processor, or spice grinder for this purpose. Pulse in small batches to avoid overheating your appliance and to ensure even grinding. For the finest texture, you may need to sift the ground mixture through a mesh sieve and re-grind the coarser bits.
A fine texture makes the powder easier to blend into smoothies or liquids and creates a more pleasant mouthfeel. Thorough grinding is especially important if you plan to mix it into baked goods or energy bars.
5. Add Complementary Protein Sources for Balance
To create a complete protein, especially with plant-based powders, combine different sources that complement each other’s amino acid profiles. For example, mix lentils (high in lysine) with rice (higher in methionine) to ensure you’re getting all nine essential amino acids.
Other great pairings include quinoa and peas, chia and oats, or hemp and sunflower seeds. This blending helps elevate your homemade powder to the nutritional quality of commercial options without the synthetic additives or preservatives, and you gain full control over what goes into your body.
6. Boost Nutritional Value with Add-Ins
To enhance your protein powder’s functionality, consider adding superfoods or natural flavor boosters. Ground flaxseed, maca root, cacao powder, cinnamon, and spirulina are all great options for added fiber, minerals, or antioxidants. You can even add powdered greens for a vegetable-rich protein blend.
Natural sweeteners like dried stevia leaf or powdered monk fruit can help improve flavor without spiking blood sugar. These add-ins make your homemade powder more than just a protein supplement—it becomes a nutrient-dense formula tailored to your wellness goals.
7. Test and Balance the Flavor Profile
Homemade protein powders can sometimes taste earthy or grainy, so it’s essential to test the flavor and make adjustments. You can use vanilla bean powder, cocoa powder, or nutmeg for warm notes and depth. If your powder is overly bitter, try blending in dried coconut milk powder or powdered oats to mellow the taste.
Creating a flavor profile that you actually enjoy is the key to sticking with your protein routine. Mix small batches first and try them in smoothies or yogurt to see how well the flavor holds up before making larger quantities.
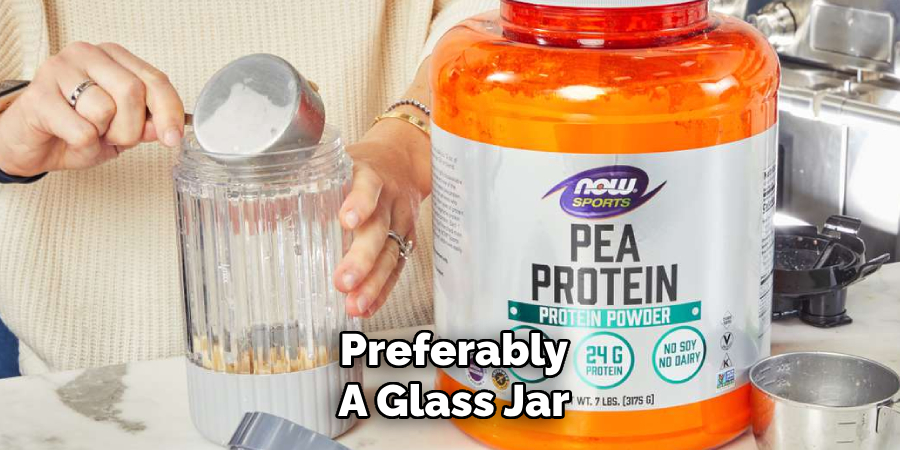
8. Store Properly for Long-Term Freshness
Once you’ve perfected your blend, storage becomes the next priority. Transfer your protein powder into a clean, dry, airtight container—preferably a glass jar or food-grade BPA-free plastic. Keep it in a cool, dark pantry or cupboard to avoid exposure to moisture, heat, and sunlight.
Properly dried and stored homemade protein powder can last up to 3–6 months. To be safe, always check for signs of spoilage such as clumping, off smells, or discoloration before use. If you’ve made a large batch, consider vacuum-sealing some for longer preservation.
9. Use in Smoothies, Baking, and Energy Bars
Homemade protein powder is incredibly versatile. The most straightforward use is blending it into smoothies with fruits, nut butters, and milk or milk alternatives. It also works well as a protein booster in baking recipes like muffins, pancakes, or protein-packed granola.
You can mix it into oatmeal or stir it into yogurt for a high-protein snack. For those who meal prep, combine your powder with nut butter, honey, and oats to create no-bake energy bars. Its versatility makes it easy to incorporate into your daily meals without relying on store-bought options.
10. Customize for Fitness, Weight Loss, or Meal Replacement
One of the biggest benefits of making your own protein powder is the ability to tailor it to specific goals. For muscle gain, you might focus on higher-protein ingredients like whey, lentils, or egg whites. For weight loss, add metabolism boosters like green tea powder or fiber-rich ingredients like chia seeds to increase satiety.
If you’re looking for a meal replacement, blend in complex carbohydrates such as oat flour, along with dried fruits or powdered greens. This customization puts you in control of your nutrition and ensures that every scoop supports your specific health targets.
Conclusion
In conclusion, creating customized protein powders tailored to your goals provides a practical and flexible approach to achieving your health and fitness objectives. By selecting ingredients that suit your needs, you can ensure optimal nutrition without compromising on quality or taste.
Whether you aim for muscle growth, weight management, or complete meal replacements, personalized protein blends empower you to take control of your diet and support a healthier lifestyle. Thanks for reading our blog post on how to make protein powder! We hope you found it helpful and informative.
About the Author
Jane Hubbard is a passionate beauty expert with a wealth of experience in makeup, hair, and overall beauty techniques. After years of working as a hairdresser specialist, she followed her entrepreneurial spirit and started her own consultancy business.
Jane has always been driven by her desire to help others feel confident in their own skin, and she does this by sharing her knowledge, experiences, and practical beauty tips. Through her consultancy, she empowers individuals to embrace their unique beauty, offering tailored guidance that boosts both self-esteem and personal style.
Professional Focus
Specializes in makeup, hairstyling, and beauty consulting.
Provides personalized beauty advice, tips, and techniques to help individuals feel confident in their appearance.
Dedicated to staying up-to-date with the latest industry trends and developments.
Passionate about creating a comfortable and empowering experience for every client.
Education History
University of Craft and Design – Bachelor of Fine Arts (BFA) in Woodworking and Furniture Design
Woodworking Apprenticeships – Extensive hands-on training with skilled craftsmen to refine carpentry and furniture making techniques
Online Courses & Masterclasses – Continued education in advanced woodworking techniques, design principles, and specialized tools
Expertise:
Makeup artistry, hairstyling, and beauty consulting.
Personalized beauty techniques to enhance confidence and self-expression.
Educating clients on how to maintain their beauty routines at home.