
Are you tired of spending hundreds of dollars on hair bleaching treatments at the salon? Would you like to learn how to achieve the perfect blonde shade at home? Mixing bleaching powder and developer is a cost-effective and easy way to lighten your hair.
Bleaching your hair at home can be a cost-effective and convenient alternative to visiting a salon. However, achieving professional results requires careful attention to the mixing process of the bleaching powder and developer. Mixing these two components correctly ensures an even and effective application without causing excessive damage to your hair. In this guide, we’ll walk you through the necessary steps and provide tips on how to mix bleaching powder and developer safely and efficiently.
Whether you’re new to hair bleaching or looking to refine your technique, this comprehensive introduction will help you get started.
What Will You Need?
Before we dive into the mixing process, we must have all the necessary tools and materials on hand. Here’s a list of what you’ll need:
- Bleaching powder
- Developer (20 or 30 volume)
- Mixing bowl
- Measuring spoons or scale
- Tint brush
- Plastic gloves
- Sectioning clips
It’s vital to use a high-quality bleaching powder and developer to achieve the best results. Cheap products may not be as effective and could potentially harm your hair. Additionally, make sure to follow the recommended volumes for your hair type and desired lightening effect.
10 Easy Steps on How to Mix Bleaching Powder and Developer
Step 1. Prepare Your Workspace:
Ensure your workspace is well-ventilated and free from any clutter. It’s best to work in a bathroom or a room with easy-to-clean surfaces, as the bleaching process can be messy. Cover any surfaces that you want to protect with old towels or newspaper. Gather all your materials within arm’s reach to avoid interruptions once you begin mixing. It’s also advisable to wear an old T-shirt or a protective cape to prevent staining your clothes.
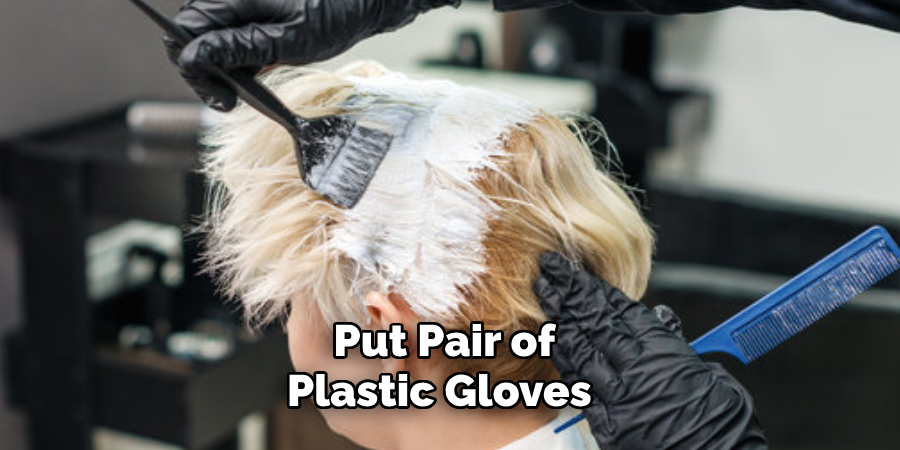
Step 2. Put on Protective Gear
Before you start mixing, put on a pair of plastic gloves to protect your skin from the bleaching powder and developer. Bleaching agents can be harsh and irritating, so gloves are essential to prevent any adverse reactions. If you’re sensitive to strong smells, consider wearing a face mask as well.
Step 3. Measure the Bleaching Powder
Measure the desired amount of bleaching powder using a measuring spoon or a digital scale. The amount you will need depends on the length and thickness of your hair. As a general rule of thumb, start with about 1-2 ounces of bleaching powder for short to medium hair lengths. Carefully place the measured bleaching powder into your mixing bowl.
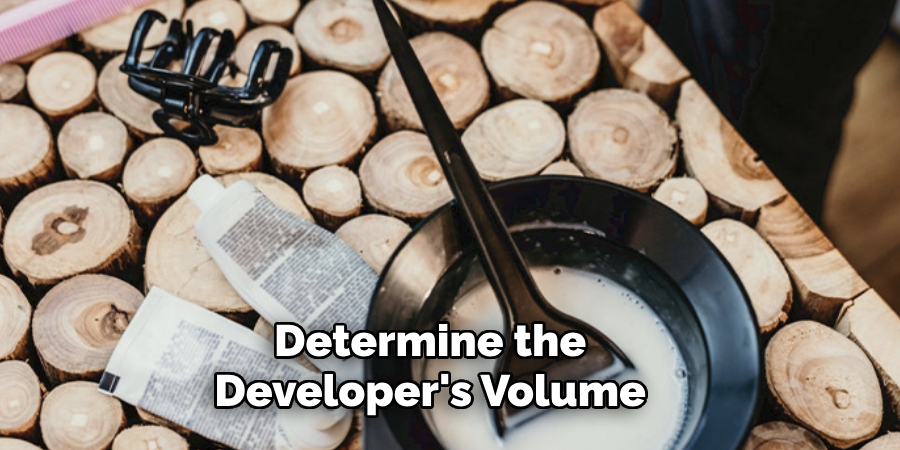
Step 4. Determine the Developer’s Volume
Selecting the appropriate developer volume is crucial for achieving your desired lighting effect without damaging your hair. Developers come in different volumes, typically ranging from 10 to 40, each indicating the strength of hydrogen peroxide concentration. For most home bleaching applications, a 20—or 30-volume developer is recommended.
- 20 Volume Developer: This product is ideal for those looking for mild lightening effects, roughly one to two levels of lift. It’s a safer choice for individuals with fine or damaged hair, as it is less harsh and reduces the risk of over-processing.
- 30 Volume Developer: Suitable for those seeking more noticeable lightening, typically providing two to three levels of lift. This volume is better for individuals with thick or coarse hair that can withstand stronger chemicals. It delivers a more intense bleaching result but requires attentiveness to prevent potential damage.
To determine the exact volume you’ll need the following:
- Assess your current hair condition and natural hair color.
- Decide how many levels of lift you desire.
- Consider the previous treatments your hair has undergone, as heavily treated hair may need a milder developer.
Step 5. Measure the Developer
Once you have chosen the appropriate developer volume, it’s time to measure it accurately. The general mixing ratio for bleaching powder and developer is 1:2, meaning one part bleaching powder to two parts developer. This ratio provides a balanced mixture that’s easy to apply with a smooth consistency.
- If you’ve measured 1 ounce of bleaching powder, you’ll need 2 ounces of developer.
- For 2 ounces of bleaching powder, measure out 4 ounces of developer.
Using a measuring cup or a digital scale will ensure you get precise amounts. Pour the measured developer into the mixing bowl with the bleaching powder.
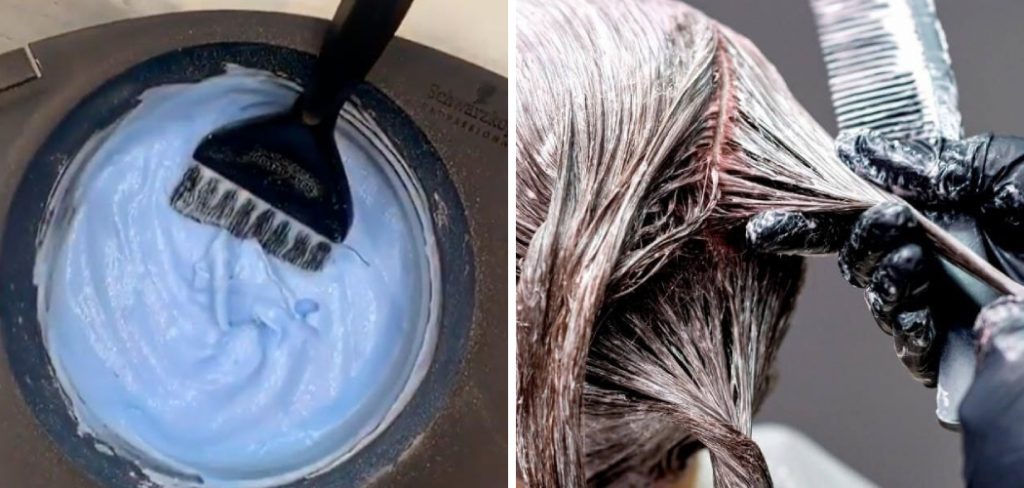
Step 6. Mix the Bleaching Powder and Developer
Using your tint brush, begin to mix the bleaching powder and developer together until the mixture achieves a smooth, creamy consistency. Make sure there are no lumps or dry spots left in the mixture. A well-mixed bleach ensures an even application and more consistent lighting results. Take your time for this step, as rushing the mixing process can result in an uneven texture that may affect the performance of the bleach.
Gradually stir the mixture in a circular motion, ensuring that all the bleaching powder is thoroughly dissolved into the developer. The combination should feel silky and spreadable, resembling the texture of whipped cream. If the mixture appears too thick or dry, you can add a little more developer, but do so sparingly to avoid making it too runny. Conversely, if the mixture seems too liquidy, add a touch more bleaching powder to balance it out. The goal is to achieve a workable consistency that will adhere well to the hair without dripping excessively.
Ensuring the correct consistency is crucial for effective application and even lightening. An overly thick mixture might not spread easily and may lead to patchy results, while a too-thin mixture could drip and cause uneven lightening or damage. Once the mixture is smooth and consistent, you’re ready to proceed with applying it to your hair.
Step 7. Section Your Hair
Before applying the bleach mixture, sectioning your hair to ensure an even application is important. Use sectioning clips to divide your hair into manageable parts. Typically, four sections work well for most hair lengths and densities, but you can adjust them based on your needs. Create two sections in the front and two in the back by parting your hair down the middle from the forehead to the nape and then ear to ear. Secure each section with a clip to keep it out of the way. This step will help you systematically apply the bleach and ensure every strand gets coated evenly, resulting in a uniform lightening effect.

Step 8. Apply the Bleach
Starting with one of the back sections, use your tint brush to apply the bleach mixture to small subsections of hair, working from the roots to the tips. Be sure to saturate each strand to avoid uneven results fully. It’s best to begin at the back of your head, as the hair there often takes longer to lighten than the hair at the front. Work swiftly but carefully, as the bleach will begin to process as soon as it’s applied. Repeat this process for each section, ensuring thorough and even coverage throughout your hair.
Step 9. Monitor the Lightening Process
After applying the bleach to all sections, monitoring your hair regularly to achieve your desired lightness is crucial. Check your hair every 10-15 minutes to see how it’s progressing. This step is essential to prevent over-processing, which can lead to severe damage. The total processing time usually ranges from 20 to 45 minutes, depending on your hair type and the developer volume used. If you notice your hair lightening too quickly or experiencing discomfort, rinse the bleach immediately.
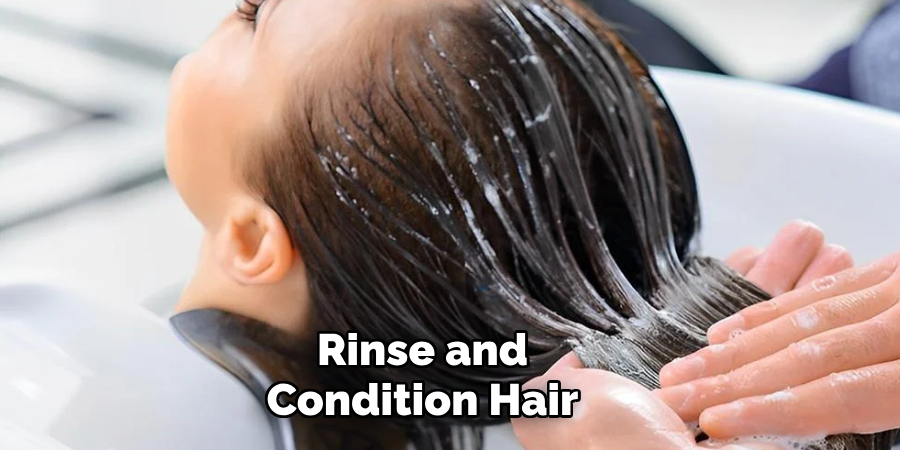
Step 10. Rinse and Condition
Once your hair has lightened to the desired shade, it’s time to rinse out the bleach thoroughly. Use lukewarm water to remove all the bleach from your hair. Be gentle while rinsing to prevent any additional damage. After rinsing, apply a neutralizing shampoo to balance the pH levels of your hair and ensure all traces of bleach are removed.
Follow up with a deep conditioner or a hair mask to restore moisture and vitality to your hair. Bleaching can be quite harsh, and conditioning will help to minimize the damage by replenishing essential oils and nutrients. Leave the conditioner or mask on for at least 5-10 minutes before rinsing it out. For best results, you may consider using a leave-in conditioner or a specialized treatment designed for bleached hair to maintain its health and shine in the following days.
You can safely bleach your hair at home by following these steps and taking proper precautions.
Conclusion
How to mix bleaching powder and developer is a fundamental step in the hair-lightening process, demanding careful attention and precision to ensure optimal results.
By following a consistent 1:2 mixing ratio and thoroughly blending the mixture until it achieves a smooth, creamy consistency, you set the foundation for an effective application. Accurate measurement using a measuring cup or digital scale, combined with meticulous mixing, helps achieve an even lightening effect, ultimately minimizing the potential for patchy or uneven results.
Adhering to these guidelines not only enhances the effectiveness of the bleach but also contributes to maintaining the integrity and health of your hair throughout the lighting process.
About the Author
Jane Hubbard is a passionate beauty expert with a wealth of experience in makeup, hair, and overall beauty techniques. After years of working as a hairdresser specialist, she followed her entrepreneurial spirit and started her own consultancy business.
Jane has always been driven by her desire to help others feel confident in their own skin, and she does this by sharing her knowledge, experiences, and practical beauty tips. Through her consultancy, she empowers individuals to embrace their unique beauty, offering tailored guidance that boosts both self-esteem and personal style.
Professional Focus
Specializes in makeup, hairstyling, and beauty consulting.
Provides personalized beauty advice, tips, and techniques to help individuals feel confident in their appearance.
Dedicated to staying up-to-date with the latest industry trends and developments.
Passionate about creating a comfortable and empowering experience for every client.
Education History
University of Craft and Design – Bachelor of Fine Arts (BFA) in Woodworking and Furniture Design
Woodworking Apprenticeships – Extensive hands-on training with skilled craftsmen to refine carpentry and furniture making techniques
Online Courses & Masterclasses – Continued education in advanced woodworking techniques, design principles, and specialized tools
Expertise:
Makeup artistry, hairstyling, and beauty consulting.
Personalized beauty techniques to enhance confidence and self-expression.
Educating clients on how to maintain their beauty routines at home.