
Are you looking for the perfect way to add a glam, sophisticated finish to your gel nails? Gold leaf provides an impressive sheen and adds an eye-catching dimension without overwhelming subtle colors. Not only does it look beautiful applied directly on the nail, but you can use it to decorate patterns or other nail art accessories. Whether you’re attempting a loose pattern or precision design, gold leaf is sure to take your manicure up a notch for any special occasion!
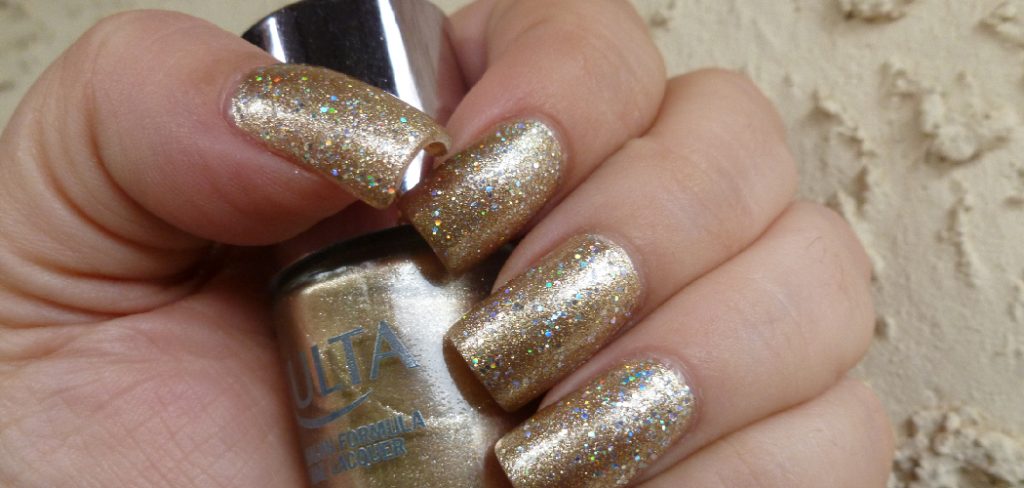
Gold leaf is a unique material that can bring life and shine to nails, allowing you to have creative control over your nail art. If you’re looking for something special, gold leaf on gel nails could be exactly what you need! In this blog post, we’ll give tips on how to put gold leaf on gel nails We will also discuss some fun alternatives if more subtlety is desired. Get ready!
What Will You Need?
- Gold leaf sheets.
- A small paintbrush or tweezers to pick up pieces of the gold leaf.
- Gel top coat and base coat (optional).
- Nail polish remover.
Once you have all the necessary materials, you can start putting gold leaf on gel nails.
10 Easy Steps on How to Put Gold Leaf on Gel Nails
Step 1. Prep Your Nails:
Start by prepping your nails. Apply a base coat and then let it dry completely. Be careful not to over apply the base coat, as it can affect how your gold leaf sticks.
Step 2. Apply Your Nail Polish:
Next, apply your desired nail polish color. If you want to add an extra layer of sparkle, use a glittery nail polish. Make sure that the color is completely dry before proceeding.
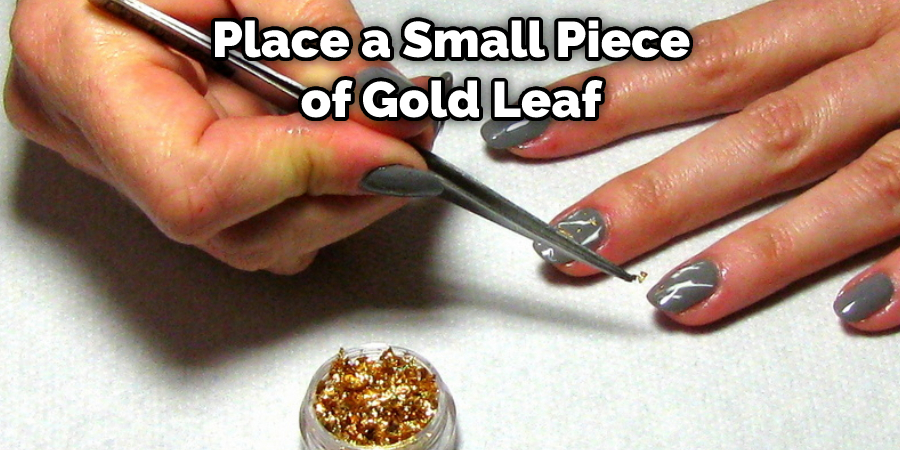
Step 3. Add Your Gold Leaf:
Place a small piece of gold leaf on top of your dried nail. Press down on the gold leaf using a brush or tweezers to ensure it adheres properly. If any edges are lifting up, carefully press them back down.
Step 4. Seal It In:
Once the gold leaf is in place, apply your top coat over your nail. This will seal in the gold leaf and prevent it from lifting. Additionally, it will give your nail a gorgeous, glossy finish.
Step 5. Clean Up:
Using a cotton swab or brush, clean up the edges of your nails and make sure there is no excess gold leaf. Apply a second layer of top coat to further seal in the gold leaf and give it added protection. It will also help smooth out any bumps or wrinkles that may have formed.
Step 6. Add Some Accessories:
Once your nails are done, you can add some extra accessories, such as rhinestones or studs for an even more glamorous look. If you add any accessories, apply a top coat over them to ensure that they stay in place. Otherwise, they may not last as long!
Step 7. Apply Cuticle Oil:
After you’ve finished, apply some cuticle oil to your nails to keep them moisturized and nourished. As you wear your nails, this will help to prevent them from becoming brittle and discolored. Moreover, it will help to keep your gold leaf looking its best.
Step 8. Enjoy Your Nails:
Now that you have achieved the perfect manicure, it’s time to show off your gorgeous gold leaf gel nails! You can rock them with a special occasion outfit or just to make an everyday look more glamorous. Remember, your gold leaf nails will last for weeks with proper care and maintenance.
Step 9. Change It Up:
You can use glitter instead of gold leaf if you want a more subtle look. Glitters come in different shapes and sizes and are great for creating fun designs on your nails. Don’t be afraid to experiment with different colors, textures, and shapes for a unique manicure.
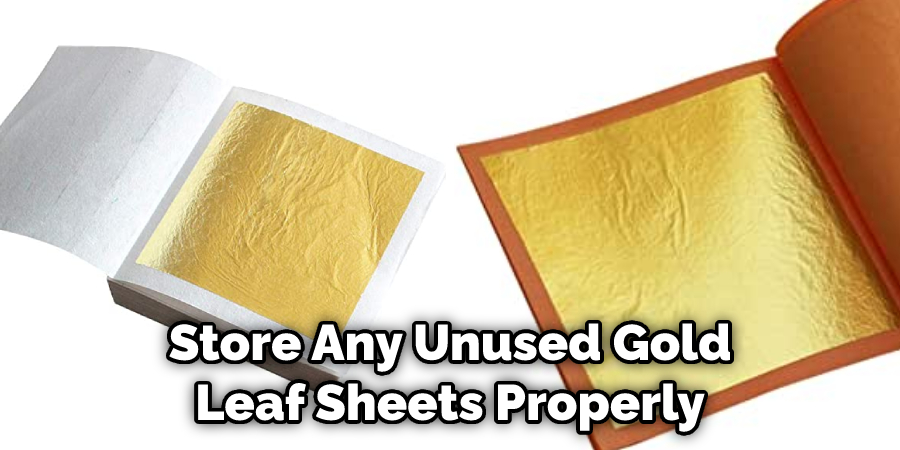
Step 10. Store Your Gold Leaf Properly:
When you’re done with your manicure, make sure to store any unused gold leaf sheets properly so they don’t get damaged. Store them in an airtight container and keep them out of direct sunlight to ensure they last longer. Be careful when handling gold leaf as it is very delicate and can easily tear.
With these tips, you’ll be able to add a special touch to your nails with gold leaf – making any manicure look chic and glamorous! So go ahead and try it out – you won’t regret it!
5 Additional Tips and Tricks
1. Pour a Small Amount of Topcoat: Before applying the gold leaf, pour a small amount onto your nail and spread it evenly with an applicator brush. This will create a sticky surface that will help the gold adhere better to your nails.
2. Cut the Gold Leaf Into Smaller Pieces: To make it easier to apply, use scissors or an X-acto knife to carefully cut the gold leaf into smaller pieces before applying them to your nails.
3. Use Tweezers for Precision: Tweezers are ideal for picking up small pieces of gold and placing them on your nails precisely where you want them. You can also use an eye shadow brush or angled eyeliner brush if you don’t have tweezers handy.
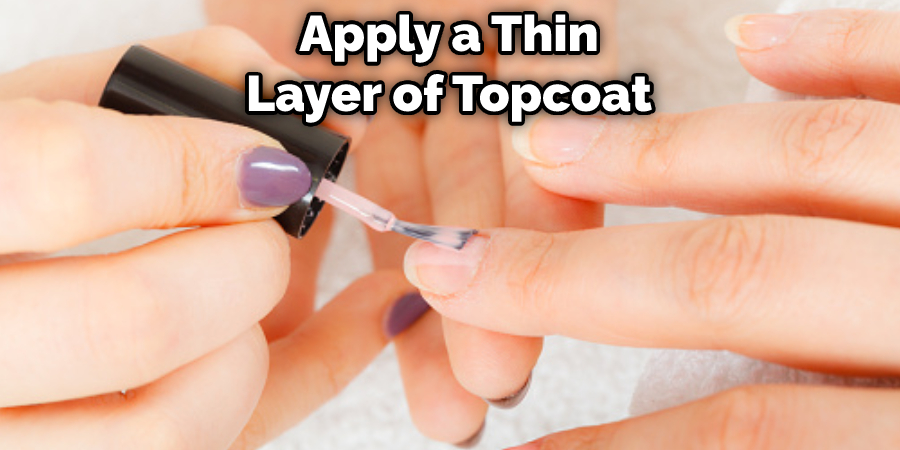
4. Seal the Gold With Topcoat: To ensure that your gold leaf stays in place, apply a thin layer of topcoat over the entire nail. This will help seal all the pieces and prevent them from coming off easily.
5. Try Different Shapes and Designs: Gold leaf can look great on any shape or design, so don’t be afraid to get creative! Experiment with different patterns and shapes to create unique manicures that will stand out from the crowd.
Once you’ve nailed these tips for how to put gold leaf on gel nails, there’s no limit to what you can create! Show off your creative side by trying new looks every week, and stay ahead of the trend. With a little practice, you’ll soon be an expert in embellishing your nails with gold!
5 Things You Should Avoid
1. Applying too much gold leaf. To ensure a smooth and even finish, applying the gold leaf in thin layers is important so as not to create any unwanted lumps or uneven surfaces.
2. Skipping the sealing process. Gold leaf is not attached to the nail, so it is important to seal it with a top coat to ensure that your gold leaf design will last for weeks.
3. Not giving enough time for drying and curing times in between steps of the manicure, as this could lead to smudging of your masterpiece!
4. Overworking the gold leaf by manipulating it too much with your fingers or tools can cause it to become damaged and lose its shine.
5. Using too little gel base when applying gold leaf on gel nails. When using golden leaf on gel nails, try not to use too thin layers of the gel base, as this could lead to the gold leaf not sticking properly. Use a generous amount of gel base for maximum results.
Following these simple tips will help you create beautiful and long-lasting gold leaf designs on your nails! You can put gold leaf on gel nails just like a pro with some practice and patience.
How Do You Apply Foil Art to Gel Nails?
If you’re looking for a more intricate way to decorate your nails using gold leaf, foil art is one of the best options. Foil art involves cutting out shapes and designs from gold leaf or other materials and sticking them onto gel nails directly. Here are the steps to follow:
1. Paint your nails with a layer of gel nail polish in any color of your choice as the base coat.
2. Cut out whatever design you want from the golden leaf foil using scissors or tweezers, making sure that it is small enough to fit on your nail without overlapping too much.
3. Place the cutout piece onto your wet gel polish, gently pressing down so that it adheres.
4. Apply a thin layer of top coat to seal in the foil art and let it dry for about 2 minutes before applying another coat of gel polish if desired.
5. Finish off your nails with one or two more layers of topcoat, letting each layer dry completely before moving on to the next step.
By following these steps, you can create beautiful nail designs with gold leaf foil! With practice and patience, this technique will become second nature, and you’ll be able to put gold leaf on gel nails like a pro!
Conclusion
Ultimately, applying gold leaf on gel nails is an enjoyable and creative endeavor that results in a truly stunning outcome. Whether adding a touch of bling for a special occasion or just wanting to step up your nail game every day, there are endless possibilities with gold leaf. Experimenting with gel polish and decorations is great fun, so never be afraid to get creative!
Each unique design will bring you one step closer to mastering the art of gold leaf.Hopefully, the article on how to put gold leaf on gel nails has given you an insight into what’s possible. With a bit of practice, your designs will be as eye-catching and unique as you can imagine.
So don’t be discouraged if something doesn’t look right the first time- try again and keep practicing until you reach perfection!
About the Author
Jane Hubbard is a passionate beauty expert with a wealth of experience in makeup, hair, and overall beauty techniques. After years of working as a hairdresser specialist, she followed her entrepreneurial spirit and started her own consultancy business.
Jane has always been driven by her desire to help others feel confident in their own skin, and she does this by sharing her knowledge, experiences, and practical beauty tips. Through her consultancy, she empowers individuals to embrace their unique beauty, offering tailored guidance that boosts both self-esteem and personal style.
Professional Focus
Specializes in makeup, hairstyling, and beauty consulting.
Provides personalized beauty advice, tips, and techniques to help individuals feel confident in their appearance.
Dedicated to staying up-to-date with the latest industry trends and developments.
Passionate about creating a comfortable and empowering experience for every client.
Education History
University of Craft and Design – Bachelor of Fine Arts (BFA) in Woodworking and Furniture Design
Woodworking Apprenticeships – Extensive hands-on training with skilled craftsmen to refine carpentry and furniture making techniques
Online Courses & Masterclasses – Continued education in advanced woodworking techniques, design principles, and specialized tools
Expertise:
Makeup artistry, hairstyling, and beauty consulting.
Personalized beauty techniques to enhance confidence and self-expression.
Educating clients on how to maintain their beauty routines at home.