Are you tired of getting clumpy mascara whenever you apply it? Don’t worry. We’ve got some tips for you.
Mascara is one of those products that can make or break your look. If it’s clumpy, it’ll make you look like a hot mess. But if you know how to put it on correctly, it can really enhance your eyes.

Nothing is worse than putting on mascara and clumping it on your eyelashes. This can make your eyes look small and uncomfortable. Fortunately, there are ways to avoid this from happening. This post will discuss how to put mascara on without clumps.
So, if you’re looking for ways to avoid clumpy mascara, keep reading! I will share some tips to help you achieve the perfect look. Keep reading to learn more!
Why Does Mascara Clump in the Tube?
Before we dive into how to prevent clumping, let’s first talk about why mascara clumps in the tube.
Mascara can start to get clumpy for a few reasons, including old or expired mascara, not closing the cap tightly after use, and pumping the wand too many times in the tube.
Old or expired mascara can accumulate bacteria, leading to clumping. It’s important to replace your mascara every 3-6 months for this reason. And always make sure you close the cap tightly after use to avoid air getting into the tube and drying out your mascara.
Additionally, pumping your wand too many times can introduce air into the formula and cause it to dry out faster and become clumpy.
What Will You Need?
Here’s what you’ll need before applying mascara:
- Mascara
- Eyelash curler (optional)
- Q-tip (optional)
All you need is mascara, but an eyelash curler and Q-tip can also be helpful tools. With these simple tools, you’ll be able to achieve gorgeous lashes without clumping.
10 Easy Steps on How to Put Mascara on Without Clumps
Now that we’ve talked about why clumping happens let’s dive into the steps on how to prevent it.
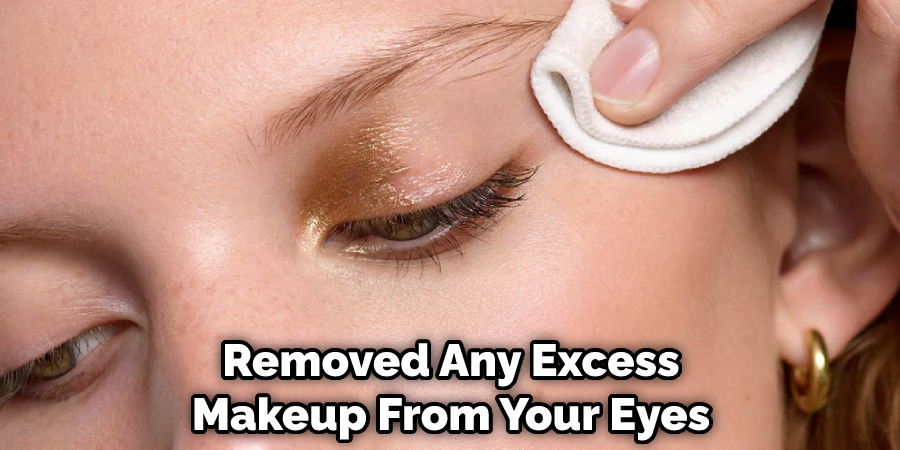
Step 1: Remove Excess Makeup
Before applying mascara, make sure you have removed any excess makeup from your eyes. This will ensure a clean surface for the mascara to be applied on and prevent clumping. It is important to start with clean eyelashes to avoid any other product getting mixed in with the mascara and causing clumps.

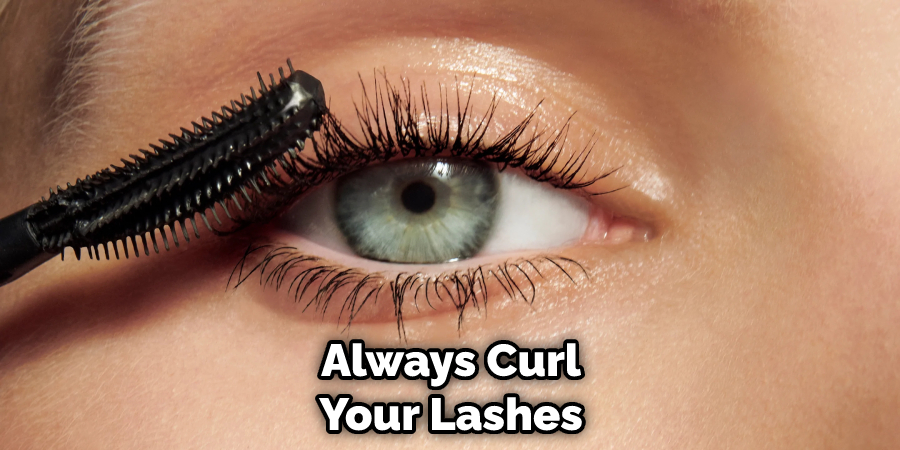
Step 2: Curl Your Lashes (optional)
Curling your eyelashes before applying mascara can enhance them if you want an extra lifted look. This will help separate the lashes and create a more voluminous appearance. Just make sure not to curl too harshly, as this can damage your lashes.
Step 3: Wipe off Excess Mascara on the Wand
Before applying mascara, wipe off any excess product on the wand onto a tissue or paper towel. This will prevent clumping by removing any excess product from the wand. Be careful not to pump the wand too much in the tube, as this can add the excess product to the wand.
Step 4: Start at the Roots
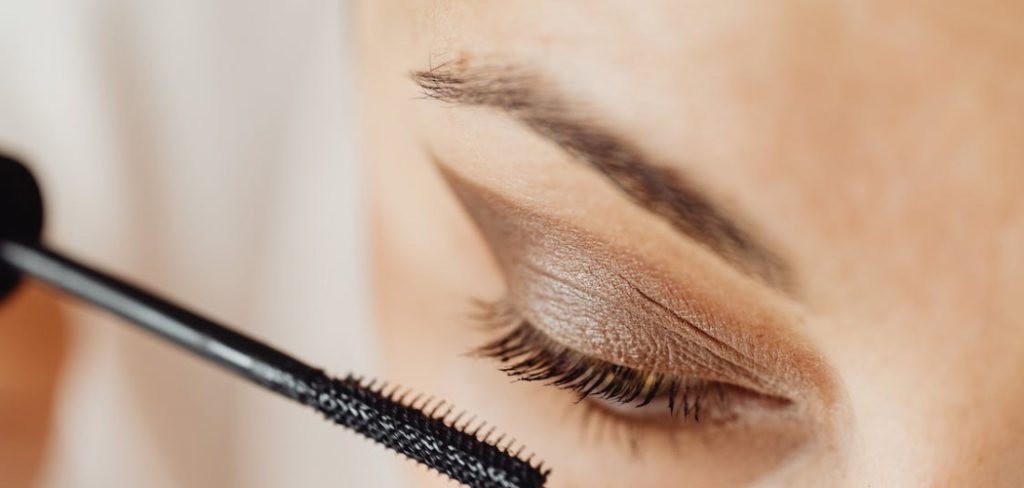
Start applying your mascara at the roots of your lashes and wiggle the wand as you go up toward the tips. This will help separate and coat each individual lash, avoiding clumps. Don’t forget to apply mascara to your bottom lashes as well!
Step 5: Apply to Lower Lashes
Don’t forget about your lower lashes! Use the same technique as above, starting at the roots and wiggling up toward the tips. It will give you a more complete and voluminous look.
Step 6: Let Dry Before Applying Second Coat
If you want to add a second coat of mascara, make sure to let the first coat dry before applying. This will prevent clumping by allowing each layer to set before adding more product. It is important to wait until the first layer is dry to avoid clumps and prevent your lashes from becoming weighed down.
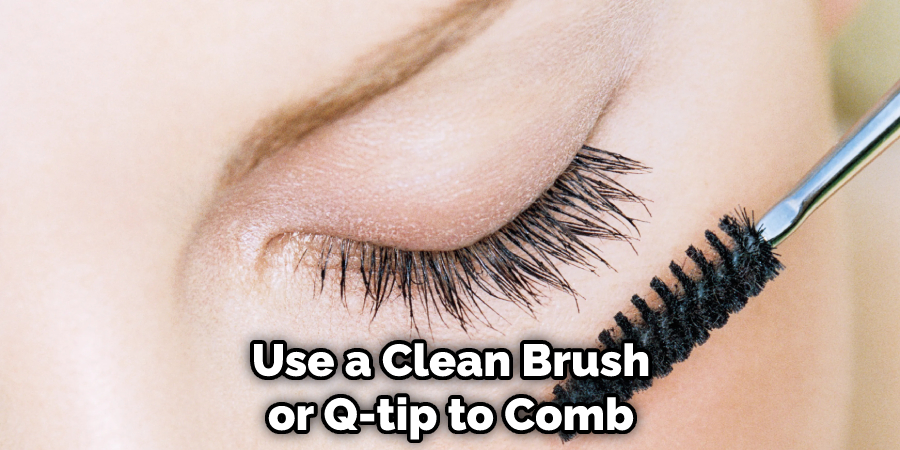
Step 7: Comb Through Lashes
After applying mascara, use a clean brush or Q-tip to comb through your lashes and separate any clumps that may have formed. This step can also help enhance the volume of your lashes for an even more glamorous look. You can get the brush from a clean mascara wand or use a disposable Q-tip.

Step 8: Apply To Outer Corners First
When adding a second or third coat, focus on the outer corners of your eyes first. This will add extra volume and dimension to the look, rather than just applying more product all over and causing clumps.
Step 9: Avoid Pumping Wand in Tube
As mentioned before, pumping the wand in the tube can introduce air into the formula and cause clumping. Instead, twist the wand inside the tube to prevent this from happening. Because air dries out the mascara, twisting the wand will also help the product last longer.
Step 10: Replace Mascara Every 3-6 Months
To keep your mascara from getting old and clumpy, make sure to replace it every 3-6 months. Keeping your mascara fresh will ensure a smooth application and prevent any bacteria buildup that could lead to clumps. Don’t forget to close the tube tightly and store it upright to prevent spilling.
Following these easy steps will help you achieve beautiful, clump-free lashes. Don’t be afraid to experiment with different mascaras and techniques to find what works best for you.
5 Additional Tips and Tricks
- Curl Your Lashes: Always curl your lashes before applying mascara. This helps open the eye and create a longer, more defined lash look.

- Use Short, Even Strokes: Instead of swiping the wand back and forth, use short, even strokes starting from the base of your lashes and moving upwards to prevent clumping.
- Don’t Pump the Mascara Wand: Pumping the wand in and out of the tube can introduce air into the mascara, causing it to dry out faster and create clumps. Simply twist the wand in and out to collect the product.
- Use a Lash Comb: After applying mascara, gently run a lash comb through your lashes to remove any clumps and separate them for a more natural appearance.
- Apply Multiple Coats: Instead of layering on too much product at once, apply multiple thin coats of mascara to build up volume and length without clumping. Allow each coat to dry before applying the next.
These tips will help you achieve beautiful, clump-free lashes!
How Do You Apply Mascara for Beginners?
- Start by curling your lashes and then use a mascara primer to prep the lashes for maximum volume and length before applying mascara.
- When applying, use short strokes from the base of the lash to the tip, wiggling the wand slightly at the base for added volume.
- Try not to pump the wand in and out of the tube, as this can introduce air into the product, causing it to dry out faster and create clumps.
- Use a lash comb or an old clean toothbrush to comb through lashes after each coat to remove any clumps and separate them for a more natural result.
- Apply multiple thin coats instead of piling on too much product at once to avoid clumping. Allow each coat to dry before applying the next.
Follow these steps for beautiful, voluminous lashes without any clumps! Good luck!
Do You Put Mascara on First or Eyelashes?
It is recommended to curl your lashes and apply any lash primer before applying mascara. This helps create a longer, more defined look and allows for easier mascara applications.
However, ultimately it is up to personal preference and what works best for your routine and desired look. You can also experiment with applying mascara first and then curling the lashes afterward to see which method you prefer. Remember to allow each coat of mascara to dry before applying the next to prevent clumping.
How Many Layers of Mascara Should You Wear?
The number of layers of mascara you choose to wear is completely up to personal preference and desired look. Some may prefer a natural, subtle look with just one or two coats, while others may opt for a bolder, dramatic look with multiple layers.
However, it is important to note that applying too many thick layers can increase the risk of clumping. It may be helpful to apply multiple thin coats instead and comb through lashes afterward with a lash comb or old clean toothbrush to remove any clumps. Ultimately, there is no set rule on how many layers to wear – experiment and find what works best for you!

Conclusion
Now that you know how to put mascara on without clumps go out and have some fun! Experiment with different colors and brands to find the perfect look for you. And remember, don’t be afraid to ask for help if you need it. With these tips in mind, you should be able to master the art of mascara in no time!
It’s all about finding the perfect balance of product and technique. And once you find that magic combination, don’t be afraid to let your lashes take center stage. Clump-free mascara is within your reach!
Hopefully, these tips have helped serve as a guide on how to apply mascara without clumps.
You Can Check It Out To to Straighten Eyelashes
About the Author
Jane Hubbard is a passionate beauty expert with a wealth of experience in makeup, hair, and overall beauty techniques. After years of working as a hairdresser specialist, she followed her entrepreneurial spirit and started her own consultancy business.
Jane has always been driven by her desire to help others feel confident in their own skin, and she does this by sharing her knowledge, experiences, and practical beauty tips. Through her consultancy, she empowers individuals to embrace their unique beauty, offering tailored guidance that boosts both self-esteem and personal style.
Professional Focus
- Specializes in makeup, hairstyling, and beauty consulting.
- Provides personalized beauty advice, tips, and techniques to help individuals feel confident in their appearance.
- Dedicated to staying up-to-date with the latest industry trends and developments.
- Passionate about creating a comfortable and empowering experience for every client.
Education History
- University of Craft and Design – Bachelor of Fine Arts (BFA) in Woodworking and Furniture Design
- Woodworking Apprenticeships – Extensive hands-on training with skilled craftsmen to refine carpentry and furniture making techniques
- Online Courses & Masterclasses – Continued education in advanced woodworking techniques, design principles, and specialized tools
Expertise:
- Makeup artistry, hairstyling, and beauty consulting.
- Personalized beauty techniques to enhance confidence and self-expression.
- Educating clients on how to maintain their beauty routines at home.
