
Full, fluttery eyelashes can completely transform a makeup look, but traditional strip lashes sometimes feel heavy or look unnatural. This is where individual lashes shine, offering a customizable, subtle, and seamless enhancement that mimics your natural lash line. While the idea of applying tiny lash clusters one by one might seem daunting, the technique is surprisingly simple once you get the hang of it.
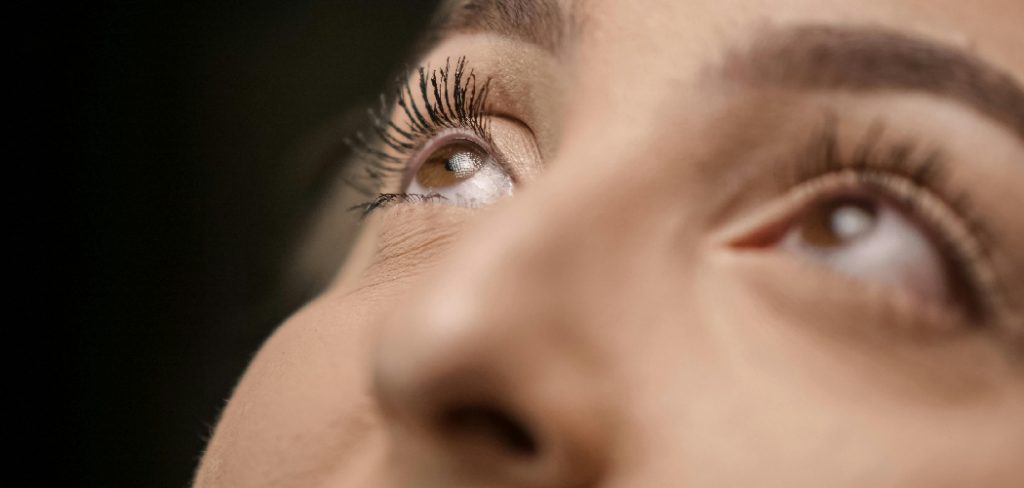
The result is a beautifully tailored look that can be as subtle or as dramatic as you wish. This guide will provide clear, beginner-friendly instructions on how to put on fake eyelashes individual ones, so you can achieve that professional, eye-opening effect from home.
When it comes to enhancing your look, individual eyelashes offer both flexibility and a natural finish. Unlike strip lashes, they allow you to customize your appearance, whether you prefer a light flutter or a bold, dramatic statement. Mastering the art of applying individual lashes can feel intimidating at first, but with a little patience and practice, it becomes a straightforward process. This guide aims to help beginners feel confident in creating their own personalized lash look with ease.
Understanding Individual Lashes
Individual lashes, also known as cluster lashes or flare lashes, consist of a small bunch of individual hairs attached at the base. They are typically available in different lengths and thicknesses to cater to different lash preferences. These lashes can be applied on top of natural lashes for added length and volume, or in sparse areas for a more natural look.
Unlike strip lashes, individual lashes offer a more seamless blend with your own lashes. This allows for a more natural appearance without the obvious line where strip lashes end. Individual eyelashes also last longer than strip lashes, as they are designed to be worn for a few weeks at a time instead of just one day.
7 Step-by-Step Guide on How to Put on Fake Eyelashes Individual Ones
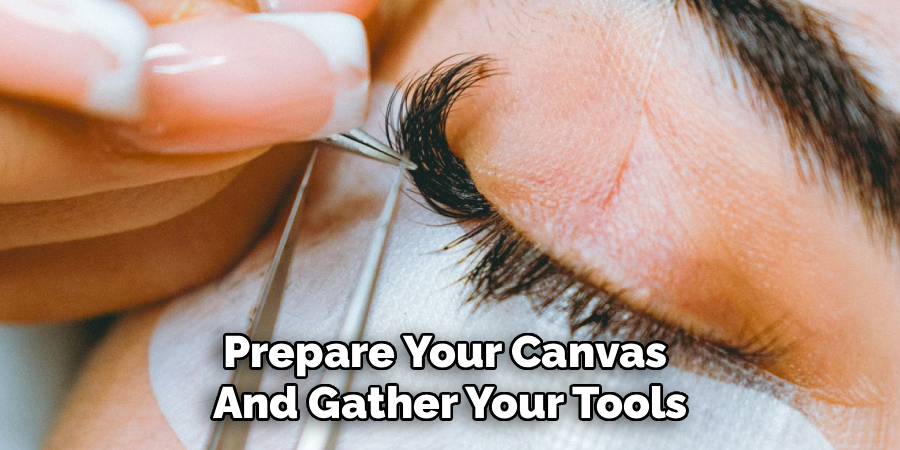
Step 1: Prepare Your Natural Lashes and Tools
Before you begin, it’s essential to prepare your canvas and gather your tools. Start with clean, dry eyelashes, free of any oil or old makeup residue. Give your natural lashes a gentle curl with an eyelash curler, focusing on the base. This helps the individual lashes blend in more seamlessly and provides a supportive “shelf” for them to rest on during application. Next, apply a thin coat of your favorite mascara. This step adds a bit of grip for the falsies and helps merge your natural and fake lashes together. Have your individual lashes, lash adhesive, and a pair of fine-tipped tweezers ready.
Step 2: Select and Arrange Your Lashes
Individual lashes often come in various lengths in one pack—short, medium, and long. To create the most natural look, you should mimic how real eyelashes grow. This typically means shorter lashes on the inner corner of your eye, transitioning to medium and then long lashes toward the outer corner. Before applying any glue, it’s helpful to lay out the lashes you plan to use in the order of application. This planning stage prevents you from fumbling for the right lash cluster mid-process and helps ensure a symmetrical and beautifully tapered result on both eyes.
Step 3: Apply the Lash Adhesive Correctly
Proper glue application is crucial for a successful and long-lasting hold. Squeeze a small bead of your lash adhesive onto a clean, non-porous surface, like a small piece of foil or the plastic tray the lashes came in. Wait about 30 to 60 seconds for the glue to become tacky. Applying the glue when it’s too wet will cause the lash to slide around on your eyelid. Using your tweezers, gently pick up a single lash cluster by its base. Lightly dip the knotted end or base of the individual lash into the tacky glue. You only need a tiny amount.
Step 4: Place the First Lash
The placement of the first lash sets the stage for the rest. It’s often easiest to start from the outer corner of your eye and work your way in. Look down into a mirror to get the best view of your lash line. Using your tweezers, carefully place the individual lash cluster directly onto your skin, as close to your natural lash line as possible. You are not gluing it to your natural lashes, but rather nestling it right in between them. Gently press the lash cluster into place and hold for a few seconds to secure it.
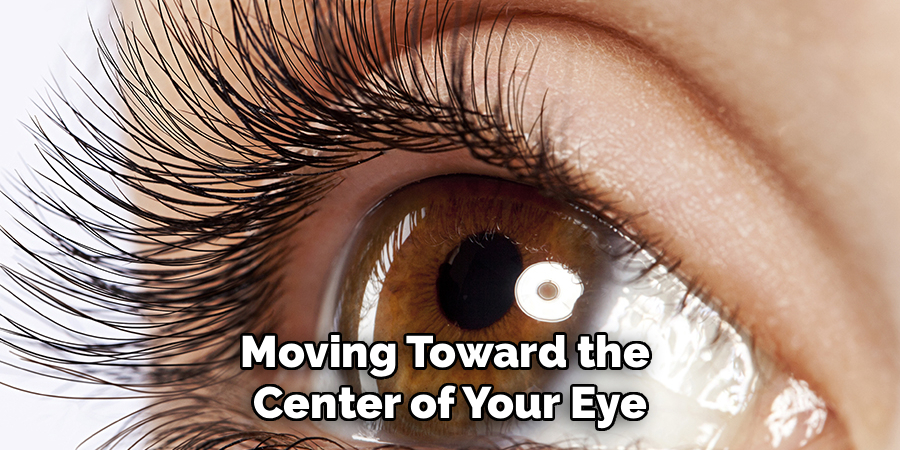
Step 5: Continue Applying Lashes Toward the Inner Corner
With your first lash in place, continue the process. Pick up your next lash cluster—perhaps a medium-length one—dip the base in the tacky glue, and place it right next to the previous one, moving toward the center of your eye. Ensure there are no large gaps between the clusters for a seamless look. As you approach the inner corner of your eye, switch to the shorter-length lashes to create that natural, tapered effect. The key is patience. Take your time with each lash to ensure precise placement along your lash line.
Step 6: Fill in Any Gaps
Once you have applied lashes from the outer to the inner corner, take a step back and assess your work. Look for any sparse areas or gaps along the lash line. You can add extra volume or fill these spots by applying a few more individual lashes where needed. This is the beauty of individual lashes—you have complete control over the final look. You can create a very light, natural enhancement with just a few clusters on the outer corners, or you can build up the density for a more glamorous, full-volume effect.
Step 7: Blend and Finalize the Look
After the glue has fully dried and all lashes are in place, you can blend them with your natural lashes. One of the best ways to do this is to gently clamp your natural and fake lashes together with your eyelash curler, but be very careful not to pull. To create an even more seamless transition, apply a thin line of black liquid or gel eyeliner along your upper lash line. This will conceal any visible glue and hide the bases of the individual lash clusters, giving you a flawless, professional-looking finish.
Common Application Mistakes
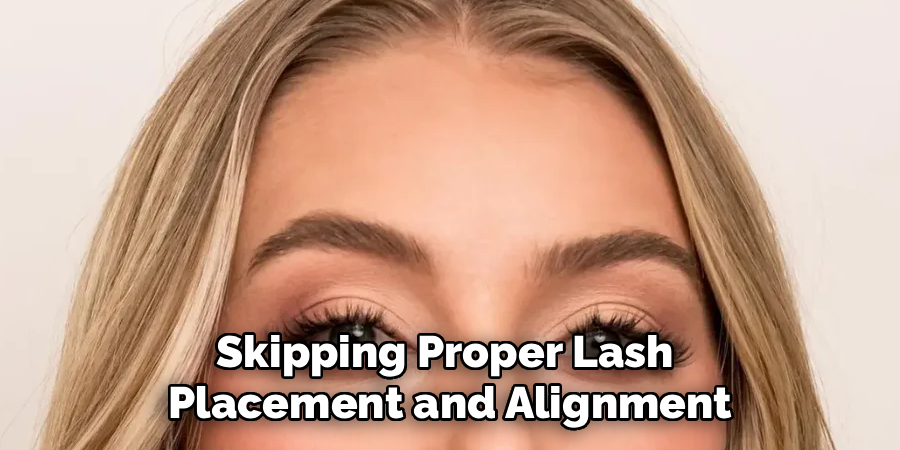
When applying false lashes, there are a few common mistakes that can affect the final result. One frequent issue is using too much adhesive, which can cause the glue to spread onto your natural lashes or eyelids, making cleanup difficult and potentially damaging your natural lashes. Another common mistake is not waiting long enough for the glue to become tacky before application. Applying lashes while the glue is still too wet makes it harder for them to stay in place and can result in slipping or uneven positioning.
Additionally, failing to measure and trim the lashes beforehand can lead to discomfort or an unnatural look if the lash strip extends beyond the natural lash line. Lastly, skipping proper lash placement and alignment can leave gaps between your natural lashes and the falsies, detracting from the seamless finish. Taking your time and focusing on these details can greatly improve your application technique.
Frequently Asked Questions (FAQs)
What Is the Difference Between Individual and Strip Lashes?
Strip lashes are a full set of lashes attached to a single band that you apply across your entire lash line in one piece. Individual lashes, also known as cluster lashes, are tiny groups of 3-5 lashes knotted together at the base. You apply them one by one, allowing for a much more customizable and natural-looking result compared to the often more dramatic look of a strip lash.
How Long Do Individual Fake Eyelashes Last?
When applied with daily-wear lash glue, individual fake eyelashes are designed to last for one day or evening. You should remove them before sleeping. Some people use semi-permanent glue for longer wear, but this should only be done by a trained professional, as improper application or removal can cause damage to your natural lashes. For DIY application, always use temporary adhesive.
Can I Reuse Individual Lashes?
It is possible to reuse individual lashes, but it can be difficult. After removal, you must gently peel off all the old adhesive from the tiny base of the lash cluster, which can be a delicate process. Then, clean them with makeup remover and store them properly. Given their low cost and the difficulty of cleaning them perfectly, most people treat individual lashes as a single-use item.
What Type of Glue Is Best for Individual Lashes?
For at-home application, you should always use a temporary lash adhesive designed for daily wear. These glues typically come in a small tube and are available in clear or dark tones. A dark-toned glue can help create the illusion of a fuller lash line, similar to eyeliner. Never use hair glue or semi-permanent extension glue for DIY application, as these are not safe for your eyes and can damage your natural lashes.
How Do I Remove Individual Lashes Safely?
To remove them safely, saturate a cotton pad with an oil-free eye makeup remover and hold it against your closed eye for about 30 seconds. This will dissolve the adhesive. Then, gently wipe downward. The individual lashes should slide off easily with your natural lashes. Do not pull or tug at the lashes, as this can rip out your natural ones.
Conclusion
Applying individual lashes is a skill that offers incredible rewards in a world of customized beauty. While it requires more patience than applying a simple strip lash, the resulting natural, lightweight, and perfectly tailored look is unmatched. The process hinges on a few key principles: preparing your natural lashes, working from the outside in with varying lengths, and allowing the glue to become tacky before application. With a little practice, you’ll master the technique. Now that you have a clear plan for how to put on fake eyelashes individual ones, you can confidently create a beautiful, eye-enhancing look for any occasion.
About the Author
Jane Hubbard is a passionate beauty expert with a wealth of experience in makeup, hair, and overall beauty techniques. After years of working as a hairdresser specialist, she followed her entrepreneurial spirit and started her own consultancy business.
Jane has always been driven by her desire to help others feel confident in their own skin, and she does this by sharing her knowledge, experiences, and practical beauty tips. Through her consultancy, she empowers individuals to embrace their unique beauty, offering tailored guidance that boosts both self-esteem and personal style.
Professional Focus
Specializes in makeup, hairstyling, and beauty consulting.
Provides personalized beauty advice, tips, and techniques to help individuals feel confident in their appearance.
Dedicated to staying up-to-date with the latest industry trends and developments.
Passionate about creating a comfortable and empowering experience for every client.
Education History
University of Craft and Design – Bachelor of Fine Arts (BFA) in Woodworking and Furniture Design
Woodworking Apprenticeships – Extensive hands-on training with skilled craftsmen to refine carpentry and furniture making techniques
Online Courses & Masterclasses – Continued education in advanced woodworking techniques, design principles, and specialized tools
Expertise:
Makeup artistry, hairstyling, and beauty consulting.
Personalized beauty techniques to enhance confidence and self-expression.
Educating clients on how to maintain their beauty routines at home.