
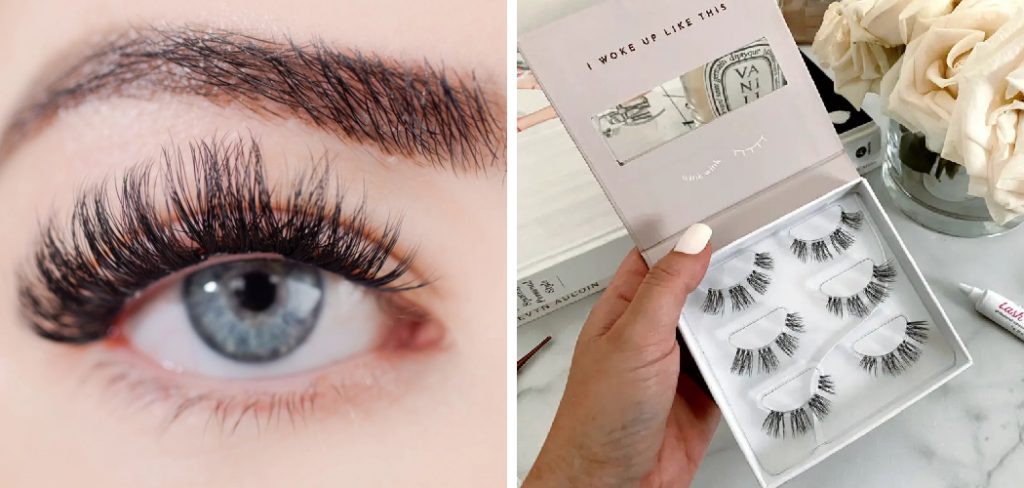
If you’re looking to update your beauty look but don’t want to invest in falsies, Flutter Habit eyelashes may be the perfect solution. Not only are they lightweight and reusable, but they also come in a variety of styles, so you can easily flaunt your own personalized look!
And while these eyelashes provide great value for the money, there comes a time when it’s necessary to give them a break and remove them altogether. Don’t worry – understanding how to properly remove Flutter Habit eyelashes is no difficult feat. In this blog post, we’ll provide step-by-step instructions on how to remove flutter habit eyelashes with minimal effort required!
What is Flutter Habit Eyelashes?
Flutter Habit eyelashes are lightweight, reusable false eyelashes that come in a variety of styles. They’re designed to provide an easy and mess-free way of enhancing your natural beauty with minimal effort required. Flutter Habit eyelashes can be found online or at select retailers and are available in everything from classic black to vivid colors!
Is Removing Flutter Habit Eyelashes Difficult?
No! In fact, removing your Flutter Habit eyelashes is easy and can be done with a few simple steps. All it takes is some patience and the right tools to ensure you don’t damage your natural lashes in the process.
Things to Consider Before Starting
1. Cleanliness
Before you begin the removal process, be sure that your hands are clean and free of any oils or makeup. Additionally, it’s best to remove your Flutter Habit eyelashes in front of a mirror so you can keep an eye on everything and make sure nothing goes wrong.
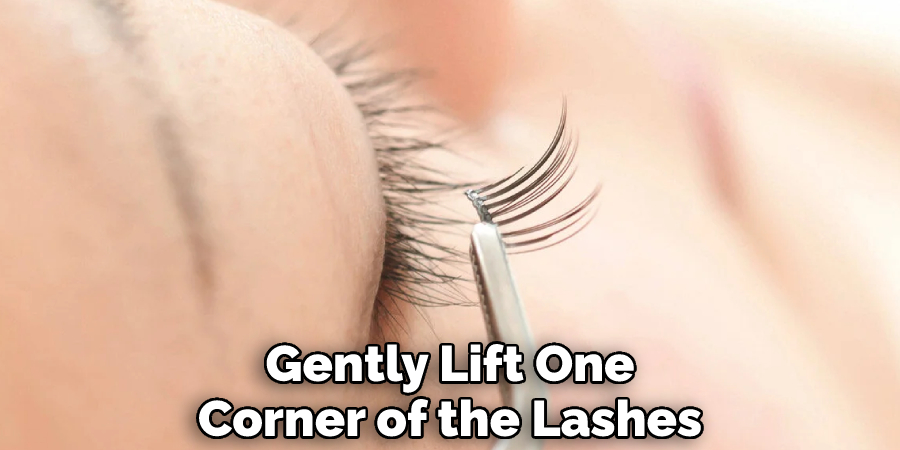
2. Gently Remove the Eyelashes
Once you’re ready to start, gently lift one corner of the lashes and begin slowly removing them. Be sure to hold onto your natural lashes during this process as well so that they don’t get pulled off with false eyelashes.
3. Clean Up After Removal
Once all of the false eyelashes have been removed, use a cotton pad or cloth to remove any excess glue that may be left behind. Be sure not to rub too hard so you don’t damage your natural lashes!
Required Items
In order to remove your Flutter Habit eyelashes, you will need the following items:
- A pair of tweezers or slant-tip scissors (optional)
- Petroleum Jelly or Coconut Oil
- A Micellar Water-based Cleanser.
10 Instructions on How to Remove Flutter Habit Eyelashes
1. Clean
Start by washing your hands with soap and water to ensure they are clean. You can also use a micellar water-based cleanser to further cleanse your eyelashes and remove any makeup residue. You can also use petroleum jelly or coconut oil to help soften the glue and make it easier to remove the lashes.
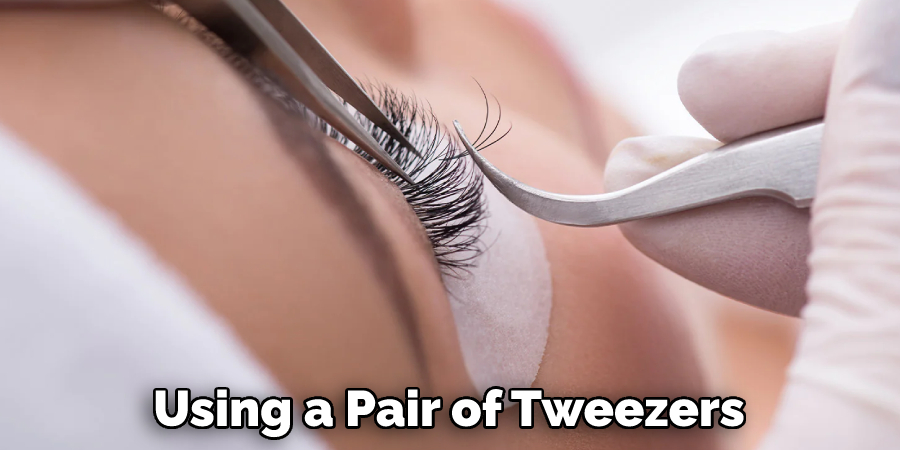
2. Loosen Glue
Using a pair of tweezers or slant-tip scissors, gently grip the base of your eyelashes and lightly pull back in order to loosen the glue. Do not tug too hard, as you don’t want to damage your natural lashes.
3. Peel Lash Away from Eye
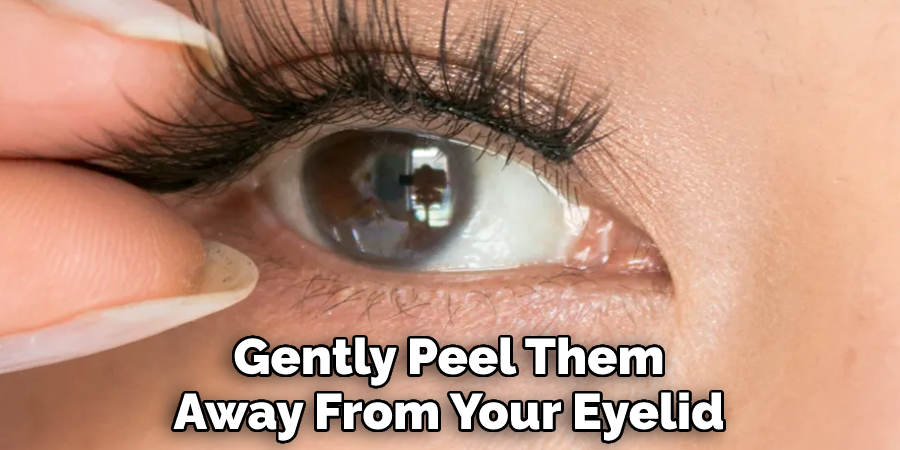
Once the glue is loosened, use your finger to peel the lash away from your eye. Gently pull the lash away until it’s detached from your lid. Do not tug too hard, as this could cause discomfort or even injury.
4. Clean Up Glue
Using a cotton swab and some petroleum jelly, gently wipe away any remaining glue from your eyelid. This will help prevent irritation or infection. Also, be sure to remove any false eyelash residue from the strips.
5. Store Eyelashes
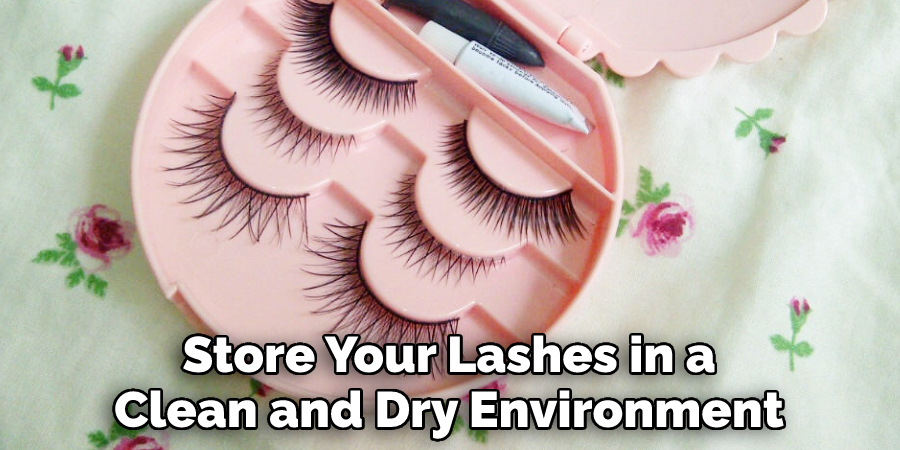
Once your lashes are removed, it’s important to store them properly in order to ensure they stay clean and can be reused again at a later date. Place the eyelashes back onto their original tray, or you can use an airtight container to store them in.
6. Clean Eyelashes
When you’re ready to reuse your false eyelashes, it’s important to make sure they are clean and free of any dirt or bacteria that may have built up while they were stored away. Use a gentle cleanser such as a micellar water-based cleanser to wipe down both sides of the lashes.
7. Reattach Eyelashes
Once your false eyelashes are clean and dry, you can reattach them to your natural eyelid using your favorite lash glue. Be sure to apply a thin layer of glue along the base of the lash strip, then gently press it into place on your lid. Securely hold the lash strip in place for 10-15 seconds before releasing.
8. Let Eyelashes Set
Once you’ve securely attached your false eyelashes, let them set and dry completely before adding any additional makeup. This will help ensure they stay firmly in place all day long!
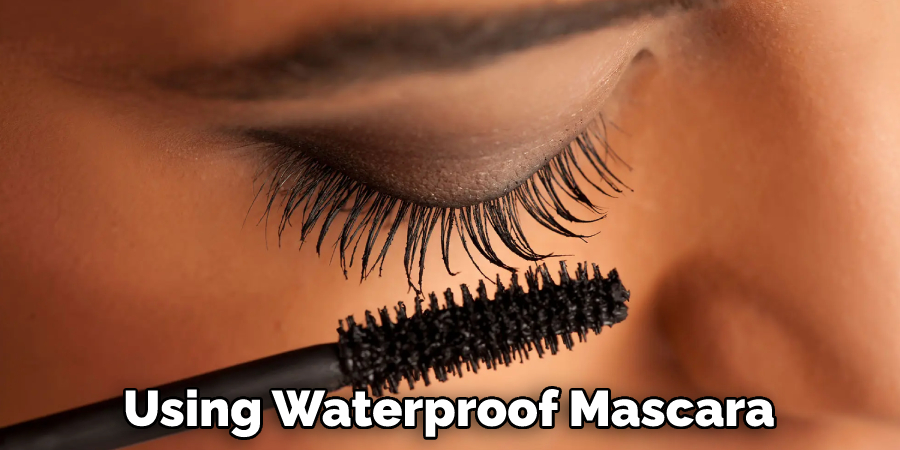
9. Apply Makeup
Once your Flutter Habit eyelashes are firmly in place, you can apply your favorite makeup products. Try using waterproof mascara to help enhance the look of your false lashes and ensure they stay put all day long!
10. Enjoy!
You did it! You’ve successfully removed and reattached your Flutter Habit eyelashes with minimal effort required. Now you can enjoy your beautiful, voluminous lashes and bask in the compliments that come with them.
By following these simple instructions on how to remove flutter habit eyelashes, you can easily remove and reuse your Flutter Habit eyelashes with minimal effort required. Enjoy the long-lasting results of your beautiful lashes!
8 Safety Precautions on How to Remove Flutter Habit Eyelashes
1. Make sure your hands are clean and free from any dirt or oil before handling the lashes to avoid any damage that may occur during removal. Cleanse your hands with an anti-bacterial soap or hand sanitizer.
2. Use tweezers to carefully remove the lashes from your eyes, starting at the outer corner and working inward until you have fully detached them from your lash line. Also, make sure to grip the lashes gently, as tugging too hard can cause them to break.
3. Use an oil-based eye makeup remover or a gentle makeup remover specifically designed for eyelash extensions to slowly and gently remove any adhesive residue that may be left behind.
4. Take your time when removing the lashes, and be extremely careful. If you feel any pain or discomfort while removing them, stop immediately and consult with a professional.
5. After the lashes have been removed, it’s important to cleanse your eyes and eyelids with a gentle eye cleanser designed for sensitive skin. This will help remove any excess makeup or oils that may have been left behind.
6. Dispose of your lashes in a proper manner, such as placing them into an appropriate receptacle or container for later disposal. Refrain from using the same pair of lashes more than once, as this may result in infection or damage to your eyes and eyelids.
7. If at any point during the removal process, you experience any signs of irritation or redness, discontinue the procedure immediately and consult with a professional.
8. Lastly, always make sure to store your lashes in a clean and dry environment away from excess moisture, heat, and direct sunlight to maintain their longevity. Do not use water-based cleansers on them, as this could cause them to break down and become unusable.
Follow these 8 safety precautions to ensure that removing your Flutter Habit Eyelashes is done in a safe and effective manner. By taking the time to properly care for and remove your eyelashes, you can rest assured knowing they’ll last longer and look better for longer!
8 Maintenance Tips for Proper Flutter Habit Eyelash Care
1. Make sure to have oil-free makeup remover handy when removing your Flutter Habit eyelashes. Oil-based products can weaken the adhesive, causing premature shedding of the lashes. Oil-free removers are specially designed to gently remove makeup without causing damage.
2. Gently tug the lashes away from your lash line, making sure to grip them firmly but not too hard. Pulling too hard can cause the adhesive to break prematurely, leading to premature shedding of your Flutter Habit eyelashes.
3. When removing your Flutter Habit eyelashes, start at the outer corners and then work your way in. This will help ensure that no adhesive residue is left behind. Eyelashes that come off too easily may have adhesive residue still attached to them.
4. After removing your Flutter Habit eyelashes, make sure to clean the area around your eyes with warm water and a mild cleanser to remove any remaining makeup or oils from the area. This will help ensure that your lashes look their best when they are reapplied.
5. After cleaning your lash line, apply a small amount of oil-free moisturizer or eyelash conditioner to the area. This will help keep the lashes hydrated and prevent them from drying out over time.
6. Make sure to store your Flutter Habit eyelashes in a cool, dry place when not in use. This will help them last longer and look their best when you want to apply them again.
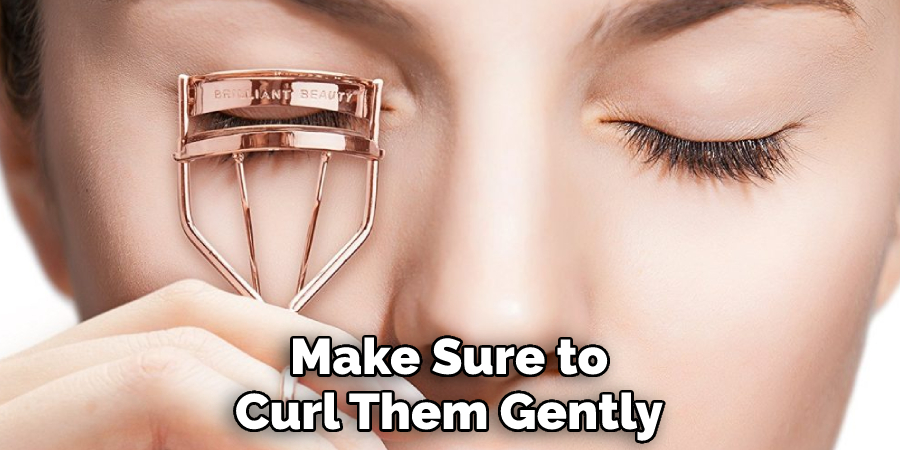
7. Before applying your Flutter Habit eyelashes, make sure to curl them gently with an eyelash curler for a more natural-looking effect. Also, make sure to apply the adhesive carefully and evenly along the entire length of the lash.
8. For best results, replace your Flutter Habit eyelashes every two weeks or when they start to look worn out and damaged. This will help ensure that you always have a fresh set on hand for beautiful lashes all day long!
Following these tips on how to remove flutter habit eyelashes will help you keep your Flutter Habit eyelashes looking their best, so you can enjoy beautiful lashes any time of the year!
Frequently Asked Questions
How Often Should I Clean My Flutter Habit Eyelashes?
You should clean your Flutter Habit eyelashes after every use. This will help to keep the adhesive and lashes in good condition and prevent the buildup of natural oils and dust particles, which can interfere with the adhesion process. Also, be sure to clean away any residue after each use to ensure that the lashes remain in good shape.
Can I Reuse My Flutter Habit Eyelashes?
Yes! You can reuse your Flutter Habit eyelashes up to 10 times with proper care and cleaning. To maintain the quality of your lashes, be sure to store them correctly and in a clean environment. In addition, be sure to check the condition of the lashes before each use and replace them if necessary.
How do I Remove Flutter Habit eyelashes?
Removing Flutter Habit eyelashes is relatively easy; all you need to do is gently peel the lash off your eyelid and discard it. You can then use an oil-based makeup remover to help remove any residual adhesive and clean off your natural lashes. Finally, be sure to store your lashes in a clean container or case. This will help ensure that they remain in top condition and ready to use again.
Is It Safe to Remove Flutter Habit Eyelashes?
Yes, it is safe to remove Flutter Habit eyelashes. However, you should always take the necessary precautions when doing so. Be sure to start at the ends of the lashes and gently peel them away from your eyelid. Also, be sure to use an oil-based makeup remover to remove any residual adhesive and clean off your natural lashes. Finally, always store your Flutter Habit eyelashes in a clean container or case when not in use.
Conclusion
Removing Flutter Habit Eyelashes can be an intimidating process, but don’t let that stop you from expressing yourself through beautiful eyelash extensions. If a quick and gentle lash removal technique is used correctly, there should be no need for worry! Remember to place recycled cotton pads near the eyes with a special remover solution on them. Follow this guide on how to remove flutter habit eyelashes for a better solution.
Then, gently apply the remover solution onto the eyelids to help dissolve the glue, taking safety precautions into account. Patience and practice will help you master lash removal in no time! After all is said and done, make sure to properly dispose of old lashes and keep your new ones away from strong heat sources, such as heated wands. Let’s not forget to congratulate ourselves, too – it takes real courage to go out of our comfort zones and try new makeup looks!
About the Author
Jane Hubbard is a passionate beauty expert with a wealth of experience in makeup, hair, and overall beauty techniques. After years of working as a hairdresser specialist, she followed her entrepreneurial spirit and started her own consultancy business.
Jane has always been driven by her desire to help others feel confident in their own skin, and she does this by sharing her knowledge, experiences, and practical beauty tips. Through her consultancy, she empowers individuals to embrace their unique beauty, offering tailored guidance that boosts both self-esteem and personal style.
Professional Focus
Specializes in makeup, hairstyling, and beauty consulting.
Provides personalized beauty advice, tips, and techniques to help individuals feel confident in their appearance.
Dedicated to staying up-to-date with the latest industry trends and developments.
Passionate about creating a comfortable and empowering experience for every client.
Education History
University of Craft and Design – Bachelor of Fine Arts (BFA) in Woodworking and Furniture Design
Woodworking Apprenticeships – Extensive hands-on training with skilled craftsmen to refine carpentry and furniture making techniques
Online Courses & Masterclasses – Continued education in advanced woodworking techniques, design principles, and specialized tools
Expertise:
Makeup artistry, hairstyling, and beauty consulting.
Personalized beauty techniques to enhance confidence and self-expression.
Educating clients on how to maintain their beauty routines at home.