
Are you looking for a way to remove your gel builder nails without damaging them? Look no further! Here are some simple tips for removing gel builder nails effectively.
Nail enhancements, like gel builder nails, can give your hands a finished look. Whether you’re getting ready for a special event or just want to add some flair to everyday activities, they are an easy and fun option to achieve the desired results.
However, sometimes after weeks of wear, it can be difficult to figure out how to remove them without damaging your nails and cuticles. Fortunately, there is an effective way you can readily remove these nail enhancements from your home with minimal effort and time!
In this post, we will explore exactly what supplies are needed, along with step-by-step instructions on how to remove gel builder nails so that you can switch up your style whenever the mood strikes.
What Will You Need?
Before starting the removal process, it is important to gather all necessary supplies. The items you will need are:
- Nail clippers
- Acetone (nail polish remover)
- Cotton pads/balls
- A cuticle pusher or orange stick
- Aluminum foil or nail wraps
- Nail file and buffer.
Once you have gathered your materials, it’s time to start!
10 Easy Steps on How to Remove Gel Builder Nails
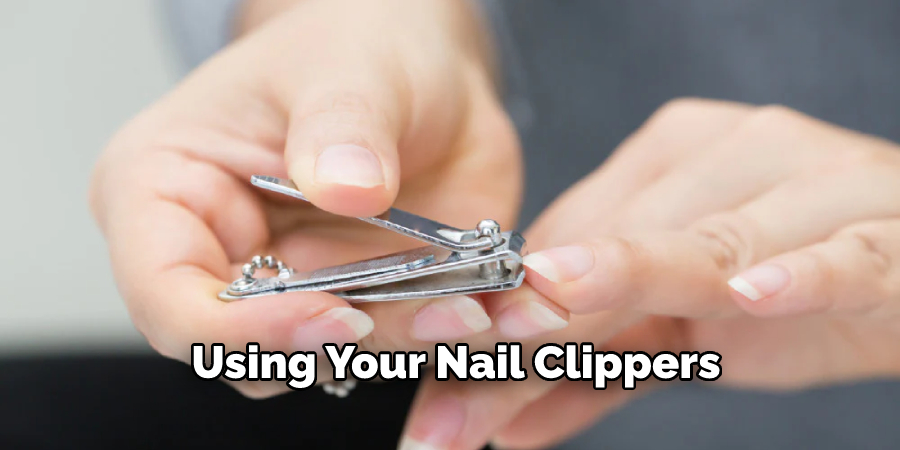
Step 1: Trim and File Nail Enhancements
Using your nail clippers, carefully trim down the gel builder nails as much as possible. This will make them easier to remove without damaging your natural nails. Then, use a nail file and buffer to gently file away the remaining gel builder until you have reached your desired shape.
Step 2: Soak Cotton in Nail Polish Remover
Next, dip a cotton pad or ball into the acetone (nail polish remover) and apply it directly onto your nails. Make sure that each nail is completely saturated with the solution before moving on to the next step. If you’re using nail wraps, be sure to place a cotton ball inside each one before securing it around your finger.
Step 3: Wrap Foil Around Nails
Take a piece of aluminum foil or nail wrap and wrap it around each of your fingers, ensuring that the foil covers all your nails. This will help keep the acetone solution in place while also preventing evaporation. Additionally, it will make it easier to remove the remaining gel builder in one step.
Step 4: Wait 10 Minutes
Once you have securely wrapped all of your nails in foil or nail wraps, allow them to sit for about 10 minutes. This will give the acetone enough time to work its magic and loosen up the gel to remove it without damaging your natural nails. It is important not to exceed 10 minutes as this can result in dry and brittle nails.
Step 5: Remove the Foil
After about 10 minutes have passed, carefully remove the foil from each finger one at a time. The gel should come off easily with little resistance. If stubborn areas still don’t budge, repeat steps 2-4 again until all of the gel builders are removed.
Step 6: Use Cuticle Pusher/Orange Stick
If there are any remaining bits of gel on your nails, gently use a cuticle pusher or orange stick to push them off. Be sure not to press down too hard, as this can damage your natural nails. You can also use a nail file to help loosen and remove the gel if necessary. As always, take your time and be gentle.
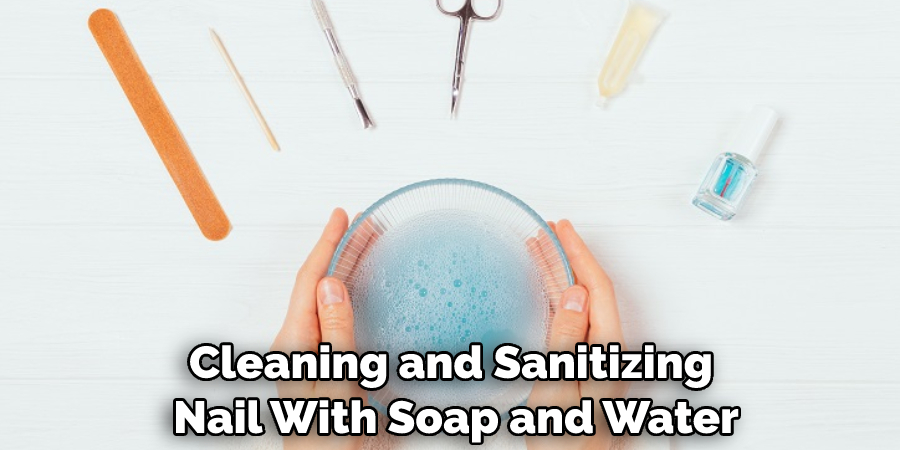
Step 7: Clean and Sanitize Your Nails
Once all of the gel builders have been removed from each nail, cleaning and sanitizing them with soap and water is important. This will help remove any lingering traces of acetone, which could cause skin irritation if left unchecked. Moreover, it will also provide you with a fresh canvas for your next set of nails.
Step 8: Remove Acetone Residue With Cotton Ball/Pad
Now that you’re done cleaning and sanitizing dip a cotton ball or pad into a nail polish remover. Gently use this to remove any acetone residue that may have been left behind during the removal process. Be careful not to rub too hard, as this could cause further damage to your nails.
Step 9: Moisturize Cuticles
Once you’ve removed all the gel builders, apply some cuticle oil or hand cream to your nails and cuticles. This will help nourish and moisturize them to stay healthy and beautiful between manicures. You can also use a cuticle pusher to help push the product deeper into the skin.
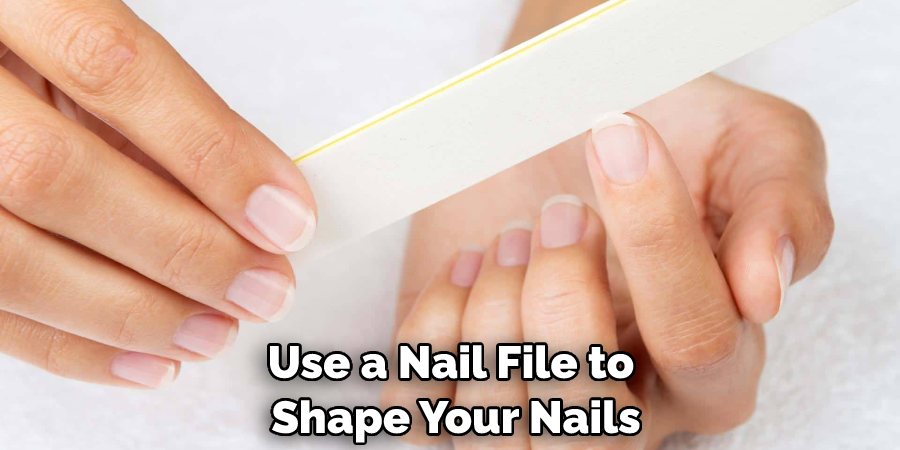
Step 10: File Nails
Finally, use a nail file to shape your nails however you desire. You can also buff them down if needed for even more shine! Remember always to be gentle when filing and buffing your nails, as this will help prevent damage.
By following these ten simple steps, you can easily remove your gel builder nails whenever the mood strikes. With a few basic supplies and patience, you can get salon-quality results quickly!
5 Additional Tips and Tricks
1. To prevent damage to your nails and cuticles, use a cotton pad or swab soaked in acetone-based nail polish remover. This will help you avoid direct contact with the harsh chemicals in the remover.
2. Use an orangewood stick to gently push down the edges of the gel builder nails to loosen them from your natural nails.
3. Once the gel builder nails are loosened, gently pull them off or loosen them with a manicure stick or cuticle pusher.
4. After removing the gel builder nails, use an acetone-based nail polish remover to clean your natural nails and remove any remaining product from underneath each nail.
5. Finally, moisturize your hands and nails with a nourishing cream to help keep them healthy and hydrated!
These tips should help you safely and easily remove gel-builder nails for beautiful, healthy-looking results! With this knowledge, you can now confidently master the art of nail removal at home!
5 Things You Should Avoid
1. Don’t Try to Peel, Cut, or Bite Off: If you try to peel or cut off the gel builder nails, you can severely damage your natural nails. Biting them off is not only ineffective but also dangerous as it can cause bacteria to spread and lead to an infection.
2. Don’t Pull Too Hard: When attempting to remove the nail extensions, make sure not to pull too hard. Pulling too forcefully can cause painful tears in your natural nail bed.
3. Avoid Using Sharp Objects: Cutting tools such as scissors and clippers should never be used for removing gel builder nails since they can easily nick or slice through both the artificial and real nails, leading to infection.
4. Never Soak in Water: Soaking your hands in hot water for an extended amount of time can damage your skin and nails by drying them out. Furthermore, you risk swelling the artificial nail extensions, making them difficult to remove without causing further damage.
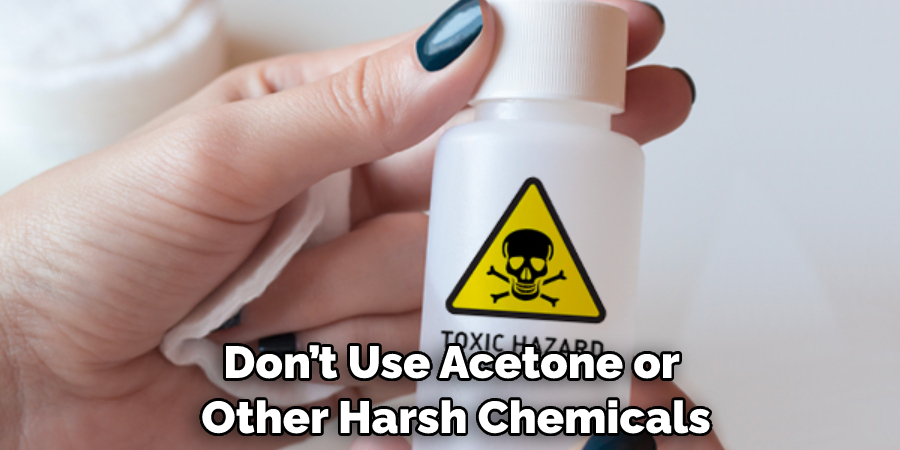
5. Don’t Use Acetone or Other Harsh Chemicals: Acetone is a common ingredient in many nail remover products and can be effective at removing gel-builder nails. It also has damaging side effects like drying out the skin around your skin nails or damaging your real nails. It’s best to avoid using such harsh chemicals altogether.
Following these five tips will help ensure that you effectively and safely remove your gel builder nails without any painful tears or tearing of the natural nail bed. With the right approach, you’ll have healthy, natural nails in no time.
Does Removing Builder Gel Damage Nails?
Removing builder gel nails correctly with the right tools doesn’t have to damage your natural nails.
However, if you try to peel or cut them off, use sharp objects, or pull them too hard during removal, then it can cause serious damage that may take a long time to heal. It is important to follow the steps outlined in this article and avoid using harsh chemicals or cutting tools when removing builder gel nails so you can stay safe and maintain healthy nails.
Overall, with the right knowledge and tools, you can easily remove your gel builder nails without damaging your natural nails.
Conclusion
How to remove gel builder nails should not be a daunting or unpleasant task. With the right tools and techniques, you can easily remove your nails in an hour or so and be left with healthy and unharmed nails. Of course, you’ll want to make sure that you take proper care of your newly exposed nails afterward.
Consider using cuticle oil and a hand moisturizer every day after removing your gel builder nails. Avoid any activities that involve direct contact with water for up to 48 hours, and remember to keep them dry by wearing gloves when doing dishes or gardening. Finally, always consult a professional nail technician for advice before attempting nail treatments such as removal at home!
Having the expertise of an experienced expert will provide you with peace of mind knowing that the process is being done safely—allowing you to feel confident in the results achieved!
About the Author
Jane Hubbard is a passionate beauty expert with a wealth of experience in makeup, hair, and overall beauty techniques. After years of working as a hairdresser specialist, she followed her entrepreneurial spirit and started her own consultancy business.
Jane has always been driven by her desire to help others feel confident in their own skin, and she does this by sharing her knowledge, experiences, and practical beauty tips. Through her consultancy, she empowers individuals to embrace their unique beauty, offering tailored guidance that boosts both self-esteem and personal style.
Professional Focus
Specializes in makeup, hairstyling, and beauty consulting.
Provides personalized beauty advice, tips, and techniques to help individuals feel confident in their appearance.
Dedicated to staying up-to-date with the latest industry trends and developments.
Passionate about creating a comfortable and empowering experience for every client.
Education History
University of Craft and Design – Bachelor of Fine Arts (BFA) in Woodworking and Furniture Design
Woodworking Apprenticeships – Extensive hands-on training with skilled craftsmen to refine carpentry and furniture making techniques
Online Courses & Masterclasses – Continued education in advanced woodworking techniques, design principles, and specialized tools
Expertise:
Makeup artistry, hairstyling, and beauty consulting.
Personalized beauty techniques to enhance confidence and self-expression.
Educating clients on how to maintain their beauty routines at home.