
Are you tired of having too many layers in your hair? Do you want a more straightforward, cleaner look? Removing layers from your hair can give you a fresh, new style. Here’s how to remove layers from hair.
To achieve a more uniform hair length or simply change up your look, removing layers from your hair can feel like a refreshing transformation. This process, which can seem daunting initially, is reasonably achievable with the proper techniques and tools.
Whether you’re looking to correct a previous haircut that didn’t turn out as expected, aiming for a more classic, one-length look, or preparing your hair for a new style, understanding how to remove layers effectively is crucial.
This guide will walk you through the necessary steps and provide tips to ensure your transition to a layer-free hairstyle is smooth, successful, and stylish.
What are the Benefits of Removing Layers From Hair?
- Simplifies Styling: One of the primary benefits of removing layers from hair is that it makes styling much easier. With fewer layers, you’ll have less bulk and weight in your hair, making it more manageable and quicker to style.
- Adds Volume: Removing layers can also add volume to your hair. Too many layers can weigh down your hair and make it look flat, but a more uniform length can create the illusion of fuller, thicker hair.
- Promotes Hair Health: Regularly removing layers from your hair can promote overall hair health. Layers constantly cut and styled can cause damage and breakage, leading to thinner and weaker hair. Allowing your hair to grow out in a more natural state can make it stronger and healthier.
- Allows for Versatility: Without layers in your hair, you’ll have a blank canvas. This provides more flexibility in styling options and allows you to experiment with different looks without being limited by the existing layers.
These are just a few of the benefits of removing layers from your hair. Now, let’s explore the steps you can take to achieve this hairstyle transformation.
What Will You Need?
Before you begin, make sure you have the following tools and products on hand:
- Hair Cutting Shears: It’s essential to use sharp, professional hair-cutting shears for a clean and precise cut.
- Fine-Tooth Comb: A fine-tooth comb will help section and evenly distribute your hair while cutting.
- Clips or Hair Ties: These will come in handy for securing sections of hair while you work on others.
- Spray Bottle with Water: Keeping your hair damp can make cutting easier and create a more even outcome.

Once you have all these items, it’s time to start removing those layers!
10 Easy Steps on How to Remove Layers From Hair
Step 1. Wash and Condition Your Hair:
Begin with clean, damp hair. Washing and conditioning before cutting helps to remove any product buildup and ensures your hair is hydrated and easy to work with. Additionally, cutting damp hair allows for a more controlled and accurate cut.
Step 2. Detangle Your Hair Thoroughly:
After washing and conditioning, use a wide-tooth comb to gently detangle your hair, starting from the ends and working your way up to the roots. This step is crucial as it ensures your hair is free from knots and tangles, which can cause uneven cuts.
Smooth, detangled hair is easier to section and cut accurately. Take time with this process to avoid any unnecessary breakage or damage, especially if you have delicate or prone-to-tangle hair. A detangling spray or leave-in conditioner can also be used to ease this process if your hair tends to be knotty.
Step 3. Section Your Hair:
Begin by dividing your hair into manageable sections. Use clips or hair ties to separate your hair into sections: one at the crown of your head, one on each side of your head, and the rest at the back. This will make it easier to focus on cutting one section at a time and ensure an even length throughout.
Creating clear, organized sections also helps mitigate the risk of accidentally cutting too much hair from any single part, allowing for a more controlled approach to removing layers.
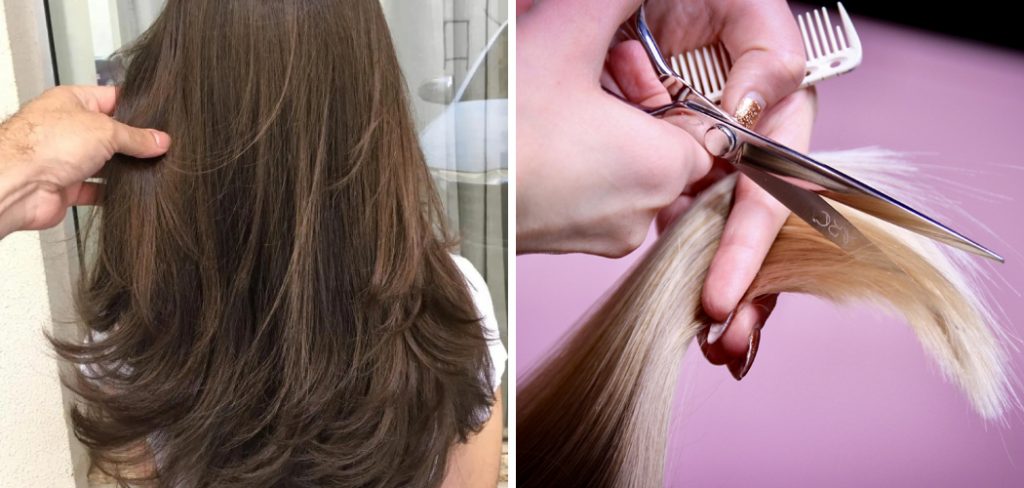
Step 4. Start With the First Section at the Back:
Take down one of the back sections and comb through it thoroughly with your fine-tooth comb. Hold the hair between your fingers, sliding them down to the desired length. Ensure your fingers are level and horizontal to the floor to ensure an even cut.
Carefully trim the ends using your hair-cutting shears, cutting just below your fingers. Remember, it’s better to cut less hair initially; you can always trim more if needed. Repeat this process with the remaining sections of your hair, ensuring that each new section is cut to match the previously trimmed sections for a uniform length throughout.
Step 5. Check for Evenness and Symmetry:
After you have trimmed all sections, it’s time to check for any unevenness or lack of symmetry. You can comb your hair and examine the ends from different angles. Another method is to bring sections of your hair to the front over your shoulders to compare lengths side by side more easily.
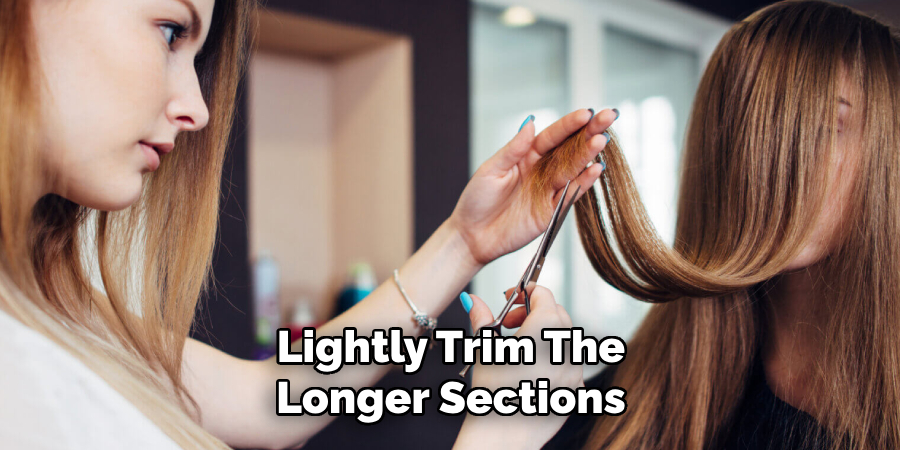
If you find any discrepancies, lightly trim the longer sections to match the shorter ones. This step is crucial for achieving a balanced and professional-looking haircut, so take your time and make adjustments as needed.
Step 6. Refine the Cut with Vertical Snips:
After ensuring the base length is even all around, the next step involves refining the cut to remove any blunt lines, making the transition smoother and more natural-looking. To do this, take small sections of your hair and, holding the scissors vertically, make small snips upwards into the ends of the hair.
This technique, known as point cutting, helps to soften the edge of the cut, making the overall look more blended and less choppy. Pay special attention to the areas where the layers are most prominent to ensure those sections blend seamlessly with the rest of the hair. This step requires a steady hand and patience, but it’s essential for achieving a polished finish.
Step 7. Dry and Style Your Hair:
Once you’re satisfied with the cut, it’s time to dry and style your hair to see the full effect of your new hairstyle. Use a blow dryer and a round brush to dry your hair, adding volume and shape. This will also help you spot areas that might need more trimming or refining.
When drying, aim to smooth out the cut to reveal the proper shape and bounce of your hair without the layers. Once dry, you can style your hair straight, with waves, or curls. This step allows you to enjoy the immediate results of your hard work and helps identify any minor adjustments required to achieve the perfect look.
Step 8. Final Touch-Ups:
After styling your hair and getting a sense of its new shape and flow, take a moment to examine it from all angles in the mirror. Look for any stray hairs or uneven sections that might have been overlooked.
Use your scissors for any final touch-ups, trimming those areas lightly to ensure the final look is smooth and even. This step is about perfecting your haircut, so approach it with a critical eye and patience. Remember, minor adjustments can make a big difference in the overall appearance of your hairstyle.
Step 9. Maintain Your New Hairstyle:
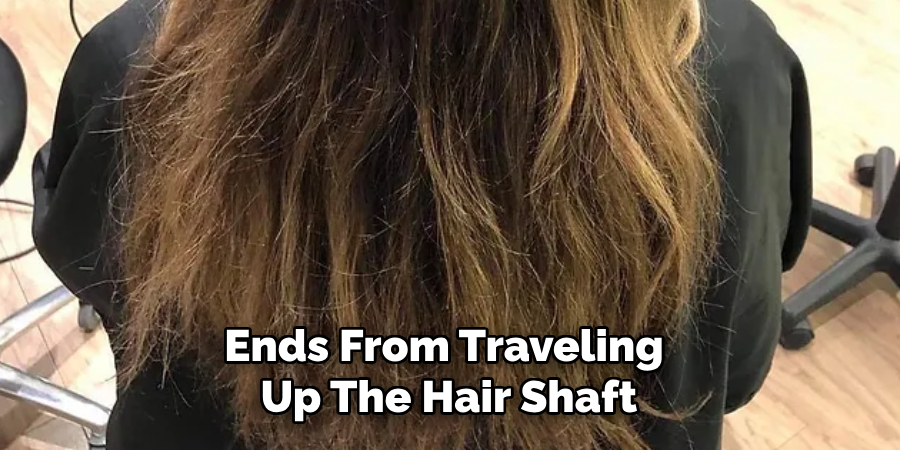
Keeping your hair looking its best after removing layers involves regular maintenance. Schedule trims every 6-8 weeks to keep the ends healthy and to prevent split ends from traveling up the hair shaft, causing damage. Additionally, a deep conditioning treatment weekly can help maintain the hair’s moisture and elasticity, ensuring it remains soft, shiny, and easy to manage.
Avoid overusing heat styling tools, and when you do use them, always apply a heat protectant to shield your hair from damage. Following these care tips, you can enjoy your refreshed, layer-free hairstyle for longer, keeping it looking salon-fresh.
Step 10. Celebrate Your Newly Cut Hair:
Now that you’ve successfully completed your cut, it’s time to celebrate your achievement! Whether it’s your first time cutting your hair or becoming more confident in your DIY haircut abilities, taking the time to appreciate your work is essential.
Snap a few photos to share with friends or to document your progress. Enjoy the fresh feel of your new hairstyle and the satisfaction of mastering a new skill. Remember, practice makes perfect, and each attempt teaches you something new. Celebrate your dedication to self-care and the courage to try something new.
By following these step-by-step instructions, you can confidently tackle cutting layers out of your hair at home.
5 Additional Tips and Tricks
- Seek Professional Help: For those unfamiliar with hairdressing techniques, consulting a professional stylist can ensure that layers are removed correctly without causing unwanted damage to the hair. They can provide tailored advice and perform the necessary cuts with precision.
- Use the Right Tools: Invest in high-quality hairdressing scissors and a fine-tooth comb. Using the proper tools will help you achieve a more accurate and cleaner cut, reducing the risk of uneven layers or split ends.
- Deep Conditioning Treatments: Before removing layers, apply deep conditioning treatments to strengthen your hair. Healthy, well-nourished hair is more accessible to cut and style, which can help achieve a more uniform length after removing layers.
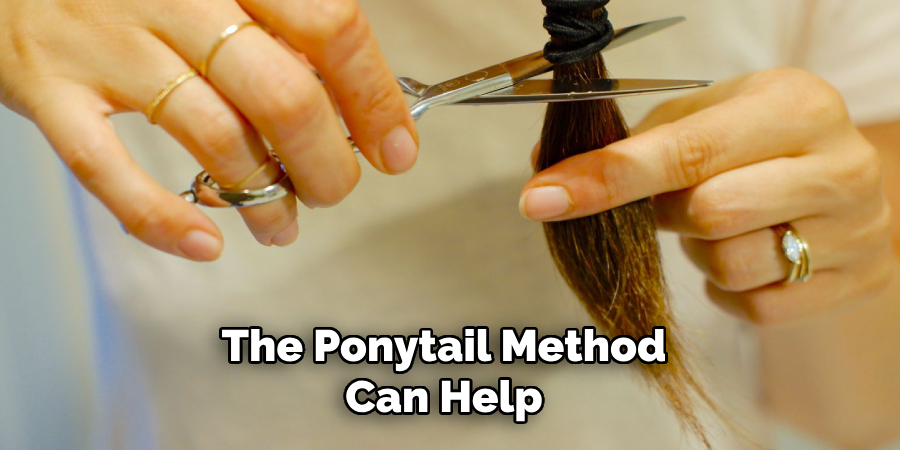
- Try the Ponytail Cutting Method: The ponytail method can help remove layers for a DIY approach. This involves pulling your hair back into a ponytail and trimming the end. Note that this technique can provide a basic level adjustment but might not work for all hair types or layering styles.
- Maintain Regular Trims: After removing unwanted layers, keeping up with regular trims every 6-8 weeks can help maintain the desired length and prevent the reformation of layers. Regular maintenance is critical to maintaining health, even a haircut.
With these additional tips and tricks, you can confidently remove layers from your hair without compromising its health or style.
5 Things You Should Avoid
- Avoid Using Blunt Instruments: Do not use household scissors or any tools not specifically designed for hair cutting. These can cause fraying and damage to the hair cuticle, leading to split ends and uneven layers.
- Skipping the Consultation with a Professional: Even if you plan to cut your hair at home, it’s valuable to consult with a hairdresser beforehand. They can offer insight into what will work best for your hair type and current style, preventing regrettable mistakes.
- Neglecting Hair Health: Removing layers without considering the health of your hair can lead to further damage. Avoid starting the process if your hair is brittle or damaged; focus on nourishing and strengthening your hair first.
- Overcomplicating the Process: Attempting complicated cutting techniques at home without proper training can lead to uneven layers, hair damage, and dissatisfaction with your appearance. Stick to more straightforward methods if you need to be more experienced.
- Ignoring Hair Type and Texture: Not all methods for removing layers suit every hair type or texture. What works for straight, fine hair may not be appropriate for curly or coarser types. Tailor your approach to your specific hair characteristics to avoid unwanted outcomes.
By avoiding these common mistakes, you can achieve a successful layered haircut that enhances your hair’s natural beauty and maintains its health.
Are Layers Good or Bad for Your Hair?
Ultimately, it depends on your hair type and the chosen layering technique. When done correctly and with proper maintenance, layers can add volume, texture, and movement to your hair.
However, if not executed correctly or without considering your hair’s health, layers can lead to damage and split ends. Consult with a professional stylist or do extensive research before adding or removing layers to your hair.

Overall, layers can be a fantastic way to transform your hairstyle, but it’s essential to approach them with care and consideration for your hair’s well-being. So, if you’re considering getting rid of some layers or adding new ones, follow these tips and always prioritize the health of your hair.
What Type of Hair Should Not Be Layered?
While layers can work for most hair types, there are specific characteristics that may not be suitable for layering.
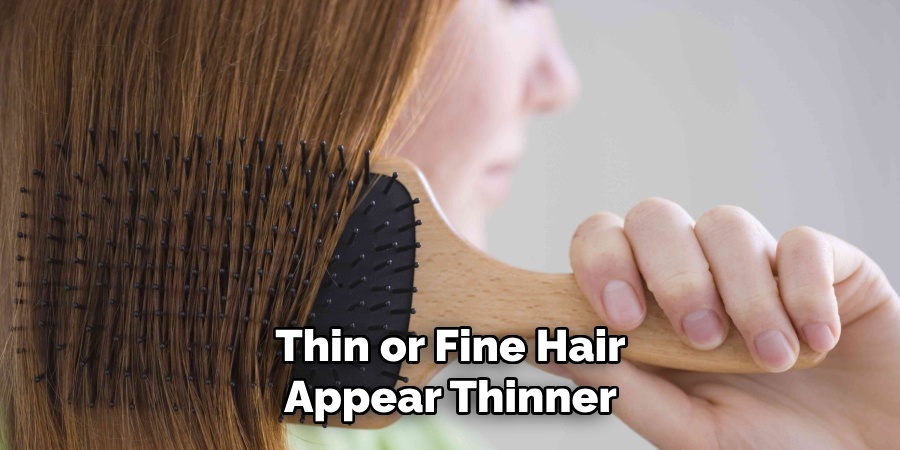
- Very Thin or Fine Hair: Layering can make thin or fine hair appear even thinner and flat. Instead, try a blunt cut to add volume.
- Damaged or Over-Processed Hair: Adding layers to damaged hair can lead to further breakage and split ends. It’s best to focus on repairing your hair before considering layering techniques.
- Curly Hair with Tight Curls: Layering can disrupt the natural curl pattern of tight curls, leading to an unflattering appearance. Instead, opt for longer layers that blend well with your curls.
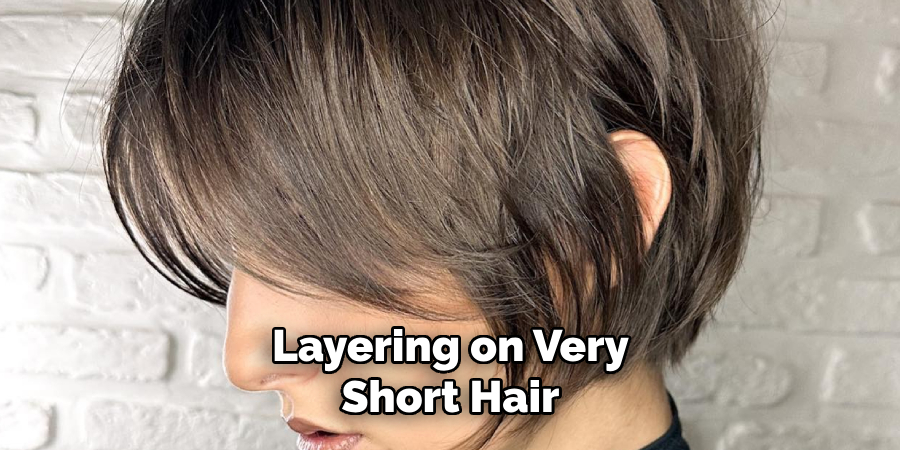
- Short or Pixie Haircuts: Layering on very short hair can often result in an uneven and choppy look. It’s best to stick with a one-length cut for short hair.
Ultimately, it’s essential to consider your hair type, texture, and desired outcome before deciding on layering. Consulting with a professional stylist can provide valuable insight into what will work best for your specific hair characteristics.
What Are the Disadvantages of Layered Haircuts?
While layered haircuts can offer many benefits, there are also some potential disadvantages. These include:
- More Maintenance: Layered hair may require more upkeep and regular trims to maintain the desired shape and style.
- Difficult to Grow Out: If you decide to grow out your layers, it can be lengthy as the shorter layers may take longer to catch up with the rest of your hair.
- Can Be Unflattering for Thin Hair: Layers can make thin or fine hair appear thinner and flat. This can disadvantage those looking to add volume to their hair.
- Risk of Uneven Layers: If not done correctly, removing layers can result in an uneven and choppy appearance, which can be challenging to fix.
Ultimately, the disadvantages may vary depending on the individual’s hair type and styling habits. It’s essential to consider these factors before committing to a layered haircut.
Conclusion
How to remove layers from hair can be a refreshing change, offering a new look and sometimes even simplifying your hair care routine. However, it’s crucial to approach this process with caution and precision to avoid damaging your hair.
Whether opting for a DIY approach at home or seeking professional assistance, understanding and respecting your hair type, texture, and health are paramount. Techniques such as careful trimming, point cutting, and thoughtful styling adjustments can make a significant difference, helping achieve a more uniform length and appearance.
It’s also essential to avoid common pitfalls, such as using inadequate tools, neglecting hair health, and applying inappropriate techniques for your hair type.
Remember, maintaining regular trims, employing proper hair care practices, and consulting with professionals when unsure can guide you toward successfully removing unwanted layers and enjoying healthier, more manageable hair.
Whether layers are good or bad for your hair depends on various factors, but with the right approach, removing them can lead to a desirable outcome.
About the Author
Jane Hubbard is a passionate beauty expert with a wealth of experience in makeup, hair, and overall beauty techniques. After years of working as a hairdresser specialist, she followed her entrepreneurial spirit and started her own consultancy business.
Jane has always been driven by her desire to help others feel confident in their own skin, and she does this by sharing her knowledge, experiences, and practical beauty tips. Through her consultancy, she empowers individuals to embrace their unique beauty, offering tailored guidance that boosts both self-esteem and personal style.
Professional Focus
Specializes in makeup, hairstyling, and beauty consulting.
Provides personalized beauty advice, tips, and techniques to help individuals feel confident in their appearance.
Dedicated to staying up-to-date with the latest industry trends and developments.
Passionate about creating a comfortable and empowering experience for every client.
Education History
University of Craft and Design – Bachelor of Fine Arts (BFA) in Woodworking and Furniture Design
Woodworking Apprenticeships – Extensive hands-on training with skilled craftsmen to refine carpentry and furniture making techniques
Online Courses & Masterclasses – Continued education in advanced woodworking techniques, design principles, and specialized tools
Expertise:
Makeup artistry, hairstyling, and beauty consulting.
Personalized beauty techniques to enhance confidence and self-expression.
Educating clients on how to maintain their beauty routines at home.