
Have you ever spent time and money upgrading your everyday look with lash extensions, only to find out that regular mascara is just too strong of a product for them? While mascaras are perfect when it comes to adding the drama and definition we desire with our lashes, forcing it on your delicate eyelash extensions may do more harm than good.
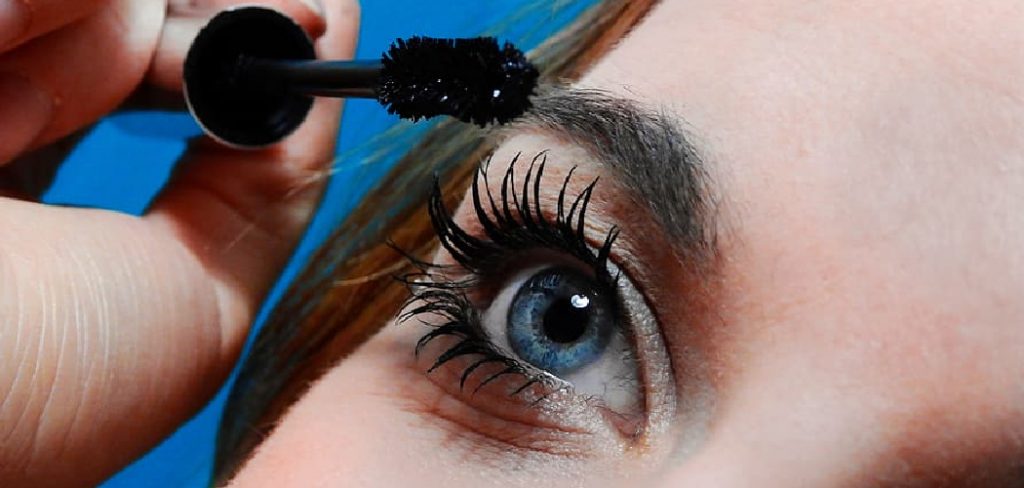
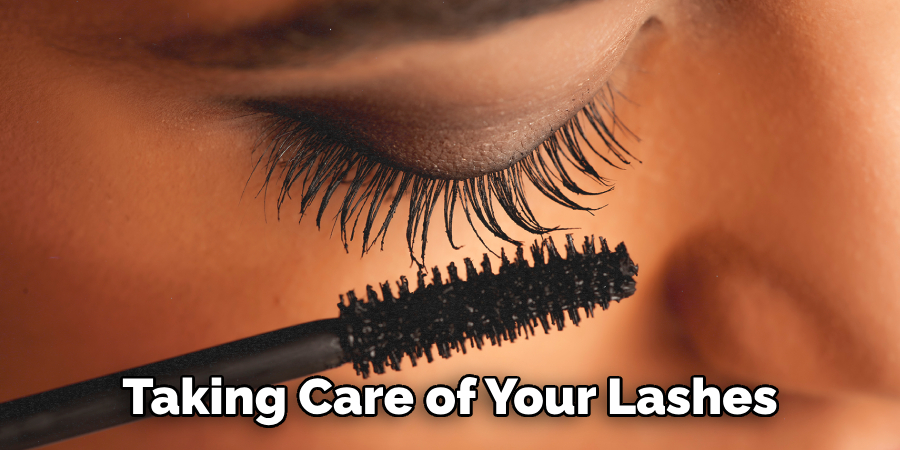
If you have lash extensions, taking care of them is a must! Mascara can be a great way to add some extra pizazz and glamour to your look, but it can also lead to build-up or buildup if not removed properly. Luckily, removing mascara from your lash extensions doesn’t have to be difficult when you know what steps to take.
In today’s blog post, we’ll cover how to remove mascara from lash extensions! Read on for tips on the best techniques and key products you need for this task.
What Will You Need?
Before you start the process of removing mascara from your lash extensions, make sure to gather all the necessary tools and supplies. When it comes to this task, there are a few key items that you will need:
• Micellar Water: A mild yet effective cleanser for sensitive skin. It can help remove residue while also hydrating your lashes.
• Q-tips: Perfect for gently removing any excess mascara that remains on the extensions without causing damage.
• Cotton Pads: Ideal for helping soak up product residue, oils, and dirt from the lash extensions.
• Lash Cleanser: A specially formulated cleansing solution designed specifically for use with lash extensions to help remove makeup and other buildup.
Now that you have all your supplies ready, it’s time to learn how to remove mascara from your extensions properly!
10 Easy Steps on How to Remove Mascara From Lash Extensions
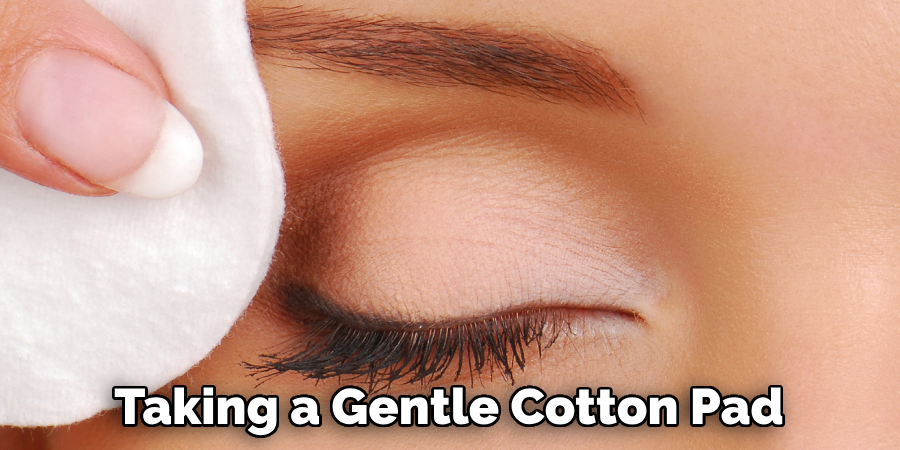
Step 1. Saturate a Cotton Pad:
Begin by taking a gentle cotton pad and moistening it with some micellar water. Ensure not to wet the lashes too much, as this can damage them and weaken their structure. If you’re using a cleansing solution, make sure to follow the instructions on the bottle for proper dilution.
Step 2: Swipe the Cotton Pad Across Your Lashes:
Gently swipe the saturated cotton pad across your eyelash extensions to remove excess mascara, dirt, or other residue without tugging on the delicate hairs. Do this slowly and carefully to ensure that you don’t inadvertently pull out any of your lash extensions. As you move across the lashes, rotate the cotton pad so that a new, clean surface is always in contact with your lashes.
Step 3: Use a Q-tip for Harder Spots:
If any harder spots remain on the lashes after wiping with the cotton pad, use a Q-tip soaked in micellar water to remove them. Dip the Q-tip in the micellar water and gently rub it over the area until all the residue is gone. You can also use a drop of the lash cleanser on the Q-tip if you feel that the mascara is particularly stubborn.
Step 4: Cleanse Your Lashes with Lash Cleanser:
Once you have removed all of the mascara, use a specially formulated lash cleanser to cleanse your lashes thoroughly and keep them healthy and strong. Apply a few drops of the cleanser directly to your lashes and massage it in using your fingertips for about 30 seconds before rinsing off with lukewarm water. Don’t forget to use a light, circular motion when massaging the cleanser into your lashes.
Step 5: Pat Dry with Soft Towel:
After cleansing your lashes, pat them dry with a soft towel or cloth. Do not rub or tug on your lashes, as this can cause them to break or become damaged. Try to use a light, circular motion when drying them off.
Step 6: Apply Nourishing Serum:
Once your lashes are completely dry, apply a nourishing serum to help hydrate and protect them from environmental damage. This will also help keep your extensions looking vibrant for longer. Additionally, be sure to use a gentle, brush-on mascara so that your extensions stay cleaner and last longer.
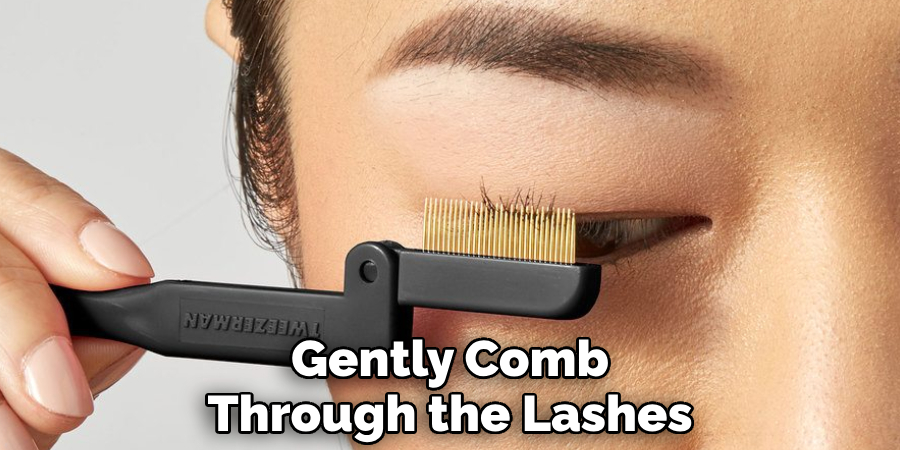
Step 7: Comb Lashes with Mascara Spoolie Brush or Lash Comb:
Take a spoolie brush or lash comb and gently comb through the lashes to separate any clumps that have formed during the cleaning process. This will help keep your extensions from sticking together and ensure they stay in place all day. You can also use this brush to create a natural looking curl in your lashes if desired.
Step 8: Reapply Mascara if Desired:
If you want to reapply mascara, make sure to use a dedicated mascara for lash extensions. This product is specifically formulated to be gentle on delicate hairs and help keep them looking beautiful. Just make sure to use a light hand when applying it and avoid going too heavy with the product.
Step 9: Apply Lash Cleanser Once Again:
Before you go to bed at night, apply some lash cleanser again to your eyelash extensions. This will help ensure that all of the mascara residues have been removed and that your lashes are free from any build-up or dirt. Be careful not to get any of the cleansers in your eyes, as this can be irritating.
Step 10: Store Lashes Properly When Not in Use:
Store your eyelash extensions properly in an airtight container when you are not wearing them. This will help protect them from dust and other environmental pollutants which could damage their delicate structure. Remember to store them away from extreme temperatures and moisture, as both of these can cause the lashes to become brittle over time.
Following these simple steps will help you properly remove any mascara residue from your lash extensions and keep them looking beautiful for longer. Make sure to use only the best products designed specifically for this task, as regular mascaras can be too strong for the delicate hairs of eyelash extensions. Taking care of your lashes doesn’t have to be a challenge – with the right tools and knowledge, you can easily restore your lashes to their former glory!
5 Additional Tips and Tricks
- Avoid piling on mascara, as this will make it harder to remove. Start with a thin coat and build up your desired look gradually.
- If possible, use an oil-free formula so that the product doesn’t break down the adhesive bond of the extensions.
- Invest in a good quality makeup remover specifically designed for lash extensions, like Blinc’s Lash Extension Makeup Remover or Jane Iredale’s PureLash Lash Extender & Conditioner.
- When cleansing your face, massage around your eyes in circular motions — this will help the makeup remover penetrate into the lashes.
- use a cotton tip or spoolie brush to remove stubborn mascara residue from the extensions gently. Take extra care and avoid tugging or pulling on them too harshly.
By following these steps, you can ensure that your lash extensions look beautiful and last longer! With some TLC and proper care, you’ll have long, luscious lashes for weeks to come.
5 Things You Should Avoid
- Avoid rubbing your eyes vigorously when taking off makeup, as this can disrupt the adhesive bond.
- Don’t use waterproof mascara, as it can be extremely difficult to remove and may pull out some of your extensions.
- Stay away from oil-based products, which will break down the adhesive bond of the extensions and cause them to fall out faster.
- Refrain from using tweezers or other sharp objects on your lashes, as they can damage the natural lashes and cause discomfort around the eye area.
- Don’t forget to wash off all traces of makeup remover from your lashes after cleaning – leaving residue can lead to buildup, which may result in a shorter life span for the extensions.
By avoiding these common mistakes, you can ensure that your lash extensions stay pristine for as long as possible!
Conclusion
To conclude, how to remove mascara from lash extensions is not difficult at all. You just have to make sure to use the right type of makeup remover for your eye makeup and remove it with carefulness. Additionally, when removing mascara, make sure that you go in a downward motion so that you do not pull out the extensions. Various methods are available to determine which makeup will work best with extensions, but whichever one you choose, ensure that it does not cause too much irritation and damage to the lashes.
Furthermore, it is important to replace your cleansing brush every three months and change up your type of shampoo regularly to ensure proper sanitation while removing dirt from your lashes. Finally, take preventive measures now by using methods such as airbrush and water shellac which can protect both your lashes and eyes from any unwanted effects caused by melanin removal products used for better visibility during battle or craft item creation.
Taking these simple steps will help keep your lash extensions healthy so they can shine their full beauty!
About the Author
Jane Hubbard is a passionate beauty expert with a wealth of experience in makeup, hair, and overall beauty techniques. After years of working as a hairdresser specialist, she followed her entrepreneurial spirit and started her own consultancy business.
Jane has always been driven by her desire to help others feel confident in their own skin, and she does this by sharing her knowledge, experiences, and practical beauty tips. Through her consultancy, she empowers individuals to embrace their unique beauty, offering tailored guidance that boosts both self-esteem and personal style.
Professional Focus
Specializes in makeup, hairstyling, and beauty consulting.
Provides personalized beauty advice, tips, and techniques to help individuals feel confident in their appearance.
Dedicated to staying up-to-date with the latest industry trends and developments.
Passionate about creating a comfortable and empowering experience for every client.
Education History
University of Craft and Design – Bachelor of Fine Arts (BFA) in Woodworking and Furniture Design
Woodworking Apprenticeships – Extensive hands-on training with skilled craftsmen to refine carpentry and furniture making techniques
Online Courses & Masterclasses – Continued education in advanced woodworking techniques, design principles, and specialized tools
Expertise:
Makeup artistry, hairstyling, and beauty consulting.
Personalized beauty techniques to enhance confidence and self-expression.
Educating clients on how to maintain their beauty routines at home.