
Press-on nails offer a fantastic way to get a salon-quality manicure at home in minutes. They are versatile, stylish, and perfect for any occasion. But while applying them is a breeze, the real question for many is how to take them off without harming the natural nails underneath. If you’ve been yanking or prying them off, you might be causing unnecessary damage.
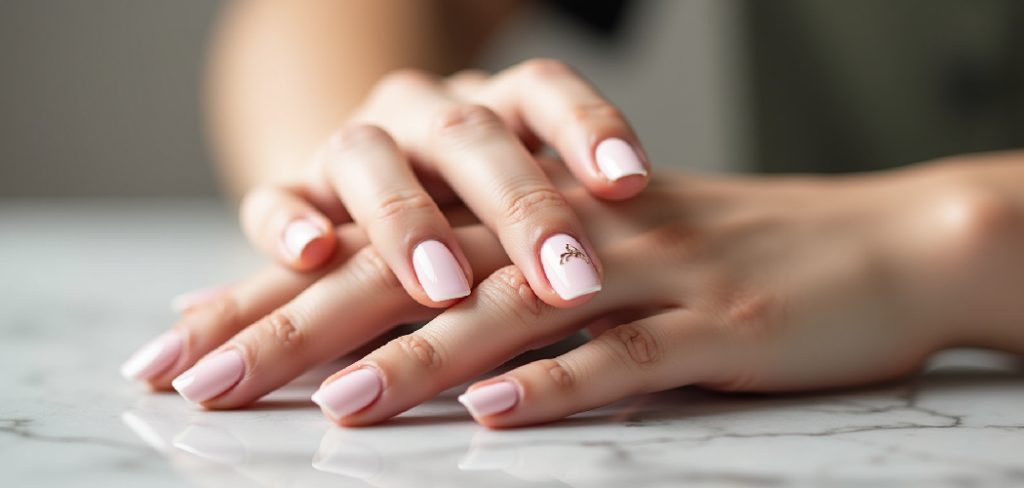
The good news is that there’s a gentle and effective way to part with your temporary manicure. Learning the correct method for how to remove press on nails is the key to maintaining strong, healthy nails long after the press-ons are gone. This guide will provide you with a simple, damage-free process to ensure your natural nails remain in pristine condition, ready for your next style adventure.
Removing press-on nails doesn’t have to be a stressful or damaging experience. By following the right steps, you can safely take them off without compromising the health and strength of your natural nails. Whether you’re switching styles or simply giving your nails a breather, a gentle removal process ensures they stay beautiful and ready for whatever comes next.
Why Removing Press-On Nails Safely Matters
Forcing press-on nails off your fingers can be incredibly tempting, especially when you’re in a hurry. However, this impatience often comes at a cost to your nail health. When you rip off a press-on nail, you are not just removing the artificial tip; you are also stripping away the top layers of your natural nail plate. This action weakens the nail, making it prone to peeling, splitting, and breaking.
Over time, repeated damage can lead to thin, brittle nails that take weeks or even months to recover. Proper removal techniques are designed to dissolve the nail adhesive gently, allowing the press-on to lift away without a fight. By taking a few extra minutes to remove them correctly, you preserve the integrity of your natural nails, ensuring they stay strong and healthy.
A Step-by-Step Guide on How to Remove Press On Nails
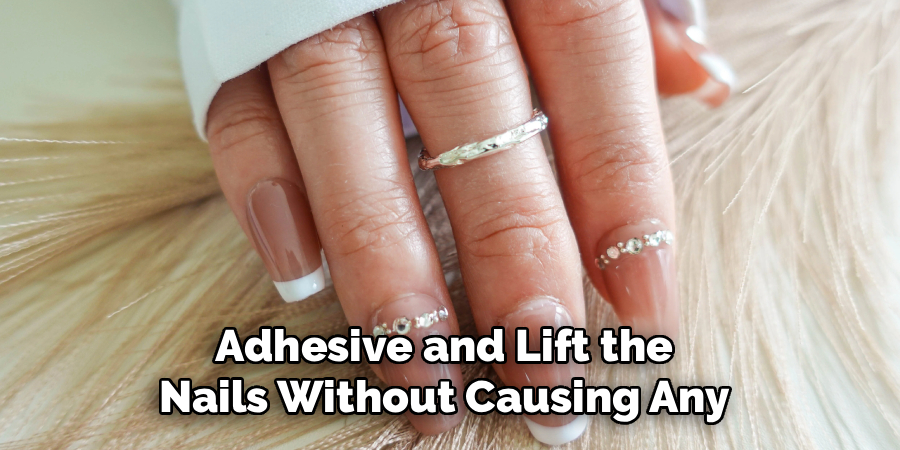
Following a structured process is the best way to ensure your natural nails are protected. This guide will walk you through the safest method to dissolve the adhesive and lift the nails without causing any harm.
Step 1: Gather Your Supplies
Before you begin the removal process, it is wise to gather all the necessary tools to make the experience smooth and efficient. You will need a bowl large enough to submerge your fingertips, warm water, and a bit of soap or body wash. You will also want some cuticle oil or olive oil to help loosen the adhesive and moisturize your skin. An orangewood stick or a cuticle pusher will be your primary tool for gently lifting the nails once they are ready. Finally, have a nail buffer and some moisturizer or hand cream ready for post-removal nail care. Having everything within reach will prevent you from rushing and potentially damaging your nail beds.
Step 2: Trim the Press-On Nails
If your press-on nails are long, trimming them down can make the soaking process much more manageable and effective. Use a pair of nail clippers to carefully cut the length of the artificial nails. Be mindful not to clip your natural nail underneath. By reducing the surface area, you allow the warm, soapy water to penetrate the adhesive more easily from multiple angles, including the newly trimmed edge. This simple action speeds up the entire removal process and reduces the amount of time you need to soak your fingers, making the procedure more comfortable and efficient.
Step 3: Prepare the Soaking Solution
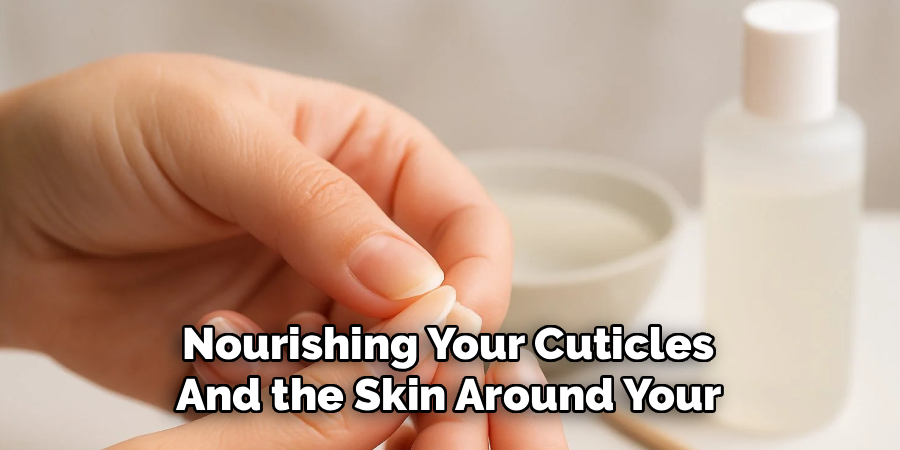
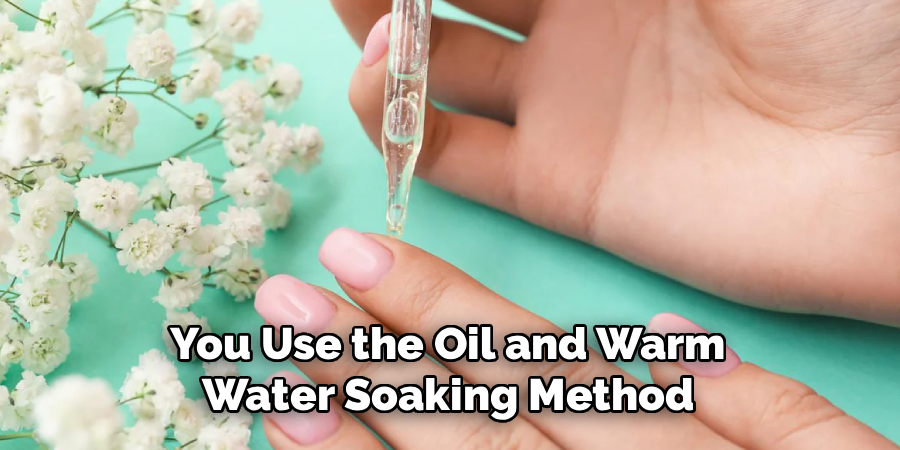
The key to a gentle removal is creating the right environment to soften the nail glue. Fill your bowl with warm water—it should be comfortable to the touch, not scalding hot. Add a few drops of liquid soap or a gentle body wash to the water. The soap acts as a surfactant, helping to break down the oils and residues in the nail adhesive. For an extra boost, add a teaspoon of cuticle oil, olive oil, or even baby oil to the mixture. The oil will help to dissolve the glue while simultaneously nourishing your cuticles and the skin around your nails, preventing them from drying out during the soak.
Step 4: Soak Your Nails to Loosen the Glue
Now it is time for the most important part of the process. Submerge your fingertips in the warm, soapy water solution you prepared. Ensure the entire nail, including the cuticle area, is fully immersed. You will need to soak your nails for at least 15 to 20 minutes. This step requires patience, as it gives the warm water and oil mixture enough time to work its magic on the nail adhesive, causing it to soften and lose its grip. You might see the edges of the press-on nails starting to lift on their own, which is a great sign that the glue is breaking down effectively.
Step 5: Gently Pry the Edges
After soaking for a sufficient amount of time, use your orangewood stick or cuticle pusher to test the nails. Start by gently probing the side edges of one press-on nail. If the adhesive has softened enough, you should be able to slide the tip of your tool underneath the edge with minimal effort. The goal is to find a loose spot where the nail has already started to separate. If you encounter any resistance or feel any pain, do not force it. This is a clear indicator that the nail is not ready to be removed and needs more soaking time to prevent damage to your natural nail plate.
Step 6: Nails Without Damage
Once you have found a loose edge, continue to work the orangewood stick gently around the perimeter of the press-on nail. Slowly and carefully, wiggle the stick back and forth to encourage the nail to lift away from your natural nail bed. The softened glue should give way easily. If a nail is still stubborn, apply a small amount of cuticle oil directly under the lifting edge and allow it to sit for a minute before trying again. This targeted application of oil can help dissolve any remaining patches of tough adhesive, making the final lift-off completely painless and safe for your nails.
Step 7: Address Any Remaining Adhesive
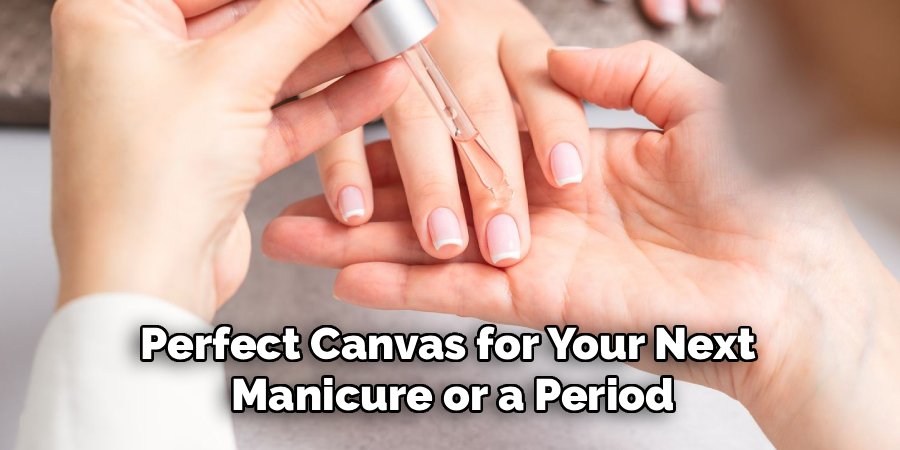
After all the press-on nails have been successfully removed, you may notice some sticky glue residue left on your natural nails. Resist the urge to scrape it off aggressively. Instead, take a nail buffer and gently buff the surface of your nails. The fine grit of the buffer will remove the leftover adhesive without thinning your nail plate. Alternatively, you can apply a small amount of acetone-free nail polish remover to a cotton ball and wipe away the residue. This ensures your nails are clean and smooth, providing a perfect canvas for your next manicure or a period of rest.
Step 8: Complete Your Nail Care Routine
The final step in this process is all about rehydrating and nourishing your natural nails and the surrounding skin. After the soaking and buffing, your hands will appreciate some moisture. Wash your hands to remove any remaining oil or residue, then pat them dry. Apply a generous amount of cuticle oil to each nail bed and massage it in. This helps restore moisture and promotes healthy nail growth. Finish by applying a rich hand cream or lotion to your hands and fingers to soothe any dryness and leave your skin feeling soft and supple.
Benefits of Press-ons
Press-on nails offer a convenient and versatile alternative to traditional manicures. One of their primary benefits is ease of application, allowing you to achieve a salon-worthy look at home in just minutes. They are also available in a wide variety of designs, shapes, and lengths, ensuring that there’s an option for every style or occasion. Additionally, press-ons are less damaging to your natural nails compared to acrylics or gels, as they don’t require harsh chemicals or filing during the application or removal process. They can also be reused if properly cared for, making them a budget-friendly and sustainable choice for nail enthusiasts. With press-ons, you can effortlessly switch up your look whenever you desire without committing to a single style.
Frequently Asked Questions
Can I Reuse Press-On Nails After Removal?
Whether you can reuse press-on nails depends on the removal method. If you use an acetone-based remover, the nails will likely dissolve and become unusable. However, if you use the oil and warm water soaking method described above, you can often preserve the nails for another application.
How Long Should I Wait Before Applying a New Set?
It is a good practice to give your natural nails a break for at least a day or two between sets. This allows them to breathe and recover. If you notice any signs of damage or weakness, consider waiting a week or more while applying a nail strengthener.
What if I Used Strong Nail Glue Instead of Adhesive Tabs?
If you used a strong, brush-on nail glue, you might need to soak your nails for a longer period, potentially 25-30 minutes. Adding more oil to your soaking solution can also help. In some cases, a brief soak in an acetone-based remover might be necessary for stubborn glue.
Does Soaking in Acetone Damage Natural Nails?
Acetone is very effective at dissolving nail glue, but it is also extremely drying to your nails and skin. Prolonged or frequent exposure can lead to brittle, peeling nails and dry, irritated cuticles. It is best to use it sparingly and always follow up with intensive moisturizing treatments.
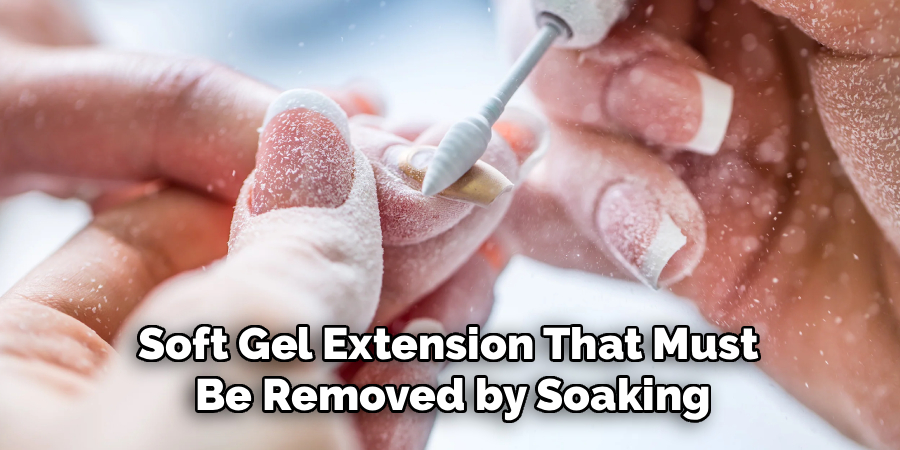
Can This Method Remove Gel-X Nails Too?
No, this gentle, oil-based soaking method is designed for standard press-on nails with adhesive tabs or light glue. Gel-X nails are a type of soft gel extension that must be removed by soaking them in acetone to dissolve the gel product. Using this method will not be effective.
Conclusion
Successfully removing your press-on nails is just as important as applying them beautifully. By following these simple steps, you can ensure that your natural nails remain strong, healthy, and undamaged. Patience is the most critical tool in this process; allowing the adhesive to soften completely is the secret to a gentle and effective removal. By prioritizing the health of your nail bed, you create a perfect foundation for countless manicures to come. Now that you know how to remove press on nails the right way, you can enjoy all the style and convenience they offer with total confidence.
About the Author
Jane Hubbard is a passionate beauty expert with a wealth of experience in makeup, hair, and overall beauty techniques. After years of working as a hairdresser specialist, she followed her entrepreneurial spirit and started her own consultancy business.
Jane has always been driven by her desire to help others feel confident in their own skin, and she does this by sharing her knowledge, experiences, and practical beauty tips. Through her consultancy, she empowers individuals to embrace their unique beauty, offering tailored guidance that boosts both self-esteem and personal style.
Professional Focus
Specializes in makeup, hairstyling, and beauty consulting.
Provides personalized beauty advice, tips, and techniques to help individuals feel confident in their appearance.
Dedicated to staying up-to-date with the latest industry trends and developments.
Passionate about creating a comfortable and empowering experience for every client.
Education History
University of Craft and Design – Bachelor of Fine Arts (BFA) in Woodworking and Furniture Design
Woodworking Apprenticeships – Extensive hands-on training with skilled craftsmen to refine carpentry and furniture making techniques
Online Courses & Masterclasses – Continued education in advanced woodworking techniques, design principles, and specialized tools
Expertise:
Makeup artistry, hairstyling, and beauty consulting.
Personalized beauty techniques to enhance confidence and self-expression.
Educating clients on how to maintain their beauty routines at home.