
Removing your rubber base gel nails can be quite a tricky process, especially if you have never done it before. Whether you’ve grown tired of the look or are just in need of a change, removing the nail polish will give you the opportunity to create something new.
Removing it correctly is also important, as improper removal can cause damage to the natural nail. It is really easy to remove rubber base gel polish and can be done in the convenience of your own home.
The good news is that removing your rubber base gel doesn’t require any special supplies – all you need is some cotton balls, acetone remover, and foil! Read on for step-by-step instructions on how to remove rubber base gel at home.
Why is Removing Rubber Base Gel Important?
Removing rubber base gel is important for a few reasons. First, leaving the nail polish on can cause damage to your natural nails due to chemical reactions between the nail bed and the protective layer of polish. Additionally, failing to remove it properly can leave a residue that can discolor or chip off the surrounding skin. It may cause irritation too.
Finally, as rubber base gel is designed to last until removed, it can be difficult to correct mistakes or make changes when the nail polish starts to chip or fade. Removing and starting fresh will give you a better look and provide much-needed care for your natural nails.
Can You Do It?
Yes, you can safely remove your rubber base gel at home. All you need are a few items that are easily available from any drugstore or beauty store. Removing is not a complicated process, and with the right tools, you can do it yourself. You need to follow the instructions carefully and take your time for the best results.
Needed Tools and Items
- Cotton balls
- Acetone remover
- Foil
- Lint-free pad
- Orange stick
- Cuticle oil
10 Steps on How to Remove Rubber Base Gel
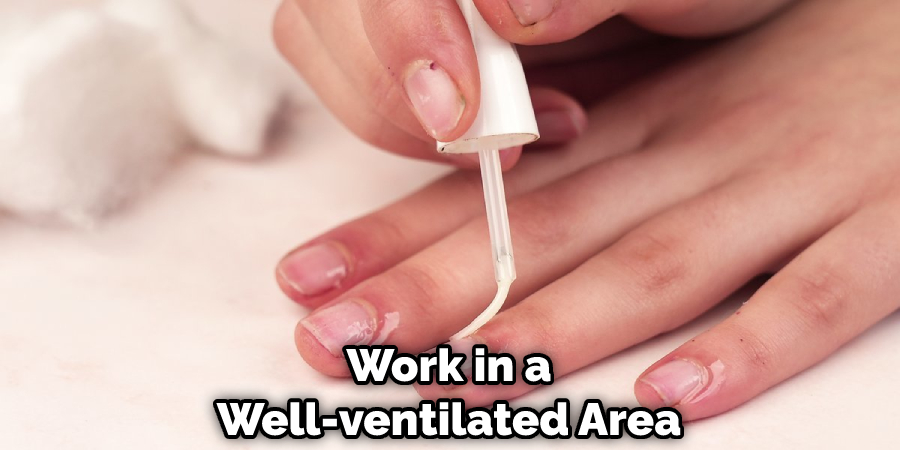
Step 1: Choose the Place
Make sure to work in a well-ventilated area. Place a towel around the edge of your sink or tub to prevent any acetone from dripping down and damaging the surface. The acetone will need to evaporate, and you don’t want any of the vapors lingering.
Step 2: Prepare Your Hands
The rubber-based gel is strong and will take time to remove, so it’s important to properly prepare your fingernails and hands. Make sure they are clean and dry, then apply a thick layer of cuticle oil to protect them from the acetone.
Step 3: Gather Your Supplies
You will need a few supplies, including cotton balls or pads, aluminum foil, a small bowl, and 100 percent acetone. You will also need nail clippers, an orange stick, and a nail file.
Step 4: Apply the Acetone
Soak a cotton ball or pad in the acetone and apply it to your nails. If you have long nails, make sure to get some acetone on the underside of them as well. Wrap each finger with a piece of aluminum foil tightly.
Step 5: Wait
Let the acetone sit on your nails for about 10-15 minutes. Do not move your hands, as this will cause the acetone to evaporate, and you won’t get the full effect. Waiting is key!
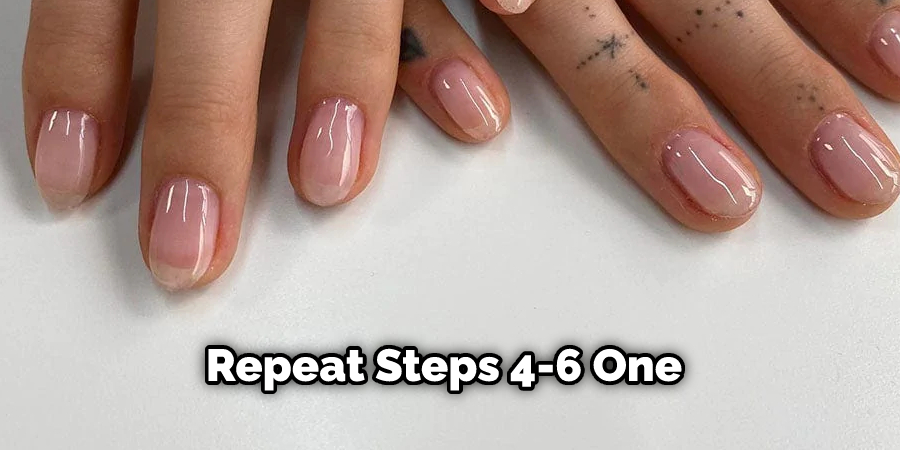
Step 6: Unwrap and Check
Unwrap your hands and check their condition. If the rubber base gel is still present, you may need to repeat steps 4-6 one or two more times. Keep in mind this process can take a few tries before all the product is removed.
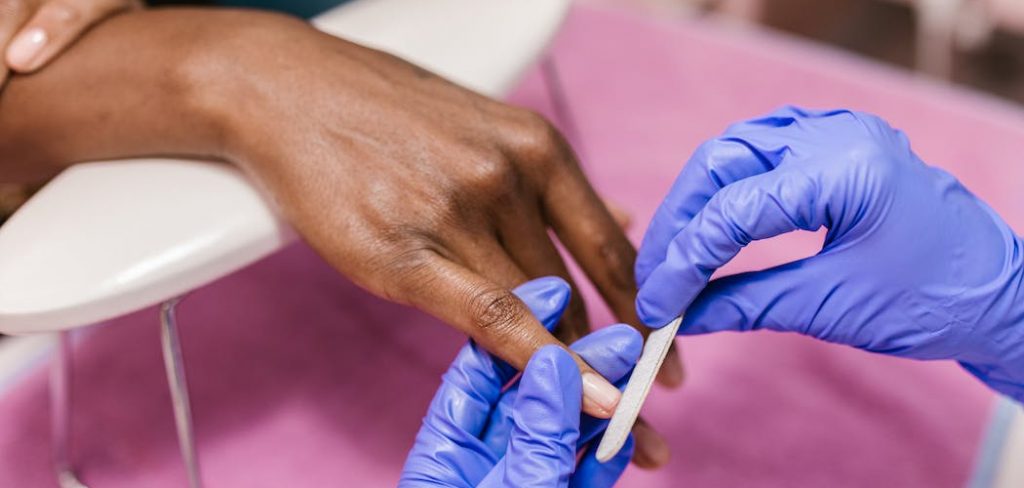
Step 7: Remove the Gel
Use your nail clippers and orange stick to gently remove the rubber base gel. Don’t be too rough, as this could damage your nails. Nail clippers are great for removing larger pieces of gel, while the orange stick is good for getting into smaller areas.
Step 8: Buff
Use your nail file to buff away any remaining product and smooth out your nails. Make sure not to over-file, as this could cause damage. You may need to repeat steps 4-8 one or two more times before the rubber base gel is completely gone.
Step 9: Wash
Once you are done removing all of the rubber base gel, it’s time to wash your hands. Use a mild soap and warm water and thoroughly cleanse your nails and surrounding skin. This process will help remove any remaining product and prevent irritation.
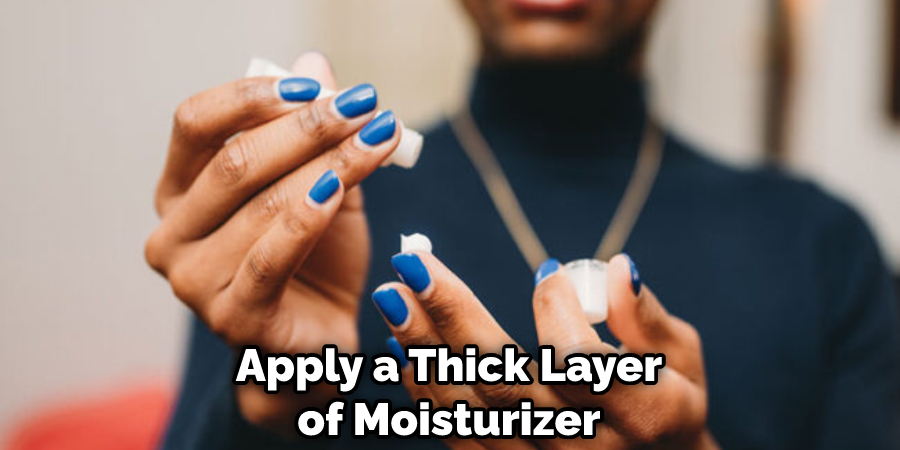
Step 10: Moisturize
Moisturizing your hands is an important step. Apply a thick layer of moisturizer to help prevent dryness and keep your skin hydrated. This will also help protect your nails from any further damage.
8 Tips for Safety Precautions
- Always wear protective gloves to avoid direct skin contact with the rubber base gel while removing it. Protective gloves will also help protect your hands from any cuts or scrapes that may occur during the removal process.
- Be sure to wear protective eyewear when removing rubber base gel. This will help prevent any particles from entering your eyes and causing eye irritation or injury.
- Before beginning the removal process, read all instructions carefully and make sure you understand them. Instructions may vary depending on the type of rubber base gel being removed.
- Make sure to wear a face mask if you are working in an enclosed space or if there is a risk that fumes from the removal process may be breathed in. This will help prevent breathing any chemicals or particles from the removal process into your lungs.
- Before beginning the removal process, make sure to ventilate your work area by opening windows and doors. This will help reduce the risk of inhaling fumes from the rubber base gel being removed.
- Make sure to protect any surfaces you are working on by covering them with sheets or blankets to prevent staining and damage from any chemicals used during the removal process.
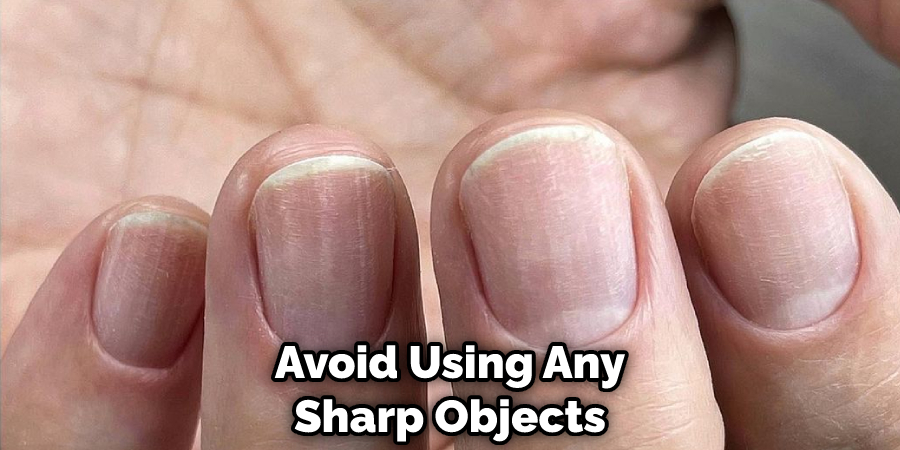
- Avoid using any sharp objects or tools when removing rubber base gel, as this can increase the risk of injury or damage to yourself and your work area. Sharp tools can also easily damage the rubber base gel, making it more difficult to remove.
- After completing the removal process, make sure to properly dispose of all materials used in a safe and responsible manner. This includes any unused rubber base gel, protective gloves, face masks, protective eyewear, and other materials used during the removal process.
By following these safety precautions, you can help ensure that the removal of your rubber base gel is done safely and correctly. Removing rubber base gel can be a difficult task, but following these tips will help make the process go more smoothly.
Frequently Asked Questions
Is Rubber Base Gel Safe for Nails?
Rubber base gel is safe for nails as long as it is removed properly. It is important to follow the safety precautions listed above when removing rubber base gel in order to ensure your safety and the safety of your work area. But remember that rubber base gel is not designed to be used as a permanent nail solution, so it should only be used for short-term projects.
Are Special Tools Needed for Removing Rubber Base Gel?
No special tools are necessary when removing rubber base gel. However, care should be taken when using any sharp objects or tools during the removal process, as they can increase the risk of injury or damage to yourself and your work area. To minimize the risk, use a soft cloth or sponge when wiping away the rubber base gel.
Can I Remove Rubber Base Gel Without Acetone?
Yes, the base gel can be removed without acetone in some cases. However, it is important to check the instructions for the product you are using, as some rubber base gels may require acetone or another solvent to remove them properly. If a solvent is required, be sure to follow all safety precautions listed above when using it.
Conclusion
Removing rubber base gel doesn’t have to be difficult. With the right tools and technique, you can get your gel off in no time. Remind yourself that patience is key when it comes to taking off the manicure. Don’t forget to also moisturize your nails and cuticles with a nourishing product afterward.
You might even want to apply a light layer of nail strengthener afterward for extra protection against chipping and breakage.
No matter what approach you choose, there’s no doubt that rubbery removal is an essential skill for any nail lover. Hopefully, this article on how to remove rubber base gel provides some helpful tips on how to remove rubber-based gel correctly and safely!
About the Author
Jane Hubbard is a passionate beauty expert with a wealth of experience in makeup, hair, and overall beauty techniques. After years of working as a hairdresser specialist, she followed her entrepreneurial spirit and started her own consultancy business.
Jane has always been driven by her desire to help others feel confident in their own skin, and she does this by sharing her knowledge, experiences, and practical beauty tips. Through her consultancy, she empowers individuals to embrace their unique beauty, offering tailored guidance that boosts both self-esteem and personal style.
Professional Focus
Specializes in makeup, hairstyling, and beauty consulting.
Provides personalized beauty advice, tips, and techniques to help individuals feel confident in their appearance.
Dedicated to staying up-to-date with the latest industry trends and developments.
Passionate about creating a comfortable and empowering experience for every client.
Education History
University of Craft and Design – Bachelor of Fine Arts (BFA) in Woodworking and Furniture Design
Woodworking Apprenticeships – Extensive hands-on training with skilled craftsmen to refine carpentry and furniture making techniques
Online Courses & Masterclasses – Continued education in advanced woodworking techniques, design principles, and specialized tools
Expertise:
Makeup artistry, hairstyling, and beauty consulting.
Personalized beauty techniques to enhance confidence and self-expression.
Educating clients on how to maintain their beauty routines at home.