
Discovering a small, fleshy growth near your eye often provokes an immediate sense of cosmetic panic. The eye area commands attention during every social interaction. Consequently, any uninvited blemish in this region tends to feel magnified to the person experiencing it.
People frequently rush to search for quick fixes. However, the delicate nature of ocular skin demands an entirely different approach than treating a blemish on your arm or leg. You might assume a simple home remedy will suffice.
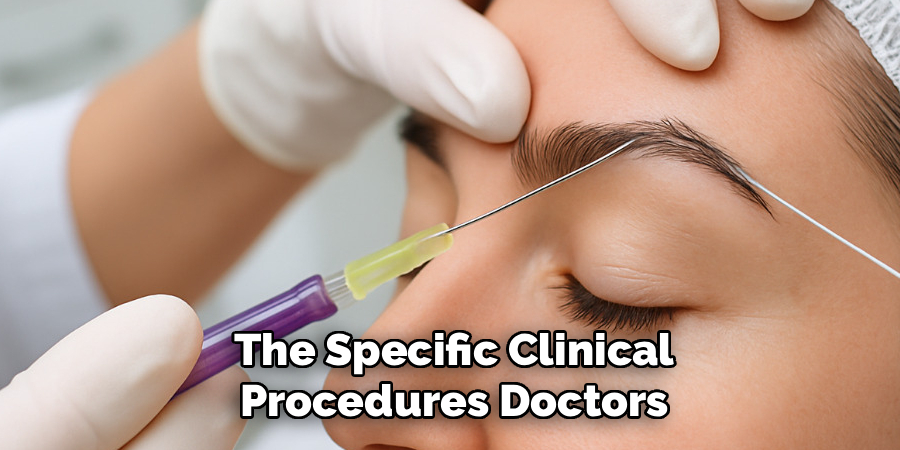
This is rarely the case. The purpose of this discussion is to outline exactly how to remove skin tag on eyelid safely and effectively. We will examine the underlying biological triggers, the severe risks associated with amateur surgery, and the specific clinical procedures doctors utilize to eliminate these growths permanently.
Understanding Eyelid Skin Tags
To address the issue properly, we must first understand the biological reality of these benign outgrowths. Medical professionals refer to them as acrochordons. They are essentially harmless accumulations of collagen fibers and blood vessels wrapped in an epidermal layer.
While they can appear anywhere, the folds of the eye present a particularly hospitable environment. Their presence appears to indicate a localized reaction to mechanical friction.
What Causes Them to Form
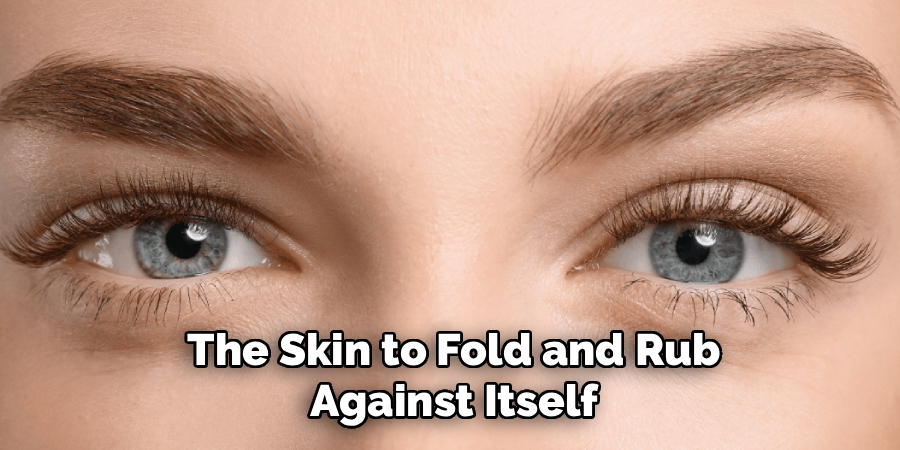
Genetics undoubtedly play a significant role in your susceptibility to acrochordons. If your parents developed them, you likely will as well. Natural aging also degrades tissue elasticity, which might encourage the skin to fold and rub against itself more frequently.
Friction acts as the primary mechanical catalyst. Every time you blink, the thin layers of tissue slide against one another. This constant, microscopic rubbing stimulates cellular proliferation in isolated spots.
Identifying a True Skin Tag
Misdiagnosis remains a common hurdle for patients attempting to assess their own dermatological issues. A true acrochordon typically presents as a soft, flesh-colored bump that hangs from a narrow stalk. They lack the hard, calloused texture usually associated with viral warts.
They also differ significantly from moles, which tend to sit flat against the skin and feature darker pigmentation. If a growth feels rigid or bleeds unprovoked, it could suggest a more serious condition. Therefore, identifying the structure accurately is the critical first step before considering any form of intervention.
The Dangers of At-Home Removal Methods
The internet is saturated with dangerous advice regarding dermatological DIY hacks. Treating a blemish on your knee with a drugstore acid is one thing. Applying that same acidic compound millimeters from your cornea is an entirely different, incredibly risky proposition.
You must view the ocular region as a highly restricted zone. Self-surgery here often yields catastrophic results.
Risk of Infection and Severe Scarring
Many online forums advocate tying off the growth with dental floss or thread to cut off the blood supply. This archaic method introduces massive amounts of foreign bacteria directly into a dying piece of tissue. Necrosis near the eye frequently leads to systemic infections.
Using unsterilized nail clippers or scissors is arguably worse. You risk severing healthy tissue alongside the stalk. This trauma almost always results in hypertrophic scarring, replacing a small bump with a permanent, noticeable ridge of scar tissue.
Why the Eye Area is Highly Sensitive
The epidermis covering your eyelid is the thinnest on the entire human body. It lacks the dense layer of subcutaneous fat that protects other regions from chemical and physical trauma. Over-the-counter freezing kits are calibrated for the thick skin of the hands and feet.
Applying these freezing agents to the eye area could instantly damage the underlying muscle fascia. A slight slip of the hand might even result in chemical burns to the sclera. Protecting your vision must always supersede cosmetic urgency.
When to See a Medical Professional
Waiting and watching is sometimes a valid strategy for benign growths on the torso. Acrochordons near the eye, however, warrant a much shorter observation period. You should establish a baseline for the growth’s appearance.
Once you recognize the baseline, monitoring for specific deviations becomes easier. Certain changes demand immediate clinical evaluation.
Changes in Size, Color, or Shape
A benign growth should remain relatively static in its appearance. If you notice the tissue rapidly expanding over a few weeks, schedule an appointment immediately. Sudden darkening or erratic borders might suggest cellular dysplasia rather than a simple friction response.
Bleeding that occurs without any physical irritation is another red flag. While a tag might bleed if you accidentally snag it with a towel, spontaneous bleeding requires a biopsy. Your dermatologist will rule out basal cell carcinoma during the examination.
Impact on Daily Vision and Comfort
Cosmetics aside, these growths often introduce profound physical discomfort. A larger mass can physically weigh down the upper lid, causing a subtle but fatiguing droop by the end of the day. This phenomenon forces the forehead muscles to overcompensate.
Furthermore, a growth located near the lash line can obstruct your peripheral vision. It might also cause chronic irritation when blinking or applying contact lenses. If the blemish interferes with your daily ocular function, medical removal transitions from an elective cosmetic choice to a functional necessity.
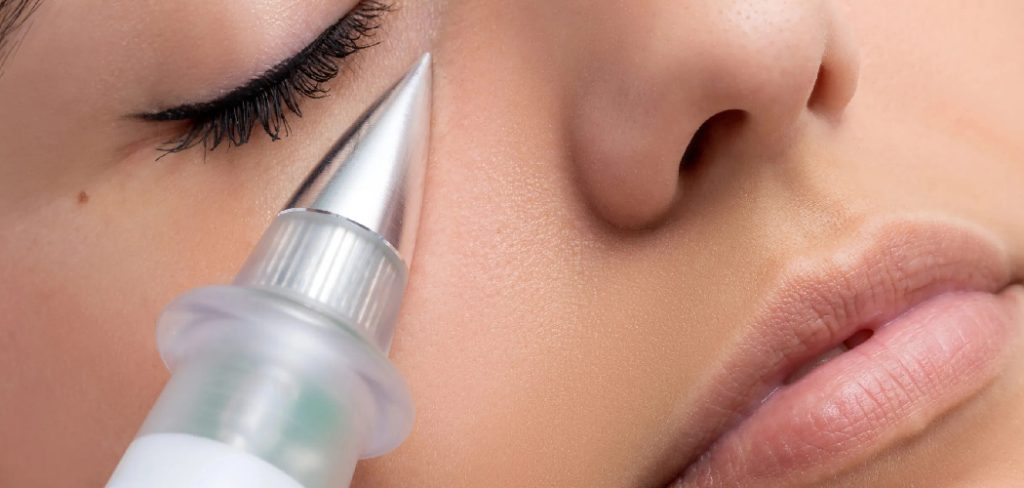
Step-by-Step Guide: How to Remove Skin Tag on Eyelid
Because at-home experimentation carries unacceptable risks, true removal must occur within a clinical setting. Understanding the medical sequence helps alleviate the profound anxiety many patients feel when a doctor approaches their eye with sharp instruments. The following outlines how professionals execute the procedure.
The process is highly controlled, sterile, and surprisingly swift. You will likely spend more time filling out intake paperwork than sitting in the treatment chair.
Step 1: Scheduling a Professional Consultation
Your journey begins with an initial visual examination by a board-certified dermatologist or an oculoplastic surgeon. The physician will use a dermatoscope to heavily magnify the tissue. They need to confirm that the lesion is, in fact, a simple acrochordon.
During this brief consultation, the doctor maps the local vascular structure. They assess how close the base sits to the tear ducts and major nerves. This spatial awareness dictates their surgical approach.

Step 2: Choosing the Right Removal Technique
The physician will present a few viable options based on the specific architecture of the growth. Snip excision utilizing surgical scissors is incredibly common for growths with a very narrow stalk. Cryotherapy, which uses liquid nitrogen, might be deployed for smaller, flatter lesions.
For larger bases with robust blood supplies, electrocautery is often preferred. This technique uses a heated needle to simultaneously cut the tissue and seal the blood vessels. The doctor will help you weigh the healing times associated with each method.
Step 3: Administering Local Anesthesia
The anticipation of pain usually causes more distress than the procedure itself. The eyelid is densely packed with nerve endings, so doctors prioritize comprehensive numbing. They typically start by applying a potent topical anesthetic cream to the surface.
Once the surface is numb, they may inject a microscopic volume of lidocaine directly under the base of the stalk. You might feel a brief, superficial pinch followed by a feeling of mild pressure. Within seconds, the entire localized region becomes completely desensitized to sharp pain.
Step 4: Executing the Removal Procedure
With the area fully anesthetized, the physician proceeds with the physical extraction. If using the snip method, they lift the mass away from the eye with sterile forceps. A single, precise cut with surgical scissors detaches the tissue instantly.
If electrocautery is utilized, you may hear a faint buzzing sound. The thermal energy vaporizes the stalk and instantly stops any bleeding. Regardless of the chosen modality, the actual detachment rarely takes more than thirty seconds.
Step 5: Applying Post-Procedure Antibiotics
Once the mass is removed, a tiny, superficial wound remains. The doctor will gently dab away any residual blood using sterile gauze. Immediate infection control protocols are then initiated.
The clinician applies a thick layer of ophthalmic-grade antibiotic ointment over the excision site. This specialized ointment is formulated specifically to be safe if it accidentally migrates into the tear film. It forms a physical barrier against airborne pathogens while the epidermis begins to close.
Step 6: Following Daily Aftercare Instructions
The success of the removal relies heavily on your adherence to the post-operative protocol. The doctor will provide explicit, actionable instructions for home care. You must clean the tiny wound gently with a prescribed wash or sterile saline solution.
Picking at the inevitable scab will almost certainly guarantee a scar. You must also refrain from applying any eye makeup, concealers, or unapproved eye creams until the tissue fully re-epithelializes. Patience during this brief healing window ensures a flawless cosmetic outcome.

Preparing for Your Dermatologist Appointment
Arriving at the clinic prepared streamlines the entire process. Doctors operate on tight schedules, and having your information organized allows them to focus entirely on the clinical assessment. A little preparation prevents unnecessary delays.
You need to view this as a minor surgical encounter, even if it seems trivial.
Gathering Your Medical History
Your physician must be aware of how your body heals from trauma. If you have a known history of keloid scarring, the doctor might alter their removal technique to minimize tissue disruption. Bleeding disorders or the use of blood-thinning medications also require careful pre-operative planning.
Compile a list of every supplement and medication you currently ingest. Even over-the-counter fish oil can increase intraoperative bleeding. Total transparency ensures the safest possible environment.
Questions to Ask Your Doctor
Do not hesitate to interrogate the clinician about the specifics of the procedure. You might ask about the expected recovery timeline or whether the tissue will be sent to a lab for biopsy. Asking about out-of-pocket costs is also highly recommended, as some insurances classify this as an elective cosmetic procedure.
Inquire about the statistical likelihood of the growth returning to the exact same spot. Understanding the long-term prognosis helps manage your post-procedural expectations.
What to Expect During the Recovery Process
The anxiety surrounding recovery often deters people from seeking treatment. In reality, healing from a minor excision is usually rapid and relatively uncomplicated. Knowing the normal trajectory of tissue repair prevents unnecessary panic.
The eye area boasts incredible vascularity. This high blood flow actually accelerates the cellular repair mechanisms significantly faster than on the limbs.
Managing Mild Discomfort
As the local anesthesia metabolizes and wears off, you may experience a faint throbbing sensation. Severe pain is exceedingly rare and usually indicates a complication. Slight tenderness and localized redness are entirely normal biological responses to trauma.
You could apply a cool compress to the orbital bone to mitigate swelling. However, you must ensure the compress is wrapped in a sterile cloth. Introducing a dirty washcloth to a fresh wound invites severe infection.
Keeping the Eye Area Clean
Hygiene dictates the quality of the final scar. You will likely need to wash the area twice a day with the specific cleanser your doctor recommended. Aggressive scrubbing will tear the fragile new cells attempting to bridge the gap.
Use a light, dabbing motion with a clean cotton swab. Most importantly, you must keep unwashed hands completely away from your face. The temporary inconvenience of a strict washing routine pays off with invisible healing.
Preventing Future Skin Tags Around the Eyes
Once the offending tissue is gone, your focus should shift toward prevention. While you cannot alter your genetic blueprint, you can modulate the environmental triggers. Behavioral adjustments reduce the likelihood of recurrence.
These preventative measures also benefit the overall health and elasticity of your skin.
Managing Friction and Irritation
Mechanical friction remains the primary culprit for these growths. You must consciously stop aggressively rubbing your eyes when tired or dealing with allergies. This blunt force trauma damages the collagen matrix and stimulates irregular cellular growth.
Consider upgrading your bedding to materials with high slip, such as silk or smooth satin pillowcases. Ensure your eyeglasses or sunglasses fit properly so the frames do not constantly grind against the orbital bone. Eliminating chronic irritation is your best defense.
Maintaining Healthy Skin Habits
Dehydrated skin folds more sharply and experiences greater friction than plump, hydrated tissue. Utilizing a lightweight, ophthalmologist-tested eye cream keeps the epidermis supple. This hydration allows the skin to glide smoothly during blinking rather than catching.
There appears to be a link between systemic metabolic issues, like insulin resistance, and the proliferation of acrochordons. Maintaining a balanced diet and managing underlying health conditions could indirectly suppress their formation. Holistic health inevitably reflects in your dermatological presentation.
Conclusion
Navigating the sudden appearance of a facial blemish requires a calm, measured approach. While these small collagen bundles are inherently harmless, their proximity to your vision makes amateur interventions catastrophic. Understanding how to remove skin tag on eyelid safely means recognizing that clinical expertise is an absolute requirement.
Attempting to cut, tie, or freeze the tissue yourself invites permanent scarring and severe infection. A board-certified dermatologist possesses the exact tools and anesthetics needed to eliminate the problem painlessly in minutes. Protect your vision, respect the fragility of your skin, and schedule a professional consultation to achieve a safe, flawless outcome.
About the Author
Jane Hubbard is a passionate beauty expert with a wealth of experience in makeup, hair, and overall beauty techniques. After years of working as a hairdresser specialist, she followed her entrepreneurial spirit and started her own consultancy business.
Jane has always been driven by her desire to help others feel confident in their own skin, and she does this by sharing her knowledge, experiences, and practical beauty tips. Through her consultancy, she empowers individuals to embrace their unique beauty, offering tailored guidance that boosts both self-esteem and personal style.
Professional Focus
Specializes in makeup, hairstyling, and beauty consulting.
Provides personalized beauty advice, tips, and techniques to help individuals feel confident in their appearance.
Dedicated to staying up-to-date with the latest industry trends and developments.
Passionate about creating a comfortable and empowering experience for every client.
Education History
University of Craft and Design – Bachelor of Fine Arts (BFA) in Woodworking and Furniture Design
Woodworking Apprenticeships – Extensive hands-on training with skilled craftsmen to refine carpentry and furniture making techniques
Online Courses & Masterclasses – Continued education in advanced woodworking techniques, design principles, and specialized tools
Expertise:
Makeup artistry, hairstyling, and beauty consulting.
Personalized beauty techniques to enhance confidence and self-expression.
Educating clients on how to maintain their beauty routines at home.