
Are you struggling with hair damage after relaxing your hair? Relaxing hair has become common for those wanting to achieve straighter, smoother locks.
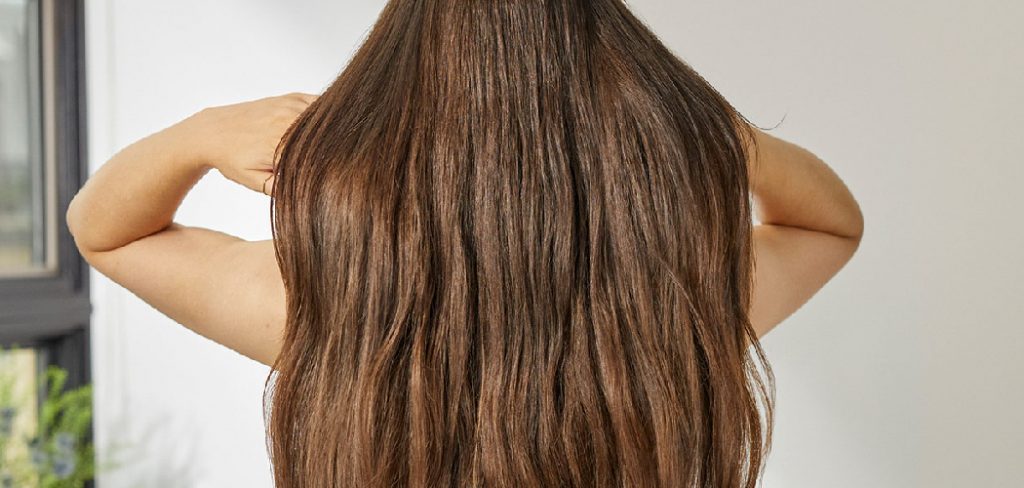
Over-processing hair with relaxers can lead to a myriad of issues, including dryness, breakage, and loss of elasticity. Understanding how to repair hair after relaxer damage is crucial for restoring its health and vitality.
This guide will provide you with essential steps and tips for rejuvenating your hair after experiencing relaxer damage. Adopting a targeted hair care routine and choosing the right products can gradually heal and strengthen your hair, improving texture, shine, and manageability.
Whether you have minor or severe damage, the proper care and attention can help you regain beautiful, resilient hair.
What Will You Need?
Before diving into the steps for repairing hair after relaxer damage, gathering all the necessary tools and products is important. Here are some essential items that will help you in your hair repair journey:
- Moisturizing Shampoo: Look for a gentle shampoo free of harsh chemicals, sulfates, and parabens. This will ensure your hair is not further stripped of its natural oils.
- Deep Conditioning Treatment: A deep conditioner is a must for damaged hair. Choose one with nourishing ingredients like protein, keratin, or argan oil.
- Protein Treatment: Damaged hair needs an extra protein boost to strengthen and repair the hair shaft. Look for protein treatments designed explicitly for chemically processed hair.
- Leave-In Conditioner: A leave-in conditioner will continuously hydrate your hair throughout the day. Choose one that contains moisturizing ingredients like aloe vera or shea butter.
- Heat Protectant Spray: If you regularly use heat styling tools, this is an essential product to prevent further damage to your hair.
- Wide-Tooth Comb: Using a wide-tooth comb on wet hair is the gentlest way to detangle without causing breakage.
- Satin/Silk Pillowcase or Bonnet: Cotton pillowcases can cause friction, leading to dryness and breakage. Switching to a satin or silk option will help your hair retain moisture and reduce tangles.
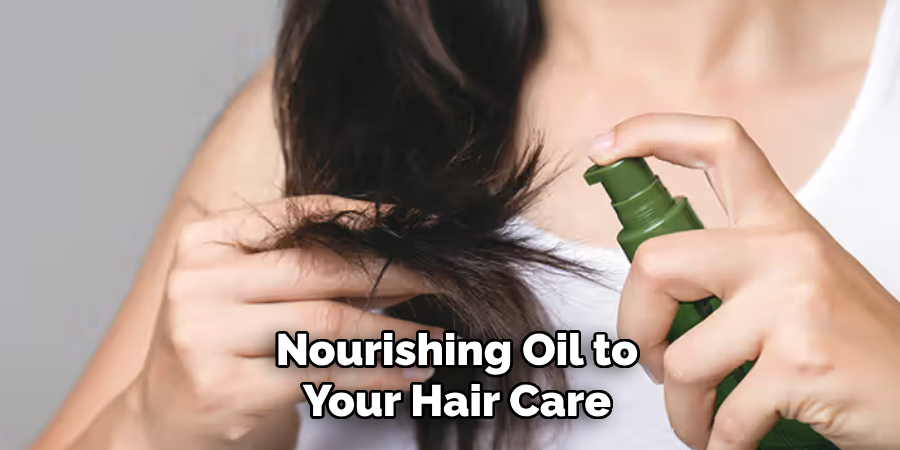
- Hair Oil: Adding a few drops of nourishing oil to your hair care routine can promote hydration and add shine to dull, damaged hair.
9 Easy Steps on How to Repair Hair After Relaxer Damage
Step 1: Assess the Damage
Before you can effectively repair your hair, it’s essential to assess the extent of the damage. Start by examining the overall condition of your hair. Take note of areas particularly dry, brittle, or prone to breakage. Pay attention to split ends and any sections where the texture feels rough or uneven.
The assessment is not just about visual inspection; run your fingers through your hair to feel for any inconsistencies in texture and strength. Consider the elasticity of your strands by gently pulling on them—healthy hair should stretch and return to its original state without snapping.
Depending on the level of damage, you may need to adjust your hair care routine, focusing more on hydration, strengthening, or both. A thorough assessment will guide you in selecting the most effective treatments and products, enabling a tailored approach to rehabilitate your hair.
Step 2: Trim the Ends
Once you have assessed the damage, it’s time to address the ends of your hair. Trimming is crucial in revitalizing your locks, as it removes the most damaged portions, such as split or frayed ends, and prevents further breakage. Depending on the extent of the damage, you may need a regular trim or a more substantial cut.
Eliminating the compromised ends creates a stronger starting point for the rest of your hair care routine. Trimming promotes healthier growth and enhances the overall appearance of your hair, making it look fresher and more voluminous.
For the best results, consider visiting a professional stylist who can ensure an even cut and provide additional insights tailored to your hair’s needs. Regular trims, every 6 to 8 weeks can also maintain the health of your newly revived hair.
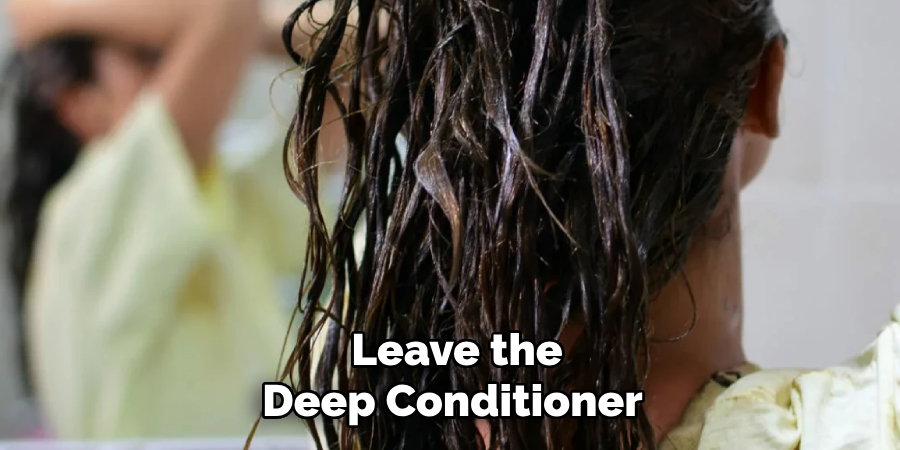
Step 3: Incorporate a Deep Conditioning Routine
With the damaged ends trimmed, it’s time to focus on replenishing your hair’s moisture levels and adding strength through deep conditioning treatments.
This step is vital in rebuilding your hair’s health and resilience. A high-quality deep conditioner penetrates the hair shaft, delivering essential nutrients and hydration. Apply the conditioner generously to your hair, particularly concentrating on the mid-lengths and ends, typically the most damaged areas.
Leave the deep conditioner in for the specified time, usually 15 to 30 minutes, to allow maximum absorption. For enhanced results, you can use heat, such as wrapping your hair in a warm towel or sitting under a hair steamer, to allow the cuticles to open and the treatment to penetrate deeper.
Step 4: Use Protein Treatments Sparingly
Incorporating protein treatments into your hair care routine is essential for reinforcing and repairing weakened hair strands. Protein treatments work by filling in the gaps in the hair cuticle and strengthening the hair shaft. However, it is crucial to use these treatments sparingly. Overuse of protein can lead to stiffness and brittleness, counteracting the desired healthy elasticity and softness.
Aim to apply a protein treatment every four to six weeks, adjusting the frequency based on your hair’s response and condition. Follow each protein treatment with a moisturizing deep conditioner to balance the protein-moisture levels and ensure your hair remains strong and flexible.
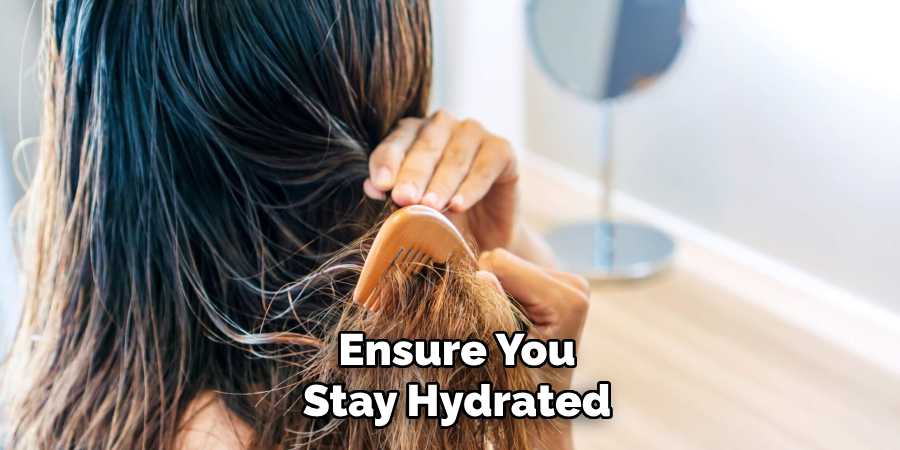
Step 5: Hydrate Your Hair Regularly
Keeping your hair hydrated is crucial in the recovery process from relaxer damage. Hydration helps maintain the moisture balance, making your hair more manageable and less prone to breakage. Incorporate hydrating products into your daily regimen, such as leave-in conditioners or moisturizing sprays that can be applied more frequently.
Additionally, ensure you drink plenty of water daily, as internal hydration significantly impacts hair health. Avoid using products that contain alcohol as an ingredient, as they can further dry out your hair. Consider using natural oils or hair milk to provide extra moisture and protection. Regular hydration helps promote elasticity and overall vitality, supporting a healthier hair recovery journey.
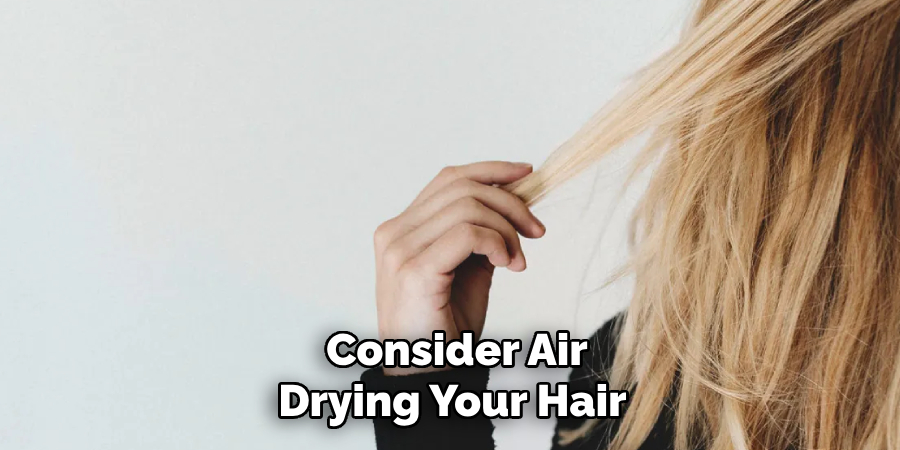
Step 6: Minimize Heat Styling
During the recovery process, minimizing heat styling is critical to prevent further damage to your hair. Excessive heat can exacerbate existing issues, leading to increased dryness and breakage. Instead, embrace heat-free styles that allow your hair to rest and repair.
Consider air-drying your hair when possible, or use protective styles such as braids, twists, or buns, which can also help minimize manipulation. If you must use heat tools, ensure they are set to a lower temperature, and always apply a heat protectant product beforehand to create a barrier between your hair and the heat source.
Step 7: Opt for Gentle Detangling Techniques
Detangling is a necessary part of any hair care routine, but doing it improperly can cause significant stress to relaxed hair. Always start using a wide-toothed comb or a detangling brush specifically designed to reduce tension. Begin from the ends and work to the roots, gently removing knots and tangles.
It’s best to detangle hair when saturated with conditioner or a detangling product, as this provides slip and minimizes damage. Be patient, and avoid pulling or tugging too hard to prevent unnecessary breakage. Incorporating gentle detangling techniques ensures that your hair remains smooth and intact, allowing it to grow stronger and healthier over time.
Step 8: Protect Your Hair at Night
Nighttime hair care is fundamental in maintaining the health and progress you have made with your relaxed hair. Protect your hair while you sleep by wrapping it in a silk or satin scarf, or use a silk or satin pillowcase. These materials reduce friction, preventing tangling and breakage that can occur with cotton pillowcases.
Before bedtime, moisturize your hair with a light leave-in conditioner or a few drops of natural oil to keep it hydrated overnight. Additionally, loosely braiding or twisting your hair can help maintain its style and protect it from overnight stress. Establishing a nightly hair care routine supports continued hair health and encourages steady growth toward revitalized, vibrant hair.
Step 9: Maintain a Balanced Diet
Achieving healthy hair requires nourishment not only from the outside but also from within. A diet rich in vitamins and minerals can significantly improve the strength and appearance of your relaxed hair.
Incorporate foods high in vitamins A, C, and E and iron, zinc, and omega-3 fatty acids. Leafy greens, berries, nuts, seeds, and lean proteins should be staples to promote hair growth and repair. Additionally, ensure you stay hydrated throughout the day to support overall health and adequate nutrient transportation.
You can effectively repair and revitalize relaxed hair by following these steps and incorporating them into your routine.
Conclusion
In conclusion, how to repair hair after relaxer damage requires a dedicated approach focused on nurturing and restoring your hair’s natural strength and resilience.
You can gradually rebuild your hair’s health by implementing essential steps like deep conditioning, balanced protein and moisture treatments, hydration, heat minimization, gentle detangling, protective nighttime routines, and a diet rich in nutrients. It’s essential to remain patient and consistent, as seeing improvements takes time.
However, with commitment and proper care, you can achieve healthier, revitalized hair that is both strong and beautiful.
About the Author
Jane Hubbard is a passionate beauty expert with a wealth of experience in makeup, hair, and overall beauty techniques. After years of working as a hairdresser specialist, she followed her entrepreneurial spirit and started her own consultancy business.
Jane has always been driven by her desire to help others feel confident in their own skin, and she does this by sharing her knowledge, experiences, and practical beauty tips. Through her consultancy, she empowers individuals to embrace their unique beauty, offering tailored guidance that boosts both self-esteem and personal style.
Professional Focus
Specializes in makeup, hairstyling, and beauty consulting.
Provides personalized beauty advice, tips, and techniques to help individuals feel confident in their appearance.
Dedicated to staying up-to-date with the latest industry trends and developments.
Passionate about creating a comfortable and empowering experience for every client.
Education History
University of Craft and Design – Bachelor of Fine Arts (BFA) in Woodworking and Furniture Design
Woodworking Apprenticeships – Extensive hands-on training with skilled craftsmen to refine carpentry and furniture making techniques
Online Courses & Masterclasses – Continued education in advanced woodworking techniques, design principles, and specialized tools
Expertise:
Makeup artistry, hairstyling, and beauty consulting.
Personalized beauty techniques to enhance confidence and self-expression.
Educating clients on how to maintain their beauty routines at home.