
Have you ever wished there was a way to transform the sad-looking lipstick in your makeup bag from when it was brand new? It’s easy to let our lippies become worn down and lackluster over time – especially if we need to be more careful with how we apply them. But no need to worry because you can easily revive your lipsticks!
Reviving your lipstick saves you money from having to replace it and allows you to experiment with new shades and finishes.
In today’s blog post, I will show you step-by-step exactly how you can salvage all of those near-empty tubes and create vibrant shades that look almost like they did when they first touched your lips. So grab your trusty makeup bag and join me as I show you how to revive lipstick!
What Will You Need?
Before we dive into the steps, let’s review what you’ll need to revive your lipstick successfully.
- Your damaged or worn out lipstick
- A small microwave-safe bowl or container
- A clean and sturdy spatula
- 1 tablespoon of coconut oil (or any other type of oil)
- A lip brush for application
With just these few items, you’ll be well on your way to bringing new life to your favorite lippies!
8 Easy Steps on How to Revive Lipstick
Step 1. Extract the Lipstick:
Begin by scraping out the remaining lipstick from the tube using your spatula. Be careful not to waste any of it – even the smallest amount can still be used! It’s important to get as much product out as possible to maximize the outcome.
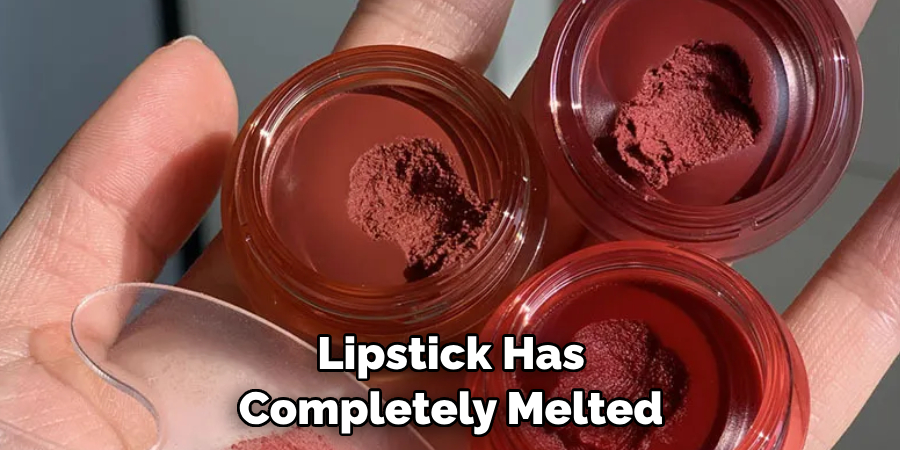
Step 2. Melt the Lipstick:
Place the extracted lipstick into your microwave-safe bowl. Next, add a tablespoon of coconut oil. This will help melt the lipstick and revitalize it, giving it a smoother, more moisturizing texture. Put the bowl in the microwave and heat it for about 30 seconds. If the lipstick hasn’t fully melted, continue heating it in 10-second increments until it has. After each heating session, remember to stir the mixture to ensure it melts evenly.
Step 3. Mix the Melted Lipstick:
Remove the bowl from the microwave after the lipstick has completely melted. Be careful, as it can be hot. Using your spatula, stir the mixture until it is uniform and smooth. The coconut oil and lipstick should blend to create a revitalized, moisturizing lip color. If you want to experiment with shades, this is the time to add any other lipstick colors into the mix. Remember to stir well to ensure the colors blend seamlessly.
Step 4. Test the Color:
Before you set your new lipstick, it’s crucial to test the color. Apply a small amount of the mixture to your wrist using the lip brush. Check if you’re happy with the shade and consistency. If it’s too light, you can add more lipstick; if it’s too dark, more coconut oil can be added to lighten it. Continue this process until you love the result. Remember, this is your custom lipstick – make it perfect for you!
Step 5. Pour and Set:
Once you’re satisfied with the color and consistency, it’s time to set your new lipstick. Carefully pour the mixture back into the original (or a new) lipstick tube. Ensure the tube is clean and free from any residue. If you don’t have a tube, an empty lip balm container or a small cosmetic jar can also work. Once poured, allow it to cool and solidify. You can put it in the refrigerator to speed up the process. Once the lipstick has set, it’s ready for use with your lip brush! Enjoy your revitalized lipstick that’s just as good, if not better, than when it was brand new.
Step 6. Clean Up and Store Safely:
After successfully reviving your lipstick, it’s time to clean up. Wipe the spatula and bowl clean, ready for future lipstick rescue missions. As for your newly revived lipstick, remember to store it in a cool, dry place away from direct sunlight – this will ensure the longevity of your lipstick and prevent it from melting or breaking down. With these simple steps, you’ve not only given a second life to your favorite lipstick but also saved money and created a custom shade that’s uniquely yours! Enjoy your lipstick until the very last swipe!
Step 7. Experiment and Enjoy:
Now that you have successfully revived your old lipstick, feel free to experiment with it. Try mixing different revived lipsticks to create a unique color palette. This not only helps you utilize all your worn-out lipsticks but also gives you the chance to explore your creative side and create a color that perfectly suits you. Remember to always use a clean lip brush for application to maintain the cleanliness and quality of your lipstick. And finally, enjoy your new, revitalized lip color! Embrace the feeling of accomplishment that comes from reviving your favorite lipstick and creating a one-of-a-kind shade that’s uniquely you!
Step 8. Care for Your Revived Lipstick:
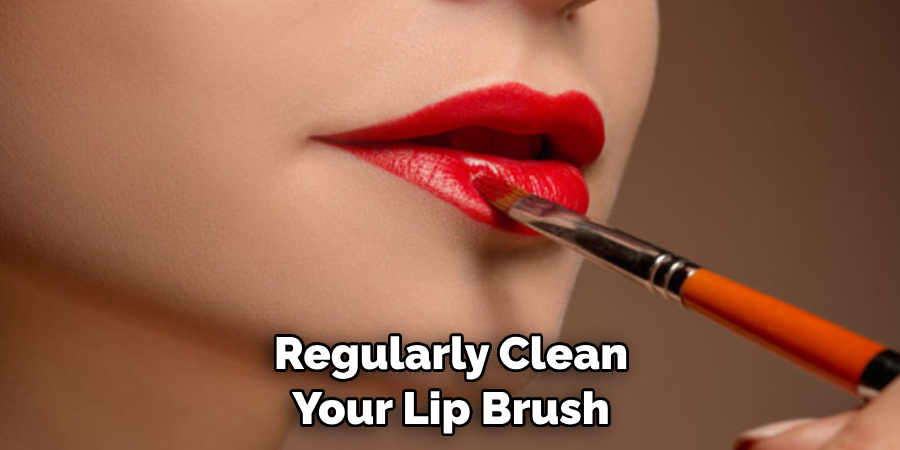
Taking care of your revived lipstick is just as important as the process of reviving it. Ensure to always close the tube tightly after use to preserve the quality of the lipstick. Also, avoid exposing your lipstick to high temperatures, as it can melt and lose consistency. Regularly clean your lip brush to prevent any bacterial buildup which could transfer to your lipstick. With proper care and maintenance, your revamped lipstick can last long, giving you maximum usage and enjoyment.
By following these easy steps, you’ll become a pro at reviving your old lipsticks and creating custom shades that are uniquely yours. So next time you feel like throwing away that worn-out lipstick, remember these tips and give it a second chance at life!
5 Additional Tips and Tricks
- Use a Lip Brush: If your lipstick has broken or isn’t applying smoothly, a lip brush can help. Simply scrape off a bit of the product and apply it with the brush for a precise and controlled application.
- Melt and Reset: If your lipstick has snapped in half, you can gently melt the ends over a flame and then fuse them back together. Allow the lipstick to cool and set in the fridge.
- Revive With Lip Balm: If your lipstick is dry or flaky, try mixing a little lip balm. It will help to moisturize and revive your lipstick.
- Add a Gloss: If your lipstick has lost its shine, add a clear gloss on top for a glossy finish. This will also help to revive the color and give it a fresh look.
- Store in the Fridge: To prevent your lipstick from melting or getting too soft, store it in the hot summer. It will also help to make the lipstick last longer and keep it from going bad.
With these additional tips and tricks, you can easily revive your lipstick and get the most out of your favorite shades.
5 Things You Should Avoid
- Don’t Use Expired Lipstick: Using expired lipstick can lead to skin irritations or infections. Always check the expiration date before applying.
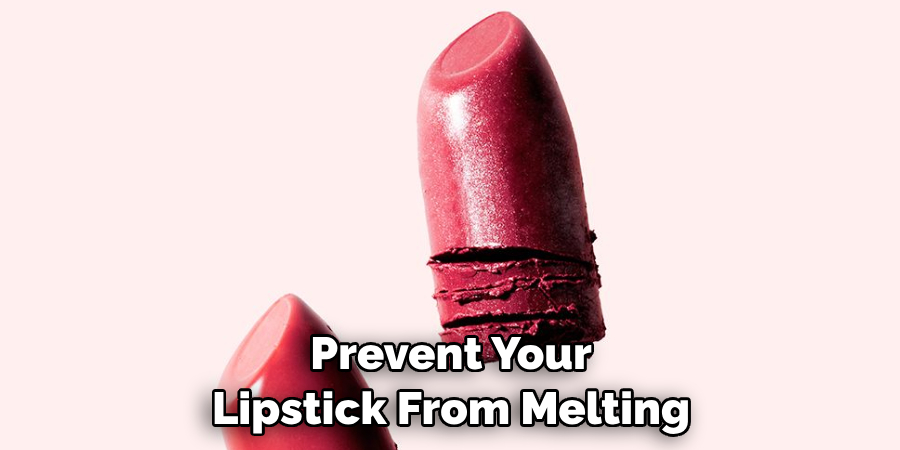
- Avoid Heat Exposure: Leaving your lipstick in a hot car or directly under sunlight can cause it to melt or change its consistency. Always store your lipstick in a cool, dry place.
- Don’t Share Your Lipstick: Sharing your lipstick could spread germs and lead to infections. It’s better to keep your lipstick to yourself.
- Avoid Applying Lipstick on Chapped Lips: Before applying lipstick, ensure that your lips are well moisturized and not chapped or dry. Applying lipstick on chapped lips can make them appear drier and might not give the desired finish.
- Do Not Apply Without a Mirror: Always use a mirror while applying lipstick. Applying lipstick without a mirror could lead to an uneven application, impacting the overall look.
By avoiding these common mistakes, you can ensure your lipstick looks great and lasts longer.
What to Do if Your Lipstick is Dry?
If your lipstick is dry and doesn’t seem to revive with the above tips, it might be time to let go. Lipsticks typically have a shelf life of 1-2 years, so if your lipstick has dried out or changed in consistency, it’s best to replace it with a new one. However, before throwing it away, you can try melting it down and turning it into a lip balm or mixing it with a clear gloss for a new shade.
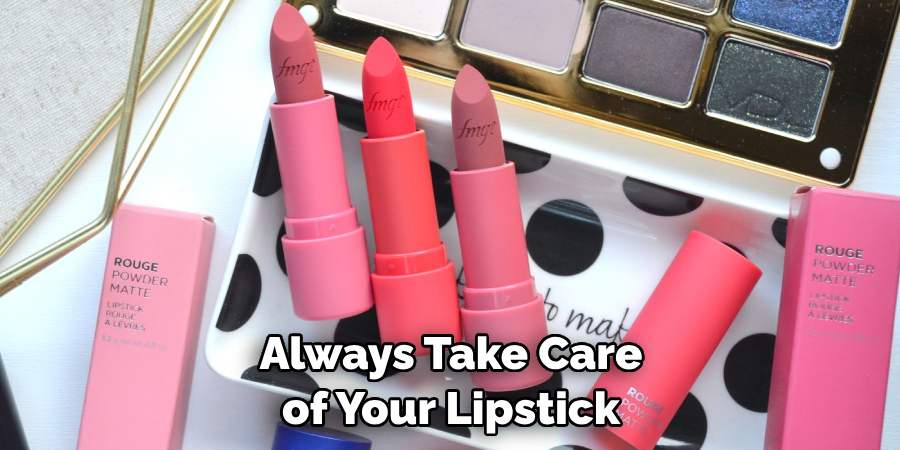
Always take care of your lipstick by storing it properly and not using expired products. With proper maintenance, you can enjoy your favorite shades for longer without replacing them constantly. Now go ahead and rock that perfect pout!
Conclusion
To wrap this up, experiment with lipstick revival! The possibilities are endless, whether you dab it lightly, warm it on your finger, or blend two colors. So don’t be afraid to think outside the box and try something new! Who knows? You might find that the perfect look you’ve been searching for has been in front of you all along. Your dry lipsticks can have a second life with proper care and patience.
Hopefully, the article on how to revive lipstick has helped you discover new ways to bring your favorite shades back to life. Remember that practice makes perfect, so don’t be discouraged if your first attempt doesn’t turn out as expected.
So get ready to take bold steps towards reviving your favorite lipsticks for a fresh look. Go ahead – try it today and break out of those beauty boundaries!
About the Author
Jane Hubbard is a passionate beauty expert with a wealth of experience in makeup, hair, and overall beauty techniques. After years of working as a hairdresser specialist, she followed her entrepreneurial spirit and started her own consultancy business.
Jane has always been driven by her desire to help others feel confident in their own skin, and she does this by sharing her knowledge, experiences, and practical beauty tips. Through her consultancy, she empowers individuals to embrace their unique beauty, offering tailored guidance that boosts both self-esteem and personal style.
Professional Focus
Specializes in makeup, hairstyling, and beauty consulting.
Provides personalized beauty advice, tips, and techniques to help individuals feel confident in their appearance.
Dedicated to staying up-to-date with the latest industry trends and developments.
Passionate about creating a comfortable and empowering experience for every client.
Education History
University of Craft and Design – Bachelor of Fine Arts (BFA) in Woodworking and Furniture Design
Woodworking Apprenticeships – Extensive hands-on training with skilled craftsmen to refine carpentry and furniture making techniques
Online Courses & Masterclasses – Continued education in advanced woodworking techniques, design principles, and specialized tools
Expertise:
Makeup artistry, hairstyling, and beauty consulting.
Personalized beauty techniques to enhance confidence and self-expression.
Educating clients on how to maintain their beauty routines at home.