Are you tired of your hair looking crunchier than a bag of chips? Say goodbye to stiff, crunchy curls and hello to soft, bouncy waves by scrunching out the gel cast in your styling routine.

If you’re a fan of using gel for your hair styling routine, you may be familiar with the concept of a gel cast. The gel cast refers to the firm, crunchy layer that forms after applying gel to your hair. While the gel cast helps to create defined curls or waves and locks in your style, it’s often desired to remove this cast to achieve a softer, more natural look.
In this guide on how to scrunch out gel cast, we’ll explore the technique of scrunching out the gel cast, which involves gently breaking up the hardened gel and revealing beautifully soft and bouncy locks.
What Are the Benefits of Scrunching Out Gel Cast?
Scrunching out gel cast is a technique that can benefit all hair types, whether you have curly, wavy, or straight hair. Here are some of the benefits of scrunching out the gel cast:
- Softens and loosens the curls or waves for a more natural look
- Reduces stiffness and crunchiness in the hair
- Allows for movement and bounce in the hair
- It helps to distribute product evenly throughout the hair
- It can help to define and enhance your natural curl pattern
These benefits make scrunching out gel cast an essential step in any hair styling routine, as it helps to achieve a more natural and effortless look.
What Will You Need?
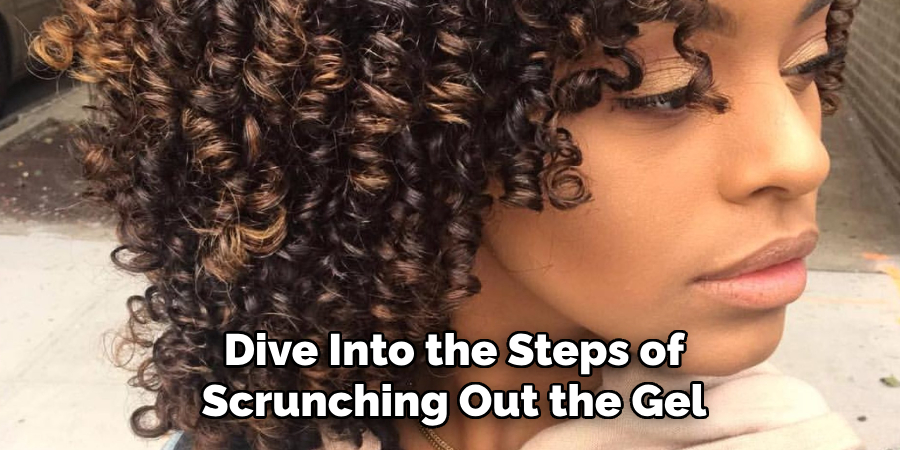
Before we dive into the steps of scrunching out the gel cast, make sure you have the following items on hand:
- Gel or styling product of your choice
- Diffuser attachment for hair dryer (optional)
- Microfiber towel or cotton T-shirt
Once you have these items, you can start scrunching out the gel cast and achieving beautiful, soft curls or waves.

10 Easy Steps on How to Scrunch Out Gel Cast
Step 1. Hold and Release:
Take a small section of your hair in your hand and scrunch it between your fingers, holding it for a few seconds to set the curl. Then, release the section and move on to the next one. This technique helps to enhance the natural curl pattern and create more defined curls or waves.
Repeat this process throughout your hair, working in sections until you have scrunched all of your hair. Remember to be gentle and avoid using too much force to prevent frizz and maintain the integrity of your curls or waves.
Step 2. Scrunch from Ends to Roots:
Start by scrunching your hair from the ends toward the roots to achieve optimal curl or wave definition. This technique helps distribute the product evenly and encourages the curls or waves to form from the bottom up. Begin by taking a small section of hair in your hand and gently squeezing it from the ends, moving your hand upward toward the roots.
This scrunching motion helps to enhance the natural shape and texture of your curls or waves while promoting bounce and volume. Repeat this scrunching technique throughout your hair, section by section, until you have scrunched all of your hair. Remember to be gentle and avoid using too much force to prevent frizz and maintain the integrity of your curls or waves.
Step 3. Use a Microfiber Towel or Cotton T-shirt:
Instead of using a regular towel to dry your hair, opt for a microfiber towel or cotton t-shirt. These materials are gentler on the hair and help to reduce frizz while scrunching out the gel cast. Regular towels can create friction and cause breakage, disrupting the curl pattern and making it harder to achieve bouncy, defined curls or waves.
Step 4. Apply Heat:
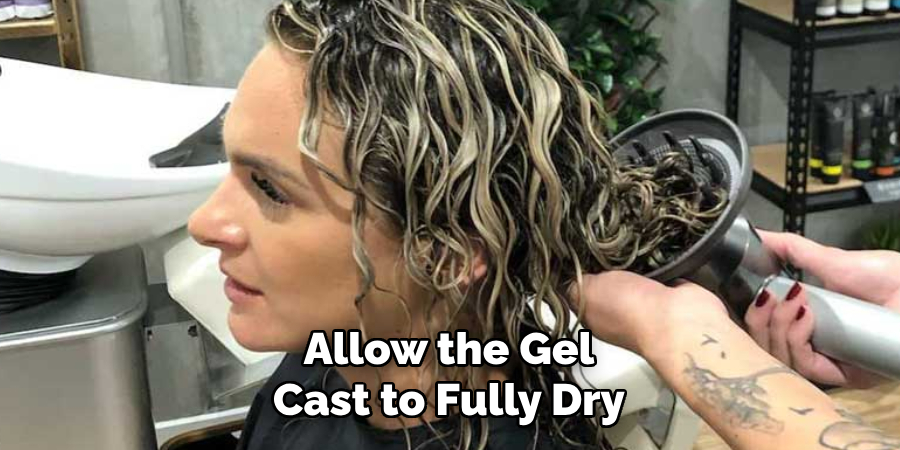
If you prefer a faster drying time or want to add extra volume to your curls or waves, you can opt to use a diffuser attachment on a low heat setting.
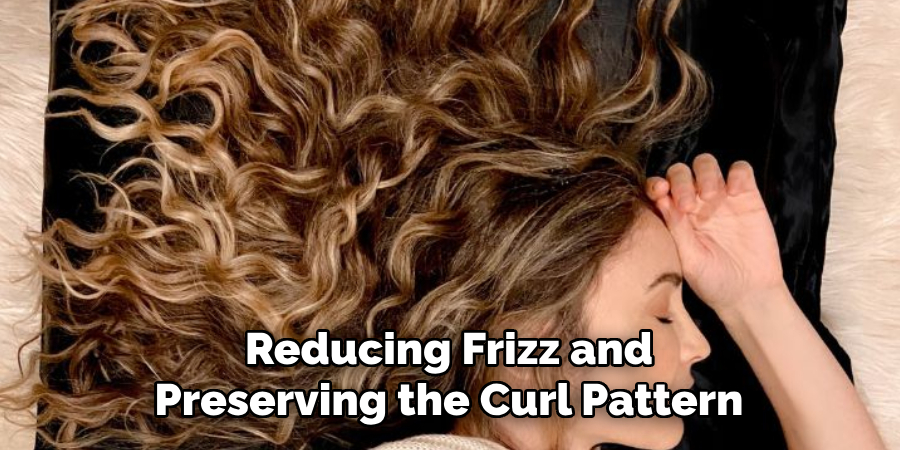
The diffuser helps distribute the airflow evenly, reducing frizz and preserving the curl pattern. Remember to keep the heat setting low to prevent excessive heat damage. Alternatively, you can let your hair air dry for a more natural look. Experiment with both methods to find the best for your hair type and desired style.

Step 5. Avoid Over-Handling:
Once you have scrunched out the gel cast and achieved your desired curl or wave pattern, it’s important to avoid over-handling your hair. Excessive touching, combing, or brushing can disrupt the curl formation and cause frizz. Instead, allow your curls to settle naturally and use your fingers to separate and define individual curls if needed gently.
Embrace the natural texture and movement of your hair by refraining from excessive manipulation, and you’ll maintain the integrity of your curls or waves throughout the day. Remember, less is more when it comes to handling your curls!
Step 6. Set with Hairspray:
To enhance the longevity of your curls or waves, consider setting them with a light mist of hairspray. This optional step helps lock in the style and provide extra hold. Hold the can at a distance to avoid over-applying and weighing down your hair when using hairspray.
Opt for a flexible and lightweight hairspray that won’t leave your curls feeling stiff or crunchy. A gentle mist of hairspray will help to combat frizz and maintain the shape of your curls or waves throughout the day. Remember, a little goes a long way, so use hairspray sparingly to keep your hair’s natural movement and bounce.
Step 7. Finish with a Hair Oil or Serum:
To add shine and moisture to your curls or waves, you can finish off your scrunching routine with a small amount of hair oil or serum. This step is optional but can help to nourish and protect your hair from frizz throughout the day. Use a pea-sized amount of product and gently scrunch it into your curls or waves, avoiding the root area to prevent weighing down your hair. Choose a lightweight and non-greasy formula that won’t leave residue on your hands or hair.
Step 8. Allow Time for Your Curls to Set:
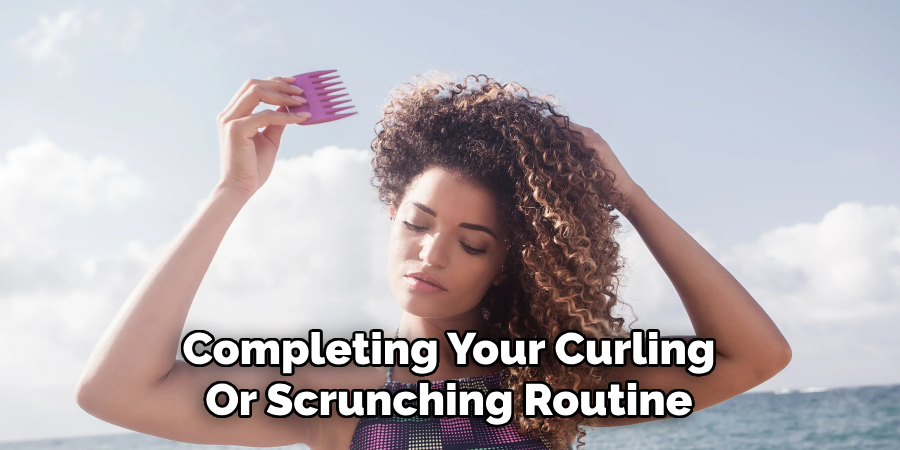
After completing your curling or scrunching routine, giving your curls or waves some time to set is essential. Avoid touching or manipulating your hair too much during this time, as it can disrupt the curl pattern and cause frizz. Allow your hair to air dry, or use a diffuser on low heat to dry your curls while maintaining their shape gently.

Depending on the thickness and texture of your hair, this may take anywhere from 30 minutes to a few hours. Patience is key during this step, as allowing your curls to set will help them hold their shape and ensure longer-lasting results throughout the day. Once your hair is dehydrated and set, you can gently tousle or fluff your curls with your fingers to create more volume and definition.
Step 9. Refresh Your Curls Throughout the Day:
As the day goes on, your curls or waves may start to lose their shape and bounce. To refresh and revive them, you can lightly spritz your hair with a mixture of water and a leave-in conditioner. This will help reactivate the product in your hair and bring back some moisture lost throughout the day. You can also use your fingers to gently scrunch any flattened sections or define individual curls if needed.
Step 10. Sleep with Satin/Silk Pillowcase:
Invest in a satin or silk pillowcase to preserve your curls or waves overnight. Unlike cotton, which can cause friction and absorb moisture, satin or silk helps to reduce frizz and protects your hair’s natural oils. Sleeping on these smooth materials allows your curls to glide easily without becoming tangled or flattened.
Additionally, you may consider loosely gathering your hair in a pineapple style or using a satin or silk bonnet for extra protection. This step will ensure your curls remain intact and defined, making your morning routine smoother and your style long-lasting.
By following these simple steps and embracing your natural curls or waves, you can achieve bouncy and defined hair without using heat or excessive products.
5 Things You Should Avoid
Here are five things you should avoid when it comes to scrunching out the gel cast:
- Touching or Scrunching Too Early: It’s essential to exercise patience and allow the gel cast to fully dry before scrunching it. Touching or scrunching too early can disrupt the curl formation and result in frizz.
- Using Excessive Force: Gentle and light pressure is key when scrunching out the gel cast. Avoid excessive force, as it can disturb the curl pattern and lead to frizz or loss of definition.
- Using Your Hands: Instead of using your hands alone, use a microfiber towel or a cotton t-shirt to scrunch out the gel cast. These materials are gentle on the hair and help to reduce frizz.
- Skipping the Moisturizing Step: After scrunching out the gel cast, it’s essential to follow up with a moisturizing product to keep the hair hydrated and prevent it from becoming dry or brittle.
- Over-Handling the Hair: Once you’ve scrunched out the gel cast, try to minimize further hair manipulation. Over-handling can disrupt the curl pattern and lead to frizz and loss of definition.
By avoiding these common mistakes, you can effectively scrunch out the gel cast and achieve soft, defined, and frizz-free curls.

Conclusion
In conclusion, scrunching out the gel cast is essential for achieving defined and frizz-free curls.
However, being mindful of certain factors affecting the outcome is important. You can successfully scrunch out the gel cast and maintain healthy and beautiful curls by avoiding these five common mistakes. Remember to be patient gentle, and moisturize your hair after scrunching to achieve optimal results.
Hopefully, the article on how to scrunch out gel cast has provided you with valuable tips and information to incorporate into your hair care routine. Happy scrunching!
About the Author
Jane Hubbard is a passionate beauty expert with a wealth of experience in makeup, hair, and overall beauty techniques. After years of working as a hairdresser specialist, she followed her entrepreneurial spirit and started her own consultancy business.
Jane has always been driven by her desire to help others feel confident in their own skin, and she does this by sharing her knowledge, experiences, and practical beauty tips. Through her consultancy, she empowers individuals to embrace their unique beauty, offering tailored guidance that boosts both self-esteem and personal style.
Professional Focus
- Specializes in makeup, hairstyling, and beauty consulting.
- Provides personalized beauty advice, tips, and techniques to help individuals feel confident in their appearance.
- Dedicated to staying up-to-date with the latest industry trends and developments.
- Passionate about creating a comfortable and empowering experience for every client.
Education History
- University of Craft and Design – Bachelor of Fine Arts (BFA) in Woodworking and Furniture Design
- Woodworking Apprenticeships – Extensive hands-on training with skilled craftsmen to refine carpentry and furniture making techniques
- Online Courses & Masterclasses – Continued education in advanced woodworking techniques, design principles, and specialized tools
Expertise:
- Makeup artistry, hairstyling, and beauty consulting.
- Personalized beauty techniques to enhance confidence and self-expression.
- Educating clients on how to maintain their beauty routines at home.
