
Separating curls after curling your hair is the key to achieving a natural, voluminous look that lasts all day. In this guide, we’ll show you the best techniques for separating curls without causing frizz or losing definition. You’ll learn how to separate curls after curling. Whether you’re going for loose, beachy waves or tight, bouncy ringlets, our step-by-step tips will help you perfect your look. Let’s dive in and discover how to make your curls look effortlessly stunning!
The Importance of Separating Curls
Separating curls is an essential step in your hairstyling routine that can make a significant difference in the overall appearance and longevity of your curls. When curls are properly separated, they create a more natural and fuller look, as opposed to clumped sections that can appear artificial and less dynamic. Properly separated curls also have more movement and bounce, giving your hairstyle a lively and healthy look. Additionally, by ensuring each curl is defined and has its own space, you can avoid the dreaded frizz that often comes from curls clumping together and tangling. This not only enhances the aesthetic appeal but also helps maintain the integrity of your curls throughout the day, no matter the weather or activity level.
The Structure and Characteristics of Curly Hair
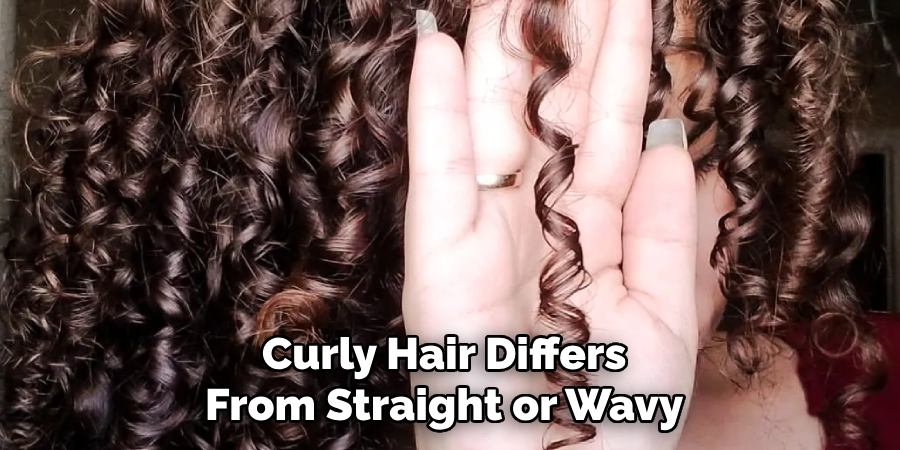
Understanding the structure and characteristics of curly hair is crucial to effectively styling and caring for it. Curly hair differs from straight or wavy hair in several fundamental ways, starting at the follicular level. The hair follicles of curly hair are oval or asymmetrical, which causes the hair strand to curl and coil as it grows. This structural difference results in unique challenges and characteristics for those with curly hair.
One of the primary characteristics of curly hair is its propensity for dryness. The natural oils produced by the scalp have a harder time traveling down the curved hair shaft, making it more difficult for curly hair to stay moisturized. This can lead to frizz and breakage if not properly managed. Additionally, curly hair often appears denser and has more volume due to the space created by the curls, but it can also be more prone to tangling and knotting.
10 Methods How to Separate Curls after Curling
1. Use Your Fingers
One of the simplest and most effective ways to separate curls is by using your fingers. This method helps maintain the natural shape and definition of your curls while preventing frizz. Start by allowing your curls to cool completely after curling; this sets the curl and makes it more resilient. Gently run your fingers through your hair, starting from the roots and working your way to the ends. Use a light touch to avoid disrupting the curl pattern. For added definition, you can twist small sections around your fingers to reshape them. This technique gives you control over the separation process and helps maintain the integrity of your curls.
2. Apply a Lightweight Serum or Oil
Applying a lightweight serum or oil before separating your curls can help reduce frizz and add shine. Choose a product designed for your hair type to ensure it doesn’t weigh down your curls. Dispense a small amount of serum or oil into your hands, rub your palms together to distribute the product evenly, and then gently rake your fingers through your hair. This not only helps to separate the curls but also adds a smooth, glossy finish. Be sure to focus on the ends of your hair, where frizz and dryness are more likely to occur. Repeat the process if necessary, but be cautious not to apply too much product, which can make your hair look greasy.
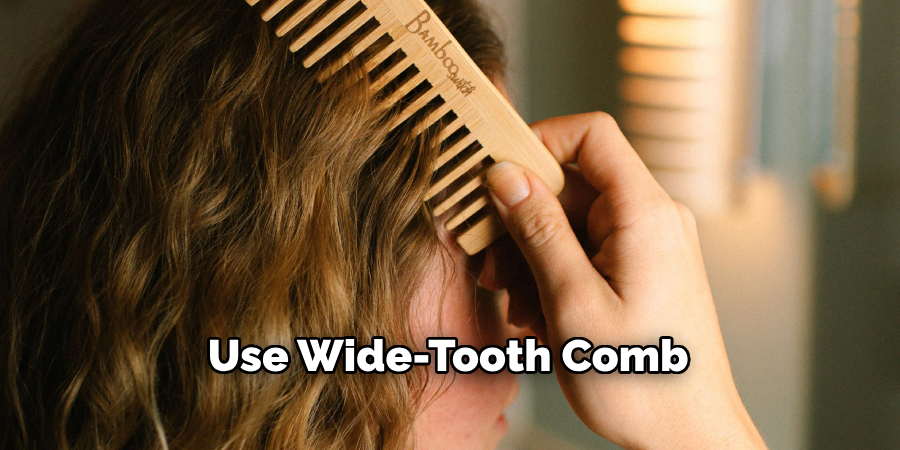
3. Use a Wide-Tooth Comb
A wide-tooth comb is an excellent tool for gently separating curls without causing damage or frizz. Start by allowing your curls to cool completely. Then, take a wide-tooth comb and gently comb through your hair, beginning at the ends and working your way up to the roots. This method is particularly effective for creating soft, loose waves. It helps distribute the curls evenly and prevents them from clumping together. If you encounter any tangles, use your fingers to gently detangle them before continuing with the comb. The wide-tooth comb method is ideal for those with thicker or coarser hair types.
4. Shake Your Head
For a more effortless, natural look, try shaking your head to separate your curls. After your curls have cooled and set, flip your head upside down and give it a gentle shake. This method helps to loosen the curls and add volume without the risk of frizz or disruption to the curl pattern. Once you’ve shaken your head, use your fingers to arrange the curls as desired. This technique is perfect for creating a carefree, tousled look and works well for all hair lengths and types. It’s also a great way to add some movement and body to your curls.
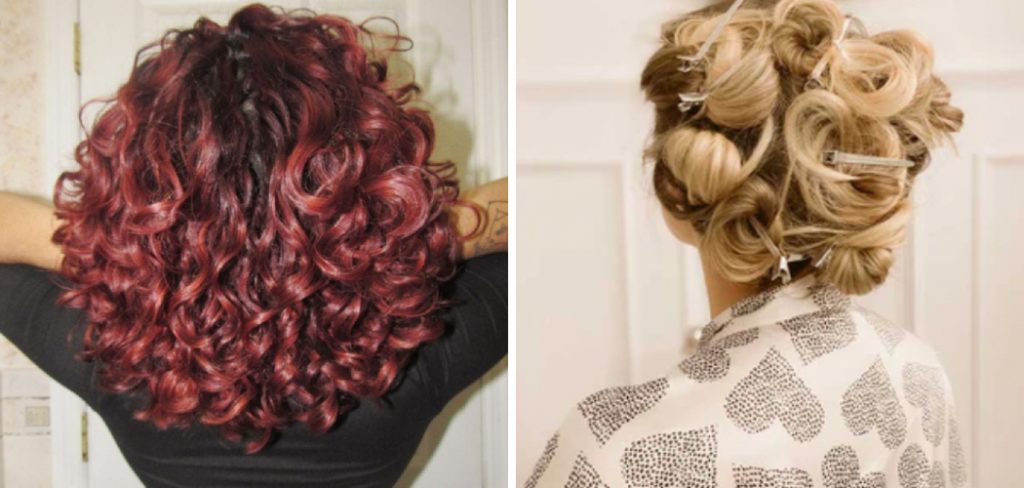
5. Pin and Release Method
The pin and release method is a great way to ensure your curls are well-defined and separated. After curling your hair, use bobby pins or clips to pin each curl in place while it cools. Once your curls are completely cool, remove the pins and gently separate the curls with your fingers. This method helps to set the curl and maintain its shape, leading to more defined and long-lasting curls. Additionally, pinning your curls allows them to cool in a controlled manner, reducing the likelihood of frizz. This technique is especially useful for formal occasions where you want your curls to look polished and structured.
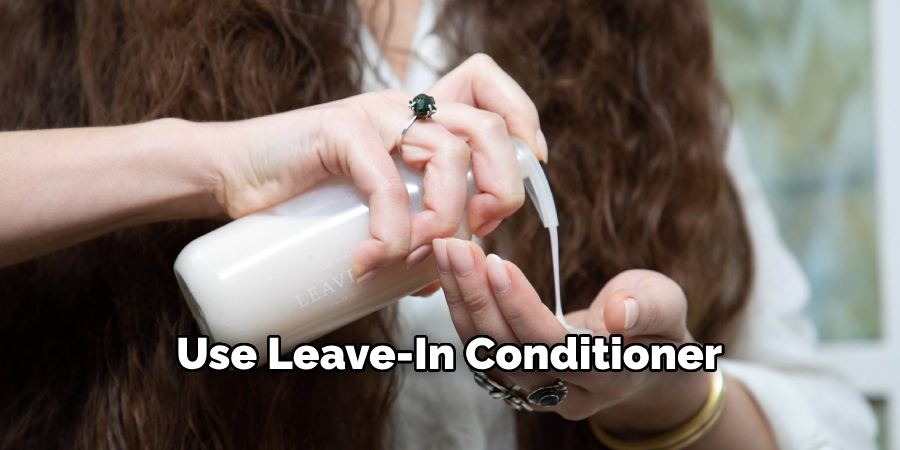
6. Use a Leave-In Conditioner
A leave-in conditioner can provide moisture and reduce frizz, making it easier to separate your curls. Choose a lightweight leave-in conditioner suitable for your hair type. Apply a small amount to your hands and distribute it evenly through your hair, focusing on the ends. This will help to hydrate your curls and make them more manageable. After applying the leave-in conditioner, use your fingers or a wide-tooth comb to separate the curls gently. This method is particularly beneficial for those with dry or damaged hair, as it provides extra nourishment and protection.
7. Twist and Separate
Twist and separate is a technique that helps to enhance and define each curl. After your curls have cooled, take small sections of your hair and twist them in the direction of the curl pattern. Then, gently pull the twisted section apart to create multiple smaller curls. This method works well for creating more defined, structured curls and is particularly effective for those with looser curl patterns. It also helps to prevent frizz and ensures that each curl retains its shape. This technique requires a bit more time and patience but results in beautifully defined curls that last longer.
8. Use a Curl Cream
Curl cream is designed to define and separate curls while reducing frizz and adding moisture. Choose a curl cream suitable for your hair type and apply a small amount to your hands. Distribute the cream evenly through your hair, focusing on the mid-lengths and ends. After applying the curl cream, use your fingers to separate the curls gently. This method helps to enhance the natural curl pattern and provides a soft, touchable hold. Curl cream is particularly effective for those with dry or coarse hair, as it provides extra moisture and definition.
9. Use a Diffuser
A diffuser attachment for your hair dryer can help to separate and define curls while adding volume. After curling your hair, attach the diffuser to your hair dryer and set it to a low or medium heat setting. Flip your head upside down and use the diffuser to dry your curls gently. The diffuser helps to distribute the air evenly, reducing frizz and enhancing the natural curl pattern. Once your hair is dry, use your fingers to separate the curls further and arrange them as desired. This method is perfect for those who want to add volume and body to their curls.
10. Set with a Light-Hold Hairspray
After separating your curls, using a light-hold hairspray can help to set the style and reduce frizz. Choose a hairspray that provides flexible hold without making your hair stiff or crunchy. Hold the hairspray at arm’s length and lightly mist it over your hair, focusing on the mid-lengths and ends. This helps to lock in the style and maintain the separation of the curls. A light-hold hairspray allows your curls to move naturally and retain their shape throughout the day. It’s an excellent finishing touch for ensuring your curls stay defined and frizz-free.
Conclusion
In conclusion, separating curls after curling is an essential step to achieve a polished and natural-looking hairstyle. Each of these methods offers a unique approach to maintaining and enhancing the beauty of your curls. Whether you choose to use your fingers, a wide-tooth comb, or a diffuser, the key is to handle your curls gently and patiently to avoid frizz and maintain definition. Incorporating products like lightweight serums, leave-in conditioners, and curl creams can provide additional moisture and protection, ensuring your curls stay healthy and vibrant. Thanks for reading, and we hope this has given you some inspiration on how to separate curls after curling!
About the Author
Jane Hubbard is a passionate beauty expert with a wealth of experience in makeup, hair, and overall beauty techniques. After years of working as a hairdresser specialist, she followed her entrepreneurial spirit and started her own consultancy business.
Jane has always been driven by her desire to help others feel confident in their own skin, and she does this by sharing her knowledge, experiences, and practical beauty tips. Through her consultancy, she empowers individuals to embrace their unique beauty, offering tailored guidance that boosts both self-esteem and personal style.
Professional Focus
Specializes in makeup, hairstyling, and beauty consulting.
Provides personalized beauty advice, tips, and techniques to help individuals feel confident in their appearance.
Dedicated to staying up-to-date with the latest industry trends and developments.
Passionate about creating a comfortable and empowering experience for every client.
Education History
University of Craft and Design – Bachelor of Fine Arts (BFA) in Woodworking and Furniture Design
Woodworking Apprenticeships – Extensive hands-on training with skilled craftsmen to refine carpentry and furniture making techniques
Online Courses & Masterclasses – Continued education in advanced woodworking techniques, design principles, and specialized tools
Expertise:
Makeup artistry, hairstyling, and beauty consulting.
Personalized beauty techniques to enhance confidence and self-expression.
Educating clients on how to maintain their beauty routines at home.