Are you tired of buying expensive makeup bags that don’t quite fit all your products? Why not try making your own? It will be a fun and creative project, but you can customize it to fit your specific needs.
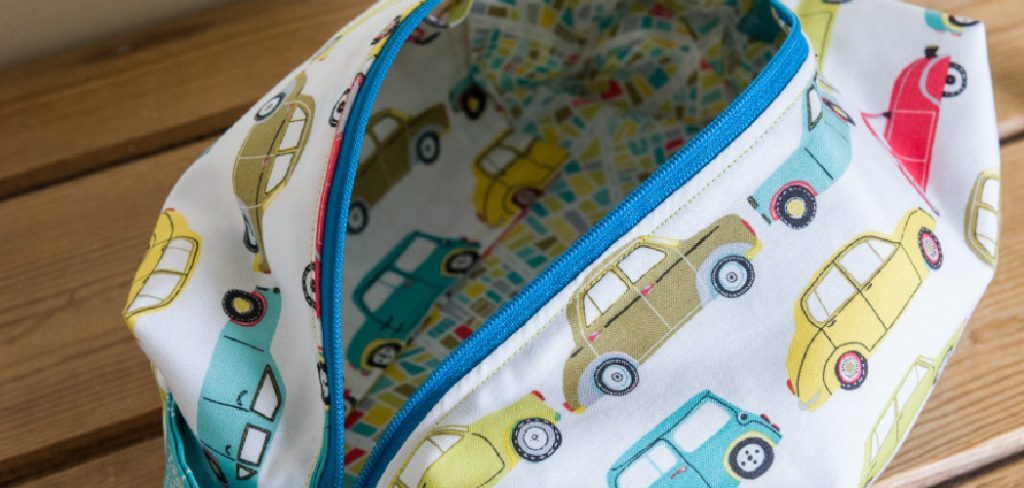
How to sew a makeup bag is a rewarding and practical project that allows you to combine creativity with functionality. Whether you’re a beginner or an experienced sewist, crafting a personalized makeup bag lets you experiment with fabrics, colors, and designs while honing your sewing skills. With simple materials and basic sewing techniques, you can create a stylish, durable bag to store your cosmetics and small essentials.
This guide will walk you through the steps to sew your makeup bag, ensuring a fun and satisfying experience.
What Are the Benefits of Sewing a Makeup Bag?
Sewing your makeup bag has numerous benefits, making it a worthwhile project.
- Customization: By sewing your makeup bag, you have full control over the design, fabric, and size. This allows you to create a bag that meets your needs and reflects your style.
- Cost-effective: With store-bought makeup bags often being expensive, sewing your own can save you money in the long run. You can also use scrap fabrics or repurpose old clothes for an even more budget-friendly option.
- Quality Control: When you make something yourself, you have complete control over the quality of materials and construction. This means you can ensure that your makeup bag is sturdy and durable, able to withstand daily use.
- Eco-friendly: Using scrap fabrics or repurposing old clothes reduces waste and contributes to a more sustainable lifestyle. You can also avoid buying single-use plastic bags by using your personalized makeup bag for travel.
What Will You Need?
Before you begin sewing your makeup bag, gather all the necessary materials. These may include:
- Fabric (see next section for tips on choosing fabric)
- Lining fabric
- Interfacing
- Sewing machine or needle and thread
- Scissors
- Pins or clips
- Measuring tape or ruler
- Zipper or button closure
Once you have all the materials, it’s time to start sewing!
8 Easy Steps on How to Sew a Makeup Bag
Step 1: Choose and Cut Your Fabric
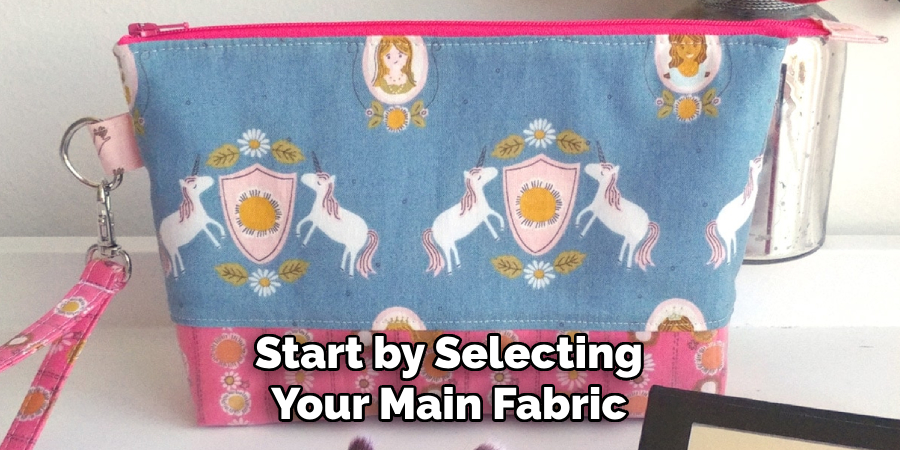
Start by selecting your main fabric and lining fabric. Decide on the size of your makeup bag, and use a measuring tape or ruler to measure and mark the fabric accordingly. Cut two pieces of the main fabric and two pieces of the lining fabric to your desired dimensions. Don’t forget to cut your interfacing to the same size as the fabric pieces, as it will provide structure and durability to your bag.
Step 2: Attach Interfacing to the Fabric
Take the pieces of main fabric you cut earlier and attach the interfacing to the back of each piece. If you are using iron-on interfacing, place the rough side of the interfacing onto the wrong side of the fabric, then use an iron on the appropriate heat setting to press the interfacing into place.
Ensure that the interfacing adheres smoothly without bubbles or wrinkles. This step will give your makeup bag added stability and a polished look.
Step 3: Sew the Zipper
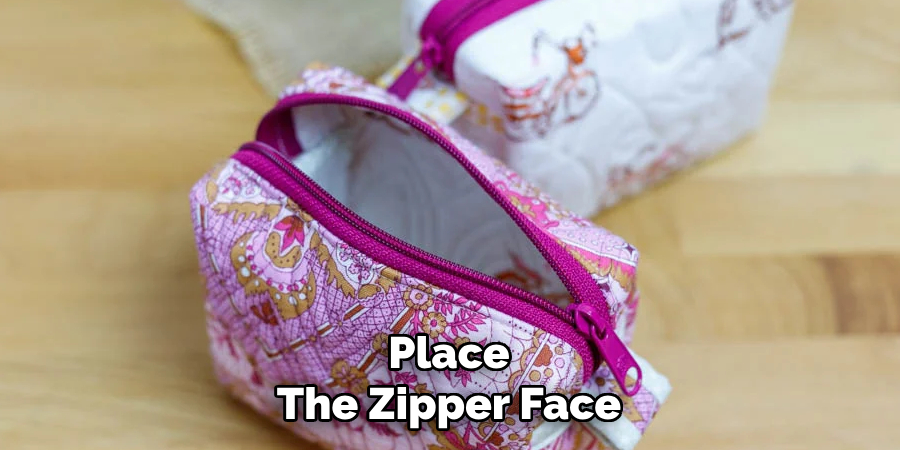
Place the zipper face down along the top edge of one piece of the main fabric, with the teeth aligned towards the fabric. Lay one lining fabric on top, sandwiching the zipper between the two layers. Pin or clip the fabric to hold everything in place.
Using a zipper foot on your sewing machine, sew along the edge carefully, ensuring the zipper remains aligned. Repeat this process for the other side of the zipper with the remaining main fabric and lining piece. Once sewn, press the fabric away from the zipper teeth to create a clean edge.
Step 4: Sew the Sides of the Makeup Bag
Open the zipper halfway to ensure you can turn the bag right side out later. Lay the main fabric pieces on the right sides and the lining pieces on the right sides together, aligning the edges. Pin or clip around the edges, leaving a small gap at the bottom of the lining for turning.
Sew around the entire perimeter of the bag using a 1/4-inch seam allowance, carefully avoiding sewing over the zipper ends. Trim any excess fabric and corners to reduce bulk, then turn the bag right side out through the gap in the lining. Push out the corners for a clean shape and sew the gap in the lining closed.
Step 5: Add a Handle
You can add a handle to your makeup bag for easy carrying. Cut a piece of fabric to your desired length and width, fold it in half lengthwise with right sides together, and sew along the long edge. Turn it right side out and press. Attach the ends of the handle to each side of the bag using pins or clips, then sew them securely in place.
Step 6: Sew on a Button
Adding a button to your makeup bag can enhance its functionality and aesthetic. First, choose a button that complements the bag’s fabric and style. Position the button on the front of the bag where you’d like it to act as a closure. Mark the spot lightly with fabric chalk or a disappearing fabric pen. Next, cut a small piece of elastic or a fabric loop that will serve as the closure. Ensure it’s long enough to loop around the button securely.
Sew the loop onto the edge of the bag’s flap or opening, making sure it’s firmly attached and aligned with the button’s position. Then, hand-sew the button onto the marked spot using a needle and strong thread, ensuring it is securely fastened. Test the button and loop closure to ensure it closes quickly and stays shut. This simple addition provides a secure way to keep the bag closed and adds a charming, handmade touch to your project.
Step 7: Add Decorative Details
Personalize your makeup bag by adding decorative touches that reflect your style. Use fabric paint, embroidery, or iron-on patches to embellish the exterior. If you enjoy embroidery, sketch a simple design on the bag’s surface and use colorful threads to bring it to life.
Alternatively, iron-on patches can be quickly applied with a household iron and come in various designs and themes to suit your taste. Adding lace, ribbons, or small charms can also enhance the bag’s appearance. These decorative elements not only make your makeup bag unique but also add a layer of charm and individuality to your handmade project.
Step 8: Finish and Use Your Makeup Bag
Once all the decorative details are complete and securely attached, give your makeup bag a final inspection. Check that all seams are sturdy, the button or zipper closure functions appropriately, and there are no loose threads.
After confirming everything is in place, your handmade makeup bag is ready to use! Fill it with your favorite cosmetics or toiletries, and enjoy the convenience and personal touch of a bag created by your hands. This project results in a functional and stylish accessory and showcases your creativity and crafting skills.
By following these simple steps, you can easily sew a makeup bag that is both practical and unique.
5 Things You Should Avoid
- Using the Wrong Fabric: Avoid choosing fabrics that are too thick or thin, as they can make sewing difficult or cause the bag to lose shape. Opt for medium-weight fabrics like cotton or canvas for the best results.
- Skipping Stabilizers or Interfacing: Don’t forget to add interfacing or stabilizers, as they provide structure and durability to the bag. Skipping this step can lead to a flimsy makeup bag that won’t hold its shape.
- Incorrect Measurements: Avoid cutting fabric or materials without double-checking your dimensions. Miscalculations can lead to wasted fabric or an unusable bag that doesn’t fit your intended purpose.
- Using the Wrong Zipper Size: Select a zipper of the appropriate length for your bag. Using one that is too short or too long can result in difficulty during assembly and a poorly finished look.
- Neglecting Finishing Touches: Do not overlook critical finishing details like trimming excess thread, reinforcing stitches, or neatening edges. These final touches ensure your makeup bag looks professional and is durable for everyday use.
5 Different Design Ideas
- Bold and Colorful: Choose vibrant fabrics with bold prints or patterns to create a fun and eye-catching makeup bag. Add details like pom-poms, tassels, or colorful zippers for extra flair.
- Minimalist and Chic: Keep it simple with neutral colors and sleek lines for a sophisticated makeup bag that will match any style. Consider using leather or faux leather for a high-end look.
- Upcycled and Eco-Friendly: Use recycled materials such as old denim or vintage scarves to make your makeup bag environmentally friendly and one-of-a-kind.
- Personalized Embroidery: Take your embroidery skills to the next level by stitching your name or a favorite quote onto the front of your makeup bag. This adds a personal touch and makes identifying your bag easier in a sea of others.
- Mixed Prints: Mix and match different fabrics, textures, and prints for a unique and eclectic look. Choose complementary colors or patterns for a cohesive design that stands out.
With these design ideas, you can create a personalized makeup bag that reflects your style and personality.
Conclusion
How to sew a makeup bag is a rewarding and creative project that allows you to craft a functional accessory tailored to your preferences.
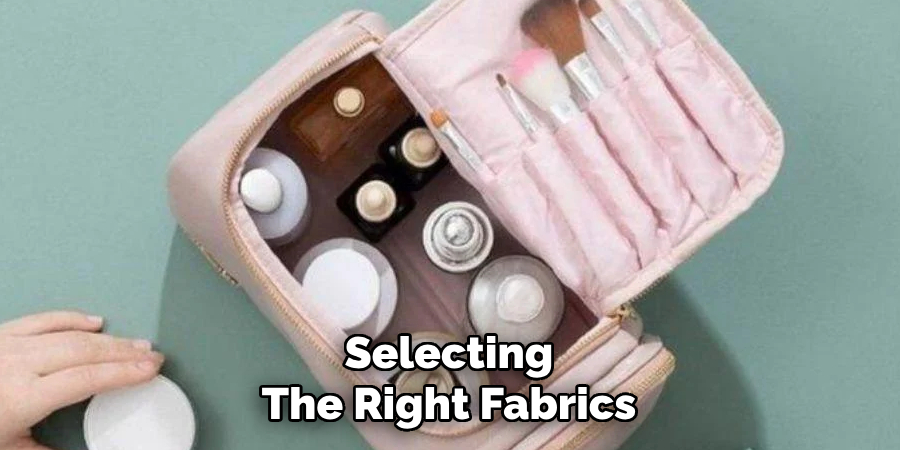
By following the step-by-step instructions and choosing from various design ideas, you can produce a bag that is not only practical but also a reflection of your style. From selecting the right fabrics to adding personal details, every element can be customized to suit your tastes. Whether you’re making the bag for yourself, as a gift, or to sell, the possibilities are endless.
With a combination of patience, practice, and creativity, you’ll have a beautiful handmade makeup bag to show off in no time!
About the Author
Jane Hubbard is a passionate beauty expert with a wealth of experience in makeup, hair, and overall beauty techniques. After years of working as a hairdresser specialist, she followed her entrepreneurial spirit and started her own consultancy business.
Jane has always been driven by her desire to help others feel confident in their own skin, and she does this by sharing her knowledge, experiences, and practical beauty tips. Through her consultancy, she empowers individuals to embrace their unique beauty, offering tailored guidance that boosts both self-esteem and personal style.
Professional Focus
- Specializes in makeup, hairstyling, and beauty consulting.
- Provides personalized beauty advice, tips, and techniques to help individuals feel confident in their appearance.
- Dedicated to staying up-to-date with the latest industry trends and developments.
- Passionate about creating a comfortable and empowering experience for every client.
Education History
- University of Craft and Design – Bachelor of Fine Arts (BFA) in Woodworking and Furniture Design
- Woodworking Apprenticeships – Extensive hands-on training with skilled craftsmen to refine carpentry and furniture making techniques
- Online Courses & Masterclasses – Continued education in advanced woodworking techniques, design principles, and specialized tools
Expertise:
- Makeup artistry, hairstyling, and beauty consulting.
- Personalized beauty techniques to enhance confidence and self-expression.
- Educating clients on how to maintain their beauty routines at home.
