
Are you tired of the sharp, rigid corners of your square manicure and craving something a bit softer and more sophisticated? The almond nail shape is a timeless classic that instantly elongates the fingers, adding a touch of feminine elegance to any hand. Unlike the extreme stiletto or the blunt square, the almond shape strikes a perfect balance, featuring tapered sides that meet at a rounded peak, mimicking the nut it is named after.
Transitioning from a square shape to this tapered style might seem intimidating, especially if you are worried about losing too much length or messing up the symmetry. However, with the right tools and a little patience, it is a surprisingly achievable DIY project. Whether you are prepping for a special event or just want to refresh your daily look, mastering this filing technique can save you a trip to the salon. This guide will walk you through the precise steps on how to shape almond nails from square, ensuring you achieve that salon-quality finish right at home.
7 Step-by-Step Guide on How to Shape Almond Nails from Square
Step 1: Gather Your Tools and Prep the Nails
Before you begin your transformation, you need to ensure you have the proper equipment. You will need a high-quality nail file, preferably with a grit of 180 or 240 for natural nails, or a coarser grit for acrylics. Start by removing any old polish so you can see the true edges of your natural nail clearly.
Wash your hands thoroughly to remove oils and debris. It is crucial to start with completely dry nails, as wet nails are more prone to splitting and peeling during the filing process. Having a clear visual of your starting point is essential for symmetry. Take a moment to assess the center point of each nail, as this will be your guiding star throughout the shaping process.
Step 2: Mark the Center Point of the Nail Tip
Identifying the exact center of your nail tip is the most critical part of achieving a symmetrical almond shape. If your peak is off-center, the entire nail will look crooked. A helpful trick for beginners is to take a small dot of nail polish or a non-permanent marker and place a tiny dot at the very center of the free edge of your nail.
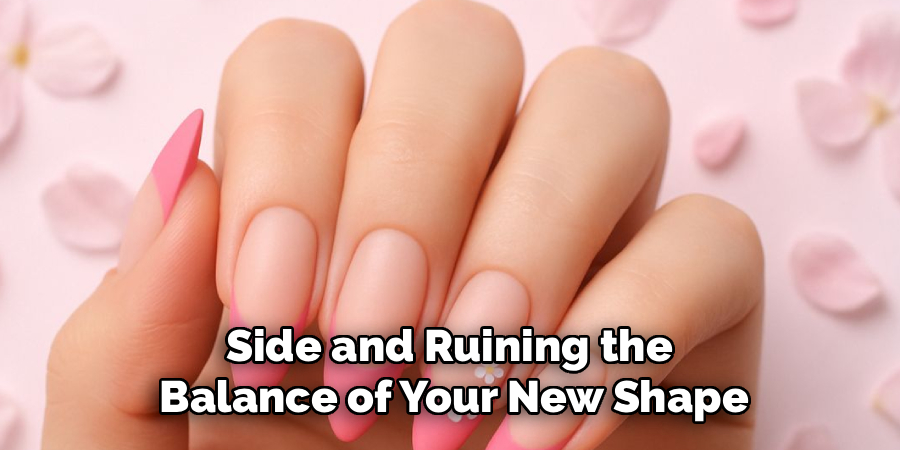
This visual marker serves as your destination point. As you file the sides, you will be aiming towards this dot, ensuring that both sides taper in evenly to meet at this specific apex. This simple preparation step prevents the common mistake of over-filing one side and ruining the balance of your new shape.
Step 3: File the Side Walls
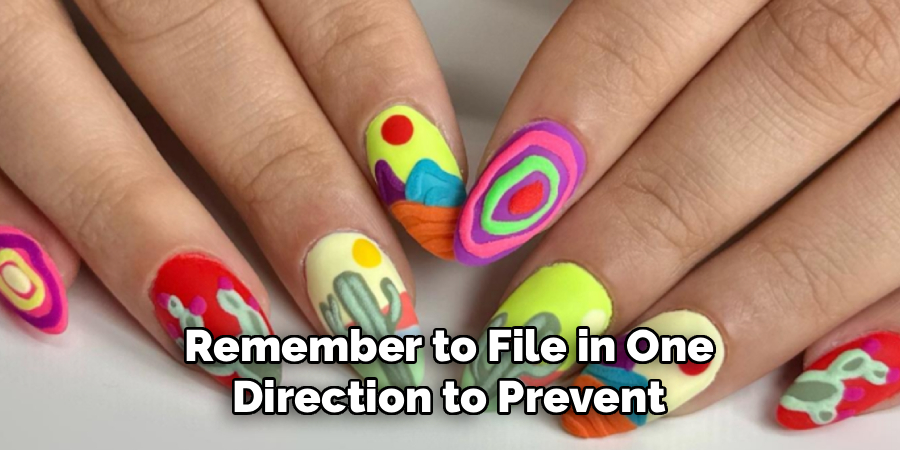
The journey from square to almond begins by eliminating those sharp corners. Hold your file at a 45-degree angle against the side of your nail. You want to start filing the side walls inward, moving from the stress area—where the free edge leaves the skin—towards the center tip. Do not file back and forth in a sawing motion, as this can cause fraying. Instead, file in one fluid direction towards the center. You are essentially taking the straight parallel sides of the square shape and tapering them inwards. Be careful not to file too deep into the stress point, as this can weaken the nail structure and lead to painful breaks later on.
Step 4: Round the Tip into a Soft Peak
Once you have tapered the sides significantly, you will be left with a shape that looks somewhat like a triangle or a “stiletto” shape with a sharp point. Now you need to soften that point into the classic almond curve. Hold your file parallel to the tip of the nail and gently round off the sharp apex you created.
Move the file in a soft, arching motion over the top of the nail, blending the tapered sides into a rounded peak. You are aiming for a shape that mirrors the curve of your cuticle line but is slightly more narrowed. Continue to check your progress frequently to ensure the tip is not becoming too flat or remaining too pointy.
Step 5: Check for Symmetry from All Angles
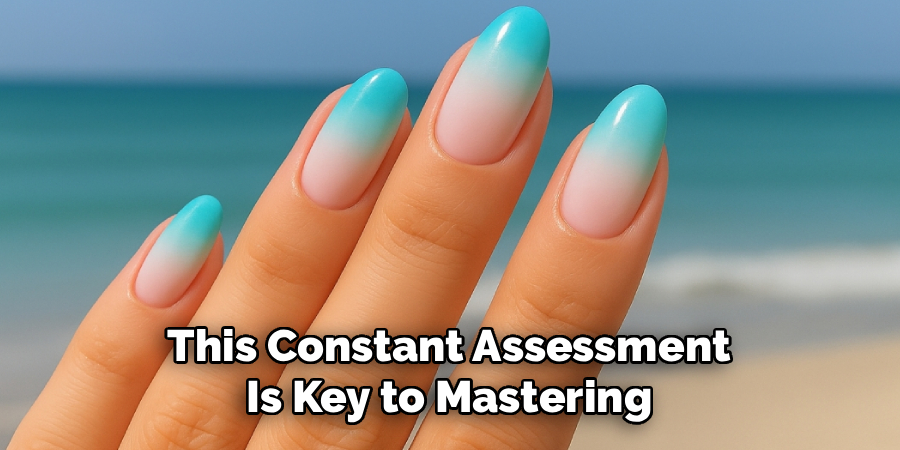
It is easy to get tunnel vision when focusing on one nail at a time. To ensure true symmetry, you need to look at your nails from multiple perspectives. Flip your hand over so your palm is facing you and look at the nails from the back. This view often reveals unevenness that you might miss looking top-down. Check if the curve on the left side matches the curve on the right. If one side looks bulkier, gently file it down to match the other. This constant assessment is key to mastering the technique of how to shape almond nails from square, as it guarantees that your final result looks intentional and professional rather than lopsided.
Step 6: Smooth and Refine the Edges
After the major shaping is done, you will likely have some rough edges and “frills” of nail filings hanging underneath the tip. Now is the time to switch to a finer grit file or a buffer block. Gently run the buffer along the edges of the nail to smooth out any micro-tears or jagged spots. Run your finger along the tip to feel for any sharpness or snags.
This refining step is crucial for comfort and longevity. A smooth edge is less likely to catch on clothing or chip. You should also lightly buff the surface of the nail near the edges to ensure the transition from the nail bed to the free edge is seamless and polished.
Step 7: Clean Up and Apply Cuticle Oil
Once you are satisfied with the shape of all ten nails, the hard work is over. Wash your hands thoroughly again to remove all the fine dust created during the filing process. You might want to use a nail brush to scrub gently underneath the nails. Dry your hands completely. Now, rehydrate your nails and the surrounding skin.
Apply a generous amount of nourishing cuticle oil to the nail bed and massage it in. Filing can be stressful on the nails and drying to the skin, so this moisture boost is vital. Finish with a strengthening base coat to protect your new shape. Your nails are now transformed, healthy, and ready for color.
Stiletto Nail Shaping
To achieve the elegant stiletto nail shape, precision and patience are key. Begin by trimming the nails, taking care to leave enough length to create the pointed tip that defines this edgy style. Using a nail file with a fine grit, start shaping the sides of your nail at an angle toward the center to form a sharp peak. Work slowly and evenly on both sides to ensure symmetry and avoid over-filing. Remember to file in one direction to prevent weakening the nail.
Once the desired shape is achieved, smooth out the edges with a softer buffer to eliminate rough spots. Finally, follow with nourishing cuticle oil and a strengthening base coat to reinforce your nails and keep them looking flawless. The stiletto shape demands precision but creates a strikingly bold and stylish statement.
Frequently Asked Questions
Can I Shape Short Nails into an Almond Shape?
It is generally difficult to achieve a true almond shape on very short nails.
- Length Requirement: You typically need at least 3-4 millimeters of free edge extending beyond your fingertip.
- The Look: If the nails are too short, the tapered sides will meet too quickly, resulting in a shape that looks more like a round or oval nail rather than a distinct almond.
- Recommendation: Grow your nails out slightly or opt for a “round” shape until you have enough length to taper the sides properly.
Will Filing My Nails Remove Too Much Strength?
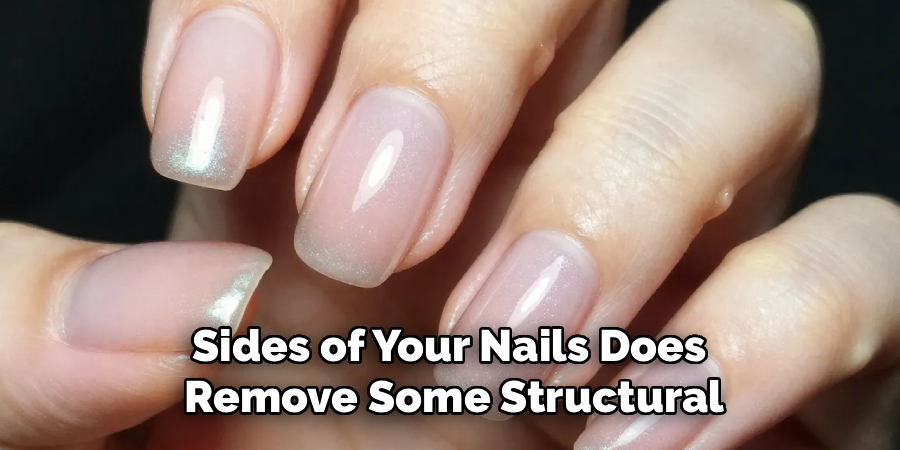
Filing the sides of your nails does remove some structural width, which can theoretically make them slightly weaker than a square shape. However, the almond shape is actually quite durable because it lacks sharp corners that easily snag and break. To maintain strength, avoid filing into the “stress points” (where the nail leaves the skin) too aggressively. Using a nail hardener or strengthening base coat is also a great way to reinforce your new shape.
What Is the Best Nail File Grit for Natural Nails?
For natural nails, you should avoid extremely coarse files that are designed for acrylics or hard gels.
- Shaping: A 180-grit file is standard for taking down length and initial shaping.
- Refining: A 240-grit file is gentler and perfect for smoothing the edges and refining the shape without causing splitting.
- Glass Files: Crystal or glass nail files are excellent investments as they seal the keratin layers of the nail while filing, preventing peeling.
How Do I Fix an Uneven Almond Shape?
If you accidentally file one side too much, do not panic.
- Don’t Over-Correct: Do not try to file the other side down aggressively to match, as you might lose too much width.
- Shorten the Tip: Instead, file the length of the nail down slightly. Shortening the tip brings the wider part of the nail up, giving you more material to work with to re-establish symmetry.
- Visual Check: Always flip your hand over and look from the palm side to better judge the evenness.
Is Almond Shape the Same as Oval or Stiletto?
No, they are distinct shapes with different characteristics.
- Oval: This shape has straight side walls similar to a square, but with a rounded tip. It is softer than almond.
- Almond: This features tapered side walls that narrow towards the tip, ending in a soft, rounded peak.
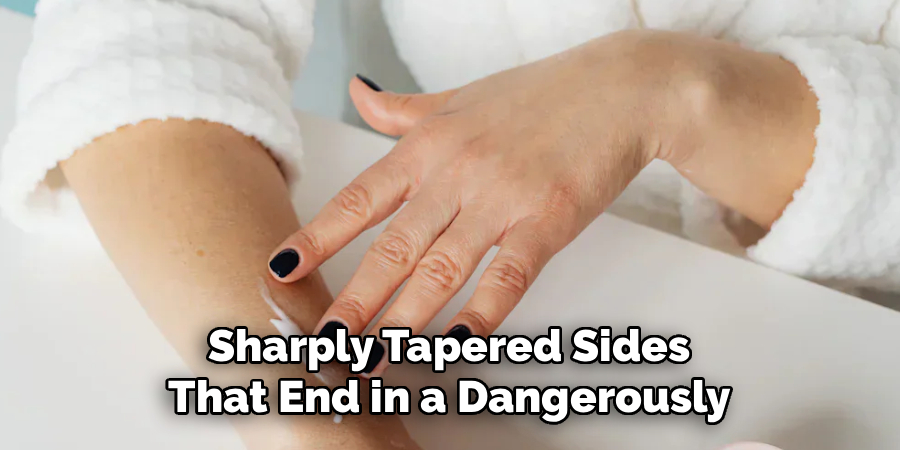
- Stiletto: This is an extreme version of the almond, with very long, sharply tapered sides that end in a dangerously sharp point, not a rounded one.
Conclusion
Transitioning your manicure is a fantastic way to refresh your style without spending a fortune. The almond shape offers a sophisticated, elongating look that flatters almost everyone, turning practical square nails into elegant accessories. While the process requires a steady hand and a bit of patience, the steps are straightforward and easy to master with practice.
By focusing on symmetry, using the right tools, and carefully tapering the sides, you can achieve a professional-grade result from the comfort of your own home. Remember to prioritize the health of your nails by moisturizing and avoiding over-filing the stress points. Now that you have learned how to shape almond nails from square, you are ready to flaunt your chic, transformed fingertips and enjoy the confidence that comes with a perfectly manicured hand.
About the Author
Jane Hubbard is a passionate beauty expert with a wealth of experience in makeup, hair, and overall beauty techniques. After years of working as a hairdresser specialist, she followed her entrepreneurial spirit and started her own consultancy business.
Jane has always been driven by her desire to help others feel confident in their own skin, and she does this by sharing her knowledge, experiences, and practical beauty tips. Through her consultancy, she empowers individuals to embrace their unique beauty, offering tailored guidance that boosts both self-esteem and personal style.
Professional Focus
- Specializes in makeup, hairstyling, and beauty consulting.
- Provides personalized beauty advice, tips, and techniques to help individuals feel confident in their appearance.
- Dedicated to staying up-to-date with the latest industry trends and developments.
- Passionate about creating a comfortable and empowering experience for every client.
Education History
- University of Craft and Design – Bachelor of Fine Arts (BFA) in Woodworking and Furniture Design
- Woodworking Apprenticeships – Extensive hands-on training with skilled craftsmen to refine carpentry and furniture making techniques
- Online Courses & Masterclasses – Continued education in advanced woodworking techniques, design principles, and specialized tools
Expertise:
- Makeup artistry, hairstyling, and beauty consulting.
- Personalized beauty techniques to enhance confidence and self-expression.
- Educating clients on how to maintain their beauty routines at home.