
Are you tired of your hair looking flat and dull? Want to add a fun and edgy touch to your overall look? Slugging your hair is the perfect solution for you.
Slugging your hair is a trending technique that involves applying a thick, emollient product to lock in moisture and enhance hydration. Initially popularized in skincare routines, this method has found its way into hair care as a solution for those with dry, damaged, or frizzy hair.
The process creates a protective barrier that prevents moisture loss and helps seal beneficial ingredients from treatments and conditioners. Whether you’re looking to revive your curls or add some shine to your strands, learning how to slug your hair can transform your hair care regimen and lead to healthier, more vibrant locks.
What Will You Need?
Before you get started, ensure you have the right products and tools. Here’s what you’ll need:
- A thick, emollient product such as hair oil, cream, or butter
- A plastic shower cap or cling wrap
- A towel
- A wide-tooth comb (optional)
Once you have all of these items, you’re ready to start slugging your hair.
10 Easy Steps on How to Slug Your Hair
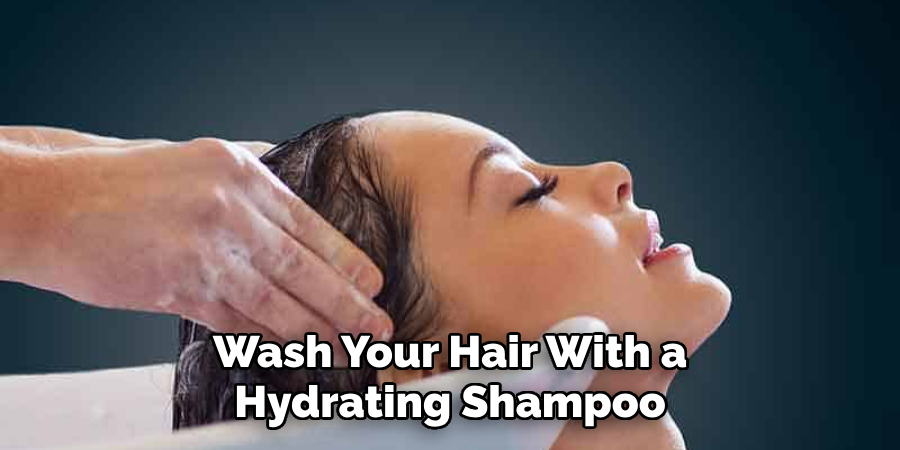
Step 1. Prepare Your Hair:
Begin with clean, damp hair. It’s best to wash your hair with a hydrating shampoo and a nourishing conditioner to ensure your strands are free from buildup or residue. After rinsing, gently pat your hair dry with a towel to remove excess water, but avoid rubbing it vigorously as this can cause frizz and breakage. You may also opt to use a wide-tooth comb to detangle your hair while it’s still wet, which helps minimize damage. These initial steps will create a suitable base for the slugging process, allowing the emollient product to penetrate better and perform its hydrating magic effectively.
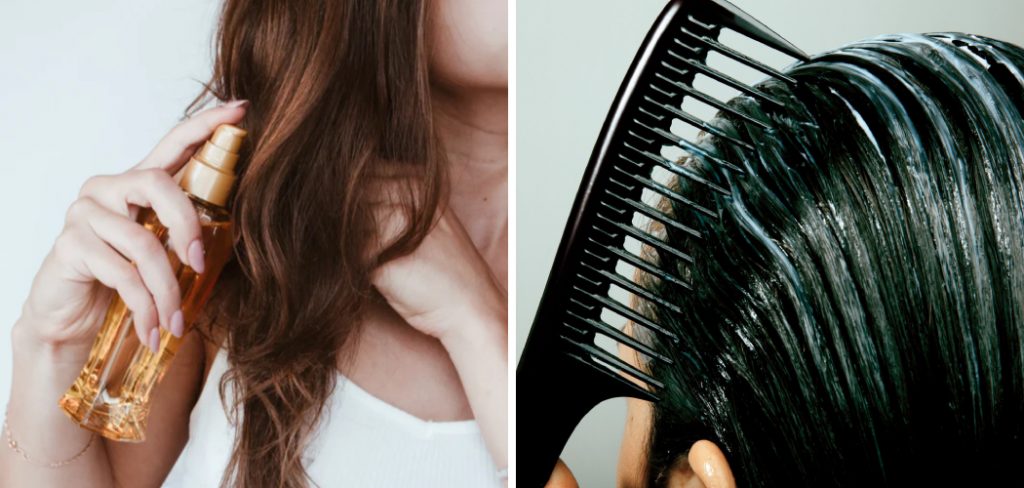
Step 2. Apply the Emollient Product:
Now that your hair is prepared, it’s time to apply the thick, emollient product. Take a generous amount of your chosen product and warm it up in your hands by rubbing them together. This will make the application easier and ensure it spreads evenly. Section your hair into manageable parts and begin applying the product, focusing on the mid-lengths and ends, where moisture loss is typically the most pronounced. Avoid using too much product directly to the scalp as this can lead to greasiness. Ensure that each section is coated thoroughly to maximize hydration and protection.
Step 3. Cover Your Hair:
After applying the emollient product, it’s essential to create a barrier that will help lock in the moisture and nutrients. Use a plastic shower cap or cling wrap to cover your hair thoroughly. This step not only keeps the product in place but also traps heat, enhancing the absorption of the emollient into your strands. If you don’t have a shower cap, a towel can also work, but a plastic covering is more effective for maintaining warmth. Allow your hair to sit covered for at least 30 minutes; for deeper hydration, consider leaving it on for a few hours or even overnight for maximum benefits.
Step 4. Rinse and Cleanse:
Once you’ve allowed the emollient product to work its magic for the desired time, it’s time to rinse it out. Head to the shower and use lukewarm water to thoroughly wash your hair, ensuring that all product is removed. Follow up with a light shampoo if necessary, especially if your hair feels greasy after rinsing. This will help to cleanse your strands without stripping away all the moisture you’ve just infused. After rinsing, follow up with your regular conditioner if you wish, to further enhance the hydration and smoothness of your hair.
Step 5. Dry Your Hair:
After rinsing and cleansing, gently squeeze the excess water from your hair. It’s best to avoid wringing your hair, as this can cause breakage. Instead, wrap your hair in a towel and let it absorb moisture for a few minutes. Consider using a microfiber towel, which is softer and less likely to cause damage. Once your hair is no longer dripping wet, leave it to air dry for a natural finish or use a blow dryer on a low heat setting for a quicker option.

Step 6. Style as Desired:
With your hair now clean, hydrated, and dried, it’s time to style it according to your preference. You can wear it naturally for a fresh and effortless look, or you may wish to use styling tools to achieve your desired hairstyle. If using heat styling tools, apply a heat protectant to shield your newly slugged hair from potential damage. For curls, consider using a curling wand or diffuser, while straightening can be achieved with a flat iron. Remember to embrace a no-heat option, such as braiding damp hair for waves. Whichever method you choose, enjoy the added shine and softness that slugging has brought to your locks!
Step 7. Maintain Your Slugging Routine:
To reap the full benefits of slugging your hair, consistency is key. Aim to incorporate this technique into your hair care routine at least once every week or two, depending on your hair’s specific needs. Over time, you’ll likely notice a significant improvement in your hair’s health, texture, and overall appearance. Pay attention to how your hair responds; if it feels overly moisturized or weighed down, consider adjusting the frequency or the amount of product used. Additionally, combine slugging with a well-rounded hair care regimen that includes regular trims, a balanced diet, and adequate hydration for optimal hair health.
Step 8. Evaluate Your Hair’s Condition:
After you’ve established a slugging routine, it’s essential to regularly assess the condition of your hair. Pay attention to how your hair feels and looks after each treatment. Look for signs of hydration, such as increased softness and shine and reduced frizz and breakage. If you notice that your hair is becoming overly greasy or heavy, it may indicate that you need to adjust the type or amount of emollient product you’re using. Additionally, take note of how often you are slugging; if your hair feels perpetually moisturized, consider spacing out your treatments. This evaluation process will help you tailor your hair care routine to suit your hair type and needs best, ensuring ongoing health and vitality.
Step 9. Experiment with Different Products:
As you continue your slugging journey, don’t hesitate to experiment with various emollient products to find what truly works best for your hair type. Different oils, creams, and masks can yield diverse results regarding hydration, texture, and shine. Consider trying products containing ingredients like shea butter, coconut oil, or argan oil, which are known for their nourishing properties. Keeping a hair journal can also be beneficial; document your experiences with each product and any changes in your hair’s condition. By staying open to experimentation, you’ll discover the perfect combination to elevate your slugging routine and enhance your hair’s overall health.
Step 10. Protect from Environmental Factors:
To maintain the health of your hair after slugging, it’s essential to protect it from environmental stressors. UV rays, pollution, and harsh weather conditions can contribute to hair damage and moisture loss. Wear a wide-brimmed hat outdoors to shield your hair from sunlight, and use a scarf or hood in windy or cold conditions. Additionally, a leave-in conditioner with UV protection can offer an extra layer of defense against harmful rays.

By following these steps and incorporating slugging into your hair care routine, you can achieve healthier, more hydrated locks that look and feel their best.
5 Things You Should Avoid
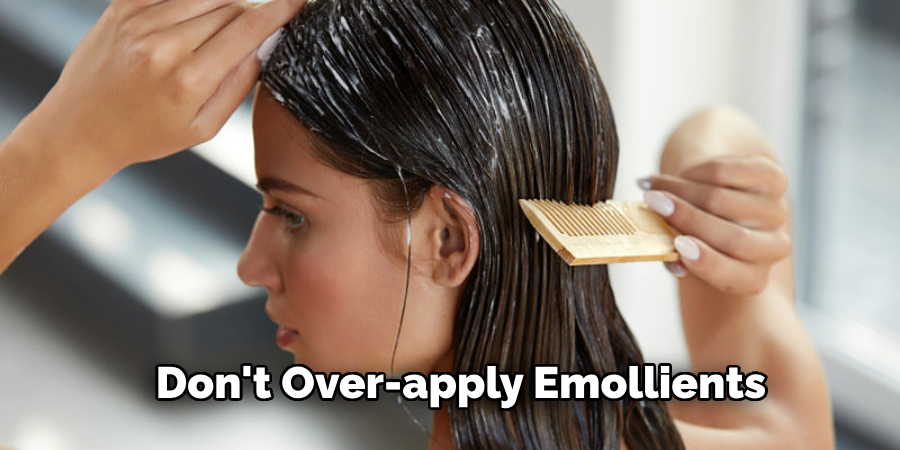
- Using Too Much Product: Over-applying emollients can lead to greasy hair and may weigh down your locks, making it difficult to achieve your desired style. Start with a small amount and gradually increase as needed.
- Slugging on Dirty Hair: Applying products on unwashed hair can trap dirt, oil, and product buildup, which may result in an unhealthy scalp and hair condition. Always ensure your hair is clean before starting the slugging process.
- Ignoring Hair Type and Needs: Not all hair types respond similarly to slugging. Be attentive to your hair’s unique needs, and avoid using unsuitable products or routines for your specific texture or condition.
- Forgetting Heat Protection: If you plan to use heat styling tools post-slugging, applying a heat protectant can lead to potential damage. Protect your hair with an appropriate product before exposing it to high temperatures.
- Skimping on Maintenance: Consistency is vital for reaping the benefits of slugging; however, it’s important not to treat slugging as a substitute for a comprehensive hair care routine. Neglecting trims, proper washing, and hydration can undermine the positive effects of your slugging practice.
Conclusion
How to slug your hair is a simple yet effective technique that can significantly enhance the hydration and overall health of your hair.
Emollients can form a protective barrier, locking in moisture and preventing damage from environmental factors. Remember to choose the right products for your hair type, maintain a consistent routine, and adjust based on your hair’s response. Regular assessment and experimentation are crucial to discovering what works best for you.
Embrace the benefits of slugging, and with diligence, you’ll enjoy softer, shinier, and healthier locks that stand up to the challenges of daily life.
About the Author
Jane Hubbard is a passionate beauty expert with a wealth of experience in makeup, hair, and overall beauty techniques. After years of working as a hairdresser specialist, she followed her entrepreneurial spirit and started her own consultancy business.
Jane has always been driven by her desire to help others feel confident in their own skin, and she does this by sharing her knowledge, experiences, and practical beauty tips. Through her consultancy, she empowers individuals to embrace their unique beauty, offering tailored guidance that boosts both self-esteem and personal style.
Professional Focus
Specializes in makeup, hairstyling, and beauty consulting.
Provides personalized beauty advice, tips, and techniques to help individuals feel confident in their appearance.
Dedicated to staying up-to-date with the latest industry trends and developments.
Passionate about creating a comfortable and empowering experience for every client.
Education History
University of Craft and Design – Bachelor of Fine Arts (BFA) in Woodworking and Furniture Design
Woodworking Apprenticeships – Extensive hands-on training with skilled craftsmen to refine carpentry and furniture making techniques
Online Courses & Masterclasses – Continued education in advanced woodworking techniques, design principles, and specialized tools
Expertise:
Makeup artistry, hairstyling, and beauty consulting.
Personalized beauty techniques to enhance confidence and self-expression.
Educating clients on how to maintain their beauty routines at home.