
Do you love having bright and beautiful nails? Are you looking for a unique way to add some flair to your look without committing to frequent salon visits? Gel polish is a perfect choice! It can give your nails a gorgeous, high-gloss finish that lasts up to three weeks, but it’s also durable enough to be used on anything else you want: decorating cell phone cases or wine glasses.
However, achieving its full potential isn’t always easy – one common problem many runs into is gelled wrinkling after applying several layers. Don’t worry; with this guide, we’ll show you how to stop gel polish wrinkling so that all of your masterpieces stay intact!
In this blog post, we’ll cover everything you need to know about preventing your gel polish from wrinkling so you can flaunt perfectly manicured nails all week. Keep reading!
What are the Causes of Gel Polish Wrinkling?
It’s important to understand what’s causing wrinkles in your gel polish before you try to fix it. One of the most common reasons is using too much product – if you apply multiple, thick layers of gel, you’ll have a wrinkled finish. Other possible causes include incorrect curing times or using low quality gel polish.
Additionally, if your nails aren’t properly prepped before application or the gel isn’t applied in thin layers, it can also increase the chances of wrinkling.
Whatever the cause, don’t worry – just follow our tips to help you prevent and fix any wrinkles in your gel polish.
What Will You Need?
The first step is to gather the right materials. Here’s what you’ll need:
- Gel Base Coat
- Gel Top Coat
- Gel Polish of your Choice
- Nail File
- Lint-Free Wipes
- Cuticle Pusher
- UV/LED Lamp (for the curing process)
Once you’ve gathered all of these items, you can start prepping your nails for the perfect gel manicure.
10 Easy Steps on How to Stop Gel Polish Wrinkling
Now that you have all of your materials, it’s time to get started! Here are some simple tips on how to stop gel polish wrinkles:
Step 1. Prep Your Nails:
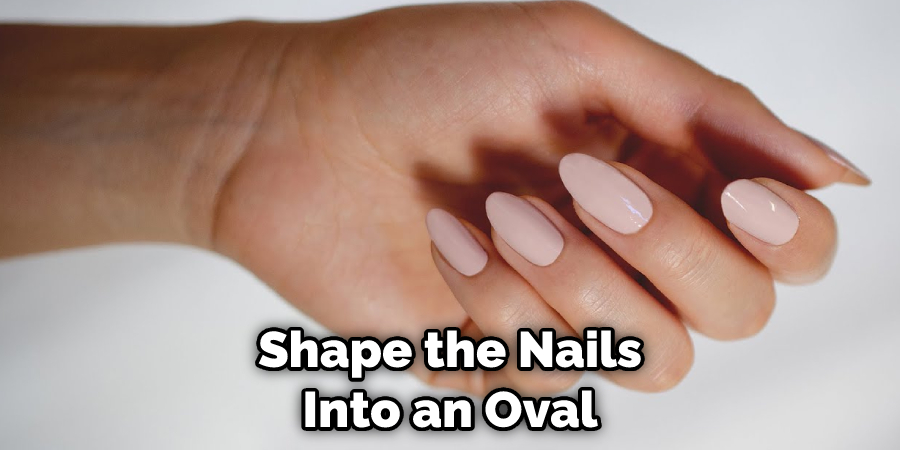
Make sure your nails are properly buffed and clean before starting, as this will help the gel stick better and reduce air bubbles or wrinkles from forming in the gel polish. Take a nail file and shape the nails into an oval or square shape. Be careful not to file the nails over, as this can weaken them.
Step 2. Apply the Base Coat:
Apply a thin layer of gel base coat – this will ensure that your manicure lasts longer and prevents any wrinkles from occurring. Make sure you cover the entire nail but don’t apply too much product, as it can cause wrinkling. Don’t forget to cap the tips!
Step 3. Cure with UV/LED Lamp:
Place your hand in the UV or LED lamp for one minute to cure the base coat before continuing to step 4. If you don’t have a UV/LED lamp, simply wait two minutes for the base coat to dry. It’s important to cure each layer of the gel before applying a new one.
Step 4. Apply Gel Polish Color:
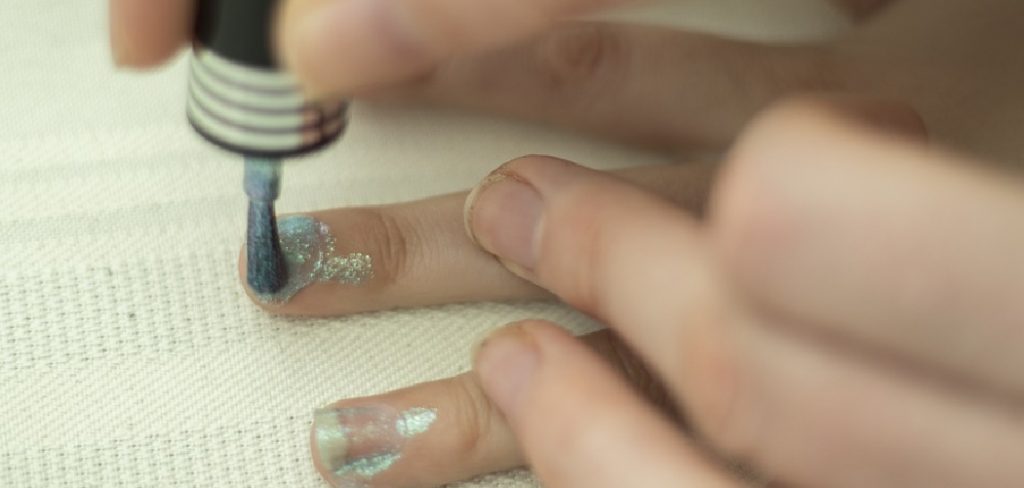
Begin applying a thin layer of your chosen color of gel polish. Don’t forget to cap the tips and cure for one minute in between each layer. Also, make sure you avoid dragging your brush across the cured surface, as it can cause wrinkles.
Step 5: Apply Top Coat:
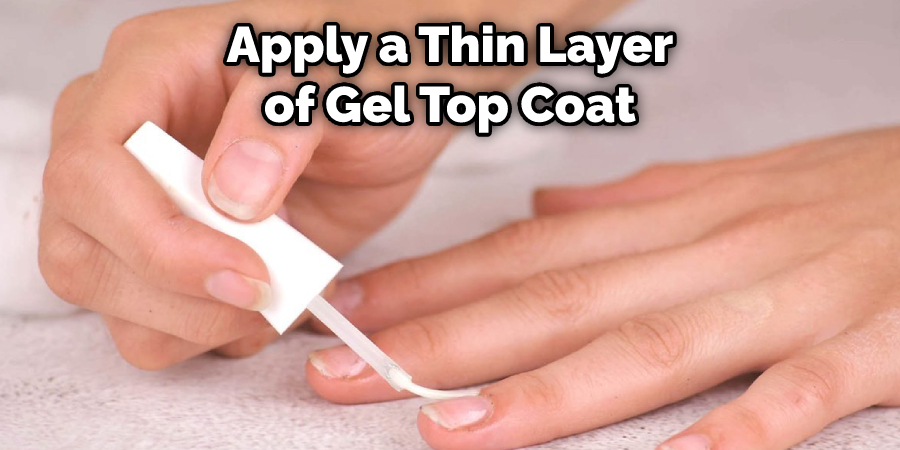
Once you’re happy with the color, apply a thin layer of gel top coat over the entire nail and cap the tips. Make sure you don’t use too much product or drag your brush across any parts that are already cured, as this can create air bubbles or wrinkles. Additionally, remember to cure the top coat for two minutes in the UV/LED lamp.
Step 6: Cure Again with UV/LED Lamp:
Place your hand in the lamp for two minutes to allow the topcoat to properly cure before moving on to step 7. If you don’t have a UV/LED lamp, simply wait three minutes for the topcoat to dry. It’s important to cure each layer of the gel before applying a new one. Another tip is to make sure you avoid pressing down on your nails, as this can cause wrinkles.
Step 7: Wipe Nails with Lint-Free Wipes:
Once your nails are cured, take a lint-free wipe and remove any sticky residue from the surface of your nail. This will help make sure that the finish is smooth and without any wrinkles or bumps. Don’t forget to use a different wipe for each nail. Because lint-free wipes are alcohol based, they can help to prevent any wrinkles from occurring.
Step 8: Seal Your Manicure with Cuticle Oil:
To complete your perfect manicure, apply cuticle oil around the edges of each nail using a cuticle pusher. This will seal your color and prevent chipping or peeling while also protecting against wrinkles. Moreover, it will also help keep your nails healthy and moisturized.
Step 9: Enjoy Your Manicure:
You’re done! Now you can sit back and enjoy your perfectly smooth gel manicure with no wrinkles. Remember to maintain your manicure by reapplying cuticle oil every few days and avoiding excessive water exposure.
Step 10: Maintain Your Manicure:
To keep your manicure looking flawless for longer, make sure you properly maintain it. Avoid using oil-based products as they can weaken the bond of the gel polish and cause wrinkles or air bubbles. Additionally, use a hand cream that is free from oils and fragrances to prevent chipping or peeling.
Following these simple tips will help you achieve a perfect gel manicure without any wrinkles – now, all that’s left to do is show off your gorgeous nails!
5 Additional Tips and Tricks
1. Take your time when removing the sticky layer. Properly remove all of the residues from each nail before you move on to the next one. This will help reduce wrinkling that can be caused by going too quickly.
2. Apply a thin, even coat of gel polish. Thick coats are more prone to wrinkling and bubbling, so applying as few layers as possible for a smooth finish is best.
3. Make sure to seal off your edges properly. Use a brush or a small sponge to seal off the tips of your nails with a top coat — this will help prevent air bubbles and wrinkles from forming at the edges of your manicure.
4. Use fewer strokes when applying the top coat or base coat. Too many strokes can cause wrinkles and lines in your gel polish, so use as few strokes as possible when completing each nail.
5. Keep your nails dry during application. Any excess moisture on your nails can cause air bubbles and wrinkles in the gel polish, so make sure to keep them dry while you’re applying it.
These tips will help you create a smooth, wrinkle-free manicure every time! With proper preparation and technique, you won’t have to worry about gel polish wrinkling again!
5 Things You Should Avoid
1. Applying too much gel polish on the nail. Too much product can cause wrinkles when it cures.
2. Using a contaminated base or top coat. Bacteria, dirt, and oil on your brush will create a reaction with your polish and cause wrinkling.
3. Overcuring the nails. Forcing the curing process to go faster by using strong UV light can lead to wrinkles in the gel polish coating.
4. Filing the natural nail before application of the gel polish layer. Filing often leaves behind microscopic particles which react with the top coat leading to wrinkling of your manicure.
5. Not wiping down your nails after the application of each coat of product. Residual oils, debris, and moisture left on your nails will cause your polish to wrinkle.
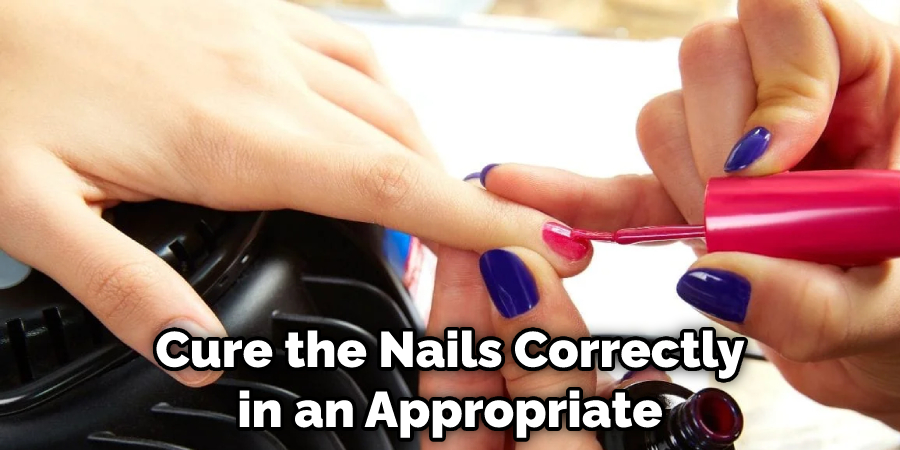
Overall, when it comes to getting a perfect gel manicure, prevent wrinkles by taking these steps: use the right amount of product, use clean and new products each time; cure the nails correctly in an appropriate environment; file the natural nail before application; and remember to wipe down your nails after applying each coat. Following these tips can help you get that flawless finish for longer!
Conclusion
We may all encounter issues with gel polish wrinkles, but most importantly, we don’t panic! You can have a lasting, manicured look with the right steps, patience, and knowledge of the basics. Remember to properly prep nails before applying thin layers of gel polish to prevent wrinkling.
Furthermore, be sure also to practice proper curing techniques and cleanse every layer for optimal results. Also, use caution when moisturizing oils or creams on your hands, as this can lead to premature lifting. By taking these steps, you can protect yourself from encountering any irritating gel polishing wrinkles!
Hopefully, the article on how to stop gel polish wrinkling helped you out. Now you can confidently rock your manicure and show off your fabulous nails! Good luck!
About the Author
Jane Hubbard is a passionate beauty expert with a wealth of experience in makeup, hair, and overall beauty techniques. After years of working as a hairdresser specialist, she followed her entrepreneurial spirit and started her own consultancy business.
Jane has always been driven by her desire to help others feel confident in their own skin, and she does this by sharing her knowledge, experiences, and practical beauty tips. Through her consultancy, she empowers individuals to embrace their unique beauty, offering tailored guidance that boosts both self-esteem and personal style.
Professional Focus
Specializes in makeup, hairstyling, and beauty consulting.
Provides personalized beauty advice, tips, and techniques to help individuals feel confident in their appearance.
Dedicated to staying up-to-date with the latest industry trends and developments.
Passionate about creating a comfortable and empowering experience for every client.
Education History
University of Craft and Design – Bachelor of Fine Arts (BFA) in Woodworking and Furniture Design
Woodworking Apprenticeships – Extensive hands-on training with skilled craftsmen to refine carpentry and furniture making techniques
Online Courses & Masterclasses – Continued education in advanced woodworking techniques, design principles, and specialized tools
Expertise:
Makeup artistry, hairstyling, and beauty consulting.
Personalized beauty techniques to enhance confidence and self-expression.
Educating clients on how to maintain their beauty routines at home.