
Are you looking for a quick and easy way to create an ultra-smooth, professional finish on your powder base? If so, thin dipping is the perfect solution. It’s a relatively new technique that involves adding a few layers of powder to a surface before sealing and sanding, producing an incredibly smooth and glossy texture that looks flawless. Not only does this method make your work look its best, but it also helps it last longer!
Dip powder base is already a convenient and durable option for nail enhancements, but thin dipping takes it to the next level.

In this blog post, we’ll walk you through each step of the process to help you master thin dipping your project for success. Read on to learn how to thin dip powder base and achieve a salon-quality finish right at home.
What Will You Need?
Before we dive into the process, let’s ensure you have everything you need to begin thin dipping. Here’s a list of necessary supplies:
- Dip powder base
- Activator
- Nail file and buffer
- Finishing gloss or topcoat
- Thin brush for application (optional)
Once you have all your supplies ready, it’s time to get started!
10 Easy Steps on How to Thin Dip Powder Base
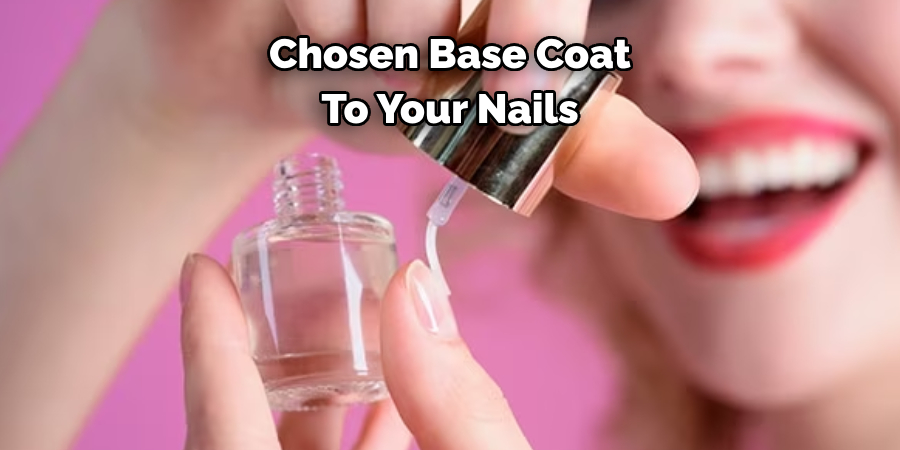
Step 1: Prepare Your Base Coat
Start by applying a thin layer of your chosen base coat to your nails or desired surface. This will help the dip powder adhere and provide a smooth foundation for the rest of the layers. If you’re using a brush for application, ensure it is thin and precise.
Step 2: Apply the Dip Powder
Once the base coat is dry, it’s time to apply the dip powder. Dip your nail or work surface into the powder, ensuring the entire surface is evenly coated. Shake off any excess powder and let it dry for a few minutes. Remember, patience is key in achieving a thin and even layer.
Step 3: Apply the Activator
After dehydrating the dip powder, the next step is to apply the activator. This will harden the powder, making it easier to shape and buff in the next steps. Apply a generous amount of activator on the powder’s surface, ensuring it’s fully covered. Let it dry for about 2-3 minutes or until completely hardened.
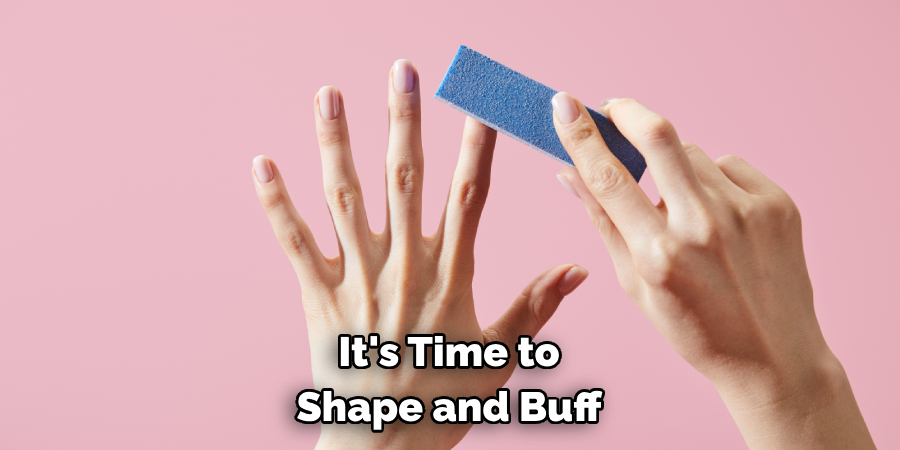
Step 4: Buff and Shape
Now that your powder base is hardened, it’s time to shape and buff. Use a nail file to gently shape the edge of your nails or the surface to your desired style. After shaping, use a buffer to smooth out any rough spots or uneven areas on the surface. This step is crucial in achieving that ultra-smooth, professional finish. Be careful not to buff too harshly, as this could thin out your coating too much. Dust off any residual powder once you’re satisfied with the shape and smoothness.
Step 5: Apply the Second Coat
Repeat the process, starting with the base coat. Apply a thin layer of the base, followed by the dip powder. Ensure that this layer is even and covers any patches that might have missed out in the first round. Dip your nail or work surface into the powder, shaking off any excess and allowing it to dry fully.
Apply the activator once more and let it harden. After it’s scorched, shape and buff the surface again to ensure a smooth and even finish. Dust off any residual powder before moving to the next step.
Step 6: Apply the Finishing Gloss
Once you’re satisfied with the smoothness and thickness of your dip powder base, it’s time to seal your work with a finishing gloss or topcoat. Apply a thin layer of the gloss over your surface, ensuring it’s evenly spread and covers the entire area. This step adds a beautiful sheen to your project and protects the dip powder base from chipping or scratching. Allow the topcoat to dry completely before handling your project to prevent smudges or fingerprints.
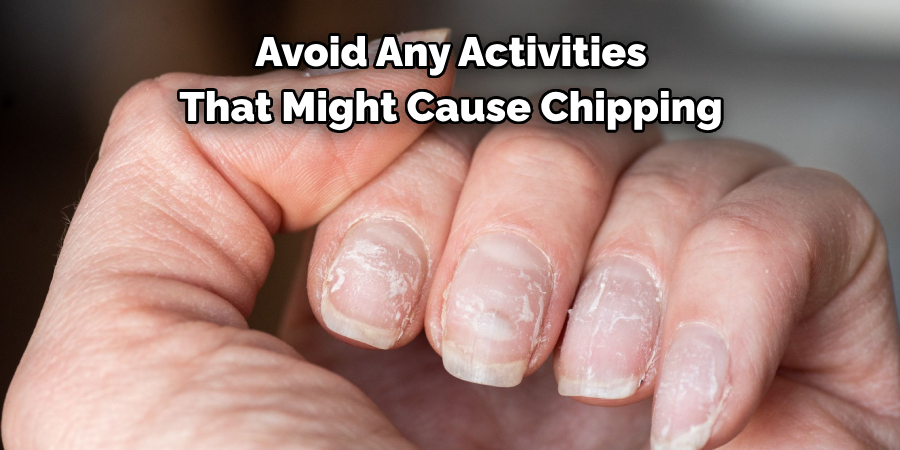
Step 7: Maintenance and Care
After completing the thin dip powder base process, it’s crucial to maintain and care for it properly to ensure its longevity. Avoid any activities that might cause chipping or scratching on the surface for at least 24 hours after application. Regularly apply a topcoat every few days to maintain the shine and protect the base from wear and tear. With the right care, your thin dip powder base can last several weeks, providing you with a stunning, salon-quality finish.
Step 8: Removal Process
When it comes time to remove your thin dip powder base, following the proper steps to avoid damage to your nails or work surface is essential. Start by gently buffing off the top layer of the gloss to break the seal. Next, soak the surface in an acetone-based nail polish remover for 15-20 minutes.
The dip powder base should start to dissolve and lift off. If there are any stubborn spots, gently push them off with a cuticle pusher or similar tool. After all the dip powder is removed, rinse and dry the surface. Finally, apply a moisturizer if you’re working with nails to keep them healthy and hydrated. Now, you’re ready to start fresh with a new project or dip powder design!
Step 9: Troubleshooting Common Issues
While mastering a thin dip powder base, you might encounter a few challenges. However, don’t worry; simple solutions can easily solve them. If your dip powder base appears lumpy or uneven, it means you likely applied too much base coat or dip powder. To remedy this, apply thin, even layers and shake off the excess powder.
If the powder is not adhering properly, ensure that your base coat is completely dry before applying the powder. Lastly, if your finish isn’t as smooth or shiny as you’d like, it may be due to insufficient buffing or unevenly applying the topcoat. Take your time during these steps to achieve the perfect thin dip powder base.
Step 10: Practice Makes Perfect
Remember, as with any new skill, learning to thin dip powder base might require some practice before you achieve the perfect result. Don’t get discouraged if your first few tries don’t turn out as expected. Keep in mind the tips and steps outlined in this guide, and soon, you’ll be creating a smooth, thin dip powder base like a pro.
With these steps and tips in hand, you’re now ready to confidently take on any dip powder project and create a beautiful, long-lasting, thin base. Keep practicing, experimenting, and perfecting your technique to achieve stunning results every time.
5 Additional Tips and Tricks
- Keep the Bottle Closed: Always keep your dip powder base bottle tightly sealed when not in use. Exposure to air can cause the base to thicken over time.
- Use Thinner: If your base has thickened, dip powder thinner can help restore its original consistency. Add a few drops at a time, shake well, and test the consistency before adding more.
- Don’t Shake: Avoid the temptation to shake the base bottle vigorously. This can introduce air bubbles into the base, which can cause it to thicken and become uneven when applied.
- Store Correctly: Store your dip powder base in a cool, dry place away from direct sunlight. Excessive heat or light can affect the consistency of the base.
- Clean the Brush: After each application, make sure to clean the brush before replacing it in the bottle. Any residual powder on the brush can contaminate the base and cause thickening.
By following these additional tips and tricks, you can ensure that your dip powder base stays at the perfect consistency for all your manicure needs.
5 Things You Should Avoid
- Overexposure to Air: Avoid leaving your dip powder base open for prolonged periods. This can lead to the base thickening and becoming difficult to use.
- Overusing Thinner: While thinner can restore the consistency of the base, overuse can make the base too runny and adversely affect the quality of your manicure.
- Rough Handling: Vigorous shaking or rough handling of the base bottle can introduce air bubbles into the base, impairing its application and finish.
- Incorrect Storage: Storing your dip powder base in locations subjected to extreme temperatures or direct sunlight can alter the consistency and efficacy of the base.
- Ignoring the Brush: Not cleaning the brush properly after each use can cause powder residue to mix into the base, leading to clumping and thickening.
By avoiding these common pitfalls, you can maintain your dip powder base’s optimal consistency and performance, ensuring beautiful and long-lasting manicures every time.

Conclusion
In conclusion, thin dipping with a powder base is straightforward and involves several simple steps. Start by mixing the desired powder type with the solvent in an appropriate container, adding the activator after stirring it consistently. Remember to keep stirring until it reaches a desired consistency or level of air-bubbling before use.
Additionally, wear protective clothing, such as gloves and a face mask, when thin dipping your fingernails or toenails. Finally, don’t forget to take extra care when removing the excess product around your cuticles to avoid damaging them.
Hopefully, this article on how to thin dip powder base will equip you with the necessary knowledge for using a powder base and make your thin dipping experience stress-free and enjoyable!
About the Author
Jane Hubbard is a passionate beauty expert with a wealth of experience in makeup, hair, and overall beauty techniques. After years of working as a hairdresser specialist, she followed her entrepreneurial spirit and started her own consultancy business.
Jane has always been driven by her desire to help others feel confident in their own skin, and she does this by sharing her knowledge, experiences, and practical beauty tips. Through her consultancy, she empowers individuals to embrace their unique beauty, offering tailored guidance that boosts both self-esteem and personal style.
Professional Focus
Specializes in makeup, hairstyling, and beauty consulting.
Provides personalized beauty advice, tips, and techniques to help individuals feel confident in their appearance.
Dedicated to staying up-to-date with the latest industry trends and developments.
Passionate about creating a comfortable and empowering experience for every client.
Education History
University of Craft and Design – Bachelor of Fine Arts (BFA) in Woodworking and Furniture Design
Woodworking Apprenticeships – Extensive hands-on training with skilled craftsmen to refine carpentry and furniture making techniques
Online Courses & Masterclasses – Continued education in advanced woodworking techniques, design principles, and specialized tools
Expertise:
Makeup artistry, hairstyling, and beauty consulting.
Personalized beauty techniques to enhance confidence and self-expression.
Educating clients on how to maintain their beauty routines at home.