
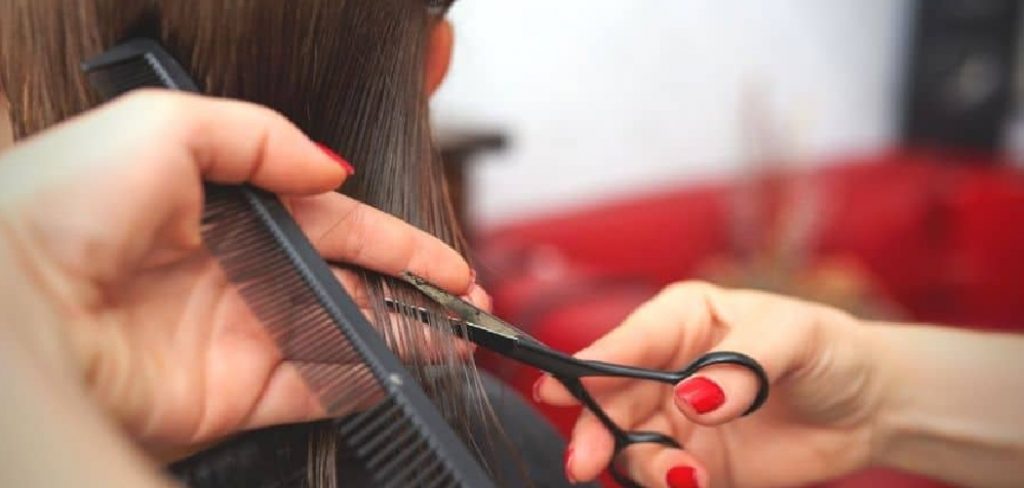
Are you tired of tangled, dry, and split ends on your natural hair? Trimming the ends is an important part of maintaining healthy and beautiful natural hair.
Maintaining healthy natural hair requires regular trims to prevent split ends and breakage. Trimming the ends of your natural hair is essential for retaining length and ensuring that your curls remain defined and manageable. While cutting your hair may seem intimidating, especially if you aim to grow it longer, the process can be quite simple and beneficial when done correctly.
In this guide, we will walk you through the steps on how to trim ends on natural hair, the tools you will need, and tips for achieving the best results. Whether you’re a seasoned natural hair enthusiast or new to the journey, these instructions will help you keep your hair looking its best.
What Will You Need?
To successfully trim the ends of your natural hair, you will need a few essential items:
- Sharp Hair Shears or Scissors: Sharp, specialized scissors are essential for hair-cutting, as they are designed to cut through hair smoothly and evenly without causing damage.
- A Wide-toothed Comb: This comb is ideal for detangling and sectioning your hair while minimizing breakage.
- Hair Clips or Elastics: These will come in handy for dividing your hair into manageable sections while trimming.
- Spray Bottle: To keep your hair damp and easier to work with, fill a spray bottle with water or a leave-in conditioner.
- A Mirror: You will need to see the back of your head while trimming, so having a full-length mirror or handheld one is essential.
With these tools in hand, you are now ready to start trimming your natural hair!
10 Easy Steps on How to Trim Ends on Natural Hair
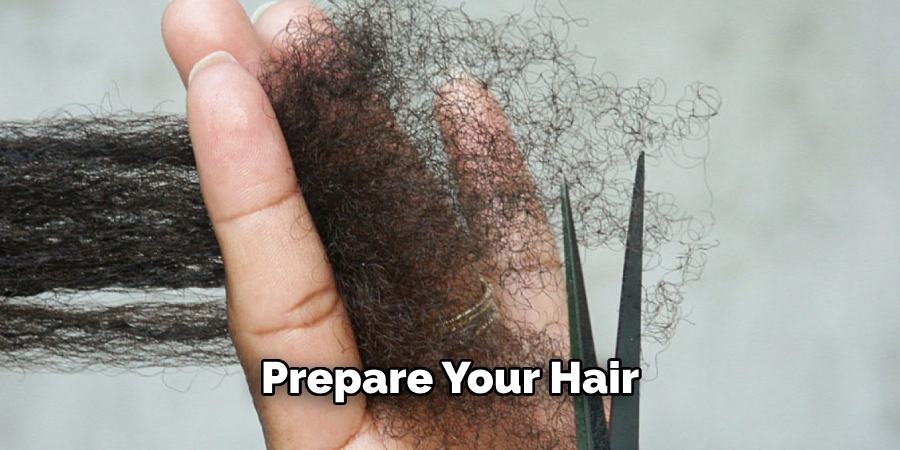
Step 1. Prepare Your Hair:
Start by ensuring your hair is clean and slightly damp and washing your hair before a trim can help to remove any dirt, oil, or product buildup that might interfere with an even cut. Use a gentle, sulfate-free shampoo followed by a moisturizing conditioner to enhance the manageability of your curls. Once your hair is clean, use your spray bottle filled with water or a leave-in conditioner to keep your strands damp. Damp hair is more accessible to comb through and less likely to tangle during trimming.
Next, thoroughly detangle your hair using a wide-toothed comb. Start at the tips of your hair and gently work your way up to the roots. This will help remove any knots or tangles and provide a smoother surface for an even trim. Be patient and take your time to ensure your hair is completely detangled.
Step 2. Section Your Hair:
Divide your hair into manageable sections using hair clips or elastics. Depending on the thickness and length of your hair, you should create between four and eight sections. Smaller sections allow you to be more precise and ensure that you trim every part of your hair evenly. Secure each section with a clip or elastic to keep it separate and easily accessible. Working in sections will not only help you stay organized but also make the trimming process much more efficient.
Step 3. Choose Your Cutting Technique:
Decide on the cutting technique you will use based on your hair type and desired results. Two common methods are the “twist and trim” method and the “search and destroy” method.
- Twist and Trim: This method involves twisting small sections of your hair and then trimming the ends. Start by taking a small section of hair and turning it from the roots to the ends. Once twisted, use your sharp hair shears to trim off the damaged or split ends sticking out of the twist. This technique is excellent for those with curly or coily hair, as it helps retain the curl pattern while removing damaged ends.
- Search and Destroy: This method is more meticulous and involves examining individual strands and cutting off split or damaged ends as you find them. It’s ideal for those who want to maintain as much length as possible and are willing to take extra time for precision. To use this method, take small sections of hair, examine them closely, and snip away any visibly damaged ends.
Choose the technique that best suits your needs and proceed with the trimming process, ensuring you work through each section methodically for the best results.
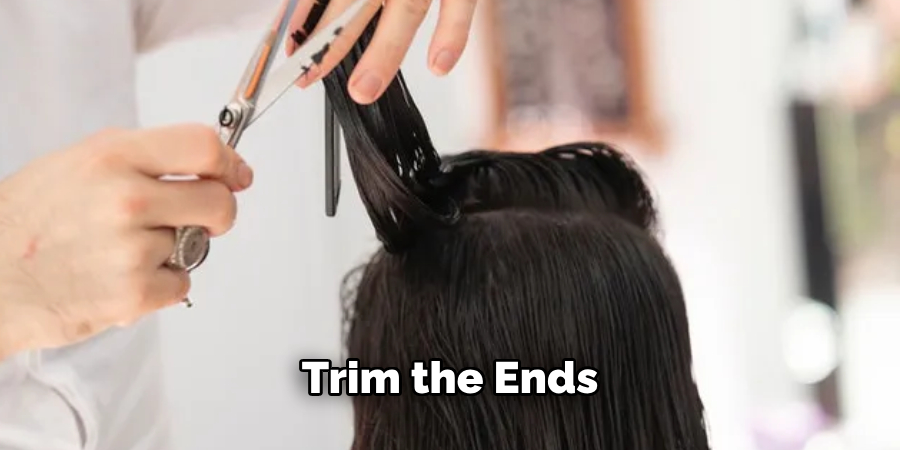
Step 4. Trim the Ends:
Now that you’ve chosen your cutting technique, it’s time to trim the ends. If using the “twist and trim” method, twist small sections of your hair and gently snip off the protruding ends using your hair shears. Ensure that you make small, precise cuts to avoid cutting off too much length. If you’re using the “search and destroy” method, carefully examine each strand and cut off any visible split or damaged ends. Take your time and patience, as this method requires a keen eye for detail.
Step 5. Check for Evenness:
After trimming all sections, it is crucial to check your hair for evenness. Release the sections and carefully examine your hair in the mirror. If you notice any uneven areas or missed split ends, take the time to make the necessary adjustments. Hold small sections of hair between your fingers and trim any stray ends to achieve a uniform length. Ensuring your hair is evenly trimmed will help maintain a balanced look and reduce the likelihood of further damage.
Step 6. Moisturize and Seal:
Once you’ve completed the trimming process, it’s essential to moisturize and seal your hair to maintain its health and hydration. Apply a leave-in conditioner or a moisturizing cream to your hair, focusing on the ends. This will help to replenish moisture lost during the trimming process. Follow up with a natural oil or hair butter to seal in the moisture and protect your ends from environmental damage.
Step 7. Style as Desired:
With freshly trimmed ends, you can style your hair as desired. Whether you prefer to wear your hair in its natural state, twist-outs, braids, or any other style, you’ll notice that your hair feels and looks healthier. Regular trims help eliminate split ends and promote better hair growth, making achieving and maintaining your desired styles easier.
Step 8. Maintain a Trimming Schedule:
Establish a regular trimming schedule to keep your natural hair healthy and minimize split ends. Depending on your hair type, growth rate, and styling practices, you may need to trim your ends every 6 to 12 weeks. Staying consistent with your trims will help prevent excessive damage and ensure your hair remains manageable and beautiful.
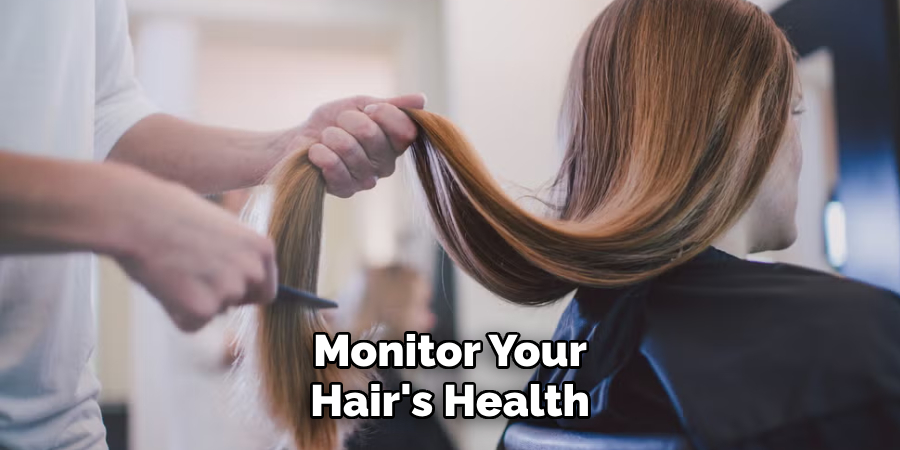
Step 9. Monitor Your Hair’s Health:
Pay close attention to your hair’s health between trims. Regularly check for signs of damage, such as split ends, excessive dryness, or breakage. Implementing a weekly deep conditioning treatment can improve your hair’s strength and elasticity, making it more resilient and less prone to damage. Additionally, avoid excessive heat styling and protect your hair while sleeping by using a satin or silk scarf or pillowcase. By monitoring your hair’s health and adjusting your hair care routine as needed, you can maintain the benefits of your trims and promote overall hair health.
Step 10. Enjoy Your Healthy Hair:
Finally, take the time to appreciate the health and vitality of your freshly trimmed natural hair. Trimming away damaged ends enhances your hair’s appearance and contributes to its long-term health. With regular trims and proper care, your natural hair will remain strong, vibrant, and beautiful. Celebrate your hair’s health by experimenting with new styles and enjoying the increased manageability of well-maintained ends.
By following these steps, you can confidently trim your natural hair at home and maintain its health and beauty.
5 Things You Should Avoid
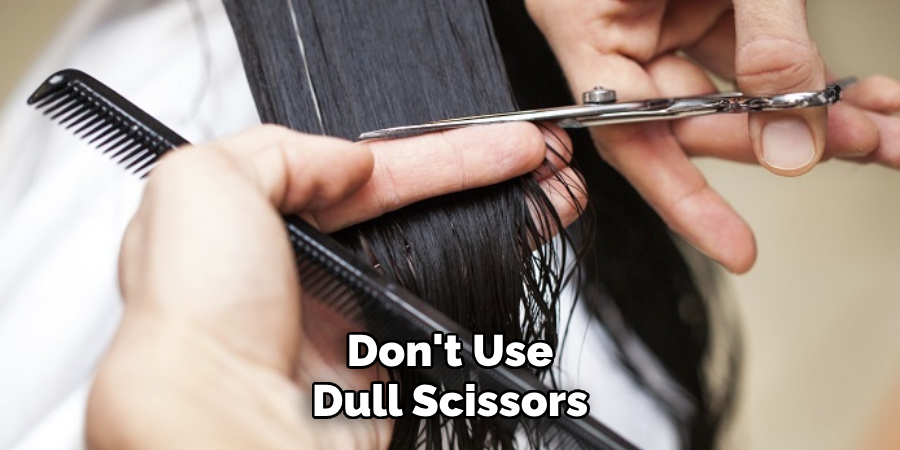
- Using Dull Scissors: Trimming with dull scissors can cause more harm than good. They can lead to split ends and cause fraying. Always use sharp, high-quality shears designed for hair cutting.
- Trimming on Wet Hair: Although it might seem easier to manage, trimming natural hair when wet can lead to cutting off more than intended. Natural hair shrinks when it dries, so it’s better to trim it when it is dry or slightly damp.
- Skipping Detangling: Before trimming, ensure your hair is thoroughly detangled. Cutting through knots can lead to uneven trims and more breakage.
- Ignoring Hair Sections: Trimming all your hair at once can result in uneven cuts. Separate your hair into manageable sections to ensure even trimming and better control.
- Trimming Too Frequently: While regular trims are necessary to maintain healthy ends, trimming too often can hinder hair growth. Trimming every 8 to 12 weeks is typically sufficient depending on your hair’s health.
Conclusion
How to trim ends on natural hair is essential for maintaining its health and appearance.
By avoiding common mistakes such as using dull scissors, trimming on wet hair, skipping detangling, ignoring hair sections, and cutting too frequently, you can ensure a more effective and less damaging process. Continuously invest in quality tools, be patient, and work in sections for the best results. Regular, careful trims will help prevent split ends and promote healthier, longer hair.
With these tips, you can confidently and successfully trim your natural hair at home.
You can also check it out to Use Milk Shake Leave in Conditioner
About the Author
Jane Hubbard is a passionate beauty expert with a wealth of experience in makeup, hair, and overall beauty techniques. After years of working as a hairdresser specialist, she followed her entrepreneurial spirit and started her own consultancy business.
Jane has always been driven by her desire to help others feel confident in their own skin, and she does this by sharing her knowledge, experiences, and practical beauty tips. Through her consultancy, she empowers individuals to embrace their unique beauty, offering tailored guidance that boosts both self-esteem and personal style.
Professional Focus
Specializes in makeup, hairstyling, and beauty consulting.
Provides personalized beauty advice, tips, and techniques to help individuals feel confident in their appearance.
Dedicated to staying up-to-date with the latest industry trends and developments.
Passionate about creating a comfortable and empowering experience for every client.
Education History
University of Craft and Design – Bachelor of Fine Arts (BFA) in Woodworking and Furniture Design
Woodworking Apprenticeships – Extensive hands-on training with skilled craftsmen to refine carpentry and furniture making techniques
Online Courses & Masterclasses – Continued education in advanced woodworking techniques, design principles, and specialized tools
Expertise:
Makeup artistry, hairstyling, and beauty consulting.
Personalized beauty techniques to enhance confidence and self-expression.
Educating clients on how to maintain their beauty routines at home.