
Do you want to learn how to use a curved mascara wand? Look no further!
Curved mascara wands are a great tool for crafting creative and eye-catching designs. Whether you’re looking to create intricate shapes, paint delicate lines, or decorate other items, curved mascara wands can be adapted for any sort of project where precision and detail are needed. Their flexibility and light weight make them ideal for creating large-scale projects such as wall hangings without taking up too much space in your workshop area – no more lugging around heavy tubes of paint!

In this blog post, we’ll cover how to use curved mascara wands for various crafts so that you can take full advantage of their versatility.
What Does a Curved Mascara Wand Do?
Curved mascara wands are designed to reach small, hard-to-reach places easily. The curved shape helps you paint in tight and thin lines without twisting or bending your wrist. This makes them perfect for painting intricate designs onto objects such as wood, fabric, glass, ceramics, and even metal surfaces.
Additionally, they can be used to separate eyelashes for a more defined look or create subtle curves in hair that might not hold a curl. No matter what you need the mascara wand for, it will help you get the job done quickly and effectively!
What Will You Need?
To get started on any project with a curved mascara wand, these are the items you’ll need:
- Curved Mascara Wand
- Fabric or paper for your project
- Paint, markers, ink, or other materials to apply with your curved mascara wand
- A flat surface to work on.
Once you’ve gathered the necessary supplies, you can begin to use your curved mascara wand.
10 Easy Steps on How to Use Curved Mascara Wand
Step 1. Clean the Surface:
Make sure to clean the surface you are working on before starting. This will help ensure your project is not marred with dirt or dust particles. This will also help keep the paint or other materials from sticking to any unwanted surfaces.
Step 2. Prepare Your Project Surface:
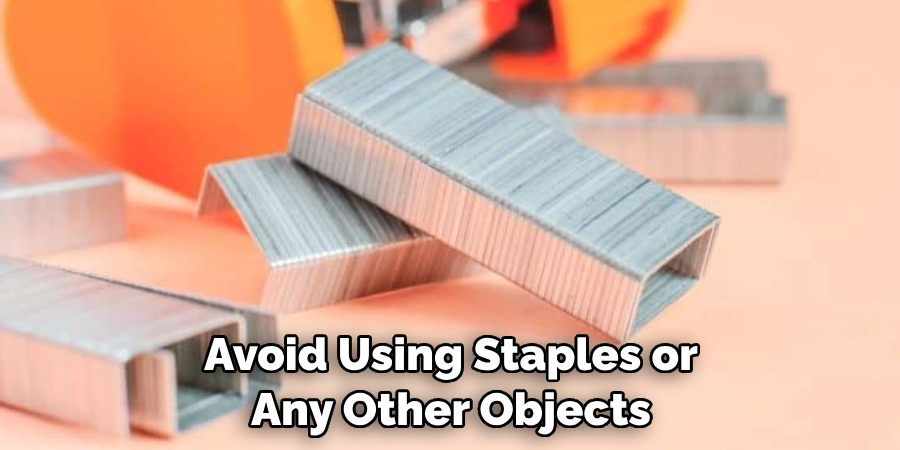
Lay your fabric or paper down and get it ready for painting. If you’re working on a large-scale project, make sure to use tape to secure the edges of the fabric or paper so that it will stay in place during painting. Try to avoid using staples or any other objects that could create holes in the material.
Step 3. Attach Your Mascara Wand:
Attach your curved mascara wand to the end of a paintbrush handle using the provided metal fastener. This will give you better control over your design and allow you to maneuver around tricky corners as needed easily. Be careful not to overtighten the fastener, as this could cause damage to the mascara wand.
Step 4. Apply Paint or Other Materials:
Once your wand is attached, dip it into whatever materials you use (paint, ink, markers, etc.) and apply them to your project surface. Make sure to use light, smooth strokes in order to get the desired effect you are looking for. If you need to go over a certain area multiple times, be sure to wait until it’s completely dry before applying more materials.
Step 5. Blend Colors:
If you’re using multiple colors on your project, blend them well by overlaying them with a curved mascara wand. This will help create interesting and unique designs as opposed to just having different colors side-by-side. Try to avoid over-mixing colors, as this could create an undesired effect.
Step 6. Change Directions:
Change directions while you paint or draw with your wand in order to create more intricate designs and patterns. You can also draw small circles in order to create a dotted pattern that is both eye-catching and subtle all at once! Don’t be afraid to experiment and see what works best for you.
Step 7. Wait Until Dry:
Once you’re done with your project, allow it to dry thoroughly before handling it. This will ensure the paint or other materials don’t smudge or ruin your work. It will also help prevent any accidental damage to the project surface.
Step 8. Add Final Touches:
Once dry, add additional details such as lines and dots if needed. This is a great way to give your design an extra touch of personality! As always, make sure to use light and steady strokes for the best results.
Step 9. Remove Mascara Wand:
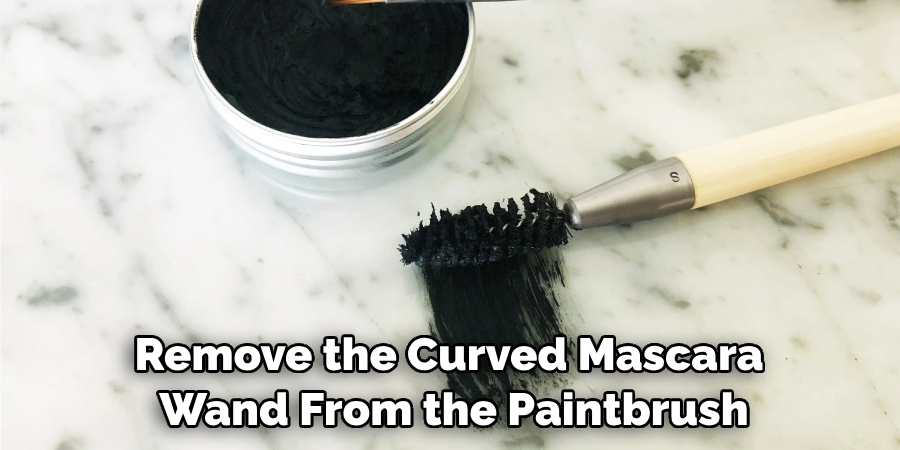
After you’ve completed your project, remove the curved mascara wand from the paintbrush handle and store it away in a safe place until next time! Be careful not to bend or damage the wand while removing it.
Step 10. Enjoy Your Creation:
Finally, enjoy your creation! Let yourself bask in the beauty of what you have made, and be proud of yourself for using a curved mascara wand to create something so unique and amazing. Remember, there are no boundaries to what you can create with a curved mascara wand, so don’t be afraid to experiment and have fun!
By following these easy steps, you will be able to use a curved mascara wand with ease! Whether you’re looking for creative ways to decorate around your home or want to add some extra flair and detail to other projects, learning how to use a curved mascara wand is the perfect skill to have in your arsenal. Now go out there and start creating! The results are sure to be beautiful!
5 Additional Tips and Tricks
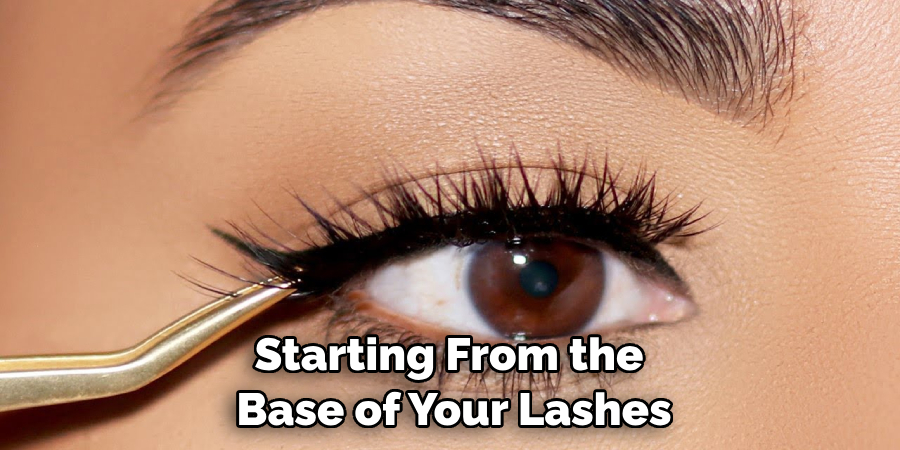
1. Start at the base of your lashes and wiggle the wand up to the tip. This helps deposit product onto each lash, giving you length and volume.
2. Be sure to curl your lashes before applying mascara. This will help you get the most out of your curved wand, as it helps open up your eyes and can make a huge difference in how the product looks on your lashes.
3. use a back-and-forth motion when applying mascara with the curved wand for extra volume. Starting from the base of your lashes, move up to one side slightly, bring the wand back down to the base, and repeat again on the other side until all lashes are coated.
4. To avoid clumping, work in sections rather than coat all your lashes simultaneously. Start by coating just one eye at a time and then go back for additional coats if needed.
5. To help you reach the inner and outer corners of your eyes, tilt the wand at an angle and use short strokes to coat each lash. This helps make sure you don’t miss any spots.
Using a curved mascara wand is a great way to get longer, fuller lashes with minimal effort. Just follow these simple tips and tricks to get beautiful results every time!
5 Things You Should Avoid
1. Avoid pumping the wand in and out of the tube, as this will cause air to enter the tube and dry out your mascara.
2. Don’t apply too much pressure onto your lashes when using a curved wand. It’s best to be gentle, so you don’t end up with clumps or tugging at your delicate hair.
3. Avoid applying multiple coats before allowing each layer to dry completely, as this can lead to clumping and spidery looking lashes.
4. Don’t use an old mascara wand that has lost its shape over time, as it won’t provide the same level of curl as a newer one would.
5. Refrain from adding too many layers of mascara, as this can weigh down your lashes and cause them to lose their curl.
Consider these do’s and don’ts when using a curved mascara wand for the best results! With the right technique, you can easily achieve beautiful, voluminous lashes.
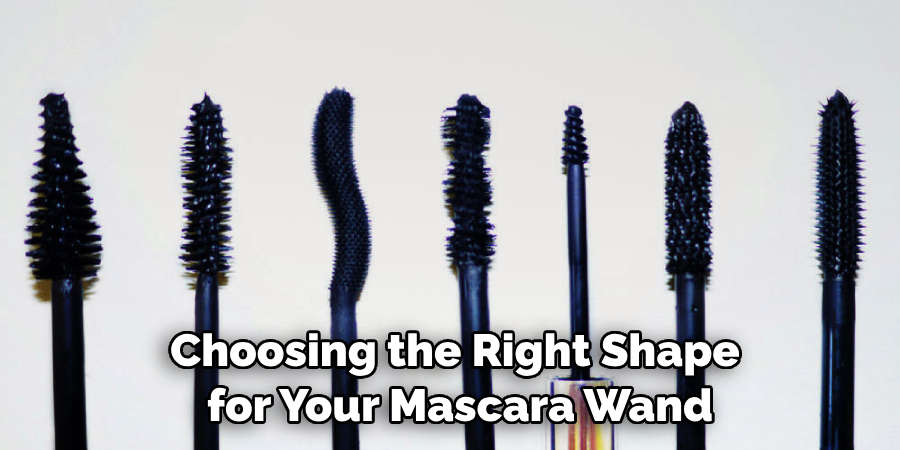
What Shape Mascara Wand is Best?
When it comes to choosing the right shape for your mascara wand, it all depends on what look you’re going for. If you’re looking for added length and volume, a curved wand is best, as it helps coat each lash with product from root to tip. A straight wand can be used to apply more natural-looking lashes precisely. Ultimately, the best shape of the wand is whatever works best for your unique needs!
By using the right type of mascara wand and following these easy steps, you’ll be able to get beautiful results every time! With a little practice, you’ll be an expert in no time!
Conclusion
Writing with a curved mascara wand is an art, and it definitely takes some practice to get it right. With patience and practice, anyone can learn how to use curved mascara wand. Once you’ve mastered the technique, don’t be afraid to experiment. Try highlighting certain areas of your lashes or applying two sets of curves in order to really make your eyes stand out.
As always, remember safety first–remember not to press too hard when applying mascara so that no damage is done. If all else fails, plenty of online tutorials can help serve as a guide. Give it a shot and see the amazing results for yourself–you won’t regret it!
And when you do succeed, why not share a photo on social media and inspire others along the way? After all, beauty is in the eye of the beholder–it starts from within but doesn’t have to end there. Who knew such glamour could come from such a simple cosmetic craft item?
You Can Check It Out To-Put Mascara on Without Clumps
About the Author
Jane Hubbard is a passionate beauty expert with a wealth of experience in makeup, hair, and overall beauty techniques. After years of working as a hairdresser specialist, she followed her entrepreneurial spirit and started her own consultancy business.
Jane has always been driven by her desire to help others feel confident in their own skin, and she does this by sharing her knowledge, experiences, and practical beauty tips. Through her consultancy, she empowers individuals to embrace their unique beauty, offering tailored guidance that boosts both self-esteem and personal style.
Professional Focus
- Specializes in makeup, hairstyling, and beauty consulting.
- Provides personalized beauty advice, tips, and techniques to help individuals feel confident in their appearance.
- Dedicated to staying up-to-date with the latest industry trends and developments.
- Passionate about creating a comfortable and empowering experience for every client.
Education History
- University of Craft and Design – Bachelor of Fine Arts (BFA) in Woodworking and Furniture Design
- Woodworking Apprenticeships – Extensive hands-on training with skilled craftsmen to refine carpentry and furniture making techniques
- Online Courses & Masterclasses – Continued education in advanced woodworking techniques, design principles, and specialized tools
Expertise:
- Makeup artistry, hairstyling, and beauty consulting.
- Personalized beauty techniques to enhance confidence and self-expression.
- Educating clients on how to maintain their beauty routines at home.