Are you tired of your frizzy hair? Do you want a sleek and stylish look without using heat tools? Hair styling cream can be the solution to all your hair woes.

Hair styling cream is a versatile product that can help you achieve various looks, from sleek and polished styles to relaxed and textured ones. It’s suitable for all hair types and works to add definition, control frizz, and provide a natural-looking hold. Whether you’re styling your hair for a formal event or creating an everyday casual look, knowing how to use hair styling cream can make a significant difference in the results.
This guide will walk you through the essential steps to ensure you get the most out of your styling cream.
What Are the Benefits of Using Hair Styling Cream?
Before we dive into how to use hair styling cream, let’s first understand why this product is a must-have in your hair care routine.
- Adds Definition: Styling creams are formulated with ingredients that help define and enhance your natural hair texture. Whether you have curly, wavy, or straight hair, styling cream can bring out its full potential and give it a more defined look.
- Controls Frizz: If you struggle with frizzy hair, then you know how frustrating it can be to try and tame those flyaways. Hair styling cream smooths your strands and controls frizz without weighing down your hair.
- Provides Natural-Looking Hold: Unlike other hair products that leave your hair stiff and crunchy, styling creams offer a more natural-looking hold. It allows your hair to move while still maintaining the desired style.
- Moisturizes and Conditions Hair: Most styling creams contain nourishing ingredients like oils and butter that help moisturize and condition your hair, leaving it soft and healthy-looking.
Now that we know the benefits of using hair styling cream ,let’s move on to how to use it effectively.
What Will You Need?
Before you begin, make sure you have the following items:
- Hair styling cream of your choice
- Wide-tooth comb or hairbrush
- Hair clips (if needed)
Once you have these items, follow the steps below to achieve your desired hairstyle.
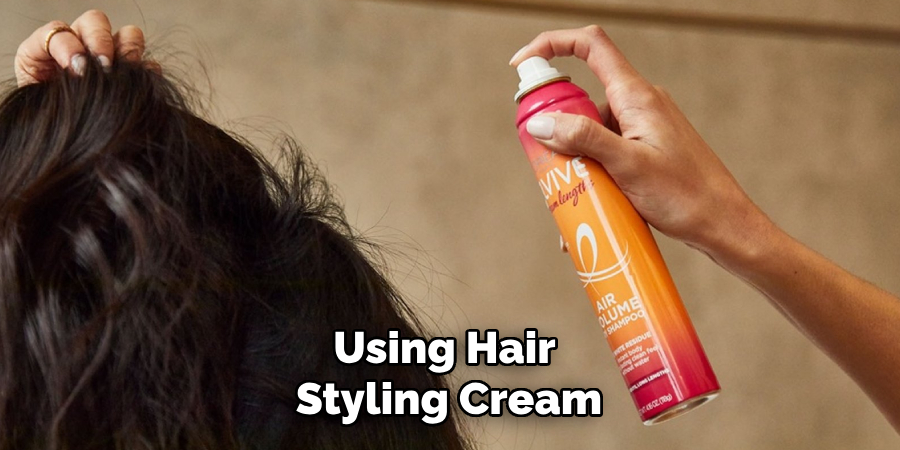
10 Easy Steps on How to Use Hair Styling Cream
Step 1: Clean and Dry Your Hair
Start by washing your hair with a shampoo and conditioner suited to your hair type. This ensures that your scalp and strands are free from excess oils, dirt, and product buildup, creating the perfect foundation for styling. After washing, gently towel-dry your hair by patting it rather than rubbing, as rubbing can cause frizz and damage. Allow your hair to air dry or use a blow dryer on a low to medium heat setting to achieve the desired dryness level. Ensure your hair is mostly dry, as applying styling cream to soaking wet hair may dilute the product, reducing its effectiveness.
Step 2: Squeeze Out a Small Amount of Styling Cream
Take a small amount of styling cream, roughly the size of a dime or nickel, depending on your hair length and thickness. Start with a smaller amount to avoid overusing the product, as you can always add more if needed. Rub the cream between your palms to warm it and ensure even distribution. This step helps to prevent clumping and allows for a smoother application. Once the cream is evenly spread on your hands, apply it to your hair, focusing on the mid-lengths and ends.
Avoid applying too much product near the roots, which may cause your hair to appear greasy or weighed down. Distribute the cream thoroughly using your fingers or a wide-tooth comb to ensure every strand is coated evenly, setting the stage for your desired hairstyle.
Step 3: Rub the Cream Between Your Palms
This step is crucial for preparing the product for smooth and even application. Take the cream you have portioned and place it into the palm of one hand. Using both hands, rub your palms together gently but thoroughly. The heat from your hands helps to soften the cream, making it easier to work with and ensuring it spreads evenly across your hair. Properly warming the cream also activates its ingredients, enhancing its effectiveness for styling or conditioning your hair.
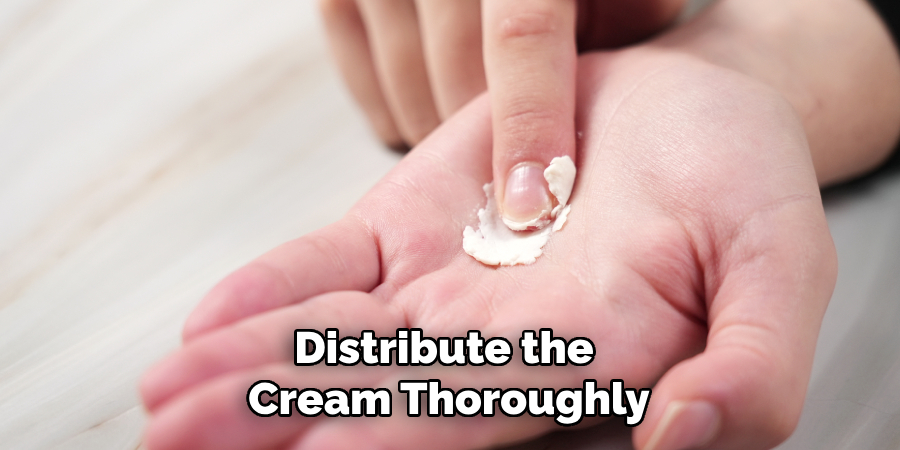
Spend a few seconds during this step to ensure there are no clumps or uneven product patches on your hands, as this will prevent tangling or uneven texture once the cream is applied. Once you feel the cream is evenly distributed and ready, you can proceed to use it confidently to your hair.
Step 4: Apply to Your Hair
Begin by dividing your hair into manageable sections to ensure an even application of the cream. Start with one section at a time, taking a small portion of hair and gently working the cream through from root to tip. Use your fingers to comb through the strands, ensuring the product is evenly distributed. You may want to apply a slightly more significant amount for thicker or coarser hair, focusing on areas requiring extra moisture or hold. If the product is meant for styling, mold the hair into your desired shape or texture as you apply it.
For conditioning purposes, thoroughly coat the ends of your hair, as they are usually the driest and most prone to damage. Repeat this process with each section of hair until the product is applied consistently across your entire head. Once finished, you can proceed with styling or leave the product in as directed for the best results.
Step 5: Style as Desired
Once the product is evenly distributed, you can begin to style your hair. Use a comb or brush to help define your desired look further. Using a hairdryer, use it on a low heat setting and finish off with cool air to set the style in place. For a more natural look, allow your hair to air dry.
Step 6: Add More Products if Necessary
After styling, evaluate the final look and feel of your hair. If certain sections appear frizzy, lack hold, or need more definition, apply a small amount of additional product to those areas. Be cautious not to overapply; too much product can weigh hair down or make it appear greasy. Warm the product in your hands first to ensure an even application, and gently work it through the targeted areas. For curls or waves, scrunch the product into the hair to enhance texture and shape. For sleek or straight styles, smooth it down the lengths for added polish and control. Adjust as needed until you achieve your desired finish.
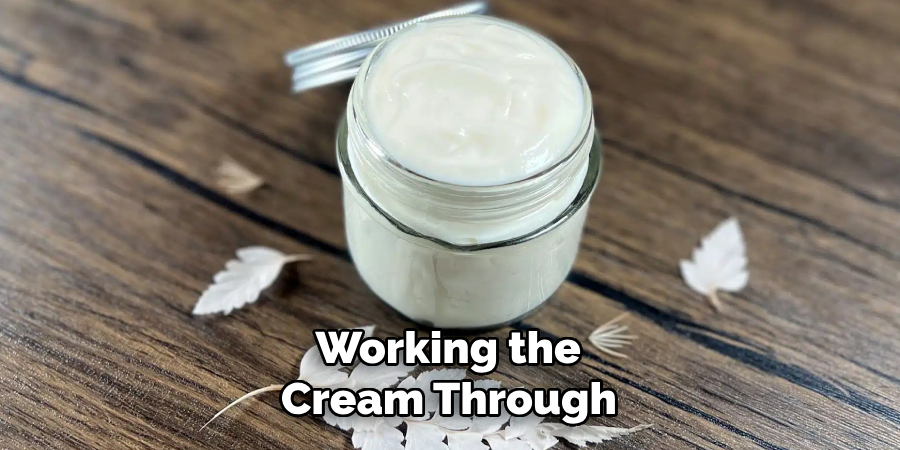
Step 7: Use Hair Clips for Extra Definition
Hair clips can be a valuable tool to enhance the definition and structure of your hairstyle, particularly for curls, waves, or detailed sections. To use hair clips effectively, begin by sectioning off your hair based on the style you want to achieve. Place clips at the roots for added volume to lift specific areas while your hair sets or dries. For defined curls or waves, wrap small strands around your finger to create your desired shape, then secure them with a clip to hold the form in place. Ensure the clips are positioned gently to avoid creating dents or lines in the hair.
Step 8: Finish with a Flexible-Hold Hairspray
To lock in your style while still allowing natural movement, finish with a flexible-hold hairspray. Hold the can about 10-12 inches from your hair and mist lightly, focusing on areas prone to frizz or flyaways. Avoid over-spraying, as this can weigh your hair down or make it feel stiff. A flexible-hold spray ensures your hairstyle stays in place throughout the day while maintaining a soft, touchable finish.
Step 9: Add Shine with a Finishing Serum or Spray
Apply a shine serum or spray as the final step for a polished and healthy-looking finish. Use a small amount of serum, warming it between your palms before lightly running your hands over the surface of your hair, focusing on the ends for added smoothness. If using a spray, mist lightly from a distance to avoid overloading your hair. This step enhances your style by giving it a glossy, salon-quality appearance.
Step 10: Secure Your Style with Accessories
Consider adding accessories as a final touch to elevate your look or keep your hairstyle in place. Choose from decorative pins, clips, or headbands to complement your style and outfit. Not only do accessories add a personal flair, but they also help to secure your hair, especially for more intricate styles. Be sure to position them carefully to enhance your overall look without disrupting the balance of your hairstyle.
Following these steps, you can confidently use hair cream to achieve your desired look without weighing your hair down or making it appear greasy.
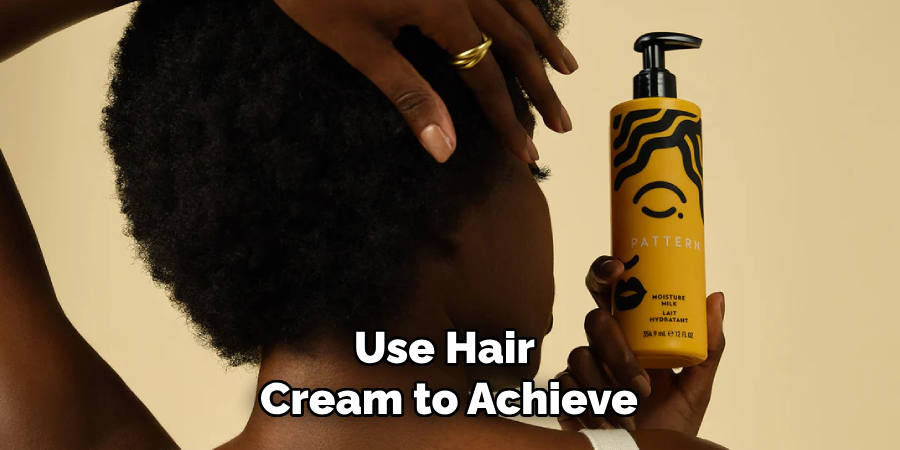
Conclusion
Hair cream is a versatile and practical product for conditioning, styling, and maintaining your hair.
With the proper application techniques and products suited to your hair type and desired style, you can achieve beautiful, healthy-looking hair without hassle. Remember to choose quality hair creams with nourishing ingredients, portion out the product for even distribution, and add complementary steps like clips or accessories for added definition or hold.
Hopefully, the article on how to use hair styling cream has given you all the necessary information and confidence to incorporate hair cream into your hair care routine. Give it a try, experiment with different products and techniques, and find the perfect combination for your unique hair needs!
About the Author
Jane Hubbard is a passionate beauty expert with a wealth of experience in makeup, hair, and overall beauty techniques. After years of working as a hairdresser specialist, she followed her entrepreneurial spirit and started her own consultancy business.
Jane has always been driven by her desire to help others feel confident in their own skin, and she does this by sharing her knowledge, experiences, and practical beauty tips. Through her consultancy, she empowers individuals to embrace their unique beauty, offering tailored guidance that boosts both self-esteem and personal style.
Professional Focus
- Specializes in makeup, hairstyling, and beauty consulting.
- Provides personalized beauty advice, tips, and techniques to help individuals feel confident in their appearance.
- Dedicated to staying up-to-date with the latest industry trends and developments.
- Passionate about creating a comfortable and empowering experience for every client.
Education History
- University of Craft and Design – Bachelor of Fine Arts (BFA) in Woodworking and Furniture Design
- Woodworking Apprenticeships – Extensive hands-on training with skilled craftsmen to refine carpentry and furniture making techniques
- Online Courses & Masterclasses – Continued education in advanced woodworking techniques, design principles, and specialized tools
Expertise:
- Makeup artistry, hairstyling, and beauty consulting.
- Personalized beauty techniques to enhance confidence and self-expression.
- Educating clients on how to maintain their beauty routines at home.
