
Making your own hair cream can be a rewarding and cost-effective way to customize hair care products tailored to your specific needs. Whether you’re aiming to hydrate, tame frizz, add shine, or define curls, DIY hair creams allow you to control ingredients and avoid potentially harmful chemicals found in commercial products. Creating a hair cream involves blending natural oils, butters, and essential oils known for their moisturizing and nourishing properties.
Understanding how to make hair cream includes selecting ingredients suitable for your hair type, following precise measurements, and storing the cream in airtight containers to preserve freshness. This guide will explore simple recipes and techniques for crafting homemade hair creams, providing tips on ingredient substitutions and customization to achieve desired hair care goals. By making your own hair cream, you can embrace a natural approach to hair care while achieving healthier, more manageable hair.
Understanding Hair Cream Ingredients
To create an effective hair cream, it’s crucial to understand the roles and benefits of various ingredients you might use. Here are some common components:
- Carrier Oils: These oils, such as coconut oil, jojoba oil, and argan oil, serve as the base for your hair cream. They provide deep hydration, prevent breakage, and promote overall hair health. Coconut oil is renowned for its conditioning properties, while jojoba oil closely mimics the natural oils produced by the scalp.
- Butters: Shea butter and cocoa butter are popular choices for adding moisture and softness to hair. Shea butter is rich in vitamins A and E, providing essential nutrients that help strengthen hair and prevent dryness. Cocoa butter not only moisturizes but also adds a protective barrier against harsh environmental conditions.
- Essential Oils: Essential oils like lavender, rosemary, and tea tree oil offer therapeutic benefits and pleasant scents. Lavender oil helps to soothe the scalp and may promote hair growth, while rosemary oil can stimulate hair follicles. Tea tree oil has antiseptic properties that help keep the scalp clean and free of dandruff.
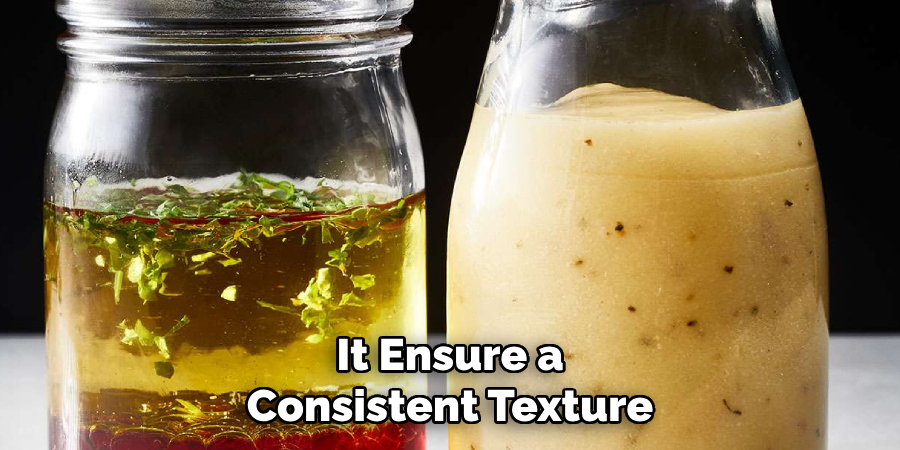
- Emulsifiers: These ingredients, such as beeswax or emulsifying wax, help blend water with oils and butters, ensuring a consistent texture in your hair cream. They play a vital role in achieving a stable and homogenous product.
- Humectants: Ingredients like glycerin attract moisture from the environment into your hair, maintaining hydration and preventing dryness. They are especially beneficial in combating frizz and enhancing curl definition.
Differences Between Hair Creams and Other Hair Products
Hair care products come in numerous forms, each designed to address specific needs and achieve various styling effects. Understanding the differences between hair creams and other hair products can help you make informed choices for your hair care routine.
- Hair Creams: Hair creams are primarily focused on moisturizing and nourishing the hair, making them ideal for dry or damaged hair types. They contain a blend of oils, butters, and other nourishing ingredients that provide long-lasting hydration. Ideal for taming frizz, adding softness and shine, and enhancing natural curls, hair creams are usually lightweight and non-greasy, making them suitable for daily use.
- Hair Gels: Hair gels are used mainly for styling and hold. They are perfect for creating structured looks, slicked-back styles, and defined curls. Hair gels typically have a higher alcohol content and can sometimes lead to dryness or flakiness if used excessively. They provide a strong hold that lasts throughout the day but may lack the moisturizing benefits that hair creams offer.
- Hair Mousses: Mousses are foamy products that add volume and lift to the hair. They are excellent for fine or limp hair, giving a fuller appearance without weighing it down. While mousses can offer some conditioning benefits, their primary function is to enhance volume and provide a lightweight hold. They generally do not provide the same level of moisture as hair creams.
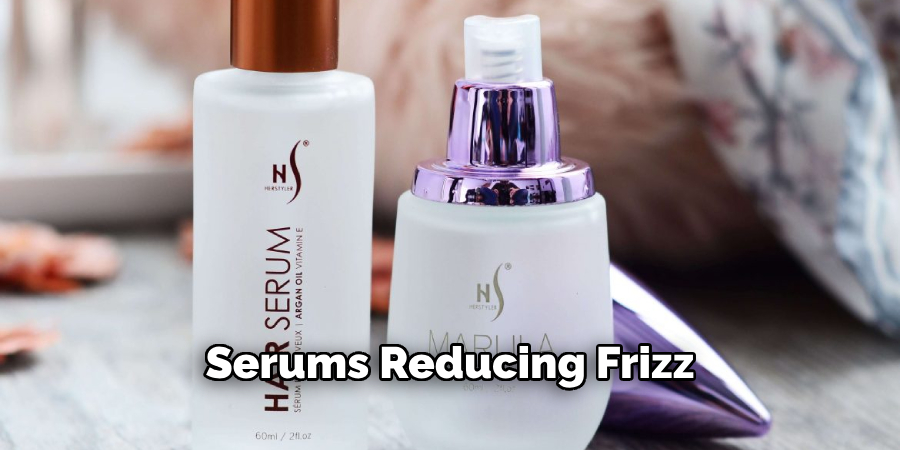
- Hair Serums: Serums are concentrated formulas that focus on adding shine and reducing frizz. They are often silicone-based, providing a smooth and glossy finish to the hair. Hair serums work well for taming flyaways and giving a polished look, but they do not offer the deep hydration and nourishing properties of hair creams.
- Hair Oils: Hair oils are used to provide intense moisture and nourishment. They are excellent for dry, coarse, or curly hair types, offering deep conditioning benefits. Unlike hair creams, which have a balanced formulation suitable for regular use, hair oils can be heavy and are typically used in smaller amounts to avoid a greasy appearance.
10 Methods How to Make Hair Cream
1. Gather Ingredients and Supplies
Start by gathering all the necessary ingredients and supplies for making hair cream. The basic ingredients typically include butters, oils, emulsifiers, and essential oils. Choose ingredients based on your hair type and desired benefits. For example, shea butter or cocoa butter provides moisturizing properties, while coconut oil or argan oil adds shine and nourishment. Emulsifiers like beeswax or emulsifying wax help bind water and oils together, creating a creamy texture. Essential oils can be added for fragrance and additional hair benefits.
2. Choose a Recipe
Research and choose a hair cream recipe that aligns with your hair goals and ingredient preferences. There are various recipes available online or in DIY beauty books that cater to different hair types, such as dry, curly, oily, or damaged hair. Pay attention to ingredient ratios and any specific instructions for heating or blending to ensure successful formulation.
3. Prepare a Double Boiler Setup
To melt and blend ingredients evenly, prepare a double boiler setup. Fill a small pot with water and place a heat-safe bowl or container on top. Ensure the water level is low enough that it doesn’t touch the bottom of the bowl. This gentle heating method helps prevent ingredients from burning or overheating during the melting process.
4. Melting and Mixing Ingredients
Measure and add the solid ingredients such as butters and beeswax into the heat-safe bowl. Heat the double boiler over medium heat, stirring occasionally with a heat-safe utensil until the ingredients melt completely and blend together. Be patient and avoid overheating, as excessive heat can alter the texture and properties of the hair cream.
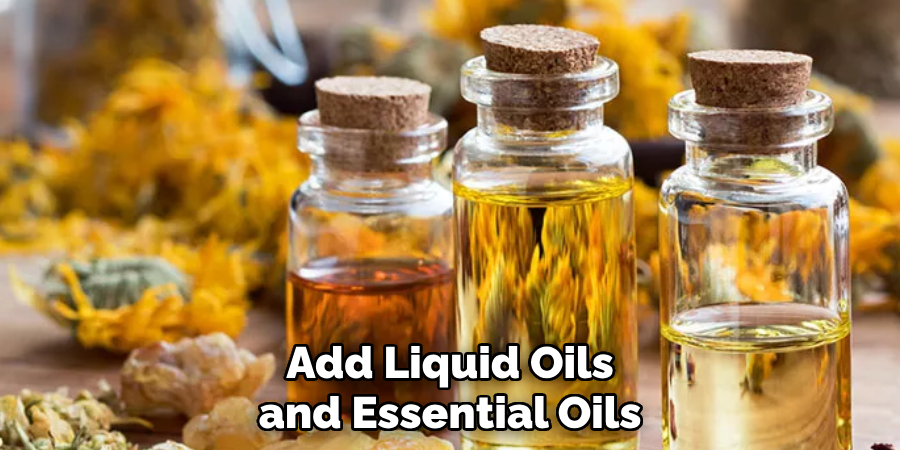
5. Adding Liquid Oils and Essential Oils
Once the solid ingredients are melted and blended, remove the bowl from heat. Gradually add liquid oils like coconut oil, argan oil, or jojoba oil to the mixture, stirring continuously to incorporate them evenly. Adjust the amount of liquid oils based on your hair’s moisture needs and desired consistency of the hair cream. Add a few drops of essential oils for fragrance and additional hair benefits, ensuring they are well-distributed throughout the mixture.
6. Allowing the Mixture to Cool
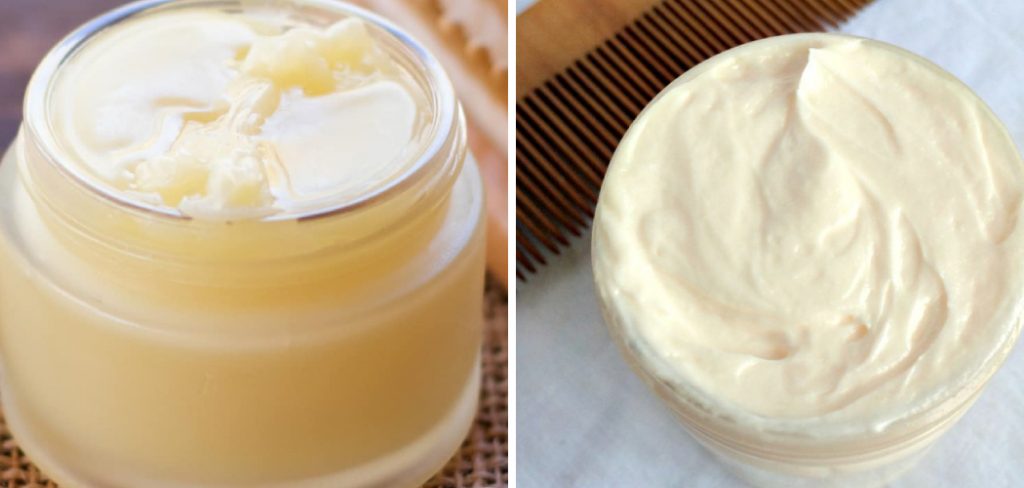
After blending all the ingredients thoroughly, allow the mixture to cool slightly at room temperature. Stir occasionally to prevent separation and ensure a smooth texture as it begins to solidify. The hair cream will thicken further as it cools, so monitor its consistency and adjust ingredients if necessary to achieve the desired texture.
7. Testing and Adjusting Consistency
To test the consistency of the hair cream, take a small amount on your fingertips and rub it between your palms. Evaluate how easily it spreads and absorbs into your skin. If the cream is too thick, gently reheat the mixture and add a small amount of liquid oil. If it’s too thin, incorporate a bit more beeswax or butter. Continue adjusting until you achieve a creamy texture that is easy to apply and distributes evenly through hair.
8. Pouring and Storing
Once you’re satisfied with the consistency, carefully pour the hair cream into clean, sterilized containers or jars. Use a spatula or spoon to transfer the mixture, ensuring no air bubbles are trapped inside. Seal the containers tightly to prevent air exposure, which can affect the shelf life and effectiveness of the hair cream. Store the cream in a cool, dry place away from direct sunlight to maintain its quality and freshness.
9. Labeling and Usage Instructions
Label each container with the date of preparation and a list of ingredients used. Include any specific usage instructions, such as how much product to use per application or how frequently to apply it. Store-bought hair creams often contain preservatives to extend shelf life, but homemade versions may have a shorter lifespan. Use your hair cream within a few months and discard if you notice any changes in color, smell, or consistency.
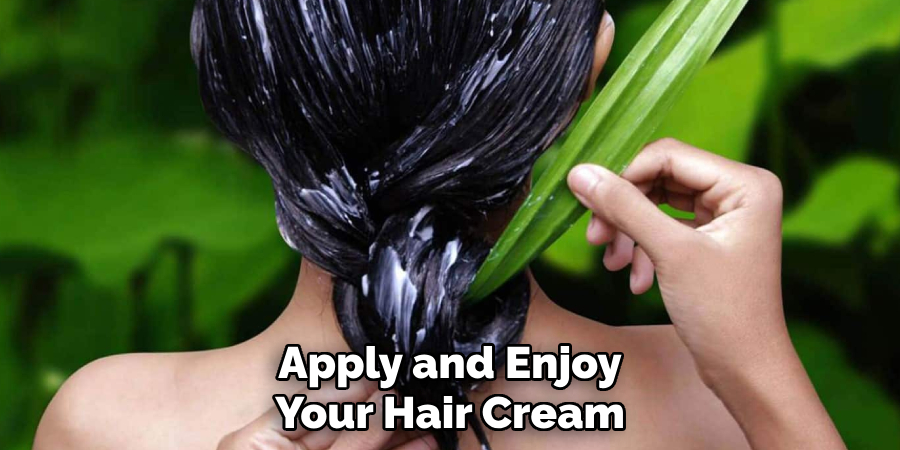
10. Applying and Enjoying Your Hair Cream
To use your homemade hair cream, scoop a small amount onto your fingertips and rub it between your palms to warm and soften the product. Apply evenly throughout damp or dry hair, focusing on the ends and areas prone to dryness or frizz. Use your fingers or a wide-tooth comb to distribute the cream from roots to tips, ensuring all strands are coated. Style your hair as desired, whether it’s embracing natural curls, defining waves, or smoothing frizz.
Conclusion
In conclusion, making your own hair cream allows you to customize ingredients and cater to your hair’s specific needs, whether it’s moisture, shine, or curl definition. By following a carefully selected recipe and using quality ingredients, you can create a nourishing and effective hair cream at home. Enjoy the process of experimenting with different formulations and benefit from healthier, more manageable hair with the help of your homemade hair cream.
About the Author
Jane Hubbard is a passionate beauty expert with a wealth of experience in makeup, hair, and overall beauty techniques. After years of working as a hairdresser specialist, she followed her entrepreneurial spirit and started her own consultancy business.
Jane has always been driven by her desire to help others feel confident in their own skin, and she does this by sharing her knowledge, experiences, and practical beauty tips. Through her consultancy, she empowers individuals to embrace their unique beauty, offering tailored guidance that boosts both self-esteem and personal style.
Professional Focus
Specializes in makeup, hairstyling, and beauty consulting.
Provides personalized beauty advice, tips, and techniques to help individuals feel confident in their appearance.
Dedicated to staying up-to-date with the latest industry trends and developments.
Passionate about creating a comfortable and empowering experience for every client.
Education History
University of Craft and Design – Bachelor of Fine Arts (BFA) in Woodworking and Furniture Design
Woodworking Apprenticeships – Extensive hands-on training with skilled craftsmen to refine carpentry and furniture making techniques
Online Courses & Masterclasses – Continued education in advanced woodworking techniques, design principles, and specialized tools
Expertise:
Makeup artistry, hairstyling, and beauty consulting.
Personalized beauty techniques to enhance confidence and self-expression.
Educating clients on how to maintain their beauty routines at home.