
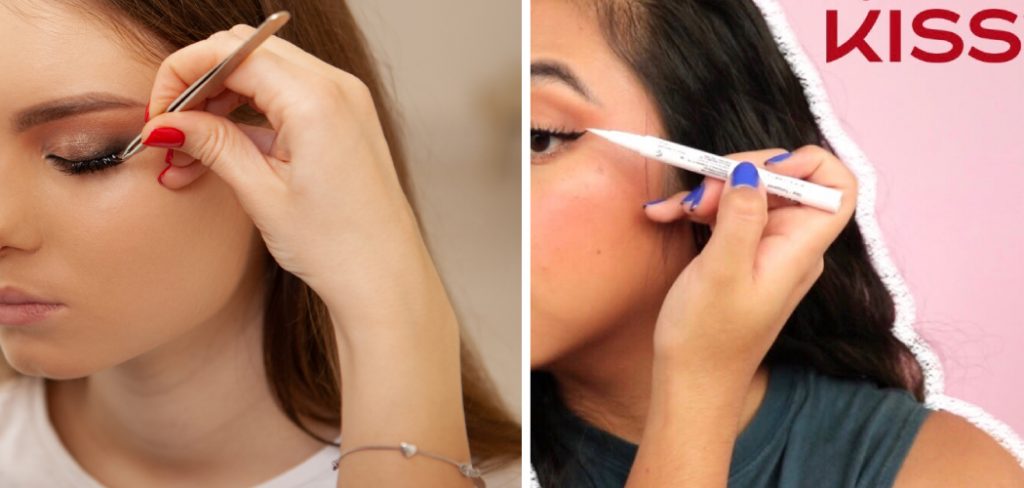
Are you looking for an easy, reliable way to remove false lashes? Look no further than Kiss Lash Adhesive Remover! Here’s how you can easily use it.
If you love wearing false eyelashes to enhance your look but are having trouble removing them once they’re done, then Kiss Lash Adhesive Remover is the product for you! This lash adhesive remover is designed to make removing lashes much simpler and easier. It’s incredibly easy to use and will help you preserve your false lashes so they can be used repeatedly. When using this product as intended, it offers an effectively clean removal of eyelash extensions with minimal effort – providing salon-level results from the comfort of home.
Keep reading for our step by step guide on how to use kiss lash adhesive remover!
What Will You Need?
To use Kiss Lash Adhesive Remover, you’ll need the following:
- Kiss Lash Adhesive Remover
- Cotton pads
- Makeup remover (optional)
Once you have all the materials ready, follow the steps.
10 Easy Steps on How to Use Kiss Lash Adhesive Remover
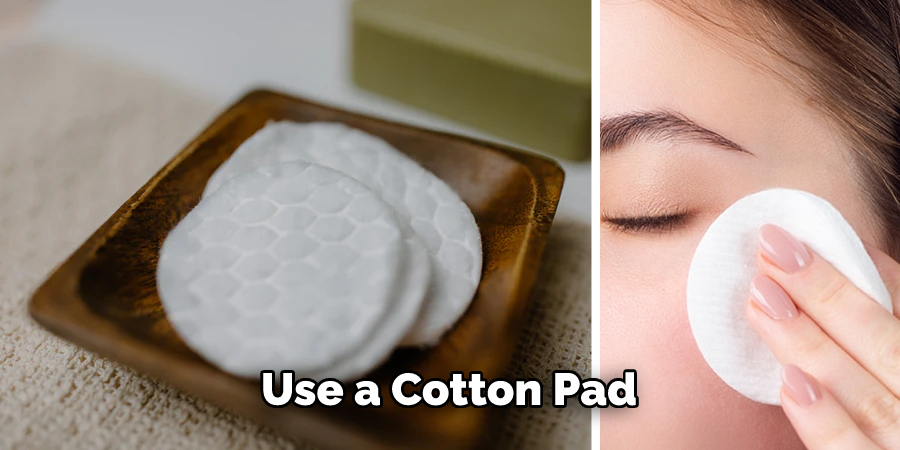
Step 1: Use a Cotton Pad.
Using a cotton pad, place a generous amount of Kiss Lash Adhesive Remover onto it. Be careful not to get any in your eyes. You can also pre-soak a cotton pad in makeup remover as an optional step.
Step 2: Place the Cotton Pad on Your Lashes.
Carefully place the cotton pad onto your eyelid, above and below the lash line. Ensure that the cotton pad covers all of the lashes completely – you may need to use two pads if necessary. Leave for around 10 minutes or until the adhesive starts to break down.
Step 3: Remove Your False Lashes.
Once the adhesive has started to break down, carefully remove your false lashes one by one with tweezers or your fingers. The process should be made much easier due to the Kiss Lash Adhesive Remover loosening up the glue. If residual glue remains on your skin after removing each lash, reapply the cotton pad and give it a few more minutes. It may take several attempts to completely remove all of the adhesives.
Step 4. Clean Up Any Residue.
Once all of the lashes have been removed, use a cotton pad to clean up any remaining residue. This may also be done with makeup remover if necessary. Additionally, you can use a gentle cleanser to ensure all of the adhesive is thoroughly removed from your skin.
Step 5: Dispose of Used Cotton Pads.
Once you’re finished, dispose of your used cotton pads and eyelashes. Do not reuse them, as this could cause infections or other health problems. As with any beauty product, it’s important to follow the instructions on the packaging and replace your Kiss Lash Adhesive Remover once it is finished.
Step 6: Clean the Lashes.
Now that you have removed your false lashes, it’s time to clean them. You can use a mild shampoo or cleaning product to ensure that all of the adhesive residue is removed. After, let them dry for a few minutes and store them in a cool, dry place until you are ready to use them again. Keep in mind that you should never apply false lashes directly after using Kiss Lash Adhesive Remover. Because the glue is still active, it could cause skin irritation or even an infection.
Step 7: Remove Any Remaining Glue from Your Skin.
If there is still some remaining glue on your skin, gently remove it with a cotton pad soaked in makeup remover. Do not try to use your fingers or tweezers, as this could cause irritation. Instead, use a gentle circular motion to remove the adhesive.
Step 8: Moisturize Around the Eye Area.
To reduce any potential dryness around the eye area, apply an eye cream or moisturizer to soothe and hydrate the skin. You can also apply a light eye makeup primer to give your eyelids a smoother, more even surface. It will also help your makeup last longer.
Step 9: Clean the Bottle and Lid.
Clean both the bottle and lid of the Kiss Lash Adhesive Remover with a damp cloth or cotton pad to remove any excess product. This will help to extend the life of your product. Moreover, it will help to prevent any bacteria from entering the bottle and causing potential health issues.
Step 10: Store It Safely.
Once you’re done, store your Kiss Lash Adhesive Remover in a cool, dry place away from direct sunlight or heat. Ensure that you securely close the lid after each use and check the expiration date regularly to ensure it is safe for use. Otherwise, you may need to replace the product before it is used.
And there you have it! With just ten steps, your false lashes will be removed quickly and easily with Kiss Lash Adhesive Remover! Keep in mind that it is important to follow the instructions carefully for best results.
5 Additional Tips and Tricks
1. Before using the remover, apply some petroleum jelly around your natural lash line to avoid stinging or discomfort.
2. Always use a Q-tip or cotton swab instead of your fingers when applying the remover; this will help target the affected area better and reduce mess.
3. Make sure you are in a well-ventilated space when using the adhesive remover; this will help avoid any irritation from fumes.
4. Allow at least 30 seconds for the adhesive remover to work before gently detaching false lashes from the eyelid.
5. Once removed, use an oil-free makeup remover to clean off any remaining residue, and then wash the skin with warm water and mild soap. This will help to cleanse the eye area further and remove any traces of adhesive remover.
By following these simple tips and tricks, you can be sure that your false lash removal process goes as smoothly as possible! With a little patience and care, you’ll be able to use kiss lash adhesive remover confidently.
5 Things You Should Avoid
1. Avoid using false eyelash remover on the actual lashes, as it can cause them to become brittle and dry.
2. Do not rid your eyes of the adhesive remover with a harsh cloth or paper towel, as this may further irritate sensitive skin areas around the eye.
3. Don’t forget to check the ingredients list before applying lash adhesive remover; some individuals have allergies to certain chemicals and should therefore be aware of any potential reactions that could occur.
4. Do not attempt to remove false lashes while wet; this will only worsen matters and increase the risk of damaging natural lashes in the process.
5. Finally, never use hairspray or other strong adhesives to remove false lashes, as this could cause further harm and damage.
By being aware of and avoiding these common mistakes, you can help ensure that your false lash removal process is safe and effective each time. With proper use of kiss lash adhesive remover and a little patience, you’ll have beautiful natural lashes in no time!
What Formula Should You Choose?
When choosing a lash adhesive remover, it is important to consider the type of formula you are looking for. Many brands offer more gentle formulas that won’t irritate sensitive eyes, while others provide stronger solutions that may be better suited for false lashes with stubborn glue residue. Kiss Lash Adhesive Remover is considered to be one of the best on the market and can be used for quick and easy removal.
When using kiss lash adhesive remover, remember to use only as directed and avoid contact with eyes or any other sensitive areas. Additionally, always consult with a professional before using if you have any questions or concerns; this will help ensure your safety and optimal results!
With these tips in mind, you’ll be able to use kiss lash adhesive remover with confidence and enjoy beautiful natural lashes in no time. Good luck!
Conclusion
No matter how difficult the situation may appear to be, with the use of Kiss Lash Adhesive Remover, you, too, can easily and effectively remove your false lashes without fear of potential eye or skin irritation. Simply apply a small amount of the remover solution to a cotton swab and gently sweep it underneath your lash line from the inner corner outwards. Repeat this process until all adhesive is dissolved. This soothing formula works quickly and effectively, meaning that you can get rid of those irritating false lashes even faster than before. And with that, now you know exactly how to use Kiss Lash Adhesive Remover!
There’s no need to stress when making decisions regarding taking off false eyelashes – let Kiss Lash Adhesive Remover be your go-to solution and relish in its convenience today!
Hopefully, the article has been helpful in providing you with all the information you need to make an informed decision. With these tips, you can easily and safely remove false lashes, leaving your natural ones looking beautiful and healthy. Best of luck!
About the Author
Jane Hubbard is a passionate beauty expert with a wealth of experience in makeup, hair, and overall beauty techniques. After years of working as a hairdresser specialist, she followed her entrepreneurial spirit and started her own consultancy business.
Jane has always been driven by her desire to help others feel confident in their own skin, and she does this by sharing her knowledge, experiences, and practical beauty tips. Through her consultancy, she empowers individuals to embrace their unique beauty, offering tailored guidance that boosts both self-esteem and personal style.
Professional Focus
- Specializes in makeup, hairstyling, and beauty consulting.
- Provides personalized beauty advice, tips, and techniques to help individuals feel confident in their appearance.
- Dedicated to staying up-to-date with the latest industry trends and developments.
- Passionate about creating a comfortable and empowering experience for every client.
Education History
- University of Craft and Design – Bachelor of Fine Arts (BFA) in Woodworking and Furniture Design
- Woodworking Apprenticeships – Extensive hands-on training with skilled craftsmen to refine carpentry and furniture making techniques
- Online Courses & Masterclasses – Continued education in advanced woodworking techniques, design principles, and specialized tools
Expertise:
- Makeup artistry, hairstyling, and beauty consulting.
- Personalized beauty techniques to enhance confidence and self-expression.
- Educating clients on how to maintain their beauty routines at home.