
Whether you’re a nail artist by trade or just like to dabble in some D.I.Y. every now and then, learning how to use build your own nails with builder gel is an excellent skill to have!
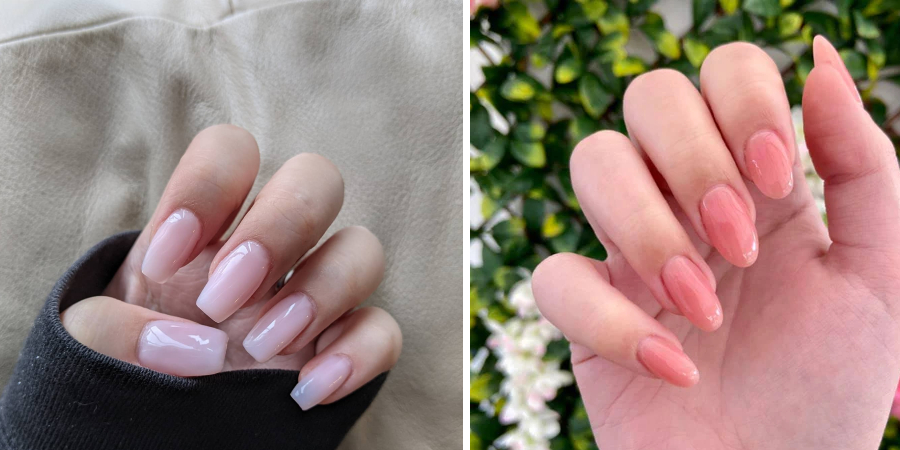
Builder gels are perfect for those who want longer-lasting results than what traditional acrylics can achieve, as they provide deeper layers of color while maintaining their shape and glossy look. With its many uses, builder gel is the go-to material for creative projects such as decorative art on other surfaces – allowing you to streamline your mani-pedi game while taking it up several notches with amazing effects!
In this post, we’ll discuss everything you need to know about how to use nail builder gel, from understanding when it’s best applied through helpful tips on working with it during application so that you feel confident in creating beautiful & inspired designs each time.
What Will You Need?
Before you begin your application, you’ll need to gather the following materials:
- Builder Gel
- Nail Lamp (UV or LED)
- Gel Base & Top Coat
- Alcohol Prep Pad
- Lint Free Wipes
- Acetone
- Cuticle Pusher
- Gel Polish Remover
- Nail File/Buffer and Drill Bits (Optional)
Now that you have all of your supplies, let’s move on to applying the gel.
10 Easy Steps on How to Use Nail Builder Gel
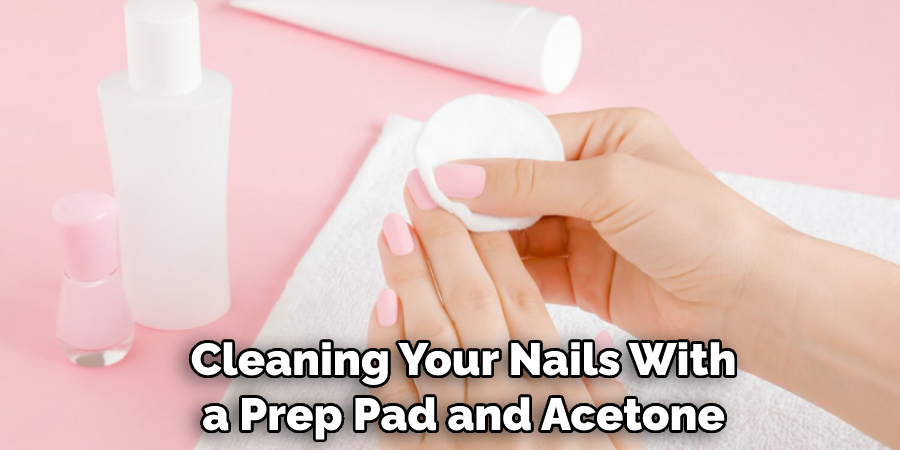
1. Clean Your Nails:
Start by cleaning your nails with a prep pad and acetone. This will remove any oils and dirt from the nail surface, which may prevent the builder gel from adhering properly. Additionally, you can use a lint free wipe to remove any debris.
2. Apply Base Coat:
Next, apply a thin layer of the base coat using your brush or dappen dish. Be sure to cover the entire nail surface and use the edge of the brush to push it further into any cuticle area. Cure in your gel lamp for 2 minutes (LED) or 4 minutes (UV).
3. Apply Builder Gel:
Now it’s time to apply your builder gel. Use a thin layer, starting at the cuticle and pushing it downwards towards the tip of your finger. You may also want to dip your brush in alcohol after every few strokes to help prevent clumping and smudging on the nail surface. Cure again in the lamp for 2-4 minutes, depending on the type of bulb.
4. Apply Another Layer:
Repeat the application process until you reach your desired thickness and opacity – usually, 3-4 layers are enough for full coverage. Make sure to cure each layer in between applications. Try not to overwork the builder gel, as the surface may become bumpy and uneven.
5. Shaping & Finishing:
Once you’ve achieved your desired look, it’s time to begin shaping and finishing your nail design with a file/buffer and drill bits (if applicable). Remember to always work in one direction for the best results! If there is any excess builder gel around your nails, use an acetone-dipped lint-free wipe to remove it.
6. Apply Top Coat:
Finish off by applying a thin layer of top coat over the entire nail surface and curing for 2 minutes (LED) or 4 minutes (UV). This will help seal in color and add an extra layer of shine. You can also add some cuticle oil to help keep your nails moisturized.
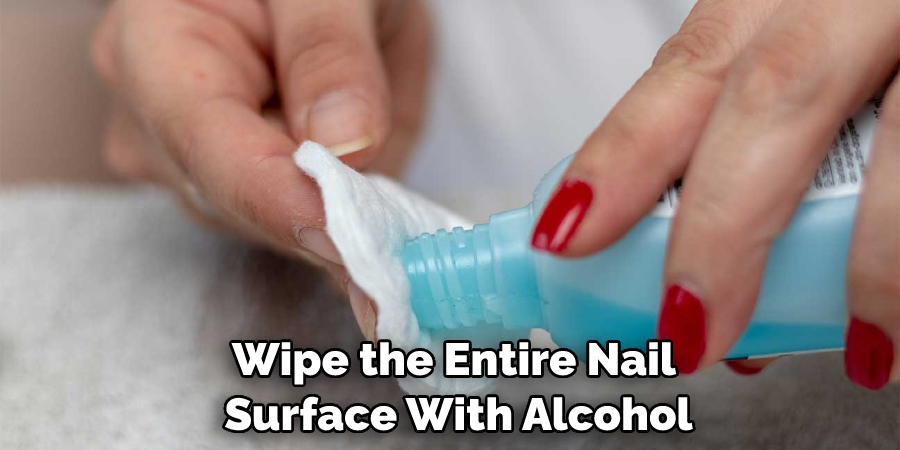
7. Wipe with Alcohol:
Wipe the entire nail surface with alcohol before wiping off any residue from the top coat with a lint-free wipe. This will help remove any oils and dirt that may have accumulated during the application process, ensuring a lasting finish for your nails! Use a gentle motion when wiping to prevent any streaking.
8. Clean Up Around Cuticles:
Use an acetone soaked cuticle pusher to clean up any excess builder gel around the cuticles and sides of your nails. This should also be done after each layer has cured to ensure a smooth and neat finish. If there are any bumps or uneven surfaces, use a nail file to buff them away gently.
9. Finish Off With Oil:
After cleaning up around the edges, it’s time to apply some oil along your cuticles and massage it into your nail beds. This will help hydrate the skin and keep it healthy and nourished. Moreover, it will add a subtle shine to your nails and help them last longer.
10. Enjoy Your Beautiful Nails:
And there you have it! You now know how to use nail builder gel like a pro, so enjoy your beautiful new nails! Remember, practice makes perfect, so don’t be afraid to experiment and try different techniques until you find what works best for you. Have fun!
We hope this guide has been helpful in teaching you how to use builder gel. With practice, you’ll be able to achieve stunning results every time – just remember to always work in thin layers and cure each one before applying the next.
5 Additional Tips and Tricks
1. Apply a Thin Layer: Nail builder gel is highly concentrated, so applying a thin layer is important for the best results. Don’t be too heavy-handed when applying; this can cause lifting and unevenness.
2. File Carefully: Use a file specifically designed for working with nail builder gel when filing down your nails. This will help avoid making them too thin by removing too much of the product at once.
3. Use Cuticle Oil: Keep up good nail health while using nail builder gels by using cuticle oil every day to keep your skin soft and hydrated – especially around the edges of your acrylics, where you need to push back your cuticles every now and then!
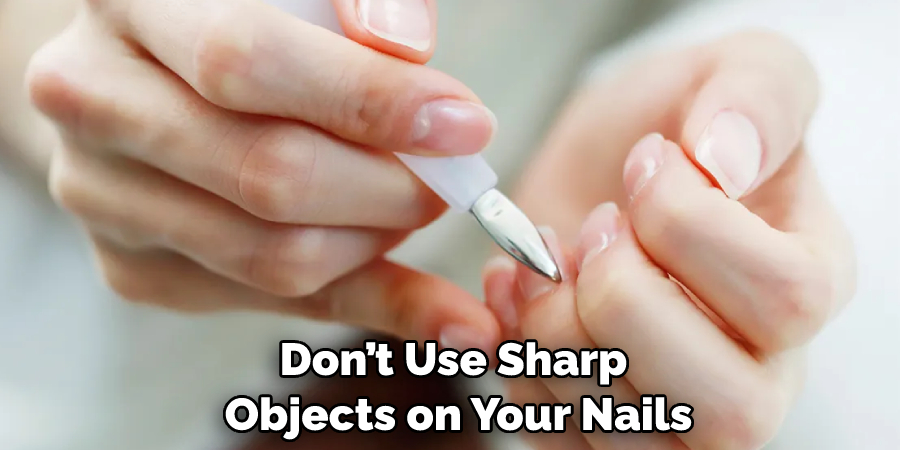
4. Avoid Sharp Objects: Don’t use sharp objects on your nails when using nail builder gel. Using sharp tools could easily cause damage and tear the gel, leading to a shorter lifespan of your manicure.
5. Get Regular Fills: Regularly getting touch-ups and refills will help maintain an even surface and keep your mani looking fresh for longer. This is especially important with nail builder gels, as they can be prone to lifting if not taken care of properly.
By following these tips and tricks for using nail builder gel, you’ll have the perfect manicure that will last for days! Take time to learn the basics and practice proper techniques to get the most out of it – your nails will thank you!
5 Things You Should Avoid
1. Applying too much nail builder gel in one go. Too much product can lead to an uneven and lumpy surface.
2. Not buffing the nail between each coat of builder gel. Without buffing in between layers, the surface can become bumpy and uneven.
3. Applying the builder gel too close to the cuticle or sidewalls of the nail bed as can create a bulging effect around the edges of your nails.
4. Not allowing enough time for each layer of builder gel to dry thoroughly before applying another layer – if you apply further coats before it’s completely set, it can cause bubbling or shrinkage of your nail enhancement.
5. Trying to file off builder gel without soaking first will leave an uneven finish and could damage your natural nails underneath. Instead, soak your nails in warm soapy water for 10-15 minutes to help break down the builder gel. Then, use a nail file to remove it carefully.
Once you avoid these five mistakes, your nails will look professionally done. With practice and patience, you can create salon-quality nails with ease!
Does Builder Gel Damage Nails?
No, builder gel is actually formulated to be gentle and non-damaging on the nails. However, it can cause damage if not used properly or if you file too aggressively while removing the product. To ensure your nail health, apply the builder gel in thin layers and always file in one direction. Make sure to regularly buff between coats and allow each coat of builder gel to dry completely before adding another layer.
Additionally, always use a non-acetone nail polish remover to remove excess gel and apply cuticle oil regularly to keep the nails healthy. With some simple steps, your nails will stay healthy and strong underneath the nail builder gel.
By following these steps, you’ll be able to achieve a beautiful manicure without any damage.
Conclusion
In conclusion, learning how to use nail builder gel is a great way to ensure your nails look long and beautiful. Just remember to apply the gel to the entire nail and avoid cuticle contact. You’ll also want to make sure you have the correct size of tip for your nail when applying this product. Additionally, it’s important that you use buffing blocks or a file to shape the nail once you have applied the gel before curing it with an LED or UV lamp.
Finally, always follow up on your application of nail builder gel with a good quality top coat to protect and give shine to your newly applied manicure. With all these steps in mind, you’ll be mastering the art of using nail builder gel in no time!
Hopefully, this guide has been helpful in using nail builder gel. With a bit of practice and patience, you’ll soon be able to create salon-quality nails easily!
About the Author
Jane Hubbard is a passionate beauty expert with a wealth of experience in makeup, hair, and overall beauty techniques. After years of working as a hairdresser specialist, she followed her entrepreneurial spirit and started her own consultancy business.
Jane has always been driven by her desire to help others feel confident in their own skin, and she does this by sharing her knowledge, experiences, and practical beauty tips. Through her consultancy, she empowers individuals to embrace their unique beauty, offering tailored guidance that boosts both self-esteem and personal style.
Professional Focus
Specializes in makeup, hairstyling, and beauty consulting.
Provides personalized beauty advice, tips, and techniques to help individuals feel confident in their appearance.
Dedicated to staying up-to-date with the latest industry trends and developments.
Passionate about creating a comfortable and empowering experience for every client.
Education History
University of Craft and Design – Bachelor of Fine Arts (BFA) in Woodworking and Furniture Design
Woodworking Apprenticeships – Extensive hands-on training with skilled craftsmen to refine carpentry and furniture making techniques
Online Courses & Masterclasses – Continued education in advanced woodworking techniques, design principles, and specialized tools
Expertise:
Makeup artistry, hairstyling, and beauty consulting.
Personalized beauty techniques to enhance confidence and self-expression.
Educating clients on how to maintain their beauty routines at home.