
Do you want to add a bit of glamour and flair to your everyday items? Well, then, look no further than spider gel! Spider gel is the perfect solution – it has a unique texture that adds just the right amount of visual interest without being overpowering. Plus, it’s easy to use and comes in an array of beautiful colors!
This unique decorative product is the perfect way to transform ordinary objects into something extraordinary. Whether you’re looking to customize clothing or craft materials or just want something special to use around the house, spider gel can lend an eye-catching allure that will have heads turning.
In this blog post, we’ll provide an overview of how to use spider gel and tips on achieving professional-looking results every time. So if you’re ready to take your DIY projects up a notch with spider gel, read on!
What Will You Need?
To use spider gel, you will need the following items:
- Spider Gel: Available in a variety of colors and sizes.
- Container or Tray: Your spider gel will be applied to this.
- Sponge Applicator: This will be used to spread the spider gel evenly over your container or tray.
- Plate or Palette: Mix colors and add texture.
- A Clean Cloth: To wipe off any excess gel from your tools or surfaces.
Once you have gathered all of your materials, it’s time to start crafting!
10 Easy Steps on How to Use Spider Gel
Step 1. Pre Your Work Surface:
First, make sure your work surface is clean and free of debris. This will ensure that the spider gel adheres properly to the container or tray. If you’re working with a fabric material, pre-washing it is recommended.
Step 2. Mixing the Colours:
Using the plate or palette, mix together the colors of spider gel to create a unique shade. This is a fun and easy way to customize your projects with added color and texture! Additionally, you can use the palette to add additional patterns or elements.
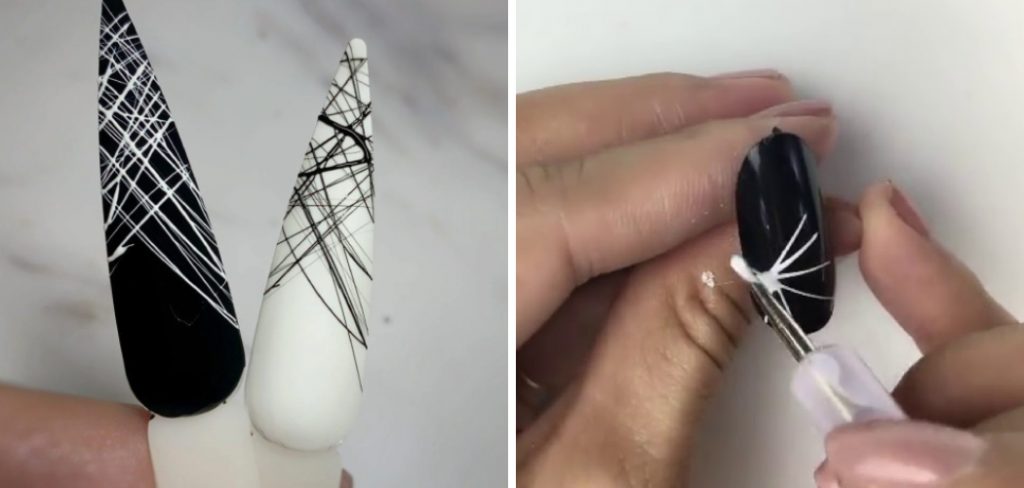
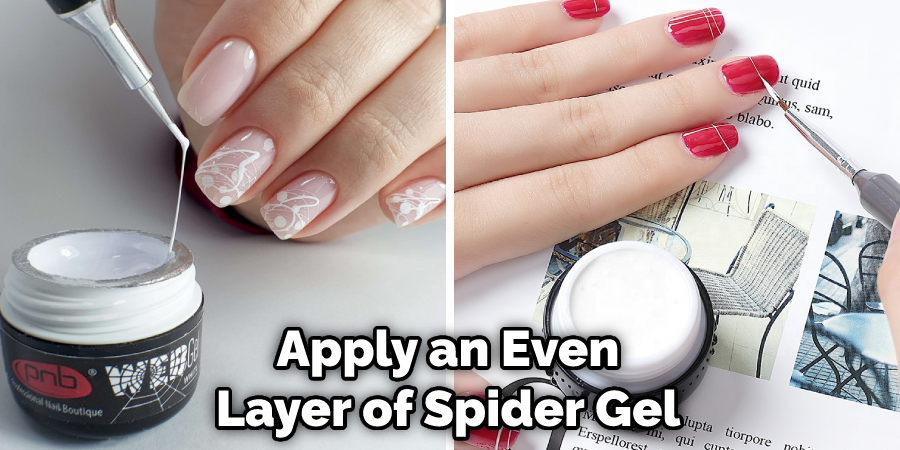
Step 3. Applying the Gel:
Apply an even layer of spider gel onto the container or tray using the sponge applicator. Make sure to spread it out evenly for the best results. Otherwise, the gel could dry too thick and lumpy.
Step 4. Adding Texture:
You can add texture by pressing gently into the spider gel with tools such as a brush or other decorative items. This will create interesting patterns that add visual interest to your project! Moreover, the texture can be manipulated in several ways. Be careful not to overwork the gel, as this can cause it to dry too quickly.
Step 5. Letting It Dry:
Once you have finished applying and texturing the spider gel on your item, let it dry for several hours or overnight. You can use a fan to speed up the process if needed. Don’t worry if the gel appears to be a bit sticky after drying. This is normal and will go away in time.
Step 6. Removing Excess Gel:
After the spider gel has dried, you can remove any excess by gently wiping it away with a clean cloth. This will ensure that your project looks neat and professional-looking. If you used a fabric material, be sure not to rub too hard.
Step 7. Adding Toppings:
If desired, you can add special toppers such as glitter or other decorative items to enhance the overall look of your project. Just remember to apply them before the spider gel dries completely! This will ensure that they stay in place.
Step 8. Finishing Touches:
Once all of your additions have been applied, let the item sit for a few more minutes until fully dry. Then, you are ready to show off your masterpiece! Try displaying it in a prominent place for all to admire.
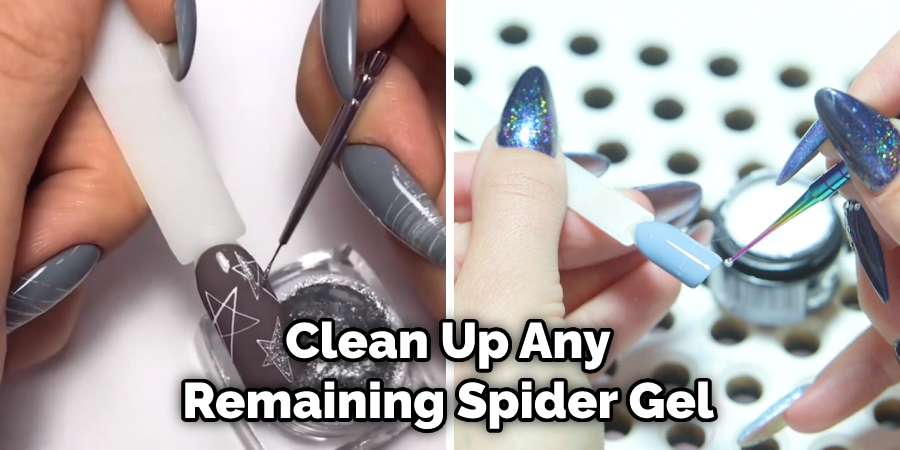
Step 9. Clean Up:
After you have enjoyed your finished product, make sure to clean up any remaining spider gel from your tools and work surfaces. This will help keep them in good condition for next time. Use a damp cloth or paper towel to wipe away the gel. Be careful not to rub too hard or you could damage the surface.
Step 10. Enjoy Your Creation!:
Now that you know use spider gel, it’s time to get creative and enjoy the unique look of your project! This amazing material is perfect for adding texture, color, and visual interest to any item. So get out there and start crafting! You won’t be disappointed.
There you have it – a quick overview of how to use spider gel for all kinds of crafts and DIY projects. Hopefully, this guide has given you the confidence to start experimenting with this amazing product today! Have fun crafting with spider gel, and be sure to share your creations with us on social media!
5 Additional Tips and Tricks
1. Use a Damp Cloth or Paper Towel: To ensure the spider gel gets stuck to walls and ceilings, you can use a damp cloth or paper towel to lightly wet the surface before applying. This will make the gel adhere more firmly and last longer.
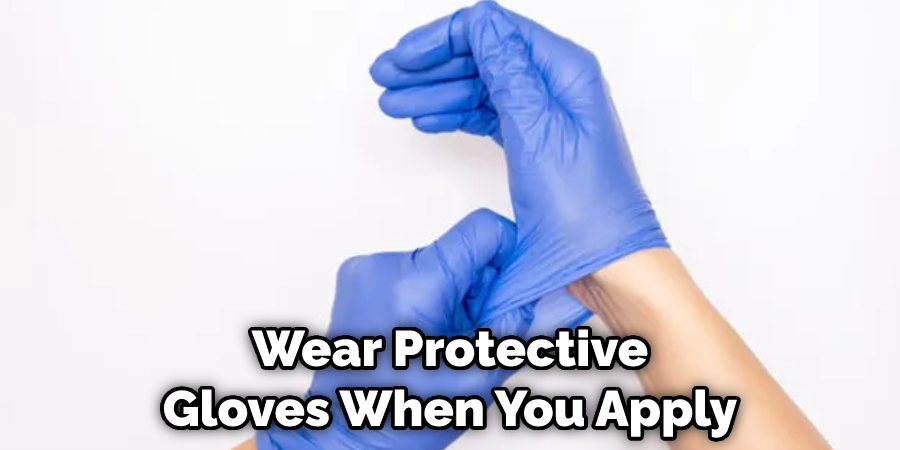
2. Wear Gloves When Applying: Spider gel can be quite sticky to work with, so it’s a good idea to wear protective gloves when you apply it. This will keep your hands from becoming covered in gluey residue and help you maintain a clean workspace as well.
3. Don’t Over-Apply: Applying too much spider gel can lead to an uneven finish or even messier removal once the job is finished. Start with small amounts of gel and reapply as needed to get the coverage you want without any excess product building up on your surfaces.
4. Clean Up Spills Quickly: If you spill some of the spider gel, clean up the mess as quickly as possible. The longer the gel sits on a surface, the harder it will be to remove.
5. Use a Warm Water Rinse: Once you’re done with your project, you can use a damp cloth or sponge and some warm water to rinse off any excess spider gel residue. This will help keep your surfaces looking pristine and ready for more projects in the future!
With these tips and tricks in hand, you can use spider gel to tackle all the tricky places around your home easily. Remember to take your time, use protective gear and materials, and clean up promptly for the best results.
5 Things You Should Avoid
1. Avoid Applying in High Humidity: Spider gel can be sensitive to high humidity and may not stick as well in these conditions. Try to apply it on a dry, cool day when possible.
2. Avoid Applying in Direct Sunlight: Like most glues, spider gel can be damaged or weakened by heat and light. Keep it out of the sun while you’re working with it to ensure a long-lasting hold.
3. Avoid Using Too Much Pressure: As tempting as it may be to press hard on the spider gel, this could cause it to slide away from the surface and make a mess. Instead, lightly dab at it with your finger or damp cloth for best results.
4. Avoid Leaving Gaps Between Applications: To get full coverage and an even finish, try not to leave any large gaps between your applications of spider gel. This will help keep your walls looking neat and tidy.
5. Avoid Using on Delicate Surfaces: Spider gel is designed for tough materials like brick, concrete, and wood but can damage more delicate surfaces like wallpaper or painted walls. Test a small area before applying it all over a surface to ensure it won’t cause any lasting damage.
By following these tips and tricks and avoiding the pitfalls of spider gel use, you’ll be able to keep your home neat and tidy easily! So grab some spider gel, put on your protective gear, and get ready to tackle those hard-to-reach places around the house confidently.

Conclusion
Spider gel is an effective product that can be used to help reduce the number of insects and other pests in your home. A healthy spider-free environment will protect you and your family from potential harm and disease. While it is easy to use the product, it is important to remember to read the instructions properly before application and always keep all the safety procedures in mind.
Not only is spider gel a useful tool for controlling pests, but it also helps protect the environment by not using any harsh chemicals. The best part about spider gel is that its effects last for up to 12 weeks, so you don’t have to reapply every couple of weeks. In conclusion, spider gel can provide a great solution for pest control if you follow all the instructions correctly.
Hopefully, the article on how to use spider gel has given you some insight into the product and how it can be used safely. If you have any further questions or concerns, feel free to contact a professional pest control expert. Good luck with your project!
About the Author
Jane Hubbard is a passionate beauty expert with a wealth of experience in makeup, hair, and overall beauty techniques. After years of working as a hairdresser specialist, she followed her entrepreneurial spirit and started her own consultancy business.
Jane has always been driven by her desire to help others feel confident in their own skin, and she does this by sharing her knowledge, experiences, and practical beauty tips. Through her consultancy, she empowers individuals to embrace their unique beauty, offering tailored guidance that boosts both self-esteem and personal style.
Professional Focus
Specializes in makeup, hairstyling, and beauty consulting.
Provides personalized beauty advice, tips, and techniques to help individuals feel confident in their appearance.
Dedicated to staying up-to-date with the latest industry trends and developments.
Passionate about creating a comfortable and empowering experience for every client.
Education History
University of Craft and Design – Bachelor of Fine Arts (BFA) in Woodworking and Furniture Design
Woodworking Apprenticeships – Extensive hands-on training with skilled craftsmen to refine carpentry and furniture making techniques
Online Courses & Masterclasses – Continued education in advanced woodworking techniques, design principles, and specialized tools
Expertise:
Makeup artistry, hairstyling, and beauty consulting.
Personalized beauty techniques to enhance confidence and self-expression.
Educating clients on how to maintain their beauty routines at home.