
Maintaining your self-tanner mitt is crucial for ensuring flawless application and prolonging the mitt’s lifespan. Over time, self-tanner residue and dead skin cells can accumulate on the mitt, potentially impacting its effectiveness and hygiene.
In this guide on how to wash self tanner mitt, we’ll walk you through the steps to properly clean your self-tanner mitt, keeping it in top condition and ready for your next tanning session.
Gather Your Materials
Before you begin, make sure you have all the necessary materials on hand. You will need:
Mild Soap or Gentle Cleanser:
Choose a mild soap or gentle cleanser to avoid any harsh chemicals that could damage the fabric of your self-tanner mitt. Look for products specifically designed for sensitive skin or those labeled as “gentle” or “mild”.
Warm Water:
Fill a sink or bowl with warm water, making sure it is not too hot as this can shrink or damage the mitt.
Soft-bristled Brush:
A soft-bristled brush, such as a clean toothbrush, will help remove any stubborn residue from the mitt.
Towel:
Have a clean towel ready to dry the mitt after washing.
8 Step-by-step Guidelines on How to Wash Self Tanner Mitt
Step 1: Rinse the Mitt
Begin by rinsing your self-tanner mitt under warm running water. Hold the mitt under the faucet and gently squeeze it to allow the water to penetrate the fabric and loosen any self-tanner residue.
Continue rinsing until the mitt is thoroughly damp and the majority of the surface residue has been washed away. This initial rinse will help prepare the mitt for a more thorough cleaning in the following steps.
Step 2: Apply Soap or Cleanser
Next, apply a small amount of mild soap or cleanser to the mitt. Avoid using too much product as this can create excess suds and make it difficult to rinse out fully.
Gently rub the soap into the fabric, focusing on any areas with heavy residue buildup. Use circular motions to work the soap into the fabric and break down any remaining product.
Step 3: Soak in Warm Water
After applying the soap or cleanser, submerge the self-tanner mitt in a sink or bowl filled with warm water. Allow the mitt to soak for about 10-15 minutes. This soaking period helps to further loosen any remaining self-tanner residue and ensures the soap penetrates deeply into the fabric.
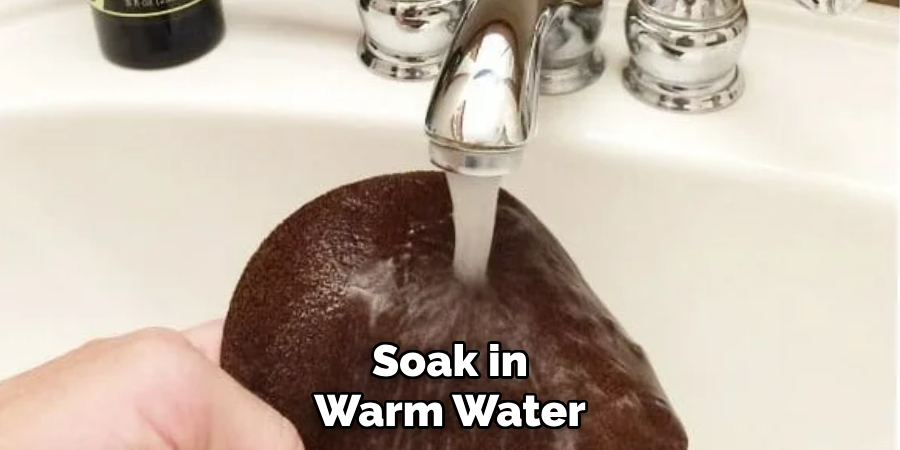
Occasionally agitate the mitt by gently pressing and squeezing it in the water to aid in the removal of any stubborn residue. Once the soaking time has elapsed, you are ready to proceed to the next step of the cleaning process.
Step 4: Scrub Gently
Using a soft-bristle brush, gently scrub the mitt in circular motions. Focus on any areas with stubborn residue and continue to work until the fabric appears clean and free of stains.
Be careful not to scrub too vigorously as this can cause the fabric to wear down or become damaged over time.
Step 5: Rinse Thoroughly
Once you have finished scrubbing, thoroughly rinse the mitt under warm running water to remove all traces of soap and loosened residue. Continue to squeeze the mitt, ensuring that the water flows through the fabric and all suds are completely washed out.
It is crucial to rinse the mitt well to avoid any soap buildup, which can interfere with your next tanning application. After rinsing, check the mitt to make sure it feels clean and there are no remaining soapy patches before moving onto the drying step.
Step 6: Gently Squeeze Out Excess Water
After rinsing, gently squeeze the mitt to remove excess water. Avoid twisting or wringing the fabric, as this can distort its shape and damage the fibers. Instead, press the mitt between your palms or against the side of the sink, applying even pressure to expel the water.
Be patient and ensure that as much water as possible is removed, leaving the mitt damp but not excessively wet. This will help expedite the drying process and maintain the mitt’s integrity. Once you have successfully removed the excess water, you are ready to move on to the drying step.
Step 7: Dry the Mitt
Lay a clean towel flat on a surface, then gently place the damp mitt onto it. Roll up the towel with the mitt inside and press lightly to absorb any remaining water.
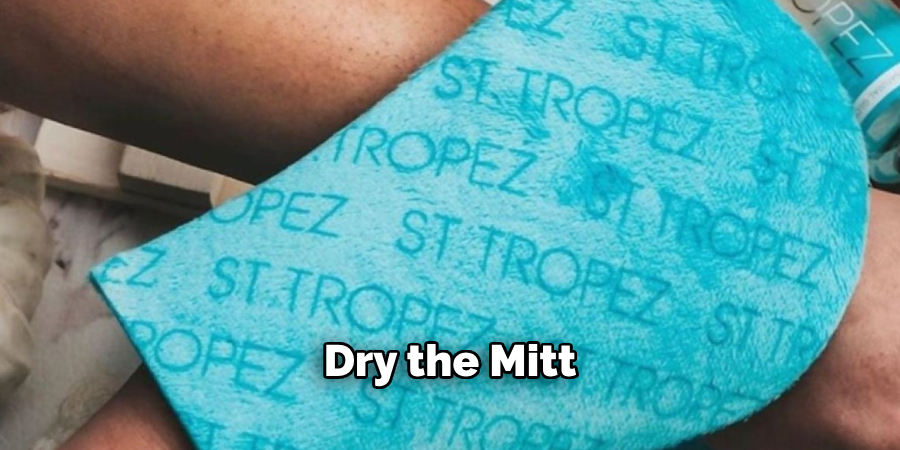
Unroll the towel and remove the mitt, then lay it out flat to air dry completely. Avoid using any heat sources such as hairdryers or radiators to speed up the drying process, as this can cause damage to your self-tanner mitt.
Step 8: Store Properly
Once your self-tanner mitt is completely dry, make sure to store it in a clean, dry place. Avoid placing it in direct sunlight or near any heat sources, as this can cause the fabric to fade or become brittle.
It is also essential to store the mitt away from any harsh chemicals or cleaning products that could potentially damage it. A good rule of thumb is to keep your mitt stored separately from other beauty tools and products.
By following these simple steps on how to wash self tanner mitt, you can ensure that your self-tanner mitt stays clean and in top condition for all of your tanning needs. Remember to wash your mitt regularly, especially after each use, to maintain its effectiveness and prolong its lifespan. Happy tanning!
Additional Tips
- If you are short on time, you can use a gentle makeup remover to spot-clean your self-tanner mitt in between washes. Simply apply the remover to a cotton pad and gently rub it over any stained areas of the mitt.
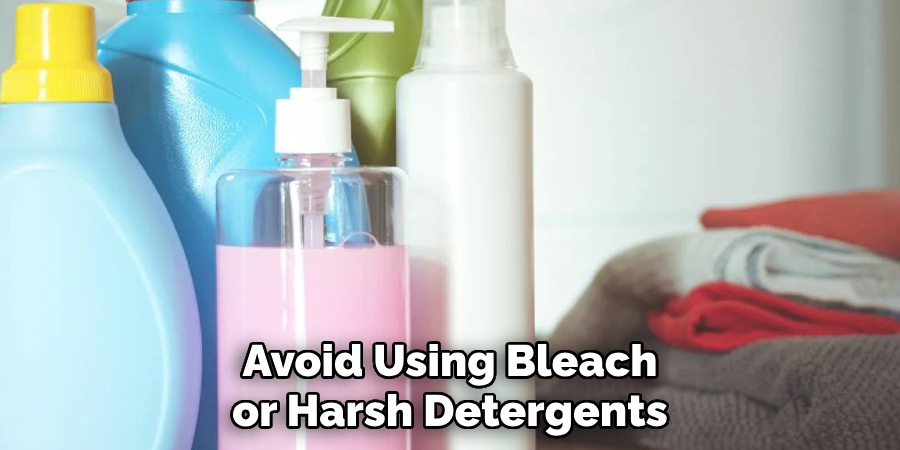
- Avoid using bleach or harsh detergents when washing your mitt, as these can damage the fabric and cause it to deteriorate faster.
- Always allow your self-tanner mitt to air dry completely before using it again. Using a damp or wet mitt can affect the outcome of your tanning application.
- Consider purchasing multiple self-tanner mitts so that you always have a clean one on hand. This can also help prolong the lifespan of each mitt, as they will not need to be washed as frequently.
- If your self-tanner mitt starts to feel stiff or lose its softness, you may need to replace it with a new one. Using an old or damaged mitt can result in uneven tanning and potentially ruin your tanning application.
- Lastly, always follow the specific care instructions provided by your self-tanner mitt’s manufacturer to ensure the best cleaning method for your particular mitt. So, it’s essential to read and understand these instructions before cleaning your mitt.
- Keep in mind that while washing is necessary to maintain a clean and effective self-tanner mitt, over-washing can also cause unnecessary wear and tear on the fabric. Aim to wash your mitt only when needed to prolong its lifespan.
By properly caring for your self-tanner mitt, you can make sure it stays in top condition and continues to provide smooth, streak-free tan applications every time. Happy tanning!
Frequently Asked Questions
Q: How Often Should I Wash My Self-tanner Mitt?
A: It is recommended to wash your self-tanner mitt after every use, or at least once a week if you are using it frequently. This will prevent any buildup of residue and ensure the mitt stays clean and effective for your next tanning session.
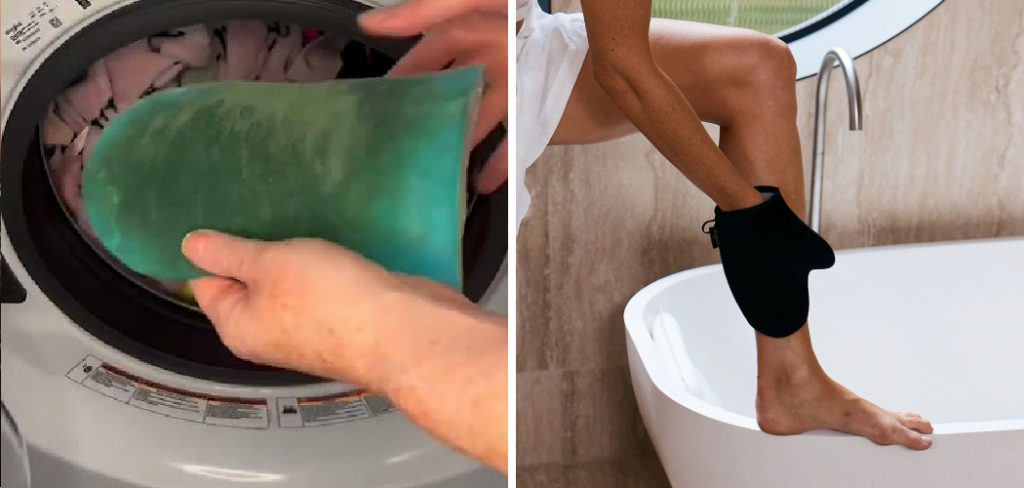
Q: Can I Wash My Self-tanner Mitt in the Washing Machine?
A: It is not recommended to wash your self-tanner mitt in a washing machine as the harsh spinning and twisting can damage the fabric. Handwashing is the best method for cleaning your mitt without causing any damage.
Q: How Do I Know if My Self-tanner, Mitt, Needs to be Replaced?
A: If you begin to notice holes or tears in your self-tanner mitt, it is time to replace it. Additionally, if you find that it is becoming increasingly difficult to remove all traces of residue from the fabric, it may be time for a new mitt as well.
Q: Can I Use the Same Self-tanner Mitt for Different Products?
A: It is not recommended to use the same self-tanner mitt for different products, as this can lead to cross-contamination and affect the overall effectiveness of the product. It’s best to have a separate mitt for each different self-tanning product you use.
Conclusion
Properly caring for your self-tanner mitt is crucial to ensure its longevity and effectiveness. By following the detailed steps outlined in this guide on how to wash self tanner mitt, you can keep your mitt clean, free of residue, and in optimal condition for each tanning session.
Regular maintenance not only enhances your tanning experience but also ensures that you apply the product evenly and achieve the best results. Remember, a well-maintained mitt is key to a flawless and streak-free tan. So, take the time to wash and store your self-tanner mitt correctly, and you will enjoy beautiful, bronzed skin for many sessions to come. Happy tanning!
About the Author
Jane Hubbard is a passionate beauty expert with a wealth of experience in makeup, hair, and overall beauty techniques. After years of working as a hairdresser specialist, she followed her entrepreneurial spirit and started her own consultancy business.
Jane has always been driven by her desire to help others feel confident in their own skin, and she does this by sharing her knowledge, experiences, and practical beauty tips. Through her consultancy, she empowers individuals to embrace their unique beauty, offering tailored guidance that boosts both self-esteem and personal style.
Professional Focus
Specializes in makeup, hairstyling, and beauty consulting.
Provides personalized beauty advice, tips, and techniques to help individuals feel confident in their appearance.
Dedicated to staying up-to-date with the latest industry trends and developments.
Passionate about creating a comfortable and empowering experience for every client.
Education History
University of Craft and Design – Bachelor of Fine Arts (BFA) in Woodworking and Furniture Design
Woodworking Apprenticeships – Extensive hands-on training with skilled craftsmen to refine carpentry and furniture making techniques
Online Courses & Masterclasses – Continued education in advanced woodworking techniques, design principles, and specialized tools
Expertise:
Makeup artistry, hairstyling, and beauty consulting.
Personalized beauty techniques to enhance confidence and self-expression.
Educating clients on how to maintain their beauty routines at home.