
Are you tired of hair falling out while cooking or working in a food service environment? A hair net is the solution you are looking for! Hair nets are an essential piece of personal protective equipment (PPE) that helps keep your hair contained and prevent it from getting into food or other sensitive areas. In this guide, we will discuss how to wear hair net to ensure maximum effectiveness.

Wearing a hair net is essential in various professions and activities where maintaining cleanliness and hygiene is critical, such as in the culinary industry, medical fields, and food production. A properly worn hair net ensures that hair is securely contained, preventing any stray strands from contaminating food, sterile environments, or delicate machinery.
This guide will walk you through the steps to correctly wear a hair net, ensuring your hair is fully covered and you remain compliant with hygiene standards.
What Will You Need?
Before we dive into the steps, here are some things you will need to wear a hair net correctly:
- A clean and properly fitting hairnet
- A mirror (optional)
- Hair clips or ties for longer hair
Once you have these items ready, let’s get started.
10 Easy Steps on How to Wear Hair Net:
Step 1: Preparing Your Hair
Before wearing a hair net, it is essential to ensure that your hair is clean and free from any product buildup. If your hair is dirty or has a lot of styling products in it, the effectiveness of the hair net may be compromised.
Once your hair is clean, comb or brush it neatly to remove tangles or loose strands. If you have longer hair, tie it up using hair clips or ties to keep it securely in place.
Step 2: Unfolding the Hair Net
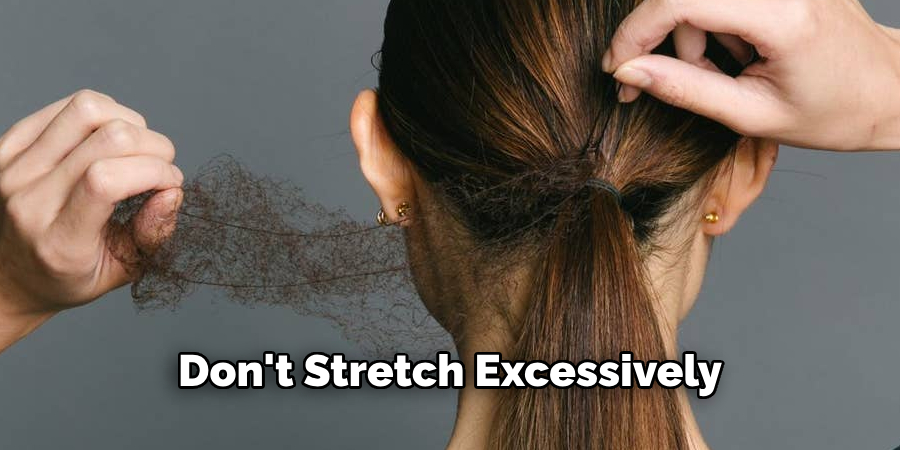
Take your clean hair net and unfold it gently. Be careful not to stretch it excessively, as this can cause the hair net to lose its shape and effectiveness. Make sure the elastic band, which will sit around your hairline, is intact and evenly distributed around the net.
Step 3: Positioning the Hair Net
Hold the unfolded hair net with both hands and position it over your head. Make sure the elastic band is at the front of your hairline. Carefully stretch and lower the hair net over your scalp, ensuring that the elastic band sits snugly around the perimeter of your hairline. If you have longer hair that is tied up, make sure the net covers your entire hair bun or ponytail.
Step 4: Covering All Hair
Adjust the hair net so it fully covers all your hair. The goal is to ensure no stray hairs are peeking out. Use your fingers to meticulously tuck in any loose strands, ensuring the hair net conforms to the shape of your head. This step might require a bit more attention if you have longer or thicker hair.
Step 5: Securing the Hair Net
Once the hair net is in position, make sure it feels secure around the edges. It should fit snugly but not uncomfortably tight. If necessary, take a moment to check yourself in the mirror, ensuring that the net is evenly distributed and there are no visible gaps or loose sections. If you find any areas where the hair net is not secure, adjust it by gently pulling the edges or tucking in any additional strands.
To further secure the hair net, you may use additional hair clips or pins, especially if you have long or thick hair. Place these clips at strategic points, such as the back of your head or sides, to prevent the net from slipping during your activities. This step helps in maintaining the net’s position for an extended period, ensuring maximum hygiene and compliance with safety standards.
Additionally, consider lightly pressing down on the net to ensure it is flush against your scalp. This reinforcing action helps eliminate any potential gaps where hair might escape. Pay particularly close attention to the area around the ears, as this can often be a tricky spot for the net to cover completely.
Step 6: Final Touches
Finally, give yourself a thorough once-over, ensuring the hair net is perfectly in place. If necessary, adjust the fit and double-check that all your hair is properly secured. Ensuring a secure fit can significantly improve the effectiveness of the hair net, particularly in environments that demand strict hygiene practices.
Remember, constantly check throughout your shift or activity that the hair net remains secure. If you notice any shifts or loose hair, take a moment to readjust to maintain its purpose. Proper maintenance and adjustment underscore the importance of compliance and hygiene in professional settings.
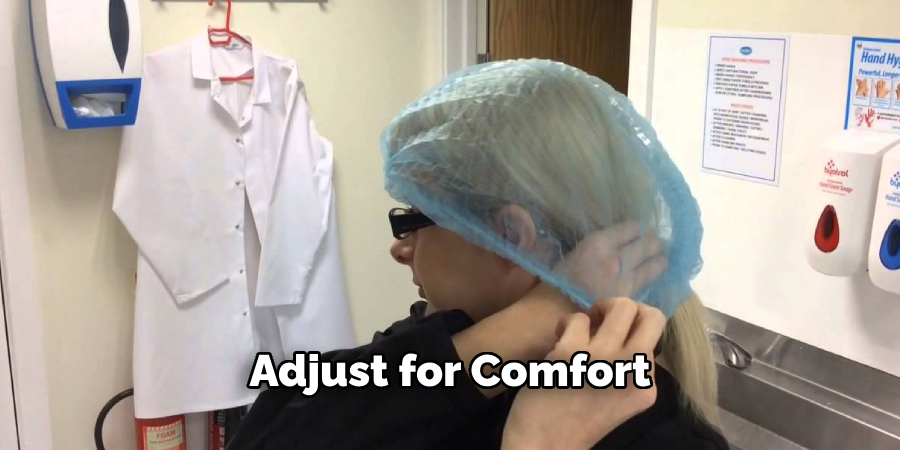
Step 7: Adjusting for Comfort
After ensuring that your hair net is securely in place, take a moment to adjust it for comfort. A hair net that is too tight can cause headaches and discomfort, while a loose one will not effectively contain your hair. Move your head slightly from side to side and forward and backward to check the hair net’s stability. If it’s too tight, gently lift the edges and reposition them for a more comfortable fit. Conversely, if it’s too loose, consider using additional hairpins or clips to secure it better.
Step 8: Tucking In Loose Hair
Some strands of hair can come loose from the net throughout the day. Periodically check your hair net and tuck in any stray hair to maintain a professional and hygienic appearance. This is especially important if you are working in a high-movement environment. Consistently tucking in loose hair will prevent these strands from contaminating your workspace and ensure you follow best practices.
Step 9: Removing the Hair Net
When it’s time to remove your hair net, do so carefully to avoid pulling your hair. Start by loosening the edges from around your hairline and then lift the net upwards and off your head. Avoid yanking it off quickly, as this can cause breakage or discomfort. If you are reusing the net, inspect it for any damage, like rips or stretched-out areas, and replace it if necessary.
Step 10: Storing the Hair Net
Proper storage of your hair net ensures it remains clean and retains its shape for future use. If you plan to reuse your hair net, clean it according to the manufacturer’s instructions and store it in a clean, dry place. Many opt to use a resealable plastic bag or a dedicated compartment in their locker or workstation. This keeps the net hygienic and ready for use, maintaining its effectiveness over time.
By following these steps, you ensure that your hair net is worn correctly and effectively, helping you maintain high standards of hygiene and compliance in any professional setting.
5 Additional Tips and Tricks
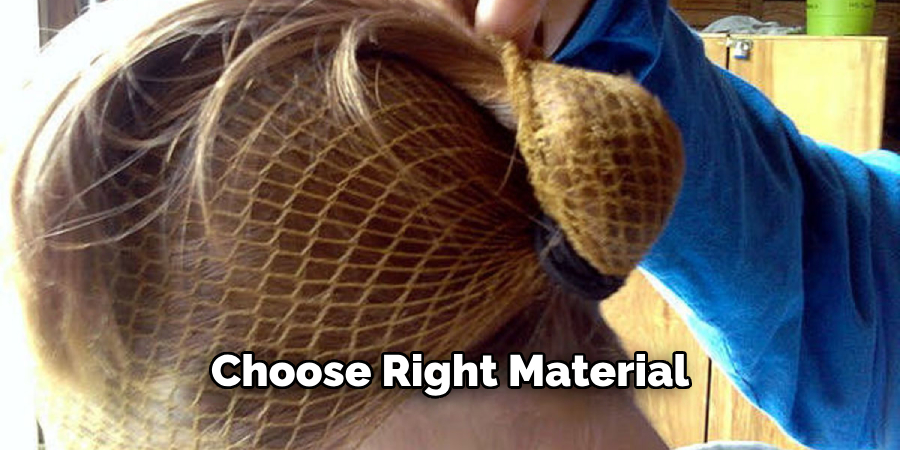
- Choose the Right Material: Select a hair net made from high-quality materials like nylon or polyester, as these are more durable and provide better breathability.
- Match the Colour: Choose a net that closely matches your hair color to make the hair net less noticeable. This provides a more seamless look and ensures the hair net blends in.
- Anchor with Bobby Pins: Use bobby pins to anchor the edges of the hair net to your hairdo. This adds extra security and prevents the net from sliding off, particularly during prolonged wear.
- Check for Comfort: Make sure the hair net is not too tight or too loose. It should fit comfortably and remain in place without causing any discomfort or leaving marks on your forehead or scalp.
- Keep a Spare Hair Net: It’s always a good idea to keep an extra hair net in your bag or purse, especially if you have long hair. This way, you can quickly replace the one you’re wearing if it gets damaged or lost.
5 Things You Should Avoid
- Skipping the Hair Tie: Avoid wearing a hair net without first securing your hair with a tie or band. This step ensures that your hair stays in place and the net can effectively contain it.
- Choosing the Wrong Size: Do not use a hair net that is either too small or too large for your head. An incorrect size can lead to discomfort and may even fail to hold your hair properly.
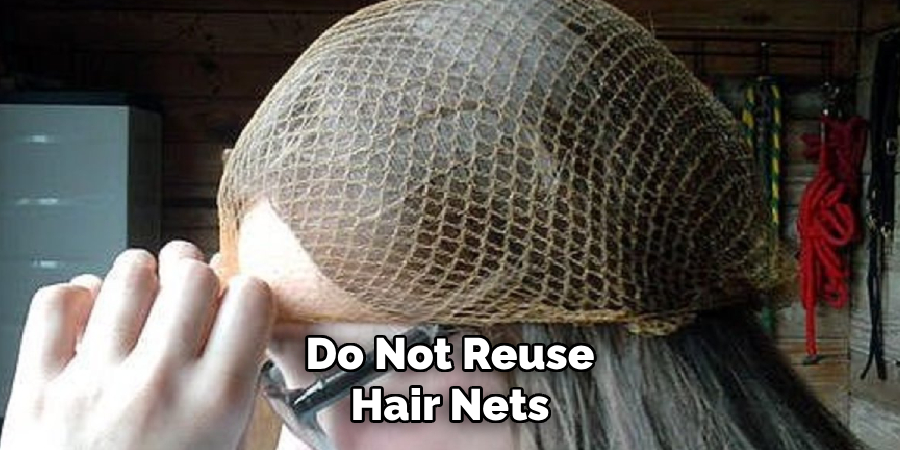
- Ignoring Hygiene: Do not reuse hair nets without washing them regularly. Dirty hair nets can harbor bacteria and cause scalp irritation or discomfort.
- Using Damaged Nets: Avoid using hair nets that are torn or have visible holes. Damaged hair nets will not provide adequate coverage and can easily come undone, making them ineffective.
- Neglecting Placement: Do not place the hair net haphazardly on your head. Ensure it covers all your hair uniformly to maintain a neat and professional appearance.
Conclusion
How to wear hair net properly is essential for maintaining a neat and professional appearance, whether for culinary, healthcare, or performance purposes.
You can achieve an optimal fit and functionality by choosing the right material and color, anchoring with bobby pins, ensuring comfort, and keeping a spare handy. Equally important is avoiding common mistakes such as skipping a hair tie, selecting the wrong size, neglecting hygiene, using damaged nets, and improper placement.
By following these tips and avoiding these pitfalls, you can ensure that your hair net effectively serves its purpose, providing security and comfort throughout the day.
About the Author
Jane Hubbard is a passionate beauty expert with a wealth of experience in makeup, hair, and overall beauty techniques. After years of working as a hairdresser specialist, she followed her entrepreneurial spirit and started her own consultancy business.
Jane has always been driven by her desire to help others feel confident in their own skin, and she does this by sharing her knowledge, experiences, and practical beauty tips. Through her consultancy, she empowers individuals to embrace their unique beauty, offering tailored guidance that boosts both self-esteem and personal style.
Professional Focus
Specializes in makeup, hairstyling, and beauty consulting.
Provides personalized beauty advice, tips, and techniques to help individuals feel confident in their appearance.
Dedicated to staying up-to-date with the latest industry trends and developments.
Passionate about creating a comfortable and empowering experience for every client.
Education History
University of Craft and Design – Bachelor of Fine Arts (BFA) in Woodworking and Furniture Design
Woodworking Apprenticeships – Extensive hands-on training with skilled craftsmen to refine carpentry and furniture making techniques
Online Courses & Masterclasses – Continued education in advanced woodworking techniques, design principles, and specialized tools
Expertise:
Makeup artistry, hairstyling, and beauty consulting.
Personalized beauty techniques to enhance confidence and self-expression.
Educating clients on how to maintain their beauty routines at home.