
Are you tired of using old, boring makeup sponges? Do you want to add a touch of luxury and elegance to your daily makeup routine? Look no further because diy powder puff is here to save the day!
Powder puffs are soft, fluffy applicators that apply powder evenly to the skin, making them a staple in makeup routines. Creating your powder puffs can be a fun and rewarding, allowing you to customize their size, shape, and material to suit your needs. Whether you’re looking to save money, reduce waste, or simply enjoy a creative activity, making powder puffs at home is surprisingly easy.
This guide on how to make powder puffs will walk you through the steps to craft your very own powder puffs using simple materials and tools.
What Are the Benefits of Making Your Own Powder Puffs?
Before we dive into the steps, let’s take a moment to explore why making your powder puffs can be beneficial:
- Cost-effective: Store-bought makeup sponges and powder puffs can add up quickly, mainly if you use them daily. By making your own, you can save money in the long run.
- Customizable: You have complete control over your powder puff’s size, shape, and material. This allows for a more personalized application and ensures that it meets your specific needs.
- Eco-friendly: Using recycled or sustainable materials for your powder puffs can reduce waste and contribute to a more environmentally friendly beauty routine.
- Creative Outlet: Making powder puffs can be fun and relaxing, allowing you to express your creativity and experiment with different designs and materials.
What Will You Need?
To make your own powder puffs, you will need:
- Fabric of your choice (cotton or silk works best)
- Scissors
- Needle and thread
- Ribbon or elastic for the handle
- Powderpuff filling (such as cotton balls or quilt batting)
Once you have gathered all your materials, follow these simple steps to create your very own powder puff!
8 Easy Steps on How to Make Powder Puffs
Step 1: Choose Your Fabric
Begin by selecting the fabric that suits your preferences and needs. Cotton is popular because it is soft, durable, and readily available. On the other hand, Silk offers a luxurious feel and smooth application, making it perfect for those who want a more elegant touch.
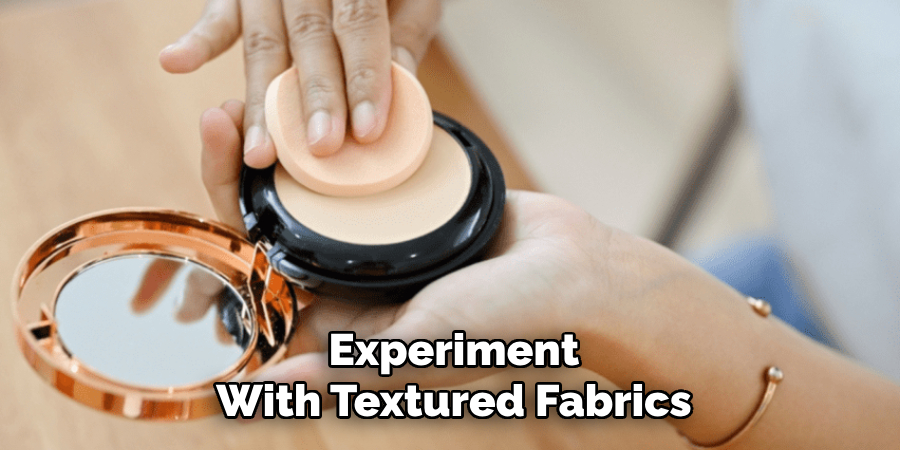
You can also experiment with textured fabrics for a unique aesthetic, but ensure the material is gentle on your skin. Pay attention to the color and pattern of the fabric as well, as this adds a personal touch to your powder puff.
Whether you opt for classic white, vibrant shades, or whimsical prints, the fabric you choose will be the foundation of your custom powder puff. Ensure the fabric is clean and free of any wrinkles for the best results.
Step 2: Cut the Fabric
Once you have chosen your fabric, lay it flat on a clean surface and use a circular template, such as a small bowl or lid, to trace a circle onto the fabric. The size of the circle will determine the size of your powder puff, so choose a template that meets your desired specifications.
Using sharp scissors, carefully cut along the traced outline to get a clean, even circle. For added precision, you can use a fabric rotary cutter if available. Make sure the edges are smooth to create a polished final product.
Step 3: Assemble the Powder Puff
Take two fabric circles you have cut and place them together with the patterned or outer sides facing inward. This ensures that the finished product will display the correct side of the fabric. Pin the edges together to keep the circles aligned while you work.
Using a needle and thread or a sewing machine, stitch along the outer edge of the circles, leaving a small opening of about an inch or two. This gap will allow you to turn the fabric right side out and fill the puff later. Make sure your stitches are secure to ensure durability.
Step 4: Turn and Fill the Powder Puff
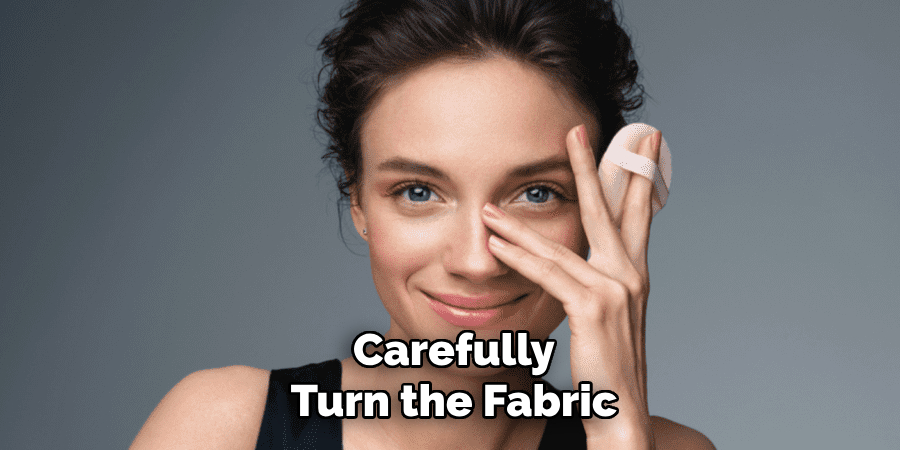
Carefully turn the fabric right side out through the opening you left in the stitching. Use your fingers or a blunt tool, like the end of a pencil, to gently push out the edges and ensure the circles form a smooth, rounded shape.
Once turned, fill the puff with a soft, fluffy material such as cotton batting or fiberfill. Add just enough filling to give the powder puff a plump, cushiony feel without overstuffing it. This will ensure the puff remains soft and easy to use.
Step 5: Close the Opening and Finish the Puff
After filling the powder puff, carefully tuck in the raw edges of the opening to create a clean finish. Using a needle and thread, sew the opening closed with a ladder stitch or whip stitch, ensuring your stitching is neat and secure.
Take your time to make the seam as seamless as possible so it blends with the rest of the puff. Once the opening is closed, fluff up the powder puff and smooth out its shape. Your handmade powder puff is now complete and ready to use!
Step 6: Personalize Your Powder Puff
To make your powder puff truly unique, consider adding a personal touch. You can sew on a small decorative ribbon or bow for added elegance or embroider your initials onto the fabric for a custom look. If desired, lightly scent the powder puff by applying a few drops of your favorite essential oil to the filling before closing it.
Allow the scent to distribute evenly, giving your powder puff a subtle, pleasant fragrance. These custom details will enhance the aesthetic appeal and make your powder puff a unique and personalized accessory.
Step 7: Care and Maintenance
Proper care is essential to ensure your handmade powder puff remains in good condition. After each use, give it a gentle shake to remove any excess powder.
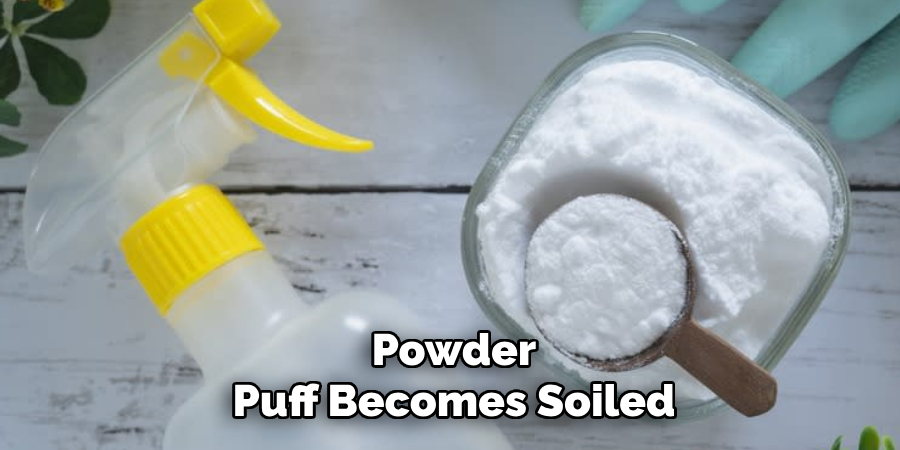
If your powder puff becomes soiled, you can hand wash it with a mild detergent and lukewarm water. Allow it to air dry completely before using it again to maintain its softness and shape. Regular cleaning will keep it hygienic and extend its lifespan, letting you enjoy your personalized powder puff for years to come.
Step 8: Storing Your Powder Puff
Proper storage is key to keeping your handmade powder puff clean and in excellent condition. Store it in a dry, ventilated area away from direct sunlight to prevent discoloration or damage to the fabric. You can place it in a small pouch or container to protect it from dust and debris when not in use. This will help preserve its quality and ensure that it’s always ready for your next use.
By following these easy steps, you can make your own powder puff and add a touch of luxury to your beauty routine.
5 Things You Should Avoid
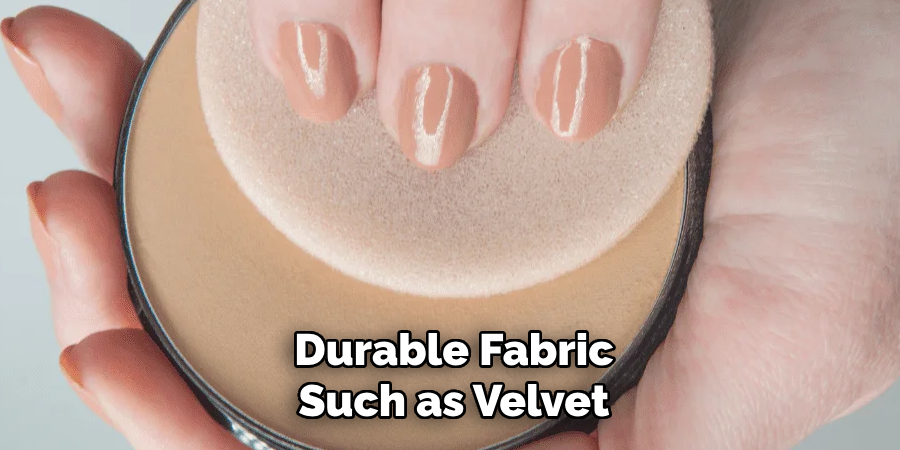
- Using Low-Quality Fabric: Choosing cheap or low-quality fabric can result in rough powder puffs on the skin and a lack of durability. Always opt for soft, high-quality materials like velvet or microfiber for better results.
- Skipping Proper Measurements: Failing to measure the fabric and filling correctly can lead to uneven or poorly constructed powder puffs. Ensure you take accurate dimensions to maintain consistency.
- Overstuffing or Understuffing: Adding too much or too little filling can affect the functionality and comfort of the powder puff. Aim for a balanced amount to create a soft yet firm texture.
- Ignoring Stitching Techniques: Poor stitching or weak seams can cause the powder puff to fall apart easily. Take the time to use strong, secure stitching methods for a long-lasting product.
- Neglecting Hygiene Standards: Using dirty tools or not sanitizing the materials beforehand can compromise the hygiene of your powder puffs. Always work in a clean environment and handle materials with care.
Are Powder Puffs Better Than Brushes?
Powder puffs and makeup brushes have long been the go-to tools for applying powder products, such as setting powders, blushes, and bronzers. While both serve the same purpose, there are certain factors to consider when deciding between the two.
One of the main benefits of using a powder puff is its ability to provide a smooth and even application. The soft texture of a powder puff allows for better blending and avoids any harsh lines or streaks that may occur with a brush. Additionally, powder puffs can hold more products than brushes, meaning less product wastage and more buildable coverage.
On the other hand, makeup brushes offer more precision and control regarding application. They allow for targeted placement of products and can be used for various techniques such as contouring or highlighting. Brushes also tend to have a longer lifespan than powder puffs, making them a more economical choice in the long run.
Conclusion
How to make powder puffs can be a simple and cost-effective alternative to purchasing them.
Start by selecting a soft, durable fabric such as velvet or microfiber, as these materials are gentle on the skin and ideal for evenly distributing powder. Cut the fabric into the desired shape, commonly a circle, and sew the edges together, leaving a small opening to fill the puff. Add a soft cushioning material, such as cotton or polyester stuffing, for a plush texture, and then close the opening securely. For added functionality, consider attaching a small ribbon or strap to the back of the puff for easier handling.
Following these steps, you can create a customizable and reusable powder puff tailored to your needs.
About the Author
Jane Hubbard is a passionate beauty expert with a wealth of experience in makeup, hair, and overall beauty techniques. After years of working as a hairdresser specialist, she followed her entrepreneurial spirit and started her own consultancy business.
Jane has always been driven by her desire to help others feel confident in their own skin, and she does this by sharing her knowledge, experiences, and practical beauty tips. Through her consultancy, she empowers individuals to embrace their unique beauty, offering tailored guidance that boosts both self-esteem and personal style.
Professional Focus
Specializes in makeup, hairstyling, and beauty consulting.
Provides personalized beauty advice, tips, and techniques to help individuals feel confident in their appearance.
Dedicated to staying up-to-date with the latest industry trends and developments.
Passionate about creating a comfortable and empowering experience for every client.
Education History
University of Craft and Design – Bachelor of Fine Arts (BFA) in Woodworking and Furniture Design
Woodworking Apprenticeships – Extensive hands-on training with skilled craftsmen to refine carpentry and furniture making techniques
Online Courses & Masterclasses – Continued education in advanced woodworking techniques, design principles, and specialized tools
Expertise:
Makeup artistry, hairstyling, and beauty consulting.
Personalized beauty techniques to enhance confidence and self-expression.
Educating clients on how to maintain their beauty routines at home.