
Are you tired of wearing heavy and uncomfortable fake eyelashes? Do you want a more natural and effortless look without sacrificing the length and volume of your lashes? If so, then strip lashes are the perfect solution for you!
Applying strip lashes can instantly enhance your eye makeup, giving a fuller and more dramatic look. Whether you’re preparing for a special occasion or simply experimenting with your style, learning to apply strip lashes correctly can make all the difference. While it may seem tricky at first, with the right technique and a bit of practice, you can achieve a seamless and natural appearance.
This guide on how to apply strip lashes will walk you through the essential steps to master the art of applying strip lashes like a pro.
What Are the Benefits of Strip Lashes?
Strip lashes, also known as false eyelashes or fake eyelashes, are a popular beauty tool for enhancing the appearance of your eyes. They come in various lengths, thicknesses, and styles to suit different eye shapes and preferences.
The benefits of using strip lashes include:
- Adding volume and length to your natural lashes
- Creating a fuller and more dramatic look
- Enhancing the shape and definition of your eyes
- Saving time on daily makeup application
- Allowing you to experiment with different looks
What Will You Need?
To apply strip lashes, you will need:
- Strip lashes of your choice
- Lash adhesive (preferably waterproof)
- Tweezers or lash applicator tool
- Scissors (optional)
Once you have gathered all the necessary materials, you are ready to apply your strip lashes!
10 Easy Steps on How to Apply Strip Lashes
Step 1. Prepare Your Lashes
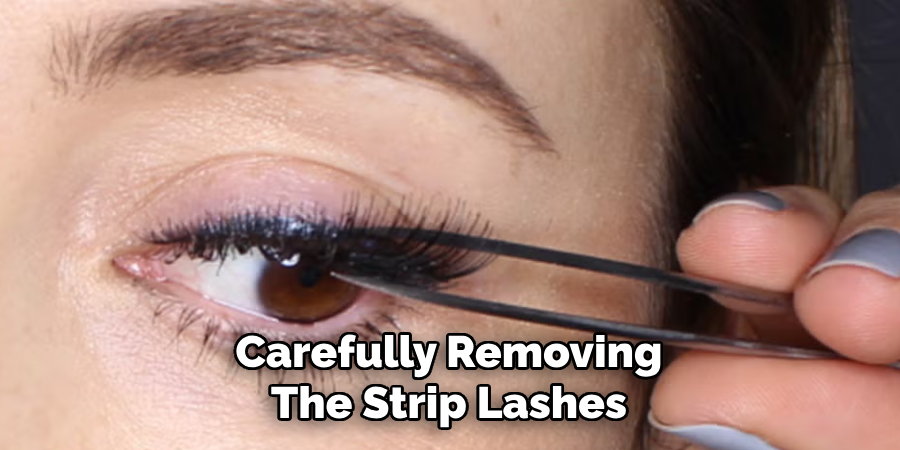
Start by carefully removing the strip lashes from their packaging. Use tweezers or your fingertips to gently lift the strip from the tray, ensuring you do not damage the delicate lash fibers. If the lash band is too stiff, lightly bend it back and forth to make it more flexible and comfortable to wear. Next, hold the strip lash up to your natural lash line to check the fit. If the strip is longer than your eyelid, use small scissors to trim the excess from the outer edge for a perfect fit. This ensures the lashes will look natural and feel comfortable throughout the day.
Step 2. Measure and Trim (if necessary)
Once the lashes are accurately measured and trimmed, it’s essential to ensure they blend seamlessly with your natural lashes. To enhance their pliability, gently wrap the lash band around your finger or a makeup brush for a few seconds. This will help mold the band to the natural curve of your eyelid, offering a more natural and comfortable fit.
Additionally, before trimming, always check the alignment by placing the lashes close to your lash line and observing where they start and end. Trimming small amounts at a time is crucial to avoid cutting too much, as a precise fit is key to achieving a professional look. Remember to focus on trimming from the outer edge of the lash strip, as this ensures that the design and style of the lashes remain intact.
Step 3. Apply Lash Adhesive
Applying lash adhesive is a crucial step in ensuring your false lashes stay securely in place throughout the day or night. Begin by choosing a high-quality lash glue that complements your needs—clear glue is ideal for a seamless, natural finish, while dark glue can enhance the appearance of eyeliner for a more dramatic look. To apply, carefully squeeze a small amount of the adhesive onto the lash band, ensuring an even, thin layer.
Avoid overloading the lash band with glue, as this can lead to messy application and discomfort. Allow the adhesive to become tacky for 20-30 seconds before placing the lashes; this ensures better adherence and reduces slipping during application. Using a small applicator or the tip of the glue nozzle can help with precision, especially for delicate lash bands.

Step 4. Start with the Center
Place the false lashes onto the center of your natural lash line first, using a pair of tweezers or a lash applicator for better accuracy. Align the lashes carefully to ensure they sit as close as possible to your natural lash line, creating a seamless and natural look. Starting with the center helps anchor the lashes in place, making it easier to secure the inner and outer corners. Gently press down on the center of the lash band to ensure it adheres properly before moving to the edges.
Take your time—precision is key to achieving a flawless application. If adjustments are needed, use the applicator or your fingers to nudge the lashes into position before the adhesive sets completely.
Step 5. Secure the Outer Corner
Once the center is secured, focus your attention on the outer corner of the lash band. Hold the lash in place with your applicator or fingers, and gently press it along your natural lash line to ensure a strong bond. Check that the edge lies flat and blends seamlessly with your natural lashes, avoiding any visible gaps or lifting.
If the adhesive begins to dry before the outer corner is fully attached, simply apply a small amount directly onto the lash band and wait a few seconds for it to become tacky before reattaching. Take extra care to align the band evenly—this helps prevent discomfort and ensures the lashes stay put throughout the day.
Step 6. Secure the Inner Corner
Once the outer corner is securely in place, shift your focus to the inner corner of the lash band. This step is crucial, as the inner corner tends to lift more easily due to natural eye movements and the delicate nature of the area. Gently press the inner corner of the lash band down using either your fingertip or a set of tweezers. If the adhesive requires reinforcement, apply a small dot of glue to the inner corner of the band and wait for it to become tacky before pressing it into place.
Step 7. Adjust the Position
Ensure the lashes are positioned as close to your natural lash line as possible for a seamless and natural look. Use a mirror for better visibility, preferably one angled slightly upwards so you can look down into it while applying. If the lashes feel uncomfortable or uneven, gently nudge them into place using the end of a makeup brush or a clean cotton swab.
Pay close attention to both the inner and outer corners, ensuring they are secure and properly aligned with your natural lash line. Take a step back to assess whether the lashes enhance the shape of your eyes evenly. If needed, carefully adjust the angle or placement until the desired effect is achieved.

Step 8. Blend with Mascara
Once your false lashes are securely in place and aligned to perfection, it’s time to blend them seamlessly with your natural lashes using mascara. Start by selecting a high-quality mascara that complements your lashes and provides the desired look, whether that’s length, volume, or both. Gently apply a coat of mascara from the base of your natural lashes to the tips, ensuring to incorporate the false lashes as well.
This step helps to unify the natural and false lashes, eliminating any noticeable gaps and making the lash line appear fuller and more cohesive.
Step 9. Tight line with Eyeliner
To achieve a seamless finish and enhance the overall look, tight lining with eyeliner is a crucial step. This technique involves applying eyeliner to the upper waterline, also known as the lash line, to fill in any visible gaps between your natural lashes and false lashes.
Begin by choosing a waterproof or smudge-proof eyeliner to ensure it stays in place throughout the day. Using a pencil or gel eyeliner, gently lift your eyelid slightly and apply the product directly to the base of your upper lashes, moving from the inner corner to the outer corner of your eye.
Step 10. Final Touches
To perfect your look, take a moment to assess the overall balance of your makeup. Ensure your false lashes are securely in place and align seamlessly with your natural lash line. If there are any visible gaps or irregularities, use a fine-tipped liquid eyeliner to carefully touch up along the lash band. Additionally, a light coat of mascara can help blend your natural lashes with the falsies, creating a more cohesive and voluminous effect.
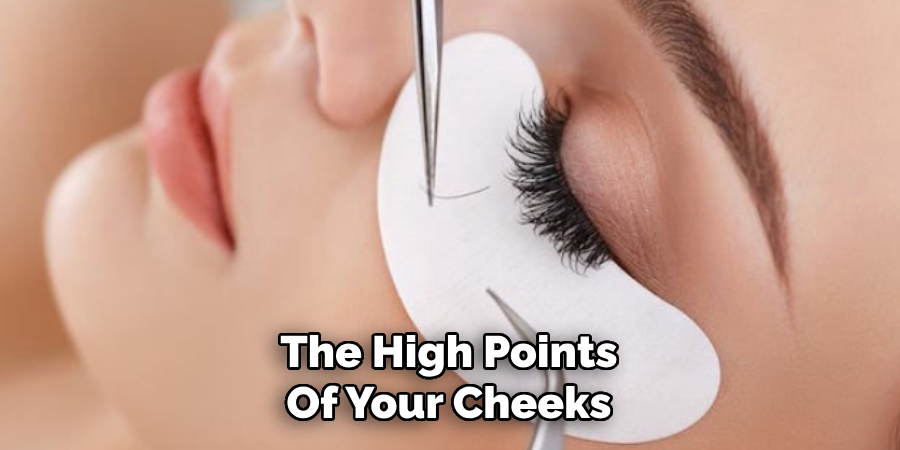
For a polished finish, consider adding a touch of highlighter to the inner corners of your eyes and brow bone, as well as along the high points of your cheeks.
With these easy steps, you’ll achieve flawless-looking lashes in no time! Practice makes perfect, so don’t be discouraged if it takes a few tries to master the technique.
Conclusion
How to apply strip lashes can transform your look and elevate your makeup game, but it’s all about practice and patience.
By following the steps outlined—prepping your natural lashes, measuring and trimming the strip lashes, applying lash adhesive, and securing them carefully—you can achieve a seamless finish. Remember to choose lashes that complement your eye shape and personal style for the best results.
With time, this process will become second nature, leaving you with stunning lashes that enhance your overall appearance.
About the Author
Jane Hubbard is a passionate beauty expert with a wealth of experience in makeup, hair, and overall beauty techniques. After years of working as a hairdresser specialist, she followed her entrepreneurial spirit and started her own consultancy business.
Jane has always been driven by her desire to help others feel confident in their own skin, and she does this by sharing her knowledge, experiences, and practical beauty tips. Through her consultancy, she empowers individuals to embrace their unique beauty, offering tailored guidance that boosts both self-esteem and personal style.
Professional Focus
Specializes in makeup, hairstyling, and beauty consulting.
Provides personalized beauty advice, tips, and techniques to help individuals feel confident in their appearance.
Dedicated to staying up-to-date with the latest industry trends and developments.
Passionate about creating a comfortable and empowering experience for every client.
Education History
University of Craft and Design – Bachelor of Fine Arts (BFA) in Woodworking and Furniture Design
Woodworking Apprenticeships – Extensive hands-on training with skilled craftsmen to refine carpentry and furniture making techniques
Online Courses & Masterclasses – Continued education in advanced woodworking techniques, design principles, and specialized tools
Expertise:
Makeup artistry, hairstyling, and beauty consulting.
Personalized beauty techniques to enhance confidence and self-expression.
Educating clients on how to maintain their beauty routines at home.