
A damp makeup sponge is the secret to a flawless, airbrushed foundation finish. But what happens after you’ve achieved that perfect look? Tossing a wet sponge into your makeup bag or a dark drawer is a common mistake that can have unpleasant consequences. Proper sponge care, especially drying, is a crucial part of any beauty routine that often gets overlooked. Leaving your favorite tool wet can turn it into a breeding ground for bacteria and ruin its texture.
This guide will provide you with simple and effective drying techniques to keep your sponges clean, fresh, and ready for their next use. We’ll show you exactly how to dry makeup sponges, ensuring they remain a hygienic and effective part of your makeup toolkit for a long time.
Why Properly Drying Makeup Sponges Is Essential
Properly drying your makeup sponges types is about more than just maintaining your tools; it’s a critical hygiene practice that directly impacts your skin’s health. A damp sponge stored in a dark, enclosed space like a makeup bag creates the perfect warm, moist environment for bacteria, mold, and mildew to thrive. When you use a contaminated sponge on your face, you are transferring these germs directly onto your skin, which can lead to clogged pores, breakouts, and even skin infections.
Beyond the hygiene risks, neglecting to dry your sponges properly will significantly shorten their lifespan. Lingering moisture can cause the sponge’s delicate material to break down prematurely, leading to rips and tears. It can also develop a musty, unpleasant odor that is impossible to wash out. By taking a few extra moments to ensure your sponge dries completely, you protect your skin, extend the life of your investment, and guarantee a fresh, clean application every time.
7 Step-by-Step Guide: How to Dry Makeup Sponges
Step 1: Squeeze Out All Excess Water
The drying process begins the moment you finish washing your sponges. The first and most important step is to remove as much water as possible. After rinsing it thoroughly, gently squeeze the sponge in your fist until no more water drips out. Be firm but gentle; avoid twisting or wringing it like a dishcloth. This aggressive motion can cause the delicate foam to stretch, tear, or lose its shape over time. Squeezing effectively removes the bulk of the internal moisture, giving you a significant head start on the drying process and making the subsequent steps much faster.
Step 2: Press It in a Clean Towel
After you’ve squeezed out the excess water by hand, a clean towel can take your initial drying efforts to the next level. Lay the sponge on a clean, dry, and preferably lint-free towel (a microfiber towel works great for this). Fold the towel over the sponge and press down firmly. You can also roll the sponge within the towel. This action wicks away even more moisture from the surface and interior of the sponge without any rough friction. This is one of the most effective drying techniques for a quick start to the air-drying process.
Step 3: Air Dry in an Open, Well-Ventilated Area
The simplest and most common method is to let nature do the work. Place your damp sponge in a location with good air circulation. A countertop in your bathroom or on your vanity works well, as long as the area is not enclosed. Avoid placing it in a dark drawer, a sealed container, or your makeup bag while it’s still damp. For the best results, prop the sponge up so that air can flow around all sides. A clean, open space is one of the most important hygiene tips for any of your makeup tools and is a key part of learning how to dry makeup sponges correctly.
Step 4: Use a Dedicated Sponge Drying Stand
For a more foolproof air-drying method, consider investing in a makeup sponge stand. These inexpensive accessories are specifically designed to hold your sponge upright, allowing for 360-degree air circulation. This prevents the bottom of the sponge from sitting in a pool of water or staying damp where it touches a flat surface. These stands come in various cute shapes and materials, like wire or silicone, and are a fantastic addition to your beauty routine. They ensure your sponge dries evenly and quickly, making them a worthy part of your sponge care arsenal.
Step 5: Place the Sponge on Top of Its Original Container
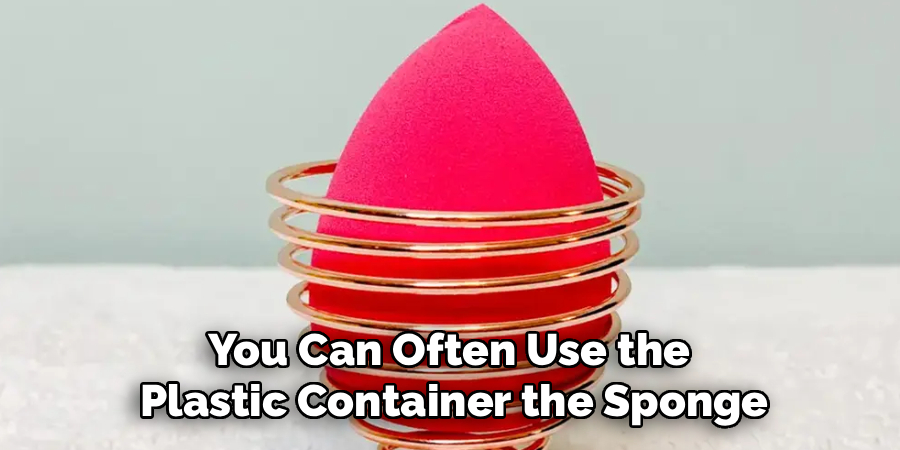
If you don’t have a dedicated stand, you can often use the plastic container the sponge came in as a makeshift drying pedestal. Many sponges are packaged in cylindrical plastic cases that are perfect for this purpose. After washing and squeezing your sponge, simply rest it on top of the open container. This elevates the sponge, allowing air to circulate underneath it and preventing moisture from getting trapped. It’s a clever and free way to achieve the same benefits as a specialty drying stand, helping you master this beauty routine with items you already have.
Step 6: Use a Hair Dryer on a Cool Setting
If you’re in a hurry and need your sponge to dry quickly, you can use a hairdryer. However, it is absolutely critical that you use the coolest setting available. High heat can melt, warp, or damage the sponge’s delicate foam structure, ruining its texture and ability to apply makeup smoothly. Hold the hairdryer several inches away from the sponge and move it around continuously to ensure it dries evenly. This method can dry a sponge in just a few minutes, making it perfect for when you need to pack for a trip or use the sponge again shortly after washing.
Step 7: Place It in Front of a Fan
Another excellent method for speeding up the drying process is to place your damp sponge in front of a fan. The constant airflow will rapidly evaporate the moisture, drying the sponge much faster than standard air-drying. You can place the sponge on a clean towel or in a drying stand a safe distance from the fan. This technique is particularly useful in humid climates where air-drying can take a very long time. It’s a simple, energy-efficient way to ensure your sponge is completely dry and ready for your next beauty routine.
Sponge Maintenance Frequency
To ensure your sponge stays hygienic and performs at its best, it’s important to clean it regularly. Ideally, you should wash your sponge after every use to remove makeup, oils, and bacteria that may accumulate. For deeper cleaning, aim to thoroughly sanitize your sponge at least once a week using a mild soap or cleanser specifically designed for makeup tools. Additionally, consider replacing your sponge every 1-3 months, depending on usage and wear, to maintain optimal performance and hygiene. Regular maintenance not only extends the life of your sponge but also helps prevent breakouts and skin irritations.
Proper Storage
Properly storing your makeup sponge is just as important as cleaning it. After each use, make sure to rinse and squeeze out any excess water before storing. Avoid leaving your damp sponge in an airtight container or bag, as this can create a breeding ground for bacteria. Instead, allow the sponge to air dry completely before storing it in a clean and well-ventilated area.
If you prefer to store your sponges away in a bag or container, make sure they are completely dry first. You can also opt for a mesh or breathable pouch that allows air circulation while also keeping your sponges protected.
Frequently Asked Questions (FAQs)
How Long Does It Take for a Makeup Sponge to Dry?
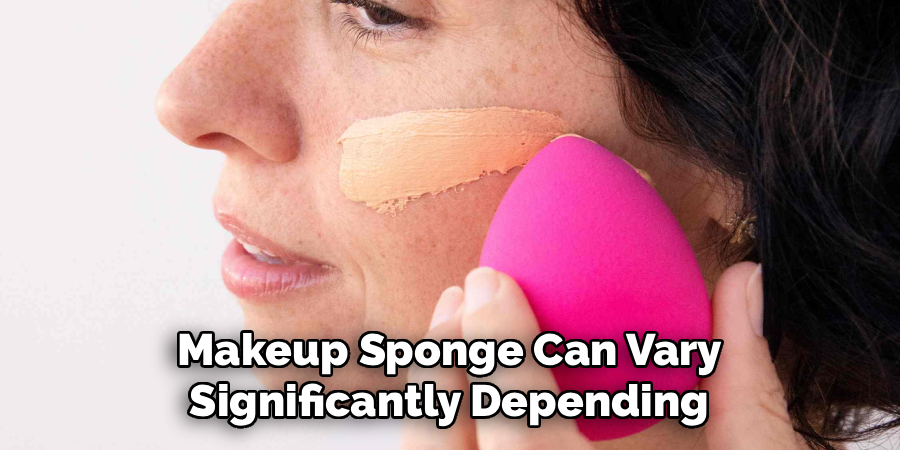
The drying time for a makeup sponge can vary significantly depending on the method used, the humidity of your environment, and the density of the sponge itself.
- Standard air-drying on a countertop can take anywhere from a few hours to a full day.
- Using a drying stand can cut this time down by ensuring full air circulation.
- Active methods like using a fan or a hairdryer on a cool setting can dry a sponge in under an hour, sometimes in just a few minutes.
Is It Okay to Store a Damp Makeup Sponge in a Closed Bag?
No, you should never store a damp or wet makeup sponge in a closed bag or any sealed container. This creates a dark, warm, and moist environment, which is the perfect breeding ground for bacteria, mold, and mildew. This can lead to skin issues like acne and irritation, and it will ruin your sponge. Always ensure your sponge is completely dry before storing it away, especially if you are traveling.
Can I Put My Makeup Sponge in the Microwave to Dry It?
You should never put your makeup sponge in the microwave to dry it. While some people use the microwave for sterilization, attempting to dry it this way is dangerous. The sponge can easily overheat, melt, or even catch fire. Stick to safe and gentle drying techniques like air-drying or using a cool hairdryer to preserve the integrity of your makeup tools and ensure your safety.
Why Does My Makeup Sponge Smell Bad?
A bad smell, often musty or sour, is a clear sign that bacteria or mold has started to grow inside your sponge. This is typically caused by not cleaning it frequently enough or by storing it while it is still damp. If your sponge develops a persistent odor that doesn’t go away after a deep clean, it is a sign that it is compromised and should be replaced immediately to protect your skin.
How Often Should I Be Cleaning and Drying My Sponge?
For the best hygiene, you should ideally clean your makeup sponge after every use. This prevents the buildup of makeup, skin oils, and bacteria. After each cleaning, you should follow up with a proper drying method. Even if you can’t manage a deep clean every day, rinsing and squeezing it out and allowing it to dry completely is far better than letting it sit with product in it.

Conclusion
The health of your skin and the longevity of your makeup tools depend on a consistent and hygienic beauty routine. While cleaning your makeup sponges is a well-known necessity, the drying process that follows is equally important. A dry sponge is a clean sponge, free from the risks of bacteria and mold, and ready to provide a flawless application every time. By incorporating these simple methods into your routine, you ensure your favorite tools stay in top condition.
Whether you let them air dry on a stand or use a fan for a quicker result, you now have a complete guide on how to dry makeup sponges the right way. This small step makes a huge difference, protecting your skin and your investment in your makeup tools.
About the Author
Jane Hubbard is a passionate beauty expert with a wealth of experience in makeup, hair, and overall beauty techniques. After years of working as a hairdresser specialist, she followed her entrepreneurial spirit and started her own consultancy business.
Jane has always been driven by her desire to help others feel confident in their own skin, and she does this by sharing her knowledge, experiences, and practical beauty tips. Through her consultancy, she empowers individuals to embrace their unique beauty, offering tailored guidance that boosts both self-esteem and personal style.
Professional Focus
Specializes in makeup, hairstyling, and beauty consulting.
Provides personalized beauty advice, tips, and techniques to help individuals feel confident in their appearance.
Dedicated to staying up-to-date with the latest industry trends and developments.
Passionate about creating a comfortable and empowering experience for every client.
Education History
University of Craft and Design – Bachelor of Fine Arts (BFA) in Woodworking and Furniture Design
Woodworking Apprenticeships – Extensive hands-on training with skilled craftsmen to refine carpentry and furniture making techniques
Online Courses & Masterclasses – Continued education in advanced woodworking techniques, design principles, and specialized tools
Expertise:
Makeup artistry, hairstyling, and beauty consulting.
Personalized beauty techniques to enhance confidence and self-expression.
Educating clients on how to maintain their beauty routines at home.